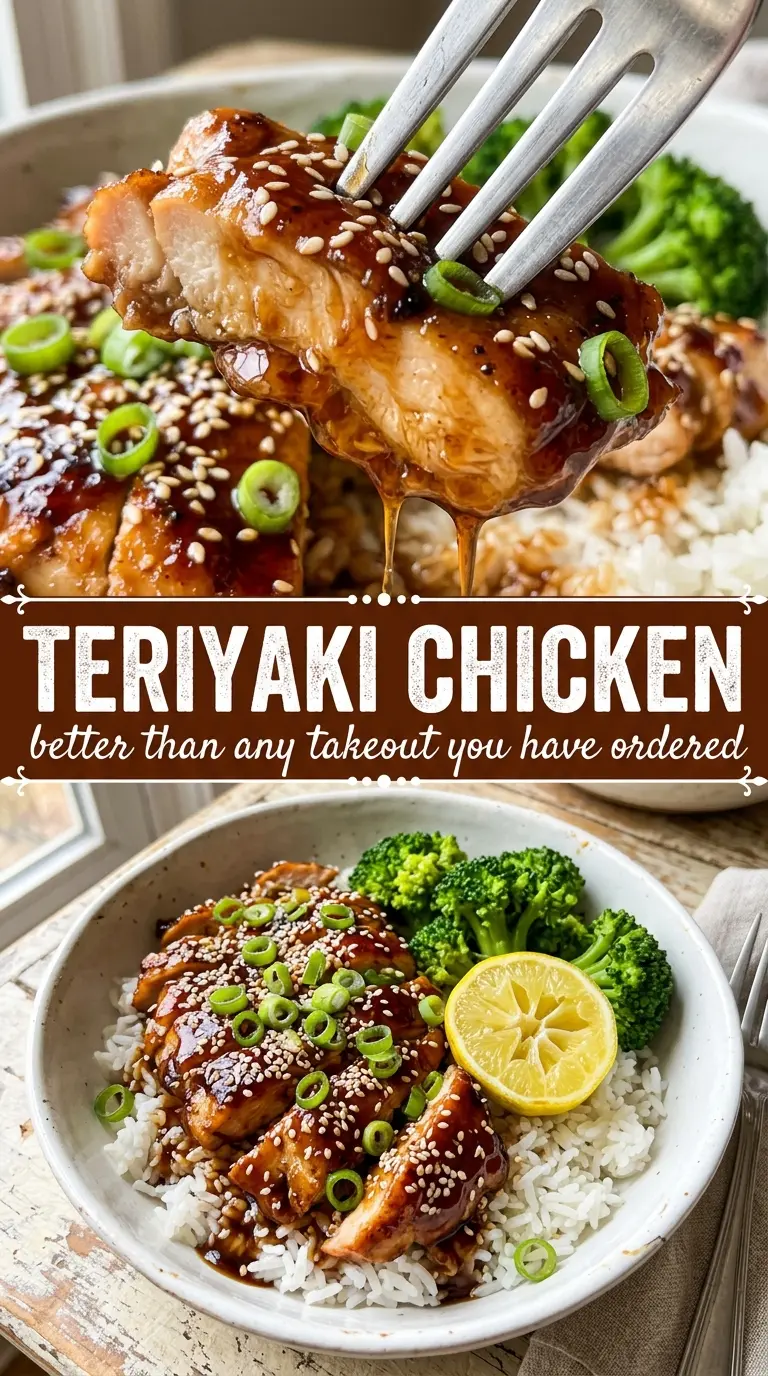
Sticky, glossy teriyaki chicken is at its best when the sauce clings to the meat instead of pooling in the pan. This version gives you that lacquered finish with deep amber edges, a balanced sweet-salty sauce, and chicken thighs that stay juicy under a proper caramelized glaze. Served over rice, it hits that takeout-style comfort without tasting flat or overly sugary.
The key is splitting the sauce before the chicken ever touches it. One half seasons the meat while it marinates, and the other half gets cooked down with cornstarch at the end so it turns thick and shiny instead of watery. Chicken thighs are the right cut here because they brown well and stay tender even if they spend a minute or two longer in the skillet.
Below, I’ve included the small details that make the difference: how to keep the sauce from turning thin, when the chicken is actually done, and a few smart swaps if you need to work with what’s in the pantry.
The sauce got thick and glossy right in the skillet, and the chicken stayed tender instead of drying out. My kids kept stealing bites before it even made it to the rice.
Save this teriyaki chicken for the nights when you want glossy, takeout-style chicken with a real homemade sauce.
The Trick to Getting Teriyaki to Gloss Instead of Thin Out
The mistake most people make is letting the sauce reduce too long before the cornstarch goes in, or adding the slurry to a pan that isn’t simmering yet. Either way, you end up with a sauce that looks promising for a minute and then turns loose again when it hits the chicken. The fix is simple: keep part of the marinade back from the start, then bring it to a steady simmer before stirring in the cornstarch slurry.
Chicken thighs help here because they brown without turning chalky. They also release a little fat into the pan, which picks up the garlic and ginger and gives the sauce more depth. If you use chicken breast, the cook time gets tighter and the margin for error gets smaller, so pull it the second it reaches 165°F.
- Chicken thighs — They stay juicy under high heat and tolerate the caramelizing stage better than breast meat. If you swap in breast, cut the pieces evenly and shorten the cook time.
- Brown sugar and honey — These build the sticky glaze and help the sauce darken in the pan. Honey brings shine; brown sugar gives a deeper molasses note.
- Soy sauce — This is the backbone of the teriyaki flavor. Use a low-sodium version if you want more control, but don’t replace it with tamari unless you need the dish gluten-free.
- Mirin — It adds the rounded sweetness and mild acidity that make the sauce taste finished. Rice vinegar works in a pinch, but the flavor will be a little sharper and less full.
- Cornstarch slurry — This is what turns the reserved marinade into a clingy sauce. Mix it with cold water first so it disperses cleanly and doesn’t go lumpy the second it hits the heat.
What Each Ingredient Is Actually Doing in This Chicken
- Chicken breasts (the protein) — Let them sit at room temperature 15 minutes before cooking. This helps them cook evenly without drying.
- Oil or butter (the cooking medium) — This prevents the chicken from drying out and carries herb and spice flavors throughout.
- Garlic (the aromatic foundation) — Fresh minced garlic mellows and becomes sweet when cooked. Don’t brown it or it turns bitter.
- Cream or sauce (the moisture keeper) — This prevents the chicken from drying out during cooking. Balance richness with acid.
- Lemon, wine, or acid (the brightness) — This prevents heavy cream sauces from tasting flat. Add at the end to preserve freshness.
- Fresh herbs (basil, thyme, parsley) — Add some during cooking and some after so you get both cooked and fresh flavors.
- Cheese or toppings (optional richness) — These add creaminess and depth. Don’t overdo it or the dish becomes heavy.
- Proper oven temperature (375-400°F) or pan heat — This cooks chicken through without drying the edges. Use a thermometer for 165°F.
Building the Glaze Without Burning the Sugar
Mix the Marinade and Split It First
Whisk the soy sauce, brown sugar, honey, mirin, sake, garlic, and ginger until the sugar starts dissolving, then set half aside before the chicken goes in. That reserved portion is what becomes the final sauce, so it stays clean and safe instead of mixing with raw chicken juices. The chicken only needs 20 minutes in the marinade; any longer and the salty soy can start to overpower the meat instead of seasoning it.
Sear the Chicken Hard, Then Leave It Alone
Heat the oil in a large skillet over medium-high heat until it shimmers, then lay in the chicken thighs in a single layer. If the pan is crowded, the chicken steams and you lose the dark edges that make this dish taste finished. Let each side cook for 5 to 6 minutes without constant nudging; the chicken will release more easily once a crust forms.
Turn the Reserved Marinade Into Sauce
Pour the reserved marinade into the same pan after the chicken comes out and bring it to a simmer, scraping up the browned bits stuck to the bottom. Stir in the cornstarch slurry and keep it moving for 2 to 3 minutes until it turns thick, glossy, and spoon-coating. If it still looks thin, it usually needs another minute of bubbling, not more cornstarch.
Finish with a Full Coat
Return the chicken to the pan and turn each piece until every surface is lacquered. The sauce should cling in a shiny layer, not slide off in a puddle. Pull the pan off the heat as soon as the chicken is coated; overcooking at this stage can dull the glaze and tighten the meat.
Small Swaps That Still Keep the Sauce Honest
Gluten-Free Teriyaki Chicken
Use tamari instead of soy sauce and check that your mirin or rice vinegar is gluten-free. The sauce still thickens the same way, and the flavor stays balanced, but tamari reads a little rounder and less sharp.
Chicken Breast Instead of Thighs
Chicken breast works, but it needs a shorter sear and a faster finish because it dries out quickly. Cut it into even cutlets or thick strips so it cooks at the same pace, then pull it the moment the center reaches 165°F.
No Mirin on Hand
Rice vinegar is the easiest substitute, but use the same amount and expect a brighter, less mellow sauce. If the result tastes a little sharper than you want, add an extra teaspoon of honey to round it back out.
How to Prep It Ahead
You can mix the sauce and marinate the chicken up to 20 minutes ahead without losing quality. Any longer and the texture starts to blur, so this works best as a quick same-day dinner instead of an overnight marinade.
Storage and Reheating
- Refrigerator: Store leftovers in an airtight container for up to 4 days. The sauce thickens a bit as it chills, which helps it cling even better when reheated.
- Freezer: It freezes well for up to 2 months. Freeze in portions with a little extra sauce so the chicken doesn’t dry out on thawing.
- Reheating: Warm gently in a skillet over medium-low heat with a splash of water to loosen the glaze. High heat can make the sugar in the sauce tighten up and turn sticky in the wrong way.
Questions I Get Asked About This Recipe

Teriyaki Chicken
Ingredients
Equipment
Method
- Whisk together soy sauce, brown sugar, honey, mirin, sake, garlic, and ginger until the sugar dissolves, then set aside half of the mixture for the sauce.
- Add the chicken thighs to the remaining half, cover, and marinate for 20 minutes.
- Heat the vegetable oil in a large skillet over medium-high heat until shimmering.
- Cook the marinated chicken for 5-6 minutes per side until deeply caramelized and blistered at the edges, reaching an internal temperature of 165°F, then remove the chicken.
- Pour the reserved marinade into the pan and bring it to a simmer.
- Stir in the cornstarch slurry and cook for 2-3 minutes until the sauce turns thick and glossy.
- Return the chicken to the pan and turn to coat in the teriyaki sauce until the glaze clings to the thighs.
- Serve the teriyaki chicken over steamed rice and drizzle with any extra sauce.
- Garnish with sesame seeds and green onions before serving.