Scalloped potatoes earn their place on the table because they turn a handful of plain ingredients into something creamy, layered, and deeply comforting. The top gets burnished and salty from the Parmesan, while the potatoes underneath soften into tender slices that still hold their shape. When it’s done right, you get a spoonful with sauce in every bite, not a puddle at the bottom of the dish.
The key is building a sauce that thickens before it ever goes near the potatoes. That gives the starch in the potatoes a chance to work with the dairy instead of fighting a thin, watery sauce. Russet potatoes help here because they release enough starch to support the sauce, and slicing them evenly keeps the layers cooking at the same pace. The onion turns sweet as it bakes, and the thyme keeps the whole dish from tasting heavy.
Below, I’ve included the small details that keep the sauce smooth, the layers tender, and the top browned without drying out the potatoes. If you’ve had scalloped potatoes turn soupy or bland before, the notes here will help you avoid both problems.
The sauce thickened up beautifully and the potatoes stayed tender without falling apart. I liked that the top browned in the last 30 minutes instead of drying out the whole dish.
Save these scalloped potatoes for the times you want a creamy layered side with a browned Parmesan top and tender, spoonable slices.
The Trick to Keeping the Sauce Thick Instead of Watery
Scalloped potatoes fail when the sauce never gets thick enough before the dish goes into the oven. If the dairy is still thin, the potatoes leak moisture as they bake and you end up with soup around the edges and bland slices in the middle. A short stove-top thickening step fixes that. The flour needs a full minute in the butter so it loses the raw taste, and the milk and cream need time to simmer until they coat a spoon.
The other common problem is slicing the potatoes unevenly. Thick slices stay firm while thin ones collapse, and then the sauce settles into empty pockets instead of baking through the layers. Aim for 1/8-inch slices and keep the onions thin too so they melt into the dish instead of staying crunchy.
What Each Ingredient Is Doing in These Scalloped Potatoes
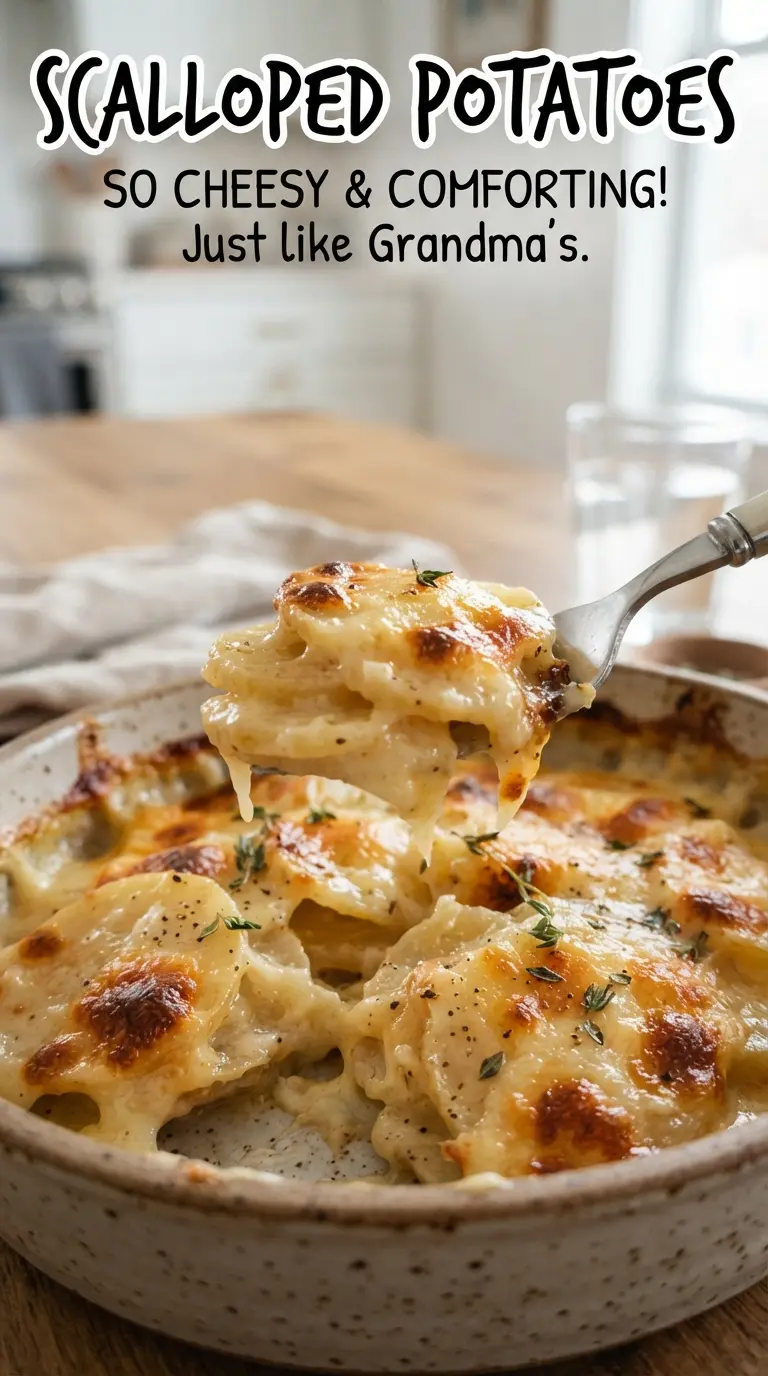
- Russet potatoes — These are the best choice because their starch helps thicken the sauce as the dish bakes. Yukon Golds work too if that’s what you have, but the sauce will stay a little silkier and the slices won’t soften quite the same way.
- Whole milk and heavy cream — The mix gives you body without turning the sauce gluey. You can use all milk in a pinch, but the finished dish will be lighter and less plush. Don’t swap in low-fat dairy here; it tends to split or taste thin after a long bake.
- Butter, flour, and garlic — This is the base that holds the sauce together. The butter carries the garlic flavor, and the flour gives the dairy enough structure to cling to every layer. The garlic only needs about 30 seconds so it perfumes the fat without burning.
- Parmesan — This is your salty, browned finish. Freshly grated Parmesan melts and browns better than the shelf-stable kind, and it gives the top a crisp edge that balances the creamy interior.
- Fresh thyme and onion — The onion turns sweet and almost jammy in the oven, while the thyme keeps the dish from tasting flat. Dried thyme works if that’s what you have; use a little less because it reads louder once baked.
Building the Layers So Every Slice Bakes Evenly
Start with a real sauce, not just seasoned milk
Melt the butter, cook the garlic briefly, then whisk in the flour until it looks pasty and smooth. When the milk and cream go in, the mixture should stay thin at first, then slowly tighten as it simmers. Stop when it lightly coats the back of a spoon; if it never thickens, the finished dish will slide apart when you serve it.
Layer the potatoes while the sauce is still warm
Arrange the potatoes and onion in three even layers, pouring sauce over each layer so it seeps down between the slices. Warm sauce moves into the gaps better than cool sauce, and that means fewer dry spots in the center. Press the layers down gently with a spoon if they look loose, but don’t mash them.
Bake covered first, then finish uncovered
The foil trap keeps the potatoes tender during the long bake. After about an hour, the slices should give way when pierced with a fork but still hold their shape. Once you uncover the dish and add the Parmesan, the top can brown without the sauce evaporating too fast.
Let it rest before serving
This part matters more than most people think. The sauce settles as it cools slightly, which makes the layers slice cleanly instead of sliding into a loose pile. Fifteen minutes is enough to make the texture creamy rather than runny.
How to Adapt These Scalloped Potatoes Without Losing the Creamy Texture
Make it gluten-free
Swap the all-purpose flour for a gluten-free 1:1 flour blend that includes xanthan gum. The sauce should thicken the same way, but give it an extra minute on the stove so you can see it coat the spoon before layering. Don’t use cornstarch here unless you’re comfortable adjusting by feel, because it can turn glossy and slightly slippery instead of creamy.
Use Yukon Gold potatoes for a softer, richer bite
Yukon Golds give you a more buttery texture and a tighter slice, which is nice if you want the layers to hold their shape a little more firmly. The sauce may not thicken quite as much from the potatoes themselves, so don’t skip the stovetop thickening step. The result is slightly silkier and less rustic than russets.
Add ham for a heartier main-dish side
Fold small dice of cooked ham between the layers or scatter it over the first two layers before the sauce goes in. It adds salt and a smoky edge, but it also makes the dish denser, so keep the potato slices thin and even. This version eats more like a full meal alongside a simple green vegetable.
Make it dairy-free
Use unsweetened oat milk plus a rich dairy-free cream alternative, then choose a plant-based butter that tastes clean and not overly salty. The sauce will be a little less luxurious, but the layering technique still works. Skip the Parmesan or use a dairy-free hard cheese that melts and browns well.
Storage and Reheating
- Refrigerator: Store covered for up to 4 days. The sauce will thicken more as it chills, so the slices will look firmer the next day.
- Freezer: It freezes, but the sauce can turn a little grainy after thawing because of all the dairy. Freeze in a tightly wrapped baking dish or portioned containers for up to 2 months if you don’t mind a softer texture.
- Reheating: Reheat covered at 325F until hot all the way through, then uncover for the last few minutes if you want to restore the top. The biggest mistake is blasting it in the microwave, which makes the edges split and the potatoes tough before the center warms.
Questions I Get Asked About This Recipe
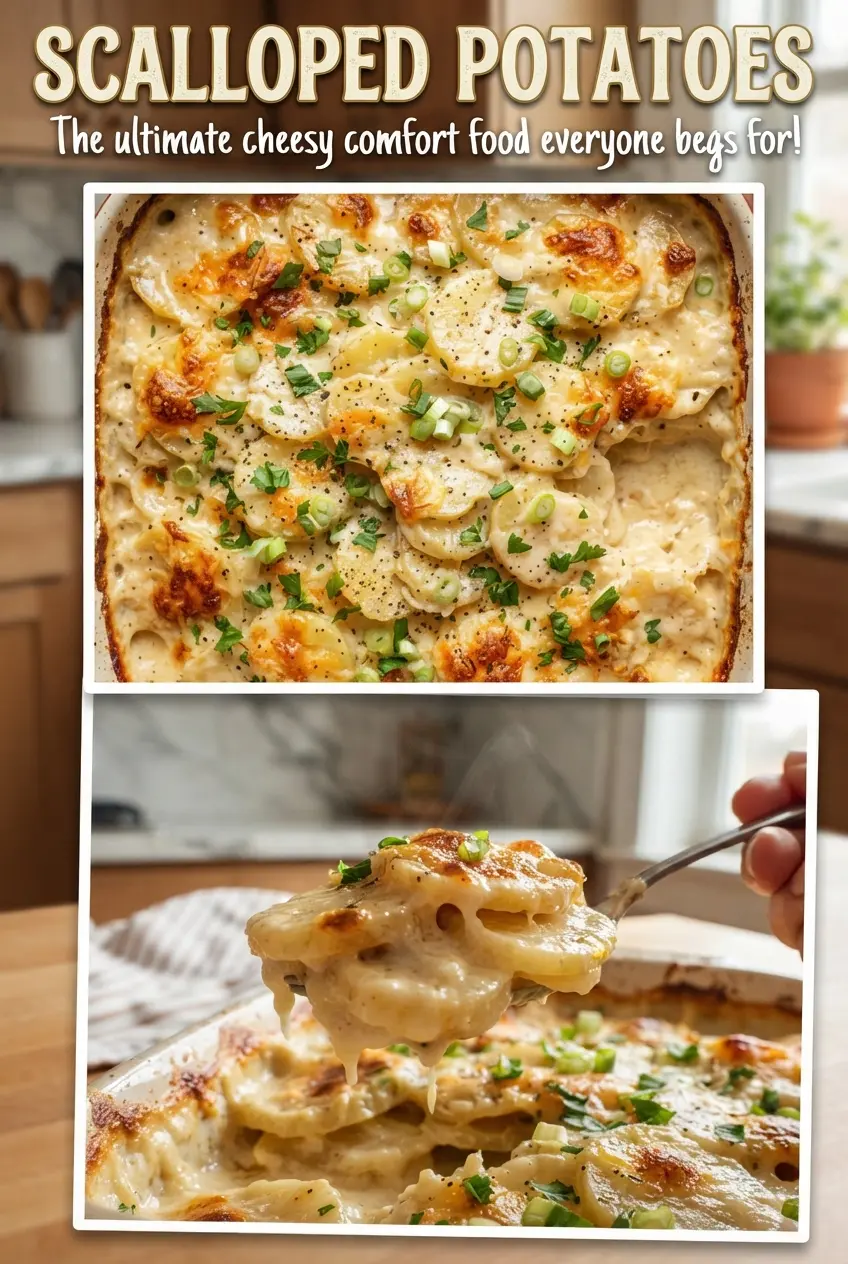
Scalloped Potatoes
Ingredients
Equipment
Method
- Preheat the oven to 375F. Butter a 9x13-inch baking dish and set it aside for layering.
- Melt the butter, then cook the garlic for 30 seconds. Keep it just fragrant without browning.
- Whisk in the flour and cook for 1 minute. Stir until the mixture looks smooth and lightly thickened.
- Gradually whisk in the whole milk and heavy cream. Simmer until slightly thickened, then season with salt, black pepper, and thyme.
- Layer half the potatoes and onion in the baking dish. Pour sauce over this layer until it’s well coated.
- Layer the remaining potatoes and onion in two more layers. Pour sauce over each layer to help the potatoes cook evenly.
- Cover the dish with foil and bake for 1 hour at 375F. Look for bubbling around the edges when you check partway through.
- Uncover, sprinkle with Parmesan, and bake for 25-30 minutes at 375F. Bake until the top is golden and the potatoes are fork-tender.
- Rest the scalloped potatoes for 15 minutes before serving. The sauce will thicken as it cools, helping the layers hold together.