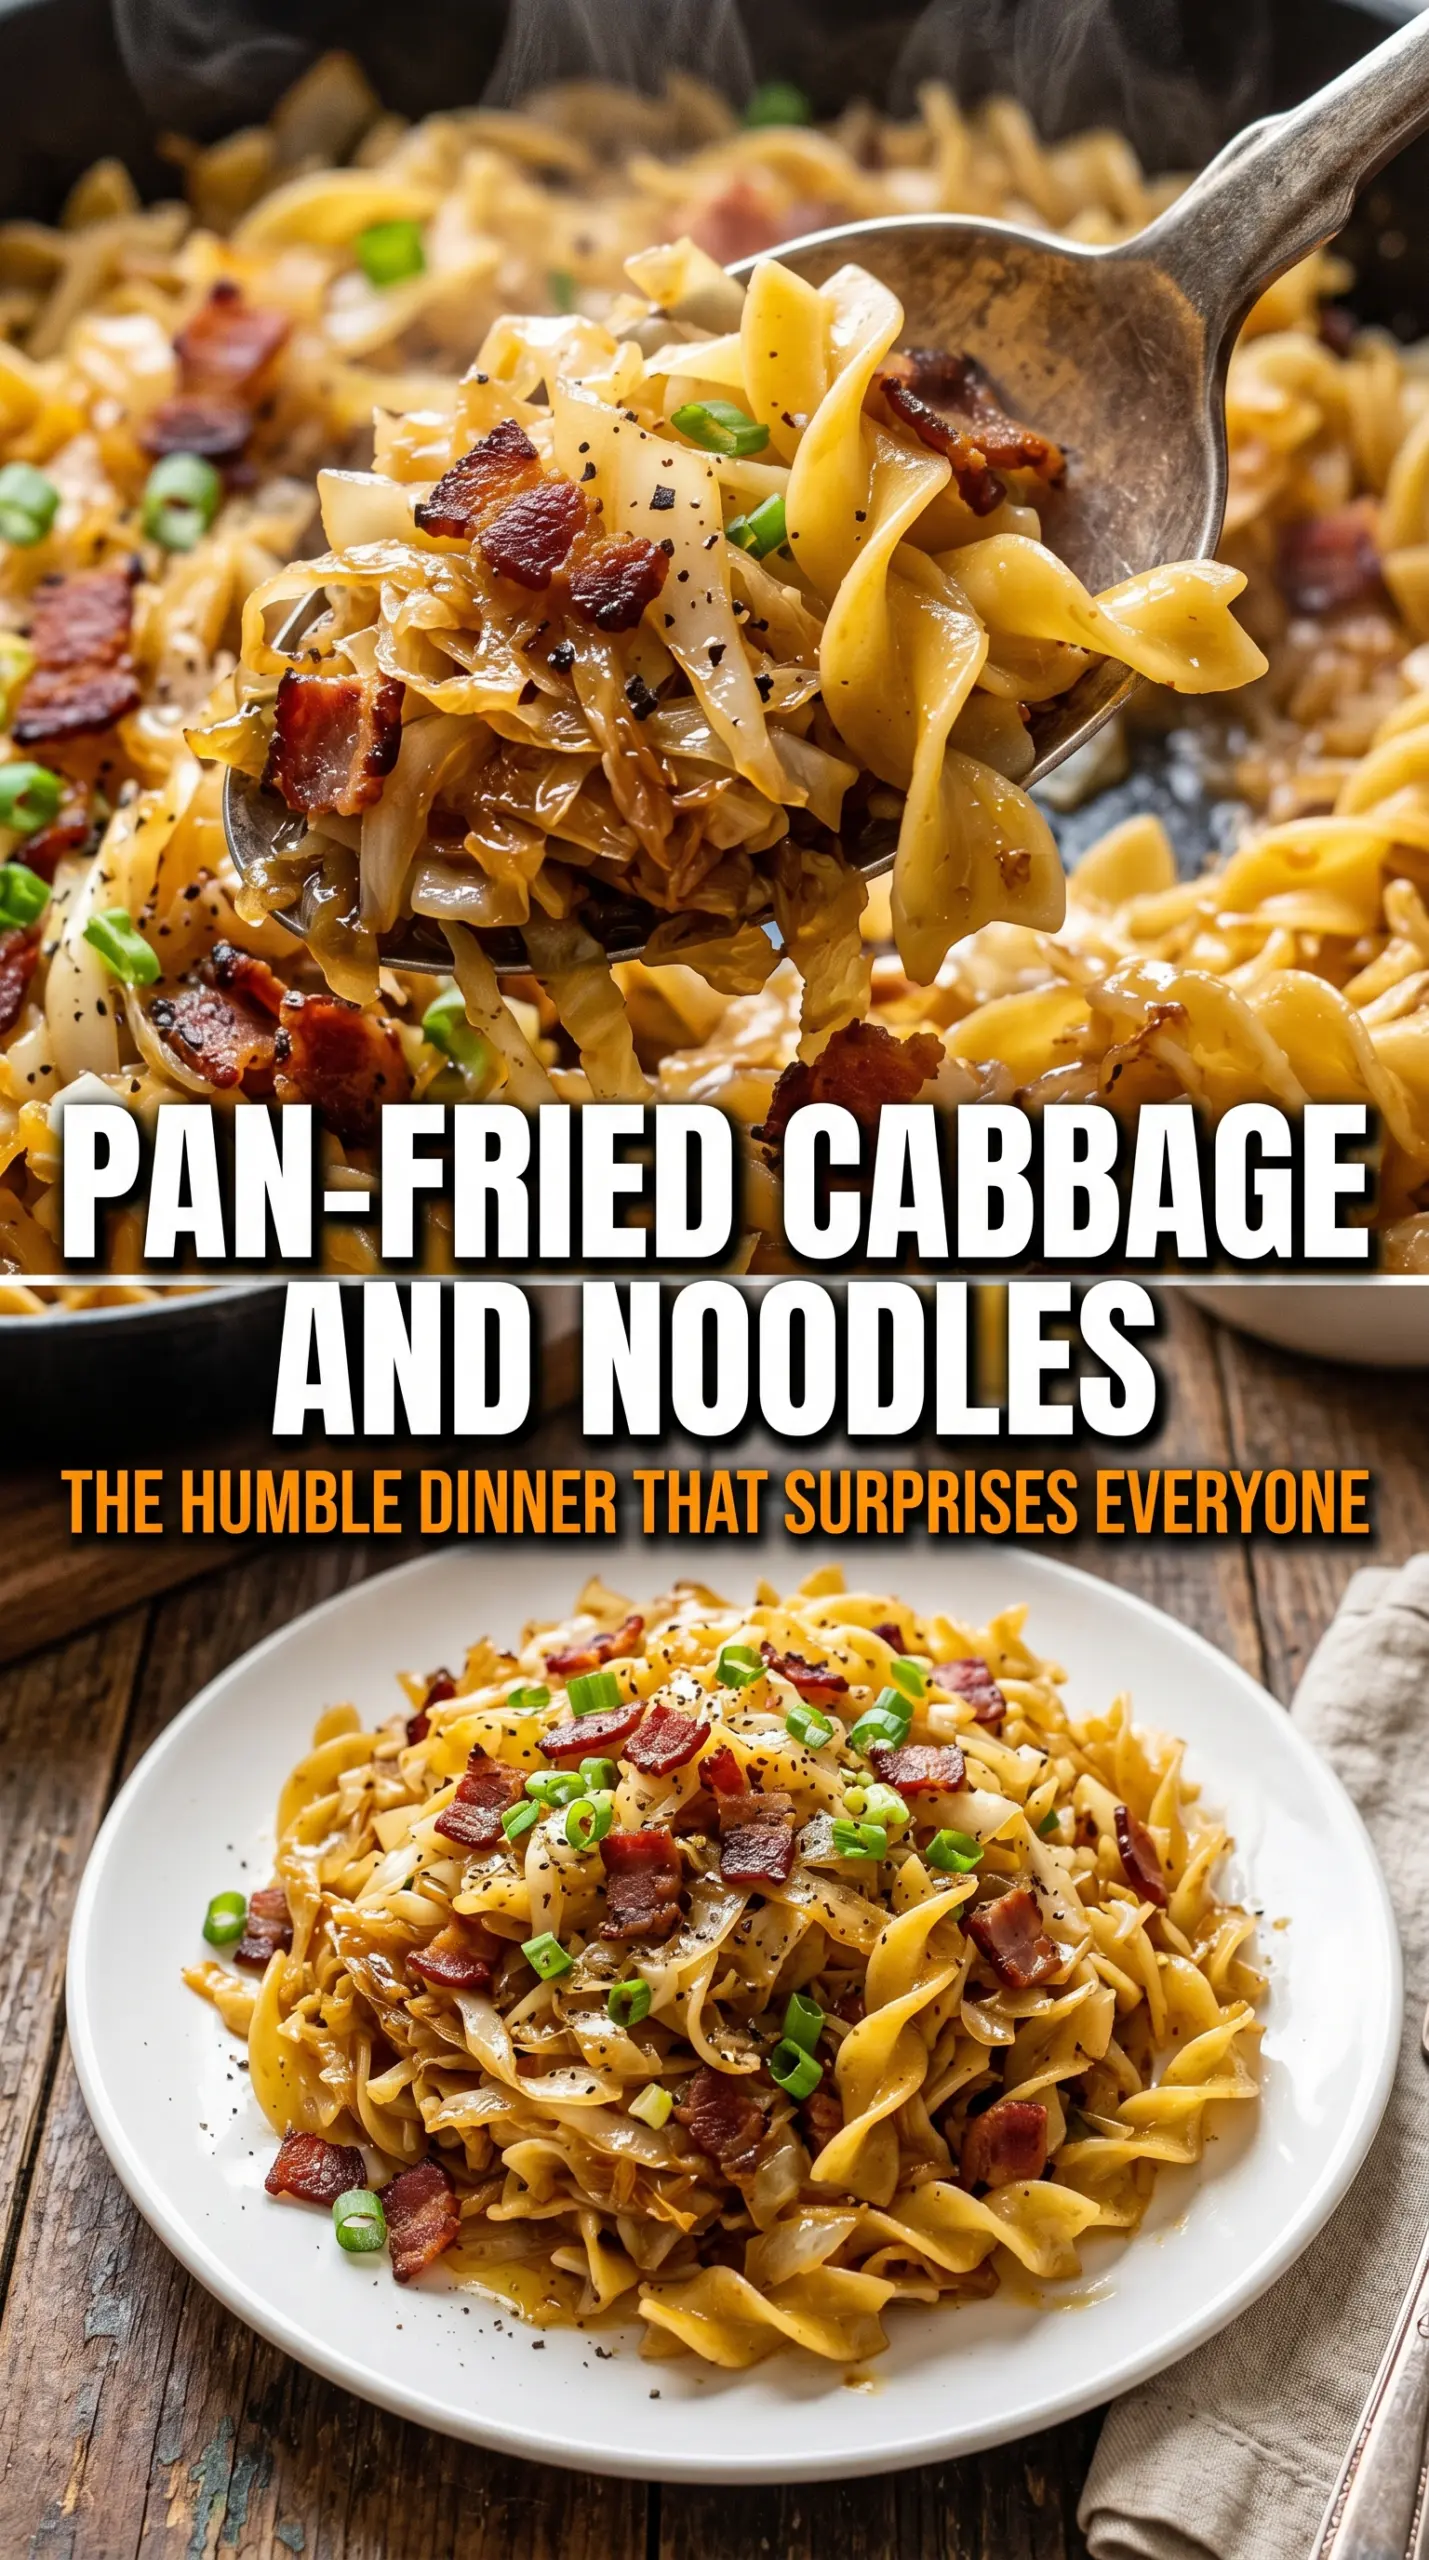
Pan-fried cabbage and noodles hit the table with the kind of browned, buttery comfort that keeps people going back for one more forkful. The cabbage turns sweet and tender at the edges, the onions melt down into the pan, and the noodles pick up all that savory butter without ever feeling greasy. It’s the sort of simple dinner that tastes bigger than the ingredient list says it should.
What makes this version work is patience in the skillet. The onions go in first so they can soften and start to caramelize before the cabbage joins them, and the cabbage needs enough time to lose its raw crunch and pick up deep golden color. If you rush that part, the dish tastes flat. If you let it cook until the edges turn bronze, you get the nutty, almost sweet flavor that makes haluski so satisfying.
Below, I’ve included the timing that matters, the small ingredient choices that change the result, and the easiest ways to adapt it if you want to keep it dairy-free or stretch it for a bigger table.
I let the cabbage go until the edges were deep golden like you said, and it made all the difference. The noodles soaked up the butter and pepper, and even my picky kid went back for seconds.
Like this buttery cabbage and noodles dinner? Save it to Pinterest for the night you want deep golden comfort with one skillet and a handful of pantry staples.
The Golden Edge That Gives This Dish Its Real Flavor
The biggest mistake with cabbage and noodles is stopping too soon. Pale cabbage tastes cooked, but it doesn’t taste interesting. The sweet spot is when the onions are soft and lightly browned, the cabbage has collapsed by more than half, and a few bits at the bottom of the pan are starting to color. That’s where the flavor lives.
Use a wide skillet and give the vegetables enough room to sit against the heat instead of steaming in a mound. If the pan looks crowded, the cabbage sweats and turns soft before it ever gets savory. A little patience here changes the whole dish from plain to deeply comforting.
- Green cabbage — Thin slicing matters more than fancy variety. The shreds soften evenly and pick up color faster, which is what you want. Savoy cabbage works in a pinch, but it cooks a little faster and won’t give quite the same sturdy texture.
- Wide egg noodles — These are the right shape for catching butter and bits of browned cabbage. If you need a swap, use another broad noodle with enough surface area to hold onto the pan juices. Long spaghetti doesn’t give the same bite or the same cozy feel.
- Butter — This is where the dish gets its round, rich finish. You can use all butter for the fullest flavor, or swap in half butter and half olive oil if you want a little less richness. The noodles won’t taste quite as silky, but the cabbage will still brown nicely.
- Caraway seeds — Optional, but they add that old-school Eastern European note that makes the whole pan taste more complete. If you’ve never used them, start with the small amount listed. They should whisper in the background, not take over.
- Sour cream and dill — The cold sour cream cuts the butter, and the dill gives the dish a fresh finish right at the end. Skip them if you want a plainer skillet dinner, but they’re worth serving when you want the meal to feel finished.
What Each Ingredient Is Actually Doing in This Pasta Dish
- Pasta (the foundation) — Cook to al dente so it doesn’t turn mushy in the sauce. Reserve water for sauce adjustment.
- Sauce (butter, cream, oil, or tomato-based) — This coats the pasta and carries flavors. The right amount matters — too much is heavy, too little is dry.
- Aromatics (garlic, onion, or both) — Cook with fat to bloom the flavors. They become part of the sauce foundation.
- Cheese (the richness and umami) — This adds depth and helps the sauce cling to the pasta. Add off heat so it melts smoothly.
- Pasta water (the secret ingredient) — Starchy water helps sauce cling to noodles. Add gradually until you reach the right consistency.
- Fresh herbs (the finish) — Add at the end so they stay bright. Don’t cook them into the sauce.
- Acid (lemon, vinegar, or tomato) — This prevents creamy sauces from tasting one-dimensional. Balance is key.
- Final toss (the emulsification) — Toss gently so pasta stays al dente and every piece gets coated evenly.
Getting the Cabbage Soft, Browned, and Ready for the Noodles
Start With the Onions
Melt four tablespoons of butter in a large skillet over medium heat, then add the sliced onion with a pinch of salt. The salt helps pull moisture out so the onions soften before they scorch. Cook them until they’re translucent and just starting to turn golden at the edges. If the pan is too hot, they’ll brown on the outside before the inside goes soft, so keep the heat steady and let them relax into the butter.
Let the Cabbage Take Its Time
Add the sliced cabbage and stir it through the onions so it gets coated in the butter. At first it will look like too much for the pan, then it will collapse as the moisture cooks off. Stir occasionally, but not constantly, so the cabbage has a chance to sit against the hot surface and caramelize. If it starts to look dry before it colors, add a small knob of butter, not water, because water slows browning.
Finish the Pan Before the Pasta Goes In
Once the cabbage is deeply golden and tender, add the garlic and caraway seeds if you’re using them. Garlic needs only a minute; any longer and it can turn bitter in the hot butter. Add the remaining butter and the cooked noodles, then toss everything over medium heat until the noodles are hot and glossy. Season at the end with salt and cracked black pepper so you can taste how much salt the cabbage actually needs after cooking down.
How to Adjust This Skillet Dinner for What You’ve Got
Make It Dairy-Free
Swap the butter for a neutral plant-based butter or half olive oil and half vegan butter. You’ll lose a little of the deep, round dairy flavor, but the cabbage still browns well if the pan is hot enough and you don’t overcrowd it.
Make It Gluten-Free
Use your favorite gluten-free wide noodle and cook it just to al dente so it holds together when tossed through the skillet. Gluten-free pasta can break down fast if it sits too long in the pan, so add it at the very end and serve immediately.
Add Bacon or Kielbasa
Cook chopped bacon or sliced kielbasa first, then use some of the rendered fat to start the onions. That gives the whole dish a smokier, saltier base and makes it feel more like a full one-pan supper.
Storage and Reheating
- Refrigerator: Store in an airtight container for up to 4 days. The noodles will absorb more butter as they sit, so the dish becomes a little denser by day two.
- Freezer: It freezes, but the noodles soften after thawing and the cabbage loses some of its bite. If you do freeze it, cool it completely and store it flat in a freezer-safe container for up to 2 months.
- Reheating: Warm it in a skillet over medium-low heat with a splash of water or a small pat of butter to loosen the noodles. The mistake is blasting it in the microwave until the pasta turns sticky and the cabbage dries out.
Answers to the Questions Worth Asking
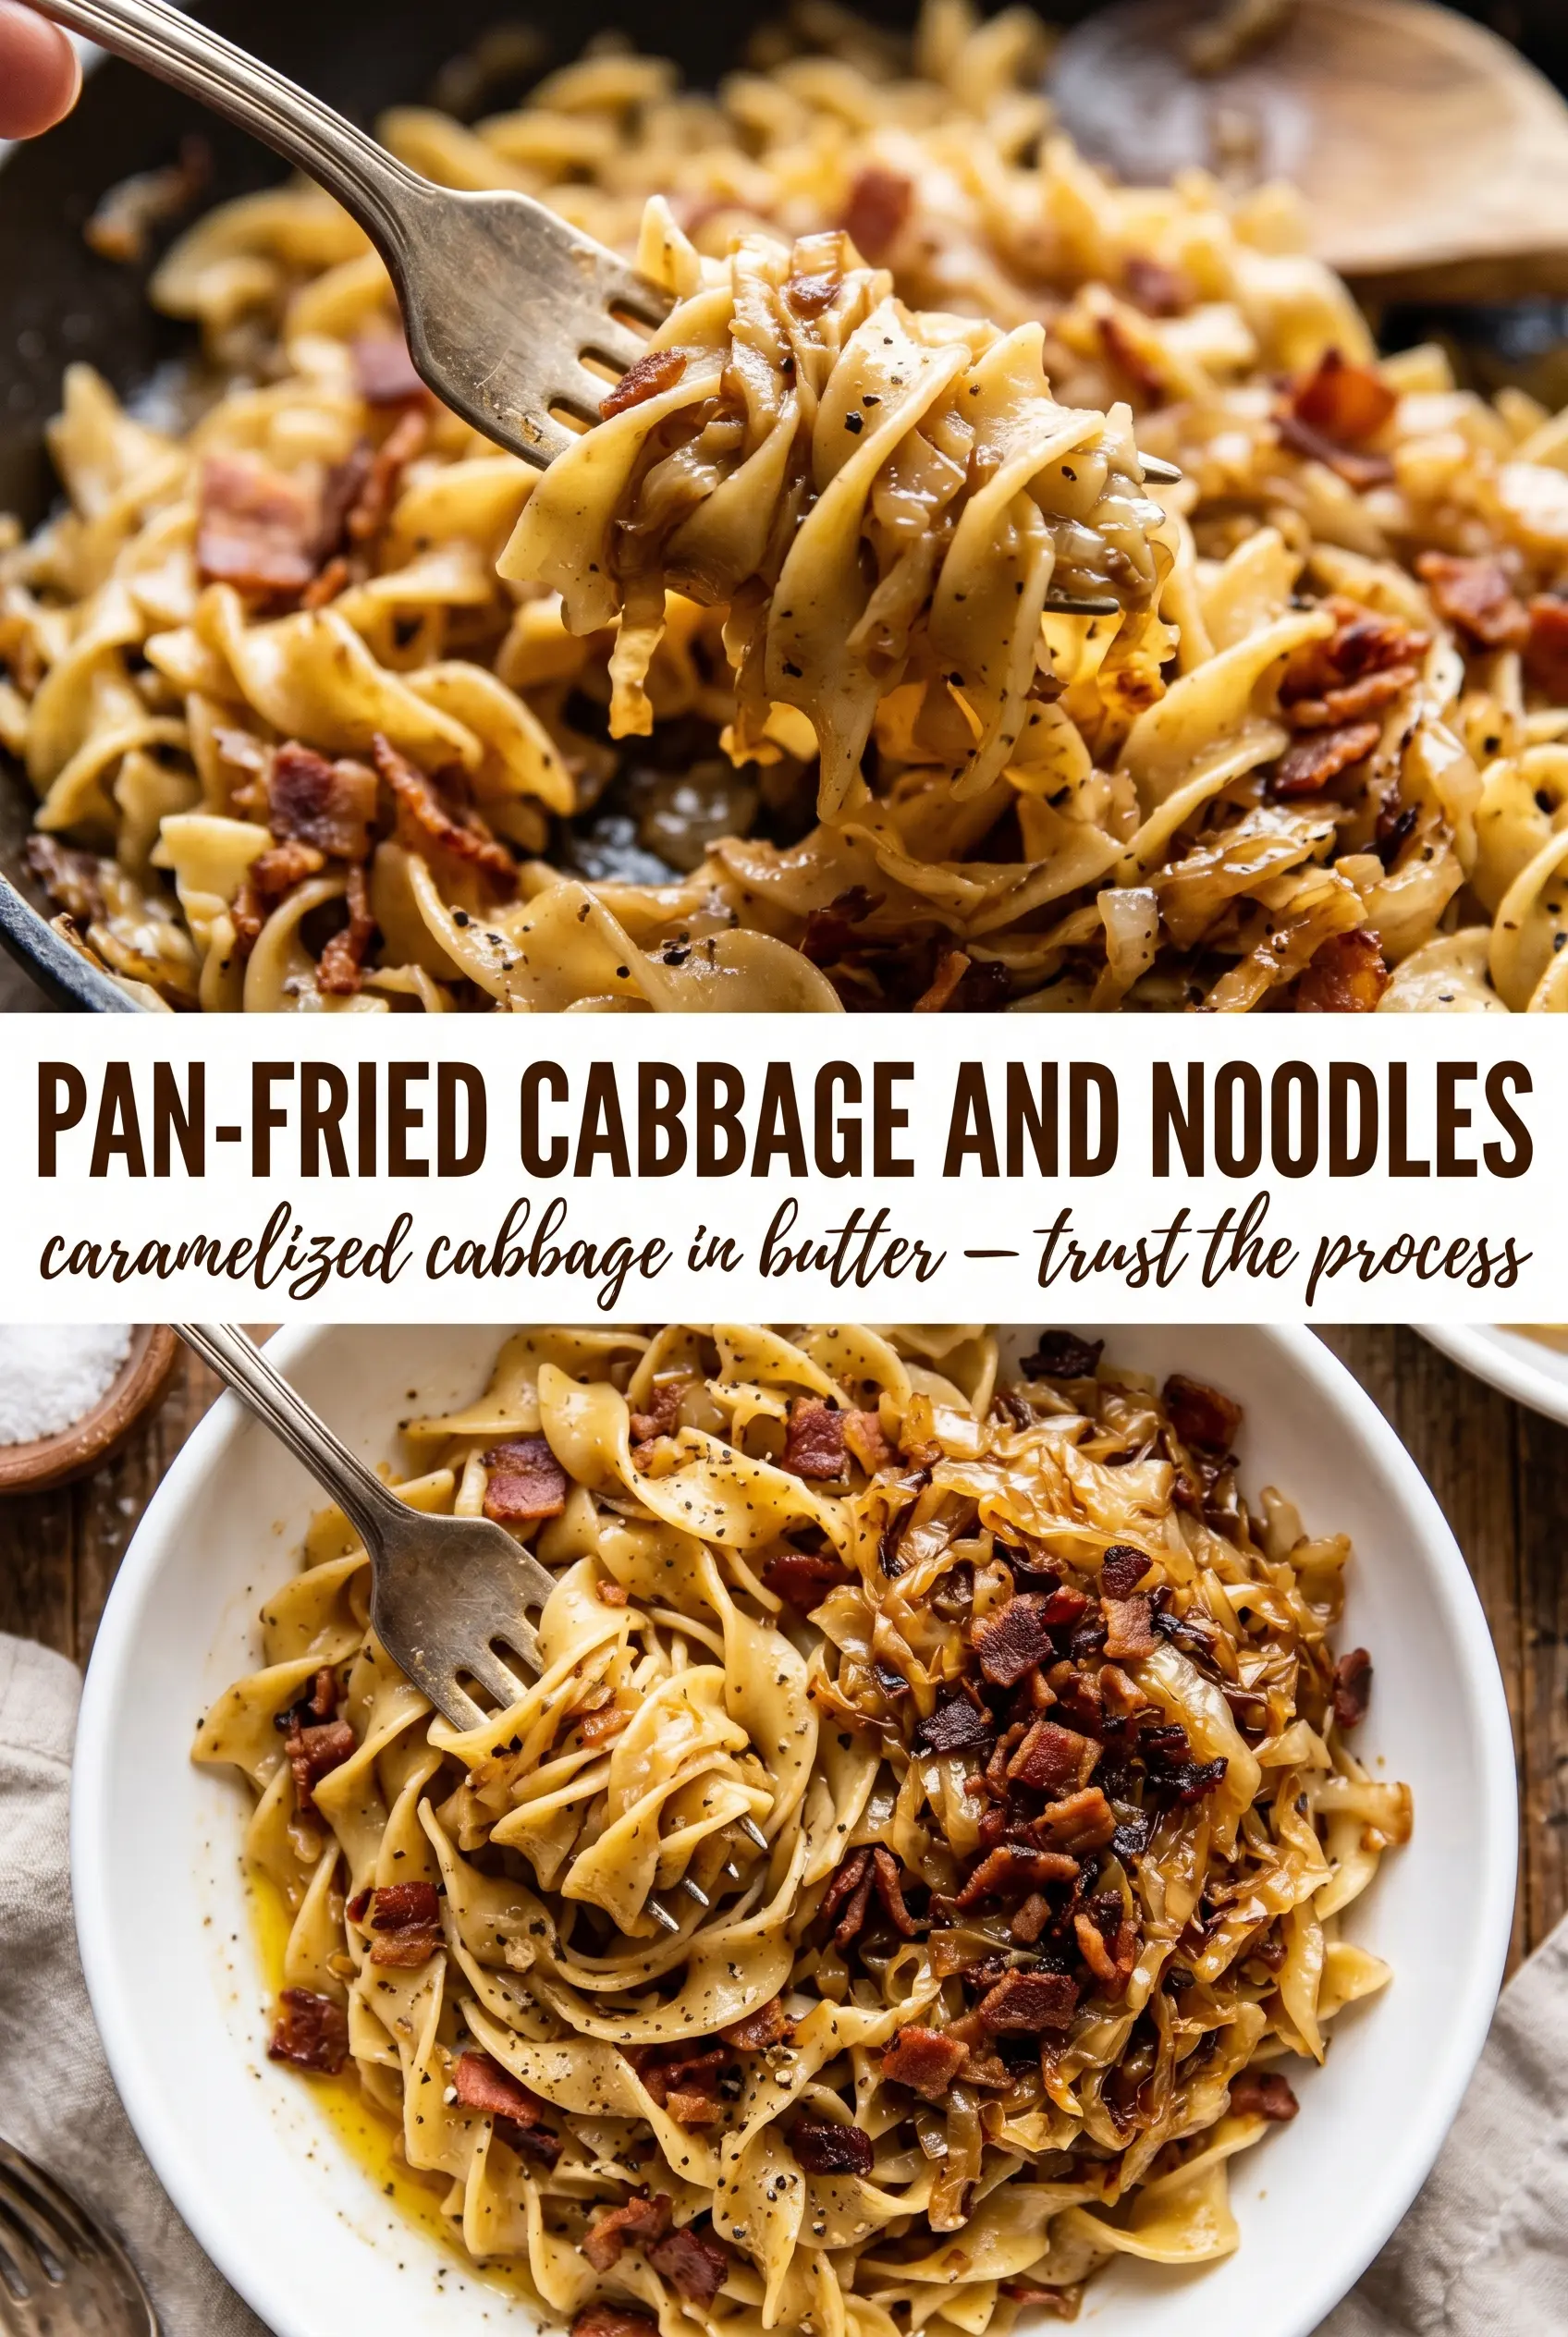
Pan-Fried Cabbage and Noodles (Haluski)
Ingredients
Equipment
Method
- Melt 4 tablespoons butter in a large skillet over medium heat, add onion with a pinch of salt, and cook for 10 minutes, stirring occasionally, until starting to caramelize and turn golden at the edges.
- Add sliced cabbage and cook for 10–12 minutes over medium heat, stirring occasionally, until cabbage is deeply golden and tender with browned spots.
- Add minced garlic and caraway seeds (if using) and cook for 1 minute, stirring, until fragrant and lightly toasted.
- Add the remaining butter and the cooked egg noodles, then toss everything together over medium heat until the noodles are evenly coated and heated through, with butter browned at the edges.
- Season generously with salt and cracked black pepper to taste, then toss once more so the seasoning distributes evenly.
- Plate the haluski and top each serving with a dollop of sour cream and a sprinkle of fresh dill.