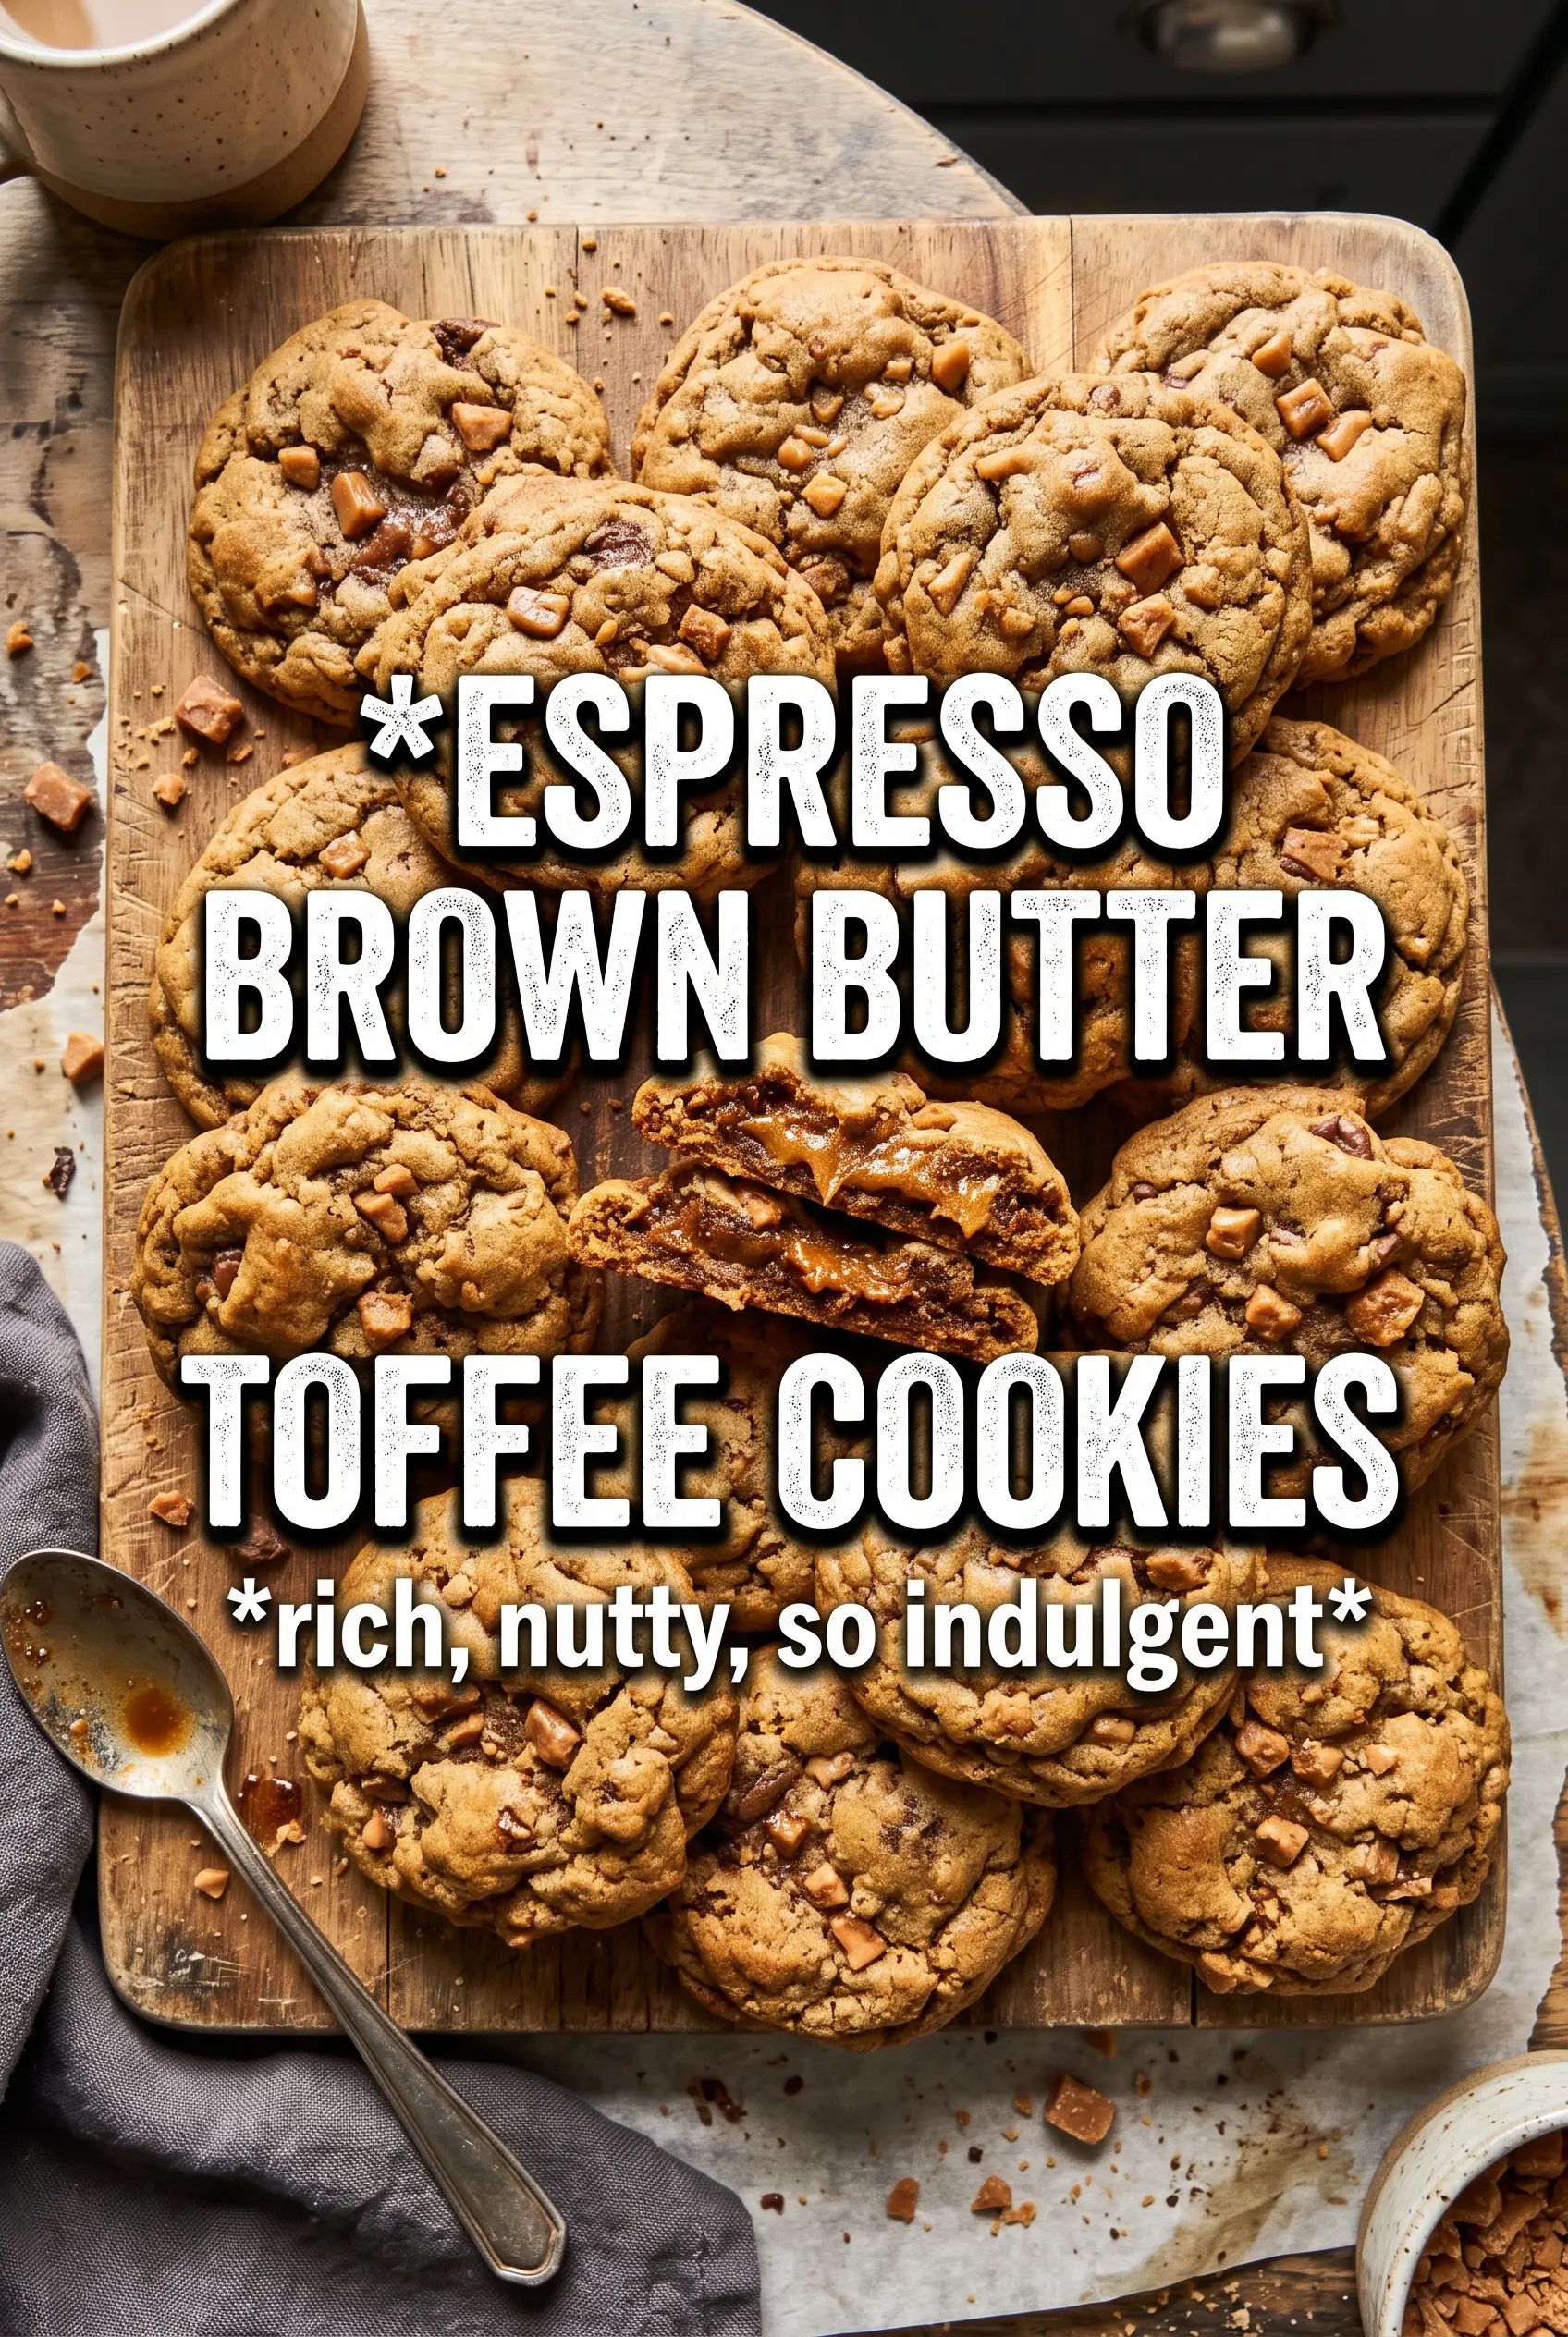
Espresso brown butter toffee cookies bake up with crisp, caramelized edges, soft centers, and those little pockets of melted toffee that taste like burnt sugar in the best way. The brown butter pulls the flavor deeper and more nutty, while the espresso doesn’t make them taste like coffee so much as it sharpens the chocolate and keeps the sweetness from flattening out. Every bite lands a little differently: a crumbly edge, a chewy middle, a hit of salt, then that dark toffee finish.
The part that makes these cookies worth the extra step is cooling the brown butter until it’s solid but still scoopable. That texture lets it cream properly with the sugars, which gives the cookies lift instead of a greasy spread. The espresso powder goes right into the dry ingredients, where it distributes evenly and avoids any bitter little pockets that can happen if it gets dumped straight into the butter.
Below, I’ve included the one detail that keeps the dough from turning oily, plus a few smart swaps if you need to work with what’s already in the pantry. These are the kinds of cookies that disappear off the tray while they’re still warm.
The brown butter cooled just enough to cream properly, and the cookies came out with crisp edges and a soft center that stayed thick instead of spreading flat. The flaky salt on top made the toffee bits taste even richer.
Pin these espresso brown butter toffee cookies for the kind of chewy, salty-sweet cookie that starts with browned butter and finishes with flaky sea salt.
The Brown Butter Step That Keeps These Cookies Thick
Brown butter changes everything here, but it also creates the main mistake people run into: warm fat spreads before the dough has a chance to set. If you cream hot brown butter into the sugars, the cookies tend to bake thinner and greasier. Cool it until it’s solid but still scoopable and it behaves much more like room-temperature butter, which gives the dough structure and lets the edges bake up with a little lift.
The other thing worth knowing is that these cookies are supposed to come out slightly underdone in the center. That’s not a guess. The pan carries enough heat to finish them while they rest, and pulling them when the middles still look a bit soft is what gives you that chewy center instead of a dry, crumbly cookie.
What Each Ingredient Is Actually Doing in These Cookies

- Brown butter — This is the backbone of the recipe. It brings a toasted, nutty depth that plain butter can’t match, and it makes the cookies taste more caramelized without adding extra ingredients.
- Espresso powder — You only need a teaspoon, but it wakes up the chocolate and adds a dark edge that keeps the cookies from tasting one-note sweet. Instant espresso powder works best; brewed coffee won’t give the same concentrated flavor without changing the dough.
- Toffee bits — These melt just enough at the edges to create little crunchy-sweet pockets. Heath-style pieces hold up well in the oven, so this is one place where the standard bagged version is worth using.
- Dark chocolate chips — The darker chocolate keeps the cookie balanced. Milk chocolate works if that’s what you have, but the cookies will lean sweeter and lose some of that grown-up contrast.
- Flaky sea salt — Add it right after baking. It gives the top a clean, crisp finish and sharpens the toffee flavor instead of letting the sweetness run away.
Building the Dough So It Bakes Chewy, Not Flat
Browning the Butter
Cook the butter over medium heat until the milk solids turn amber and the pan smells nutty, almost like toasted hazelnuts. Stir often once the foaming settles so the solids don’t go from brown to burnt in a matter of seconds. Pour it into a bowl right away, including the browned bits at the bottom, because that’s where a lot of the flavor lives. Refrigerate it until it’s solid but scoopable; if it’s soft and oily, the dough won’t cream correctly.
Mixing the Base
Beat the cooled brown butter with both sugars until the mixture turns fluffy and lighter in color. That step traps air, which helps the cookies bake up with a better texture instead of spreading into puddles. Add the eggs one at a time and beat just until each one disappears. If the batter looks curdled at first, keep going for a few more seconds; that usually means the butter was a little colder than ideal, not that the dough is ruined.
Bringing the Dough Together
Fold in the flour mixture until the streaks just disappear, then stop. Overmixing at this stage tightens the dough and makes the finished cookies tougher. Add the toffee bits and chocolate chips at the end so they stay intact instead of getting crushed into the dough. Scoop the dough into even rounds so the cookies bake at the same rate, and line the pans with parchment for the easiest release.
Watching for the Right Bake
Bake until the edges are set and golden but the centers still look soft and slightly puffy. If you wait until the centers look fully baked in the oven, they’ll end up dry after cooling. A five-minute rest on the hot pan finishes the middle gently, and the final sprinkle of flaky salt sticks best while the tops are still warm.
Three Ways to Adjust the Cookies Without Losing the Point
Gluten-Free Swap
Use a good 1:1 gluten-free baking flour that includes xanthan gum. The cookies will spread a little less and may bake up more tender, but the brown butter and toffee still carry the flavor. Don’t use almond flour alone here; it changes the structure too much and the cookies won’t hold the same shape.
Dairy-Free Version
Swap in a plant-based butter that browns well, then watch it closely because some alternatives darken faster than dairy butter. The cookies will still be rich, but they’ll lose a little of that toasted dairy flavor that makes brown butter special. Choose dairy-free chocolate chips and skip any butter-style spreads that contain a lot of water, since they can make the dough loose.
Extra Toffee, Less Chocolate
If you want a louder caramel crunch, cut the chocolate chips back a little and add more toffee bits instead. The cookies will bake a touch sweeter and more brittle at the edges, which some people love. Keep at least some chocolate in the dough, though, because it balances the brown butter and keeps the sweetness from getting one-dimensional.
Storage and Reheating
- Refrigerator: Store baked cookies in an airtight container for 4 to 5 days. They stay chewy, though the edges soften a little by day two.
- Freezer: Freeze the scooped dough balls on a tray, then move them to a freezer bag for up to 3 months. Bake from frozen and add 1 to 2 minutes to the bake time.
- Reheating: Warm baked cookies in a 300F oven for 3 to 4 minutes or give them 10 seconds in the microwave. Don’t overheat them or the toffee can harden and the chocolate loses its soft bite.
Questions I Get Asked About This Recipe
Espresso Brown Butter Toffee Cookies
Ingredients
Equipment
Method
- Melt the unsalted butter in a saucepan over medium heat until it turns golden brown and smells nutty, then immediately pour into a bowl. Refrigerate until solid but scoopable, about 30 minutes, so it creams smoothly without melting.
- Preheat the oven to 375F and line baking sheets with parchment. Whisk together all-purpose flour, baking soda, espresso powder, and salt in a bowl until evenly distributed.
- Beat the solidified brown butter with brown sugar (packed) and granulated sugar until creamy and cohesive. Add the eggs one at a time and beat in the vanilla extract until smooth.
- Fold the flour mixture into the butter mixture until just combined, stopping as soon as you don’t see dry streaks. Fold in the toffee bits and dark chocolate chips evenly through the dough without overmixing.
- Scoop dough into 2-tablespoon rounds and place them on the prepared baking sheets with space between. Bake at 375F for 10–12 minutes until the edges are golden but the centers still look slightly underdone.
- Immediately sprinkle the cookies with flaky sea salt while they’re hot. Cool on the pan for 5 minutes, until the centers set slightly and the cookies hold their shape.