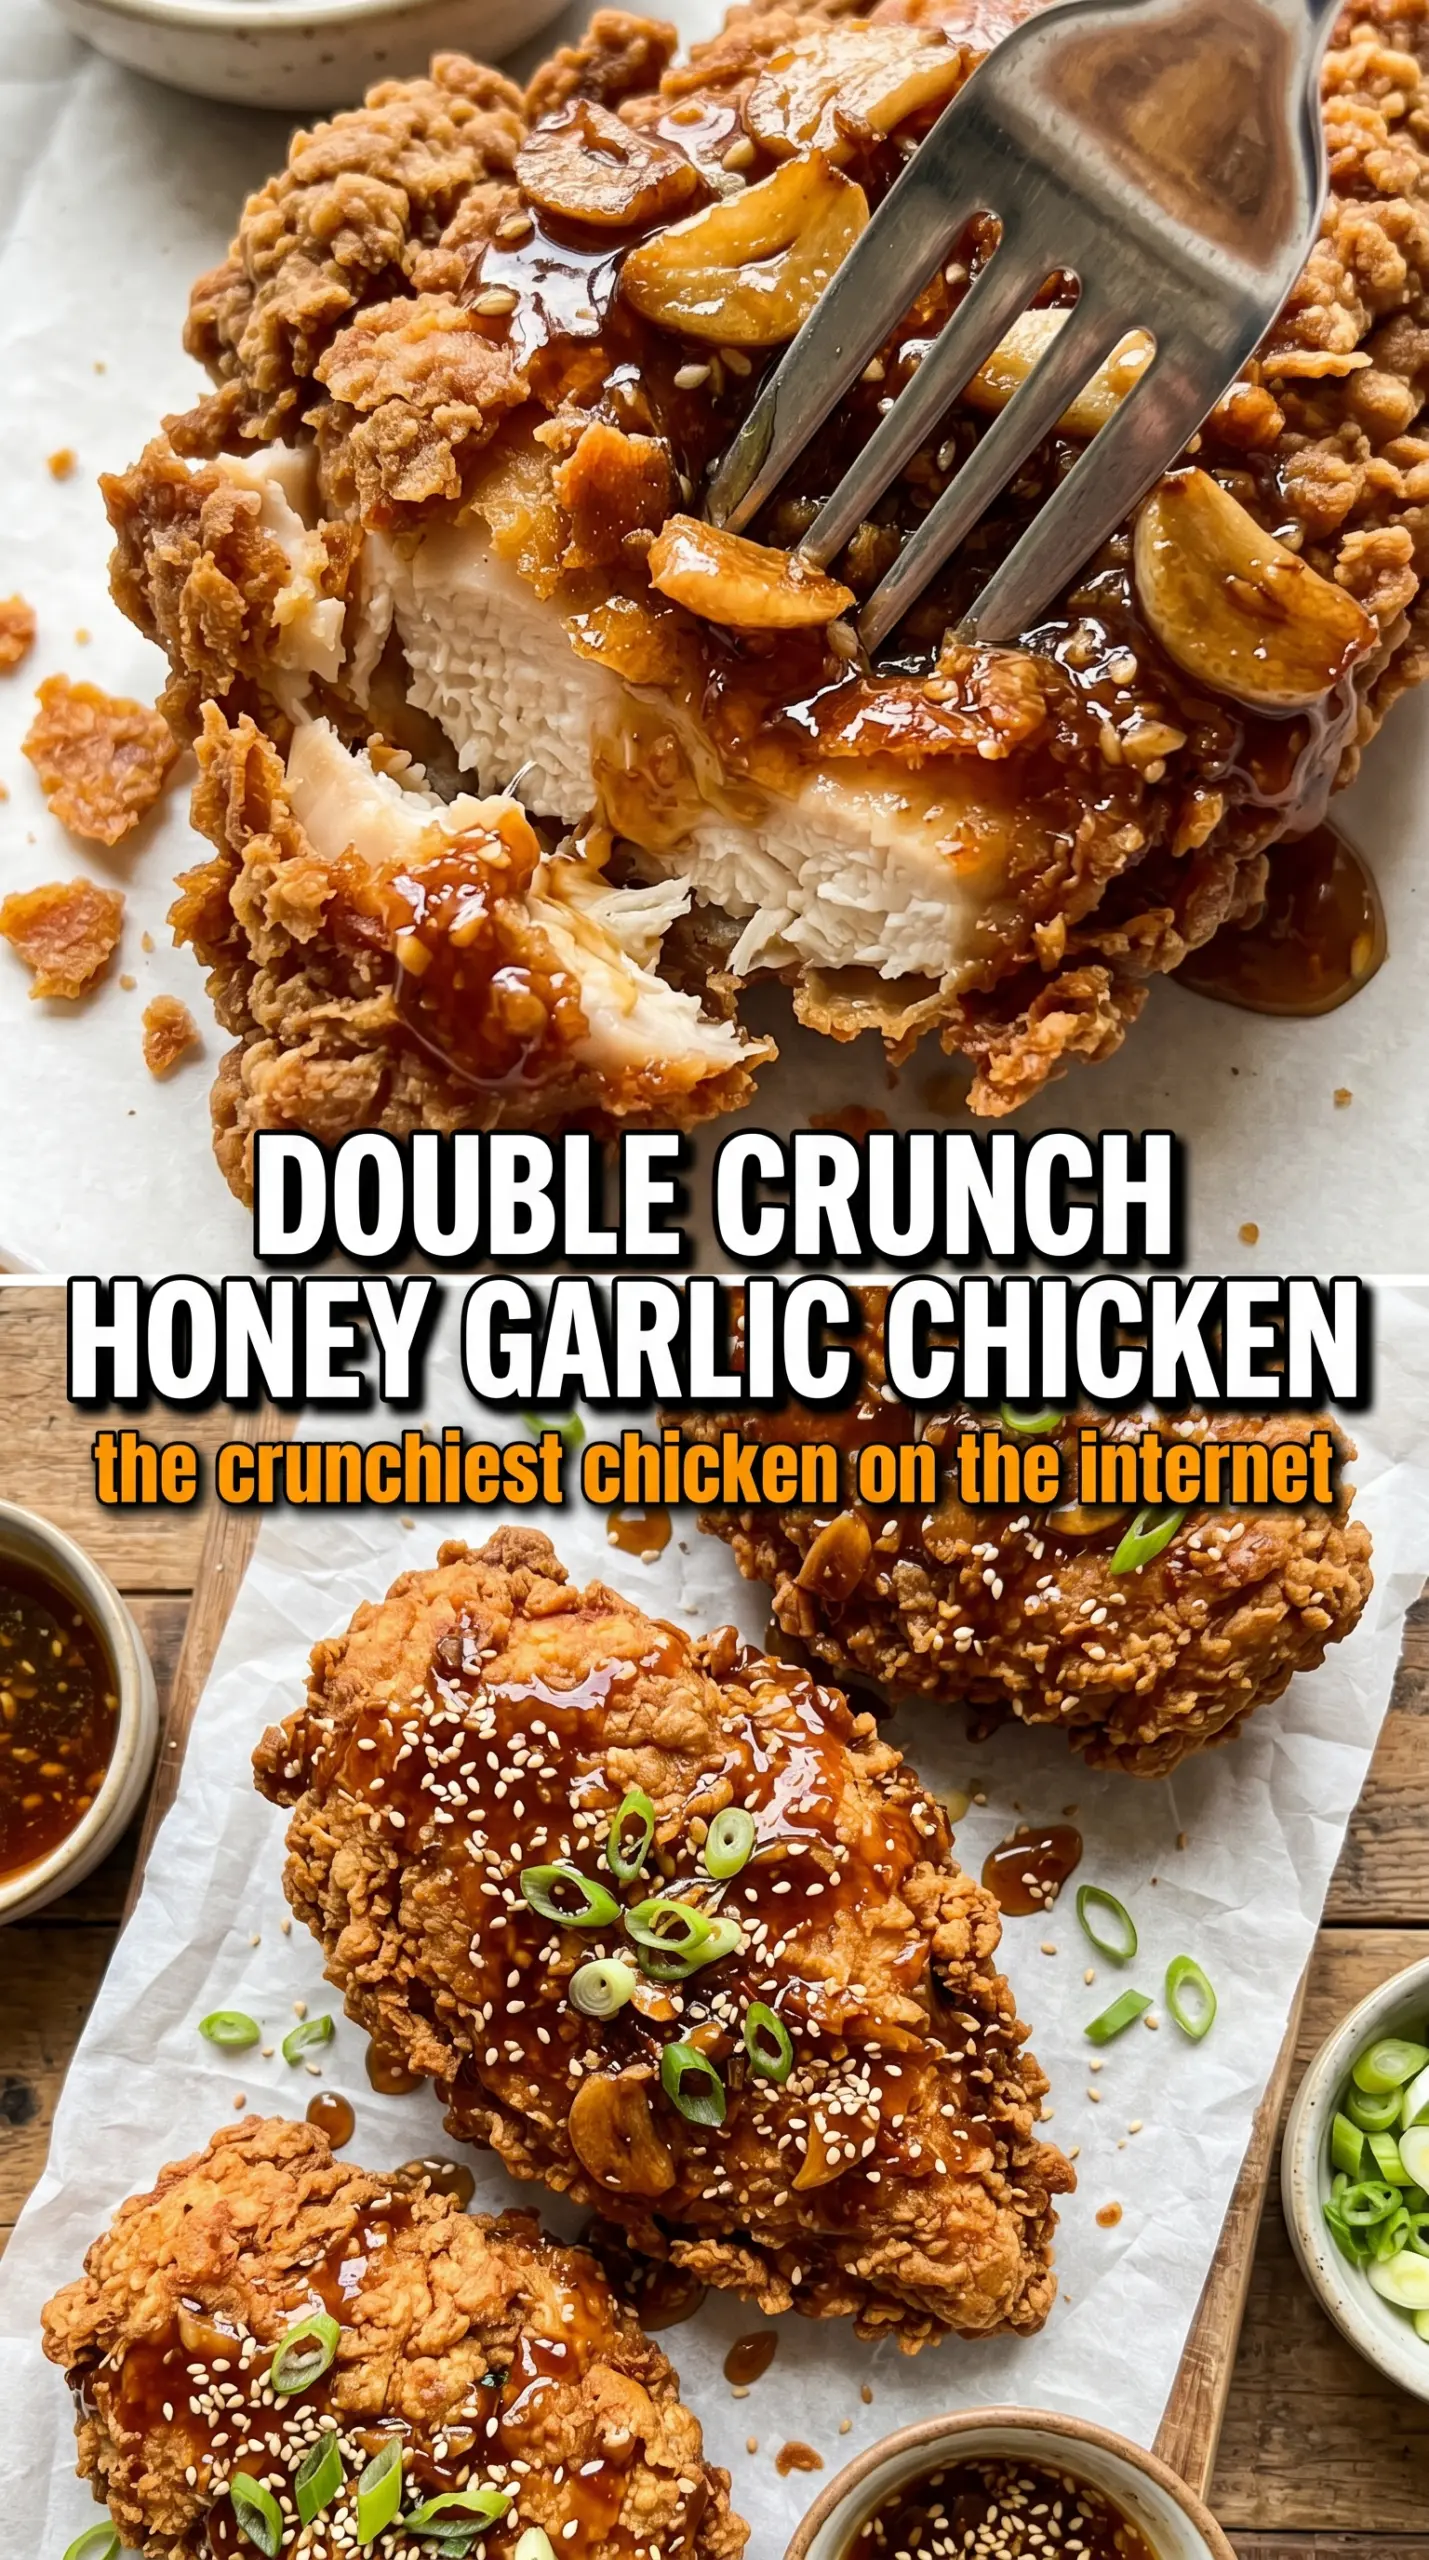
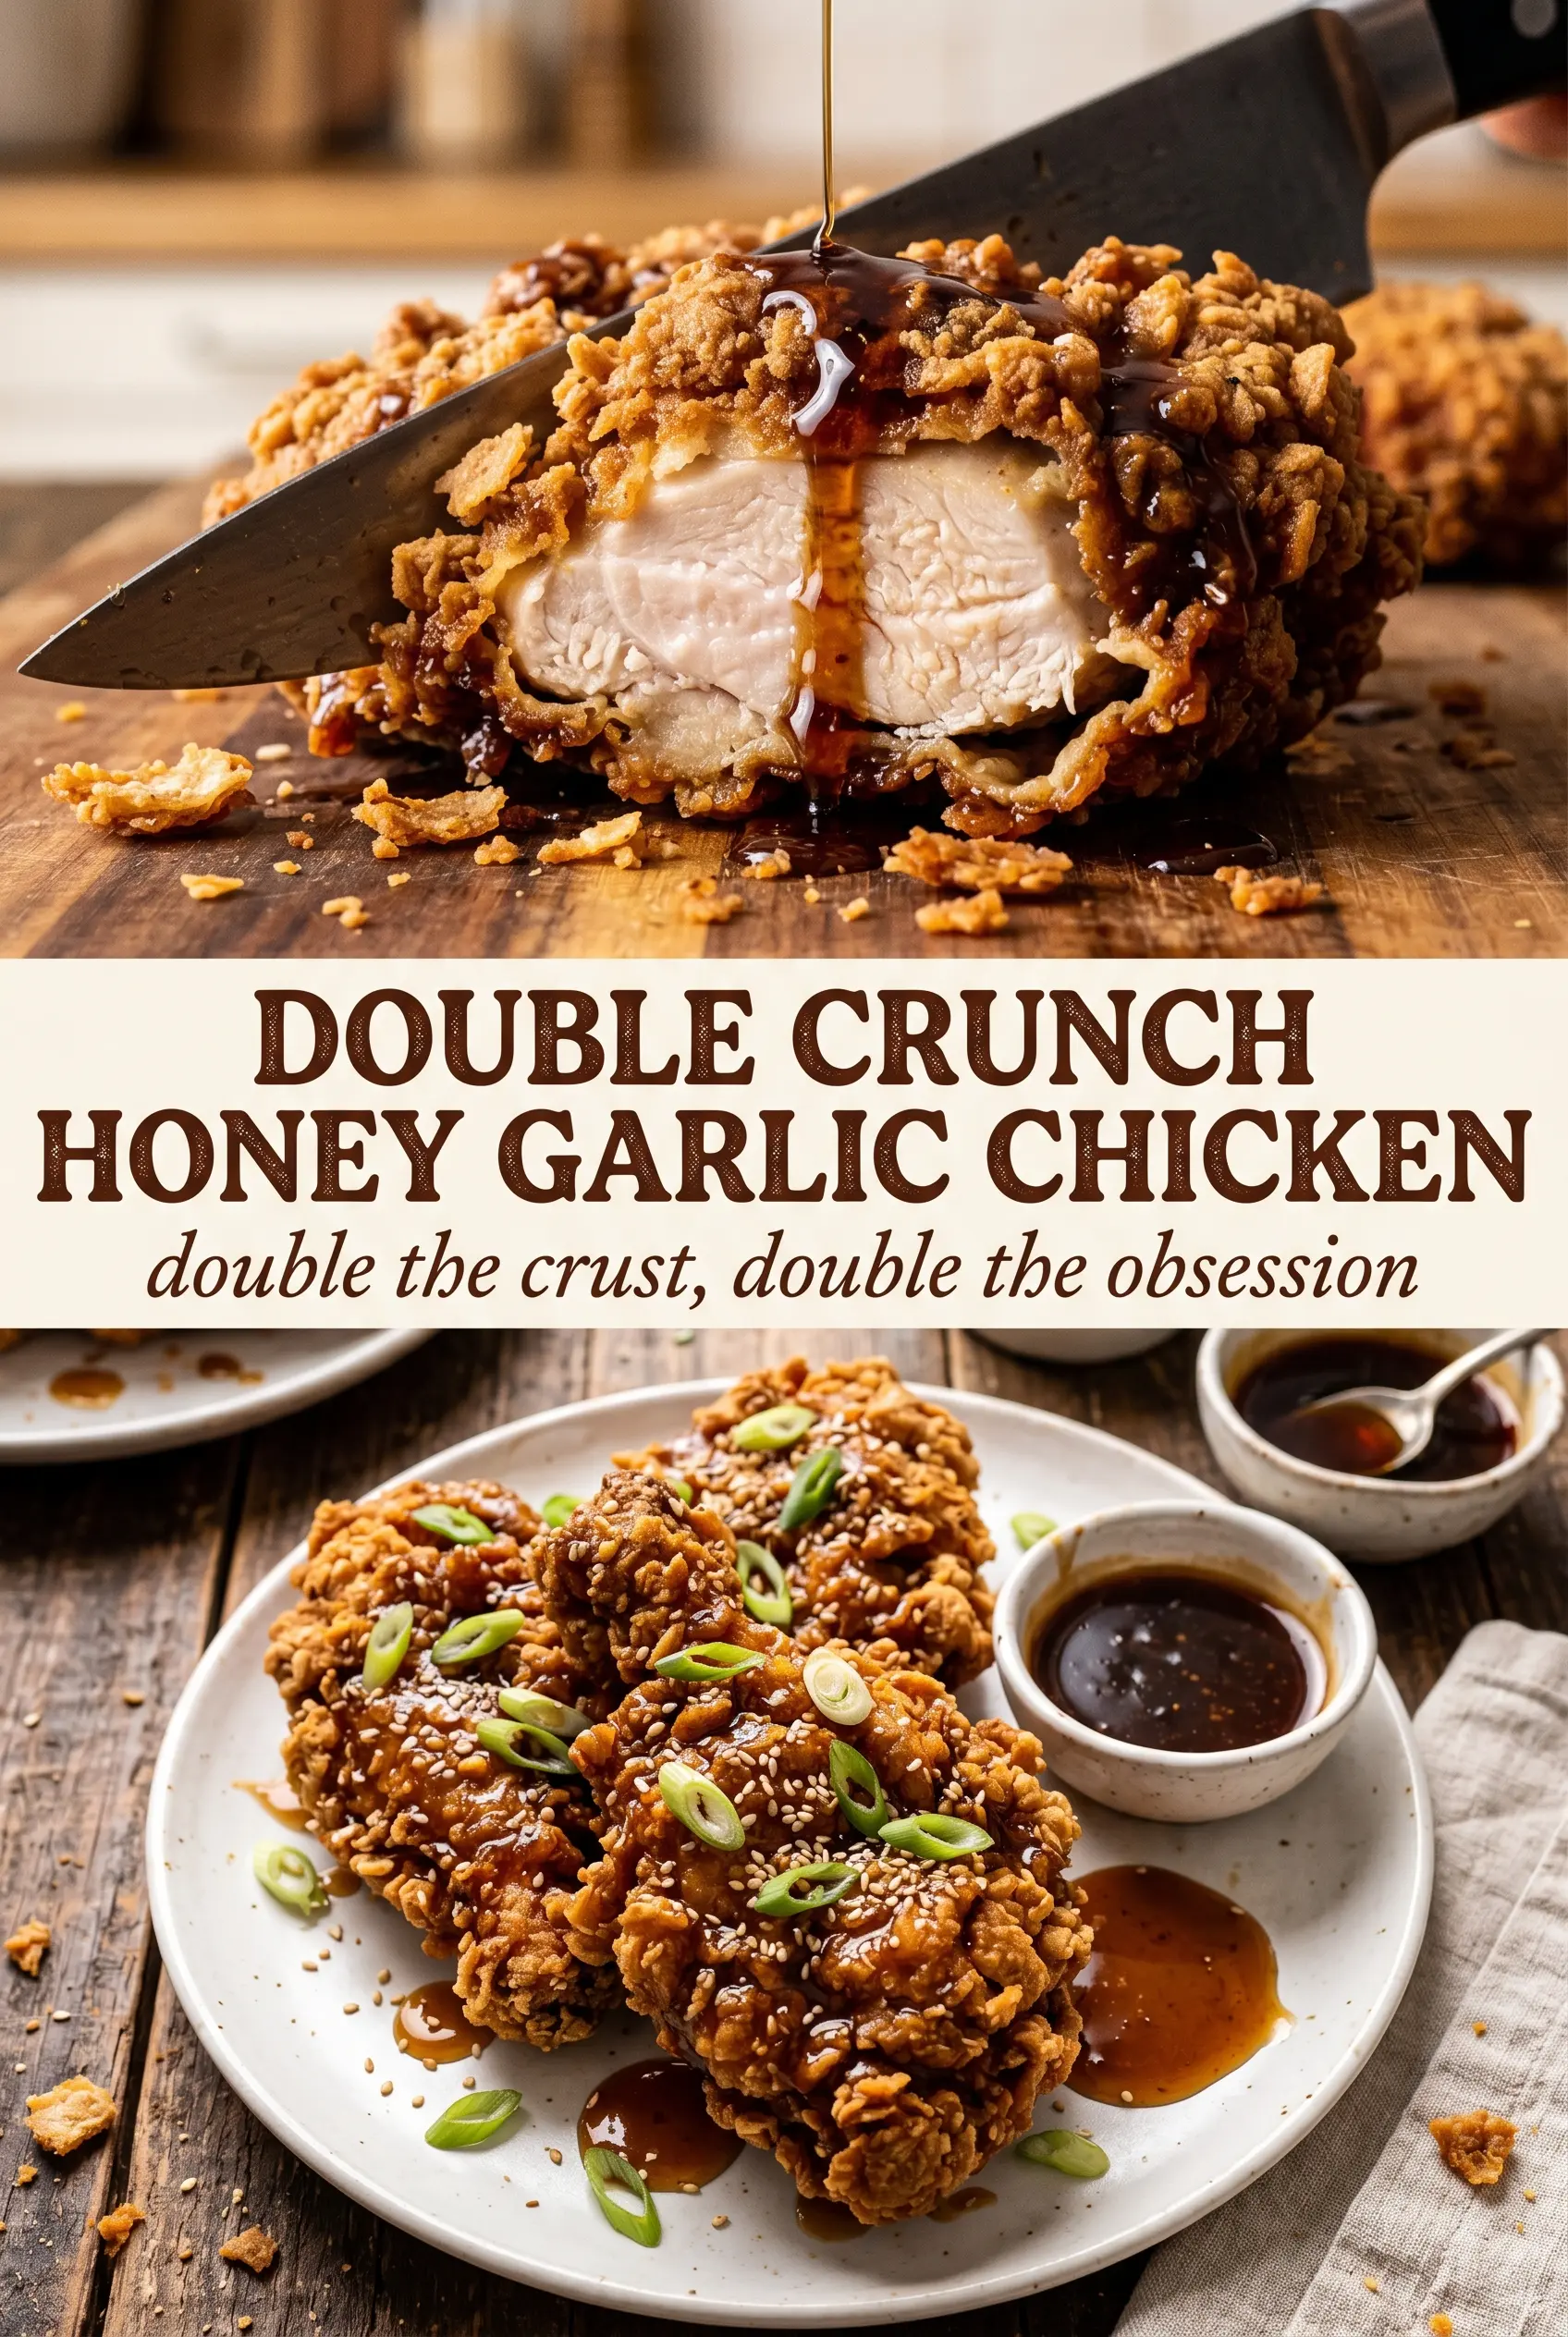
Extra-crispy chicken breasts with a shattering crust and sticky honey garlic glaze hit that sweet spot between comfort food and takeout-style dinner. The double-dredge gives you the kind of crunch that holds up even after the sauce goes on, and the sauce has just enough tang from vinegar to keep the honey from tasting flat. Every bite gives you crisp coating first, then juicy chicken, then that glossy garlic finish.
What makes this version work is the two-stage breading and the order everything happens in. The chicken gets pounded even so it cooks at the same pace from edge to center, then it’s dredged, dipped, and dredged again so the crust has real thickness. The sauce stays simple on purpose: honey for body, soy sauce for salt, butter for sheen, and vinegar to cut through the sweetness so it clings instead of turning syrupy.
Below, I’m walking through the part that matters most — how to keep the coating crisp, how to judge the oil temperature without guessing, and what to do if your sauce gets too thick before it hits the chicken.
The chicken stayed crispy even after I poured the sauce on, and the honey garlic glaze thickened up in just a few minutes. I served it with rice, and my husband kept going back for the crunchy edges.
Double Crunch Honey Garlic Chicken Breasts are worth saving for the nights when you want a crackly crust, sticky glaze, and a dinner that actually stays crisp.
The Double-Dredge Is What Keeps the Crust from Going Soft
Most breaded chicken goes limp because the coating is too thin, the oil isn’t hot enough, or the sauce gets added before the crust has had a chance to set. The double dredge solves the first problem by giving the chicken a thicker, rougher exterior that fries into ridges and crags. Those little uneven bits are what catch the oil and crisp up instead of turning into a smooth, soggy shell.
The other part is timing. As soon as the chicken comes out of the skillet, it should be drained for a minute, then sauced right before serving. If it sits in the glaze too long, even the best crust will soften. The sauce belongs on hot chicken, not chicken that has been waiting around.
- Flour — This is the backbone of the crust. All-purpose flour gives the coating enough structure to brown and stay crisp. A 1:1 gluten-free flour blend can work, but the crust may be a little lighter and less rugged.
- Eggs — The egg wash is the glue between the first flour layer and the second. Without it, the second dredge won’t cling in the same thick, craggy way.
- Smoked paprika — It adds color and a gentle warmth that keeps the breading from tasting flat. Regular paprika works in a pinch, but you’ll lose a little depth.
- Chicken breasts — Pounding them to even thickness matters more than the size of the pieces. Thin edges cook too fast and dry out before the center is done, which is the fastest way to ruin fried chicken breasts.
What Each Ingredient Is Actually Doing in This Chicken
- Chicken breasts (the protein) — Let them sit at room temperature 15 minutes before cooking. This helps them cook evenly without drying.
- Oil or butter (the cooking medium) — This prevents the chicken from drying out and carries herb and spice flavors throughout.
- Garlic (the aromatic foundation) — Fresh minced garlic mellows and becomes sweet when cooked. Don’t brown it or it turns bitter.
- Cream or sauce (the moisture keeper) — This prevents the chicken from drying out during cooking. Balance richness with acid.
- Lemon, wine, or acid (the brightness) — This prevents heavy cream sauces from tasting flat. Add at the end to preserve freshness.
- Fresh herbs (basil, thyme, parsley) — Add some during cooking and some after so you get both cooked and fresh flavors.
- Cheese or toppings (optional richness) — These add creaminess and depth. Don’t overdo it or the dish becomes heavy.
- Proper oven temperature (375-400°F) or pan heat — This cooks chicken through without drying the edges. Use a thermometer for 165°F.
Frying Hot Enough for Crunch, Not So Hot That the Coating Burns
Building the Seasoned Flour
Stir the flour with garlic powder, onion powder, smoked paprika, salt, and pepper until the color looks even throughout. That seasoning has to be in the flour, not sprinkled only on the chicken, or the crust will taste bland in spots. If the flour clumps, break them up now; clumps turn into bare patches during frying. You want a dry, seasoned mix that coats every surface of the chicken in one pass.
Double Dredging for Thickness
Press the chicken into the flour first, then dip it into the beaten eggs, then back into the flour again. On the second flour coat, use your hands to press the crumbs and flour onto the surface so it forms a thick, uneven layer. If the chicken looks smooth, it won’t fry up with much crunch. The goal is a rough, shaggy coating that feels almost too thick before it hits the oil.
Keeping the Oil at 350°F
Heat about 1/2 inch of oil in a cast iron skillet over medium-high heat and watch for steady shimmer, not smoke. If the oil is too cool, the breading drinks it up and turns greasy before it browns. If it’s too hot, the outside will darken before the chicken cooks through. A thermometer takes the guesswork out, and 350°F is the sweet spot for a crisp crust and juicy meat.
Glazing Without Losing the Crunch
Simmer the honey, garlic, soy sauce, butter, and vinegar just until it thickens slightly and coats a spoon. If you cook it too long, it turns sticky in a way that won’t pour evenly over the chicken. Spoon it over the chicken while both are hot so it clings in a shiny layer. Serve right away over rice, because this dish waits for no one.
What to Change When You Need a Different Version of the Same Dinner
Make It Gluten-Free
Swap the all-purpose flour for a gluten-free all-purpose blend that includes starches and binders. The crust will still crisp, but it may brown a little faster, so watch the color more closely in the skillet. Use tamari instead of soy sauce in the glaze so the whole dish stays gluten-free.
Air-Fryer Version
This can work in an air fryer, but you’ll lose some of the deep, fried crunch that makes the original special. Spray the breaded chicken generously with oil and cook until the coating is deep golden and the center reaches 165°F. The sauce still needs to be made separately and spooned on at the end.
Lower-Sugar Honey Garlic Chicken
Cut the honey slightly and add an extra splash of vinegar if you want a sharper glaze that isn’t as sweet. The sauce will be thinner and less glossy, but it still clings well if you simmer it long enough to reduce. Don’t reduce the honey too aggressively or the sauce stops tasting like honey garlic chicken.
Storage and Reheating
- Refrigerator: Store leftovers in an airtight container for up to 3 days. The crust will soften once sauced, but the flavor stays great.
- Freezer: The fried chicken freezes better before saucing. Freeze the cooked cutlets in a single layer, then reheat and glaze them fresh for the best texture.
- Reheating: Reheat in a 375°F oven or air fryer until hot and re-crisped. The common mistake is microwaving, which makes the coating rubbery and the sauce sticky in the wrong way.
Answers to the Questions Worth Asking
Double Crunch Honey Garlic Chicken Breasts
Ingredients
Equipment
Method
- Pound the chicken breasts to even thickness so they fry uniformly and stay juicy.
- Mix the flour with garlic powder, onion powder, smoked paprika, salt, and pepper.
- Dredge each chicken breast in the seasoned flour to coat thoroughly.
- Dip the floured chicken into the beaten eggs so the coating will adhere.
- Dredge the chicken in the flour again for the double-crunch coating, pressing lightly to help it stick.
- Heat about 1/2 inch of vegetable oil in a large cast iron skillet over medium-high heat until it reaches 350°F.
- Pan-fry the chicken for 5-6 minutes per side until golden, crunchy, and the internal temperature reaches 165°F.
- Drain the chicken briefly on a rack or paper towels to prevent soggy coating.
- Simmer honey, garlic, soy sauce, butter, and apple cider vinegar in a saucepan over medium heat for 3-4 minutes until slightly thickened.
- Pour the honey garlic sauce over the hot crispy chicken right before serving so the crust stays crisp.
- Garnish with sesame seeds and sliced green onions, then serve immediately over rice.