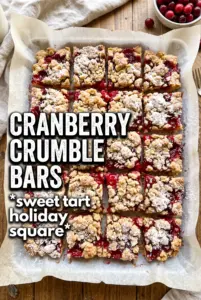
Cranberry crumble bars hit that sweet-tart middle ground that makes people reach for a second piece before they’ve finished the first. The oat crust bakes up buttery and sturdy, the cranberry filling turns glossy and jammy, and the crumb topping adds just enough crunch to keep each bite interesting. They slice cleanly once cooled, which matters when you want something that looks as good as it tastes.
What makes this version work is the balance: the cranberries are cooked with orange juice and zest before they go into the pan, so the filling thickens properly instead of soaking into the crust. Cold butter is cut into the oat mixture to create those sandy, clumpy crumbs that bake into both the base and the topping. That double duty keeps the bars from feeling fussy, and it gives you the right ratio of fruit to crumble in every square.
Below, I’ve included the one timing detail that keeps the layers separate, plus a few swaps if you only have frozen cranberries or need to work around a dietary change. The bars are simple, but a couple of small choices make the difference between neat, bakery-style squares and a soft pan of fruit crumble.
The cranberry filling set up beautifully and didn’t run all over the pan. I loved the orange zest with the cinnamon, and the bars held together cleanly once they were fully cooled.
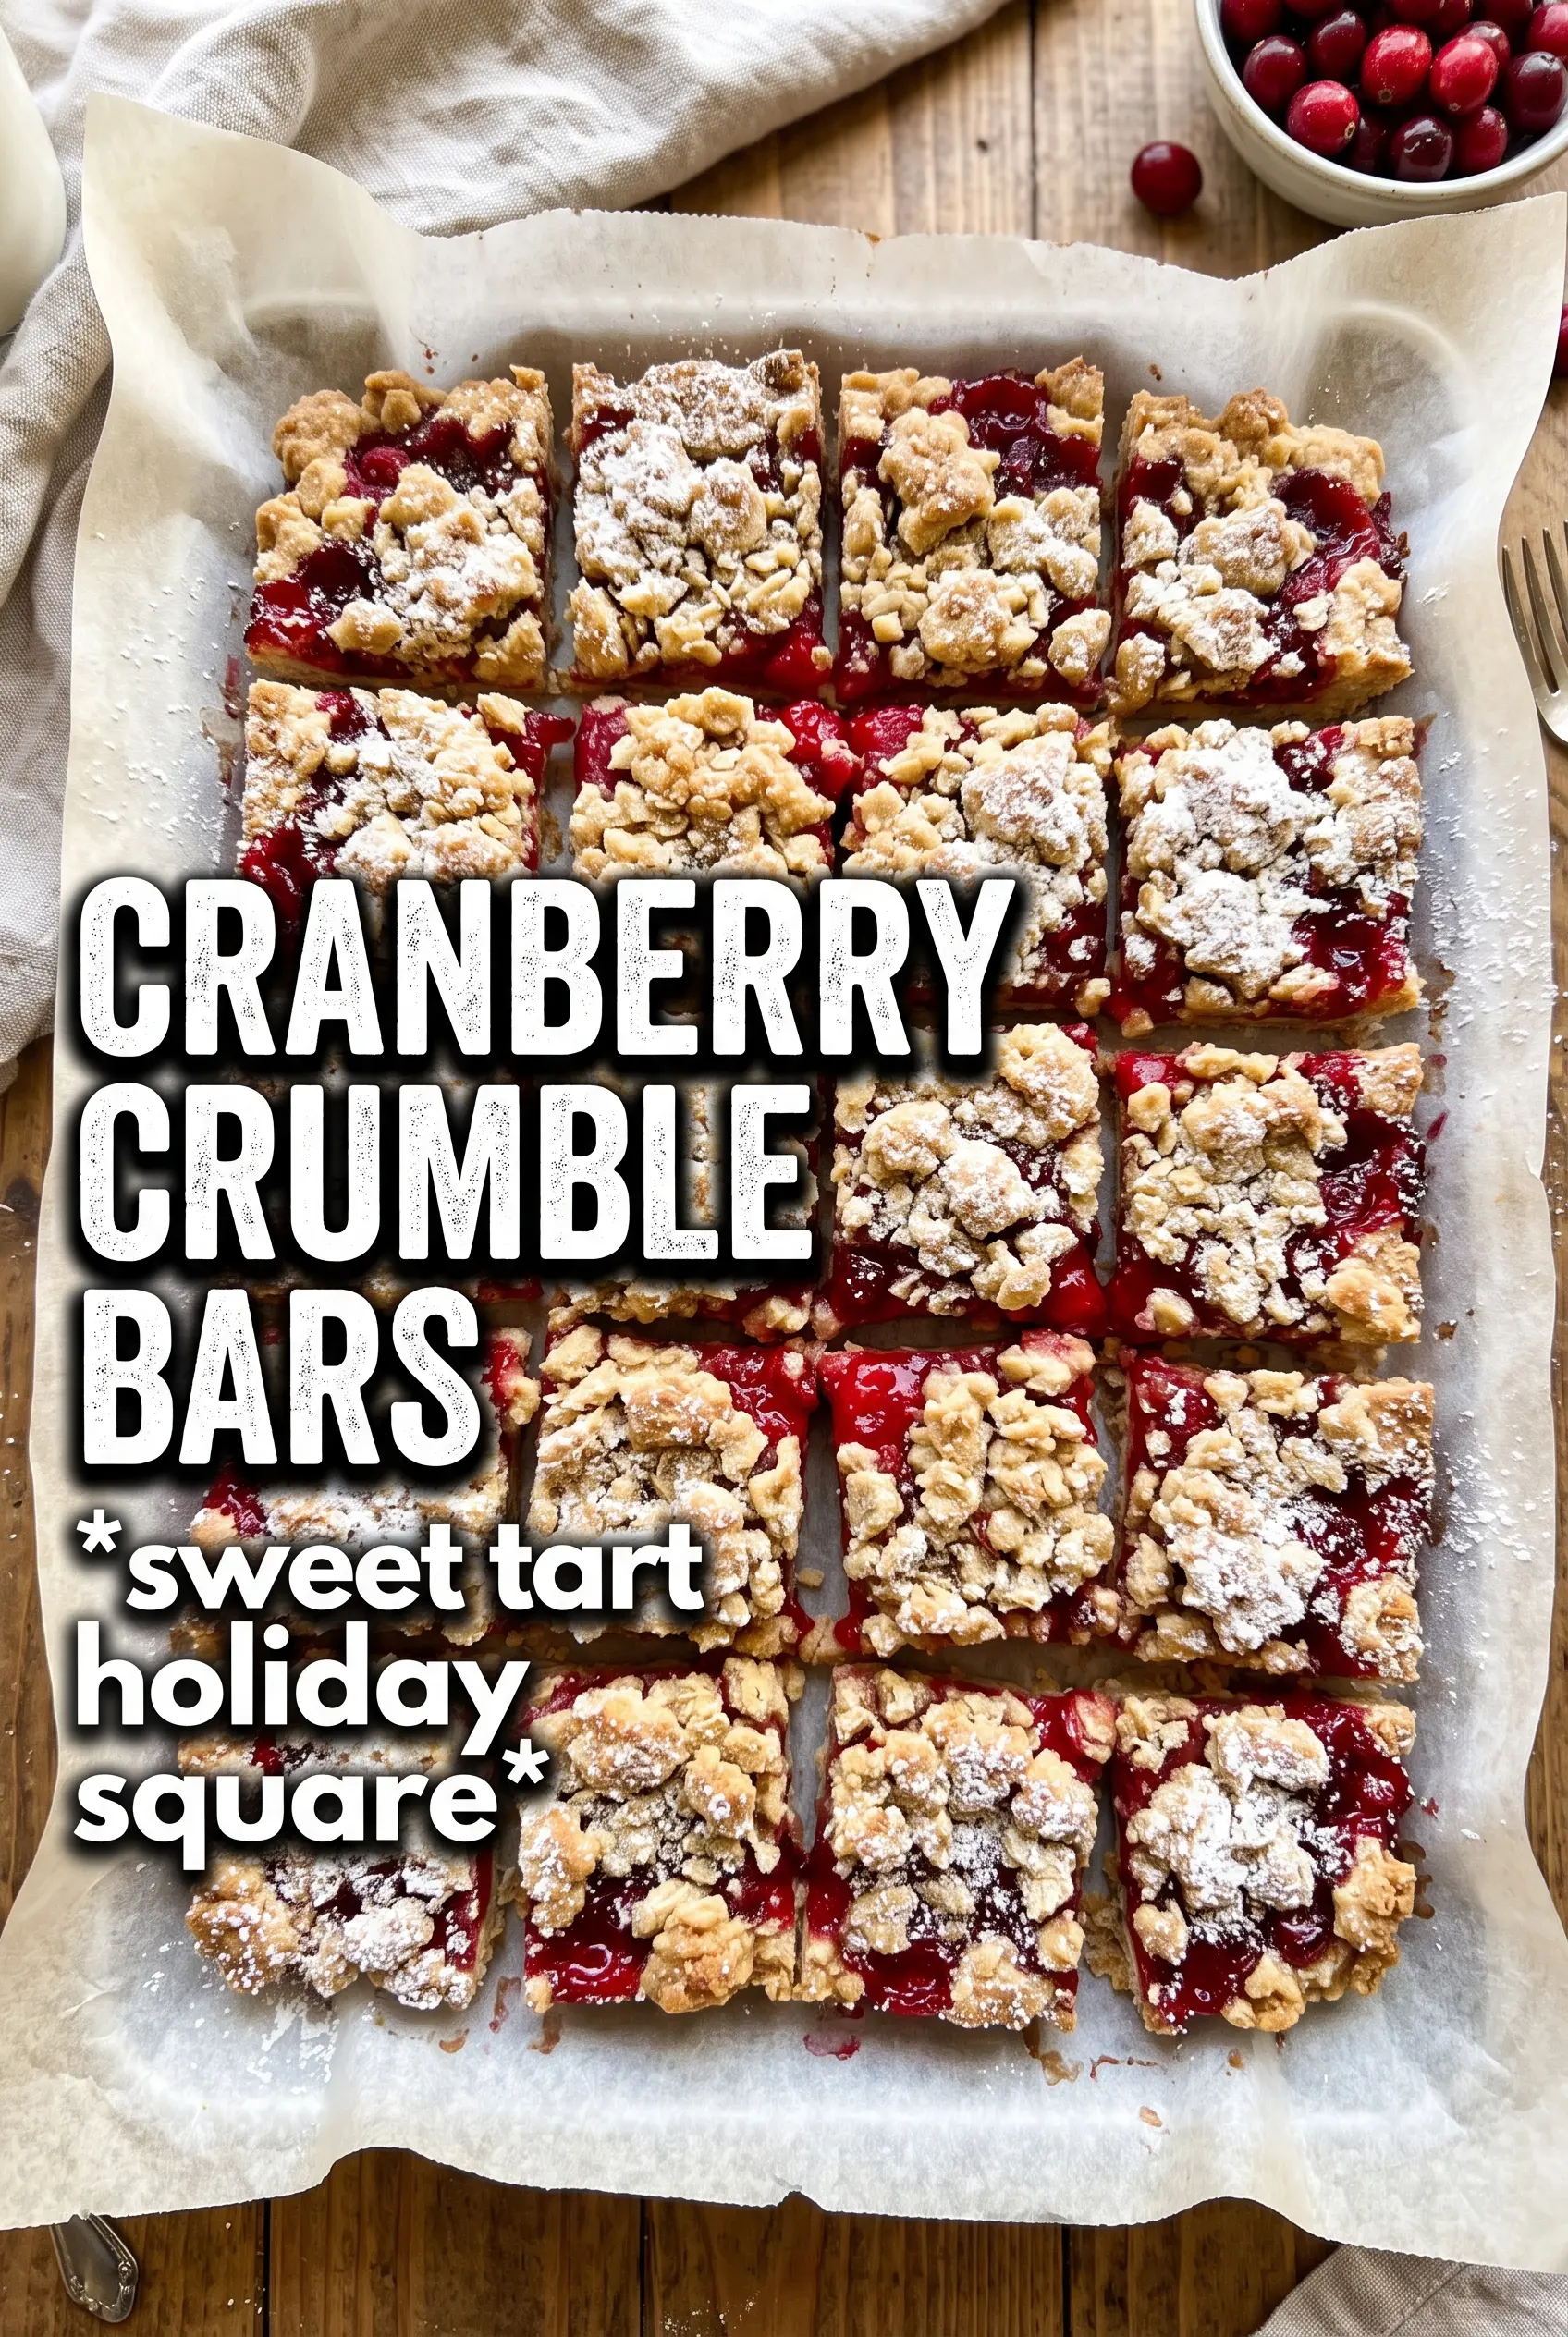
These cranberry crumble bars bake up with a jammy center, a buttery oat crust, and a crisp golden topping that slices clean once cooled.
The Reason These Bars Hold Their Shape Instead of Sinking
The biggest mistake with cranberry bars is pouring in a loose filling and expecting the crust to rescue everything. Cranberries release a lot of juice as they heat, and if that juice isn’t thickened first, it leaks into the bottom layer and softens the whole pan. Cooking the filling with cornstarch before it goes into the crust gives you that thick, glossy center that stays in place when you cut the bars.
The other thing that matters is that first bake on the bottom layer. Pressing about two-thirds of the crumble mixture firmly into the pan and baking it before adding the fruit gives the bars a base that can support the filling. If you skip that head start, the bottom tends to stay too soft and the layers blur together.
What Each Ingredient Is Actually Doing in These Cranberry Crumble Bars
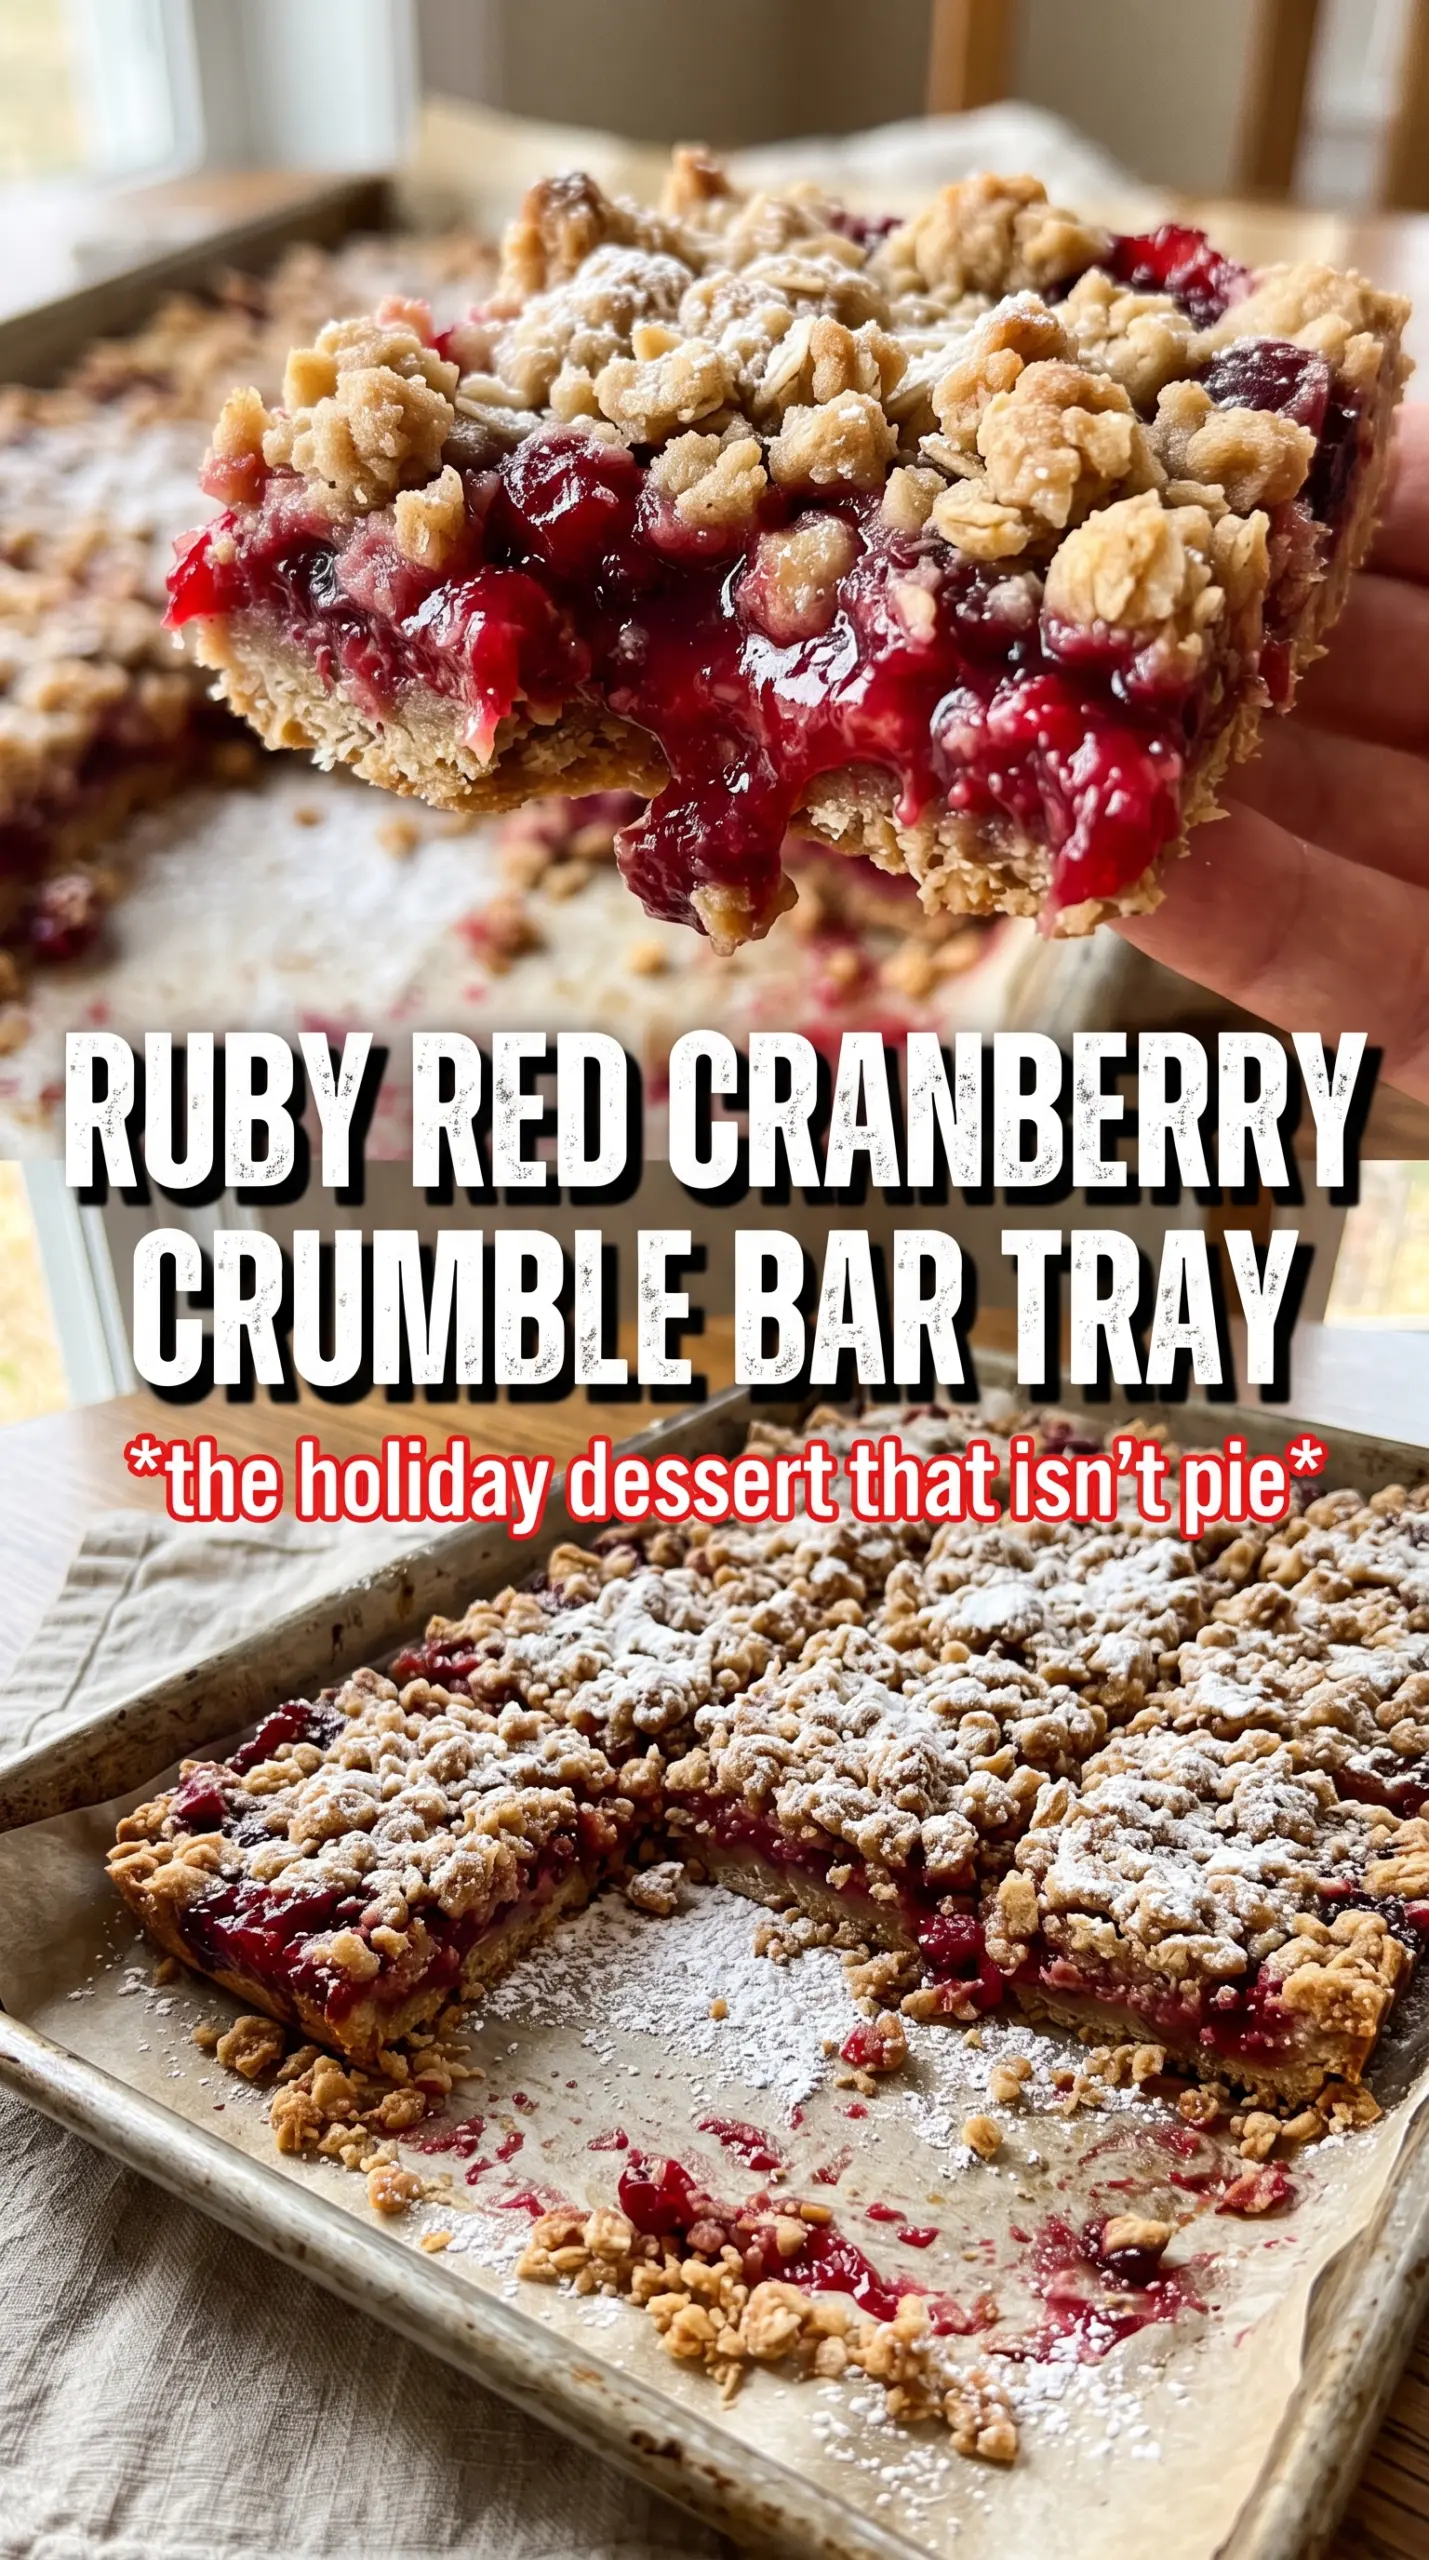
- Rolled oats — These give the bars their nubbly, hearty texture and help the topping bake into something crisp instead of sandy. Quick oats will work in a pinch, but the finished bars lose some of that chunky crumble.
- All-purpose flour — This holds the crust together and keeps the crumble from falling apart when you slice it. If you need a gluten-free version, use a 1:1 gluten-free baking blend with xanthan gum for the closest texture.
- Brown sugar — Brown sugar adds a deeper caramel note that pairs well with tart cranberries. White sugar will sweeten the bars, but you’ll lose some of the warmth in the crust.
- Cold unsalted butter — Cold butter is what creates the crumbly texture. If it gets too soft before baking, the mixture turns paste-like instead of forming those small buttery clumps that crisp up in the oven.
- Cranberries — Fresh or frozen both work here, and frozen berries don’t need to be thawed first. The filling cooks down until most of the berries burst, so don’t be alarmed if it looks aggressively tart before the sugar and starch finish their job.
- Orange juice and zest — The juice helps loosen the filling, while the zest carries the real citrus flavor. Fresh zest matters here; bottled juice can’t replace the bright oils from the peel.
- Cornstarch — This is what turns the cranberry mixture from runny to sliceable. Flour won’t thicken the filling as cleanly, so the center can end up cloudy instead of glossy.
How to Build the Layers So the Filling Stays Jammy
Mixing the Crumble Without Melting the Butter
Stir the oats, flour, brown sugar, cinnamon, and salt together first, then cut in the cold butter until the mixture looks like damp gravel with some larger clumps. Those bigger bits matter; they bake into the crisp, craggy top. If the butter starts smearing into the dry ingredients, stop and chill the bowl for a few minutes before finishing. A warm, paste-like mixture won’t bake into a true crumble.
Giving the Bottom Layer a Head Start
Press two-thirds of the crumble into the parchment-lined pan firmly enough that it compacts into an even base, then bake it until it looks set and just starting to color. You’re not trying to fully brown it yet. That short bake locks the structure in place so the cranberry layer sits on top instead of sinking through. If the base looks puffed or dry in spots, press it back down gently with the bottom of a measuring cup while it’s still warm.
Cooking the Cranberry Filling Until It Glosses
Combine the cranberries, sugar, orange juice, zest, cornstarch, and cinnamon in a saucepan over medium heat, then stir often as the berries burst. The filling should bubble and thicken noticeably in 8 to 10 minutes, with fewer loose juices at the bottom of the pan. Pull it off the heat when it looks thick enough to mound slightly on a spoon, because it will firm up more as it bakes. If it still looks thin and watery, it will soak into the crust.
Baking the Top Until It Turns Deep Gold
Spread the hot filling over the base, scatter the remaining crumble over the top, and bake until the surface is golden and the edges look set. The center can still look a little softer when it comes out, but it should not appear wet or sloshy. Let the pan cool completely before slicing. If you cut too early, the cranberry layer will ooze and the bars won’t hold their clean squares.
How to Adapt These Bars When You Need a Different Pan or Diet
Gluten-Free Crumble Bars
Swap the all-purpose flour for a 1:1 gluten-free baking blend that includes xanthan gum. The bars will still hold together, though the crumble may be a little more tender and less chewy than the original.
Using Frozen Cranberries
Frozen cranberries work just as well as fresh ones and don’t need to be thawed first. They may take an extra minute or two to break down in the saucepan, but the finished filling tastes the same and bakes up just as well.
Making the Bars a Little Less Sweet
Drop the granulated sugar in the filling by 1/4 cup if you like a sharper cranberry bite. Don’t cut it much further or the filling can taste harsh and the sugar won’t give the berries enough help as they cook down.
Storage and Reheating
- Refrigerator: Store in an airtight container for up to 5 days. The bars stay neat and the filling gets a little firmer after chilling.
- Freezer: These freeze well. Wrap individual bars tightly and freeze for up to 2 months, then thaw in the refrigerator so the topping doesn’t turn soggy.
- Reheating: Serve them chilled or let them sit at room temperature for 20 to 30 minutes. If you warm them, use a low oven briefly; the microwave softens the crumble and makes the layers less distinct.
Answers to the Questions Worth Asking
Cranberry Crumble Bars
Ingredients
Equipment
Method
- Preheat the oven to 375F and line a 9x13 pan with parchment so the bars lift out easily.
- In a mixing bowl, combine rolled oats, all-purpose flour, brown sugar, cinnamon, and salt, then cut in cold unsalted butter until the mixture looks like rough crumbs.
- Press 2/3 of the oat crumble mixture firmly into the parchment-lined pan, creating an even layer.
- Bake the base for 10 minutes at 375F, until it looks set and slightly golden at the edges.
- Cook cranberries, granulated sugar, orange juice, orange zest, cornstarch, and cinnamon over medium heat for 8-10 minutes until thickened and glossy.
- Spread the hot cranberry filling over the hot baked base, then crumble the remaining oat mixture over the top to form an even layer.
- Bake for 25-28 minutes at 375F until the crumble top is golden brown.
- Cool completely before slicing into bars to keep the filling from running.
- Dust the cooled bars with powdered sugar and slice into 16 bars.