Sticky, salty-sweet green beans with crisp bacon and a caramelized glaze have a way of disappearing before the rest of the meal even hits the table. The beans stay tender with a little bite, the sauce clings instead of pooling, and every forkful gets that mix of smoky bacon, garlic, and brown sugar that keeps people going back for “just one more spoonful.” This is the kind of side dish that feels familiar right away, but it still gets attention because the glaze cooks down into something glossy and concentrated instead of watery.
The trick is in the balance. Blanching the green beans first keeps them bright and prevents that dull, overcooked texture you get when they spend the whole bake in the oven. The brown sugar, butter, and soy sauce melt into a fast glaze that turns sticky as it bakes, while the bacon adds fat and crunch so the dish tastes layered, not one-note. Garlic gives the sauce a little edge, which keeps the sweetness from taking over.
Below you’ll find the timing that keeps the beans crisp-tender, what to watch for when the glaze starts to thicken, and a few smart ways to adjust the dish if you want it a little less sweet or a little more hands-off.
The glaze thickened up beautifully and coated every bean without turning syrupy. I blanched them ahead of time like you suggested, and they stayed tender with a little snap even after baking.
Save these caramelized Crack Green Beans for the dinner table when you want a sweet-salty side with bacon and a sticky glaze.
The Part That Keeps These Beans Crisp Instead of Soft and Watery
If you’ve ever baked green beans straight from raw, you already know the problem: the beans give off moisture while the sauce is trying to thicken, and the whole dish ends up loose instead of glossy. Blanching first changes the texture before the bake even starts. The beans finish cooking in the oven without collapsing, and they hold their shape while the glaze reduces around them.
The other thing that matters is the order. The bacon goes in with the beans, but the glaze is mixed separately and poured over right before baking. That keeps the sugar and butter from burning in the bottom of the pan while the beans are still drying out. Stir once during baking, and the sauce coats evenly instead of pooling in one corner.
What Each Ingredient Is Actually Doing in the Pan
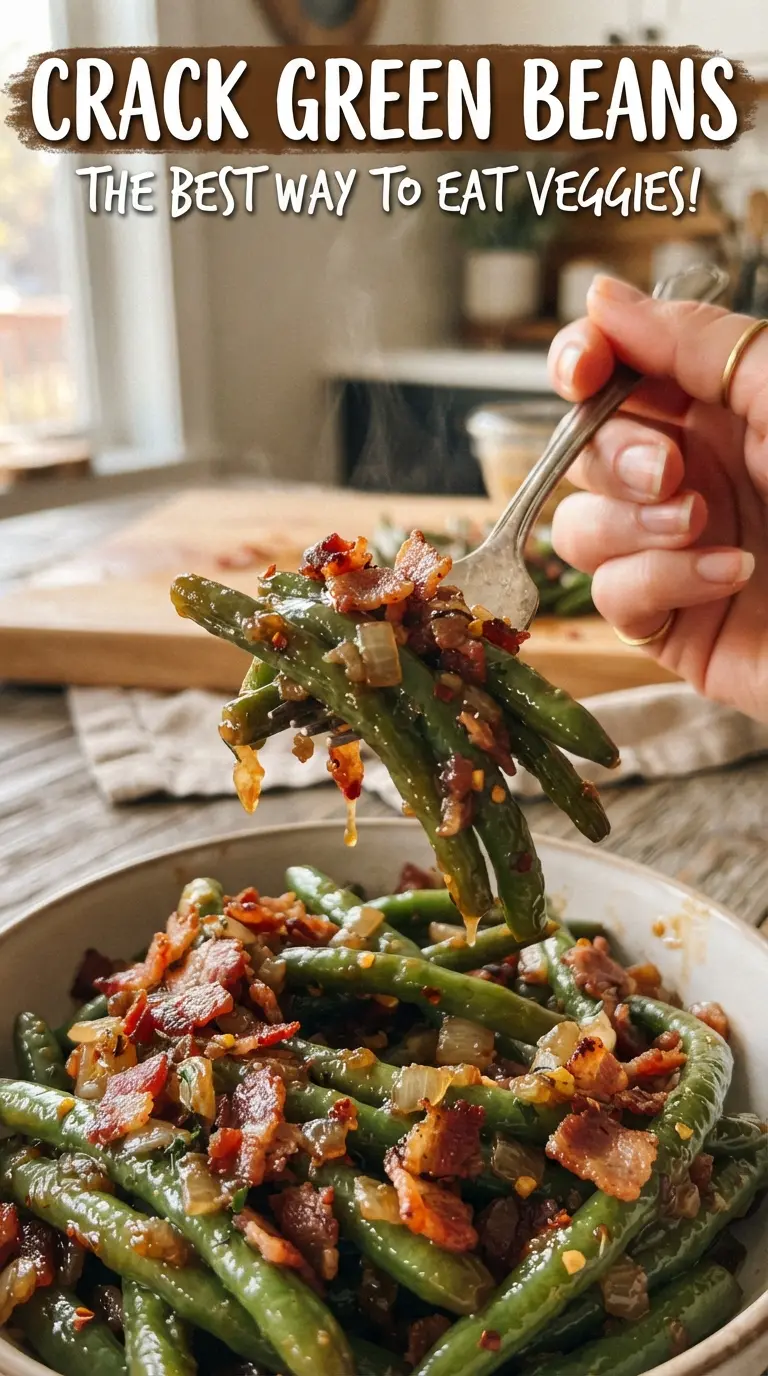
- Fresh green beans — Use trimmed fresh beans here. Frozen beans can work in a pinch, but they soften more and release extra water, which makes the glaze thinner. If you use frozen, thaw and drain them well first.
- Bacon — This is where most of the smoky flavor comes from, so a decent bacon helps. Cook it until mostly crisp, not fully brittle, because it finishes in the oven and you want it to stay meaty instead of hard.
- Brown sugar — This gives the dish its sticky finish and helps the sauce caramelize. Dark brown sugar makes the glaze a little deeper and richer; light brown sugar keeps it milder. Pack it when measuring so the ratio stays right.
- Soy sauce — This adds salt and umami, and it’s what keeps the glaze from tasting like plain brown sugar butter. Low-sodium soy sauce works if you’re worried about salt, but the sauce will taste a little softer and less punchy.
- Butter — Melted butter helps the glaze coat the beans and gives the sauce a glossy finish. If you want to lighten it up, you can reduce the butter slightly, but the glaze won’t cling quite as well.
- Garlic — Fresh minced garlic matters here. Jarred garlic can work, but it tastes flatter in a short bake. It should perfume the sauce without taking over.
How to Bake the Glaze So It Turns Sticky, Not Runny
Blanching the Beans First
Drop the trimmed beans into boiling water for about 3 minutes, then drain them right away. They should turn brighter green and soften just enough to bend, not go limp. If you skip this step, the oven time needed to tenderize them will also water down the glaze and dull the color. Cool them briefly in the colander so they don’t steam themselves soft while you prep the bacon and sauce.
Building the Flavor Base
Cook the bacon until it’s mostly crisp and the fat has rendered, then drain it well. You want enough structure left in the bacon that it survives the bake without turning chewy in a bad way. Toss the beans and bacon into the baking dish before adding the sauce so every piece gets exposed to the glaze. If there’s too much bacon fat left on the pan, blot it off; too much grease can keep the glaze from sticking.
Getting the Glaze to Caramelize
Whisk the brown sugar, melted butter, soy sauce, garlic, and pepper until smooth, then pour it over the beans. Bake uncovered so the liquid can evaporate and tighten into a sticky coating. Stir once about halfway through; that step matters because it pulls the sauce from the edges into the center and keeps the top layer from scorching. The dish is ready when the sauce looks shiny, thickened, and clings to the beans instead of sliding off the spoon.
How to Adjust These Beans for Different Tables
Less Sweet, More Savory
Cut the brown sugar back a few tablespoons if you want the bacon and soy sauce to lead instead of the caramelized finish. The dish will still glaze, but it will taste less candy-like and more like a savory side with a sticky edge.
Gluten-Free Version
Use a gluten-free soy sauce or tamari and everything else stays the same. The texture and caramelization stay intact, but tamari usually tastes a touch rounder and less sharp.
Make-Ahead for a Crowd
Blanch the beans and cook the bacon earlier in the day, then assemble the dish just before baking. If you mix the sauce too far ahead, the sugar can settle and the bacon can soften before it goes into the oven.
Storage and Reheating
- Refrigerator: Store leftovers covered for up to 4 days. The sauce will thicken as it chills, and the beans will soften a little.
- Freezer: Freezing isn’t ideal. The beans lose some of their snap, and the glaze can separate after thawing.
- Reheating: Warm in a covered baking dish at 325F until heated through, or use short bursts in the microwave. Don’t blast them on high heat or the sugar can get sticky in a tough, overreduced way.
Answers to the Questions Worth Asking
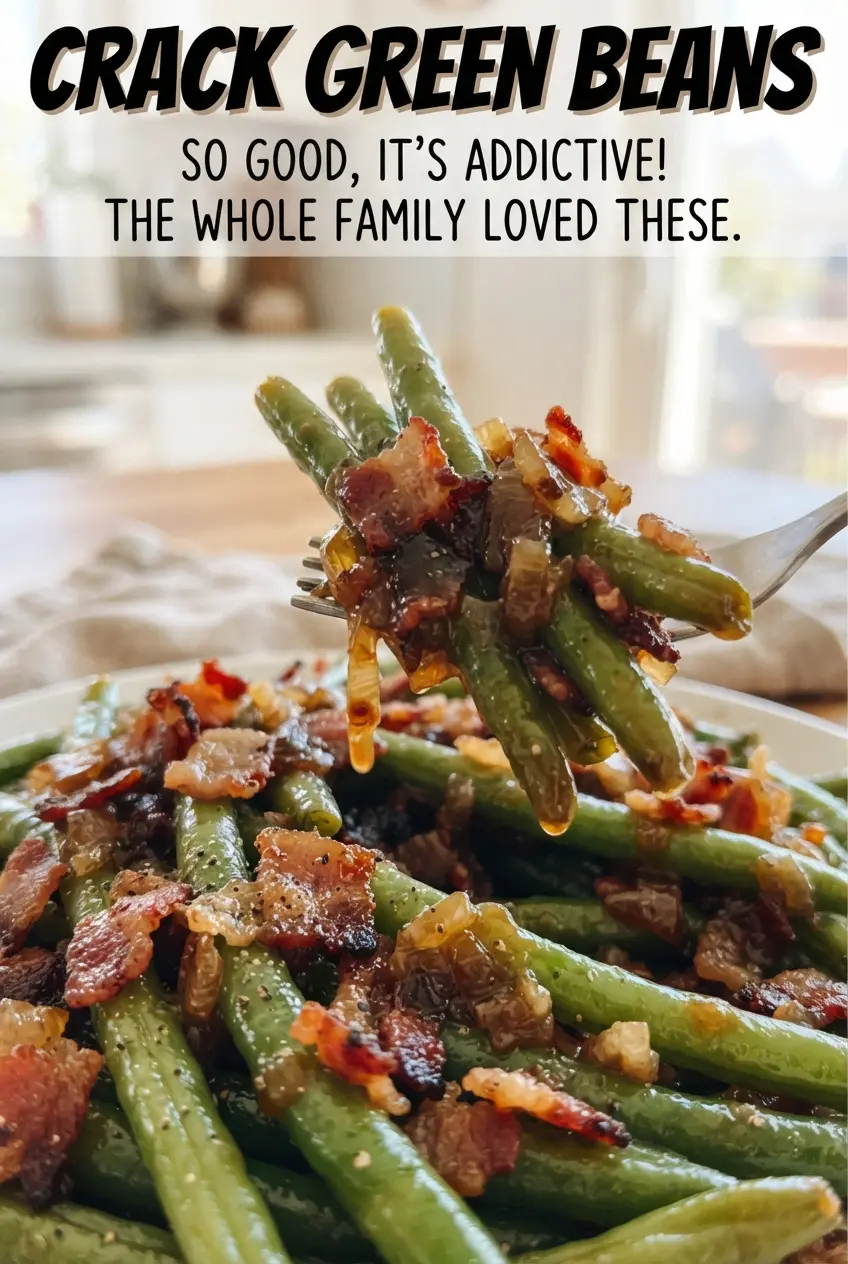
Crack Green Beans
Ingredients
Equipment
Method
- Preheat the oven to 350F and blanch the green beans for 3 minutes in boiling water, then drain. Look for bright green beans that are tender but still crisp.
- Cook the chopped bacon until mostly crisp, then drain it on paper towels. Keep an eye out for browned edges while it still has some chew.
- Place the drained green beans in a 9x13-inch baking dish and top with the bacon. Make sure the bacon is scattered evenly over the beans.
- Whisk the brown sugar, melted butter, soy sauce, minced garlic, and black pepper until smooth, then pour over the beans. The mixture should look glossy and thick as it coats the top.
- Bake uncovered for 30-35 minutes, stirring once, until the glaze is sticky and caramelized. Watch for darkened caramel edges and a shiny brown sheen.