Cinnamon fried apples land in that perfect middle ground between dessert and side dish: tender slices, a glossy brown sugar glaze, and enough cinnamon to smell like you’ve been cooking all afternoon. The apples hold their shape instead of collapsing into mush, and the sauce clings to every piece instead of pooling thinly in the pan.
The trick is starting with firm apples and keeping the heat at a steady medium so they soften slowly. A short covered cook helps them steam just enough to turn tender, while the cornstarch slurry finishes the sauce with that shiny, spoon-coating texture. Vanilla goes in at the end so it stays fragrant instead of getting cooked flat.
Below you’ll find the timing that keeps the apples from breaking down, the best swap if your apples are sweeter than you expected, and a few ways to serve these while they’re still warm and glossy.
The apples stayed tender without turning to mush, and the sauce thickened into that glossy cinnamon syrup by the time I got the biscuits on the table.
These cinnamon fried apples turn glossy and spoonable in one skillet — perfect over biscuits, pancakes, or ice cream.
The Reason These Apples Stay Tender Instead of Turning to Sauce
The biggest mistake with fried apples is rushing the heat. High heat cooks the outside fast, but the centers stay firm and the sugars scorch before the apples soften. Medium heat gives the fruit time to relax and release a little juice, which mixes with the butter and sugar to build the syrup naturally.
Covering the skillet for part of the cook matters too. That trapped steam softens the slices evenly, especially if you cut them all about the same thickness. Once they’re almost tender, uncovering the pan lets the sauce reduce and concentrate instead of staying watery. The goal is a pan full of apples that hold their shape and give just enough when you press them with a spoon.
What Each Ingredient Is Doing in the Skillet
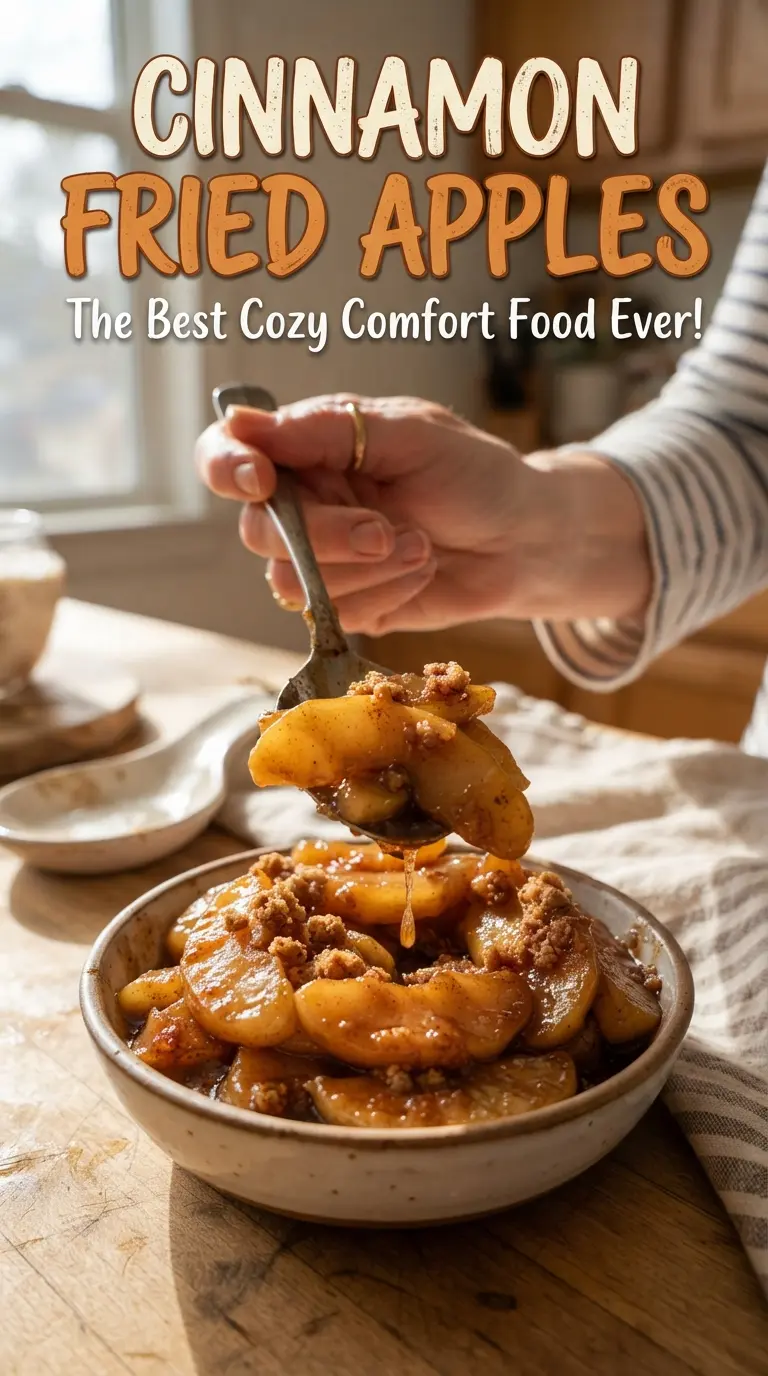
- Firm apples — Honeycrisp gives you a sweeter, juicier finish, while Granny Smith brings more tartness and keeps the sauce from tasting one-note. Softer apples turn mealy here, so stick with a crisp baking apple if you want slices that stay intact.
- Brown sugar — This is what gives the glaze its caramel depth. White sugar works in a pinch, but you’ll lose that molasses note that makes the syrup taste round and warm.
- Butter — Butter carries the spices and helps the sauce feel rich instead of sticky. If you need a dairy-free version, plant butter will work, but use one that tastes clean rather than salty or oily.
- Cornstarch — This is the difference between a thin pan sauce and a glossy coating. Whisk it with cold water first, or it will clump the moment it hits the hot skillet.
- Vanilla — Stirring it in at the end keeps the flavor bright. If it goes in too early, the aroma cooks off and you lose that bakery-style finish.
Building the Syrup Without Turning It Grainy
Starting the Apples in Butter
Melt the butter first, then add the apples with the sugar and spices while the pan is still over medium heat. The apples should look coated and glossy almost right away. If the pan is too hot, the sugar will darken too quickly and the bottom can taste bitter before the fruit softens. Stir enough to keep the coating even, but not so much that you break the slices.
Letting Steam Finish the Softening
Cover the skillet and let the apples cook until they’re just tender at the edges. You want them to bend slightly when stirred, not slump apart. If the skillet looks dry before the apples soften, the heat is too high or your apples were cut too thick; add a tablespoon of water and lower the burner a touch. The covered time is where the texture happens, so don’t shortchange it.
Thickening to a Glossy Finish
Whisk the cornstarch with cold water until it looks milky, then pour it in a thin stream around the apples. The sauce should turn from loose and shiny to visibly thicker within a couple of minutes. If it goes lumpy, the slurry wasn’t mixed well enough before it hit the heat. Once the sauce coats a spoon, pull the pan off the burner and stir in the vanilla so the flavor stays fresh.
Three Ways to Put Your Own Spin on Cinnamon Fried Apples
Make Them More Tart and Bright
Use all Granny Smith apples and keep the sugar at the stated amount. The result is less candy-sweet and a little sharper, which works well if you’re serving them with rich foods like pork, biscuits, or vanilla ice cream.
Dairy-Free Version
Swap the butter for a good plant-based butter that melts cleanly. Coconut oil will work, but it changes the flavor and can make the sauce taste less like classic fried apples.
Extra-Thick Sauce for Serving Over Biscuits
Let the cornstarch mixture simmer for the full 2 to 3 minutes and wait until the bubbles look slow and glossy. That extra minute gives you a spoonable sauce that stays put on biscuits or pancakes instead of running straight to the plate.
Storage and Reheating
- Refrigerator: Store in an airtight container for up to 4 days. The sauce will thicken as it chills.
- Freezer: These freeze fairly well for up to 2 months, though the apples soften a little more after thawing. Cool completely before freezing in a flat, sealed container.
- Reheating: Warm gently on the stove over low heat or in short microwave bursts, stirring once or twice. High heat can make the apples collapse and can make the sauce look greasy before it loosens again.
Answers to the Questions Worth Asking
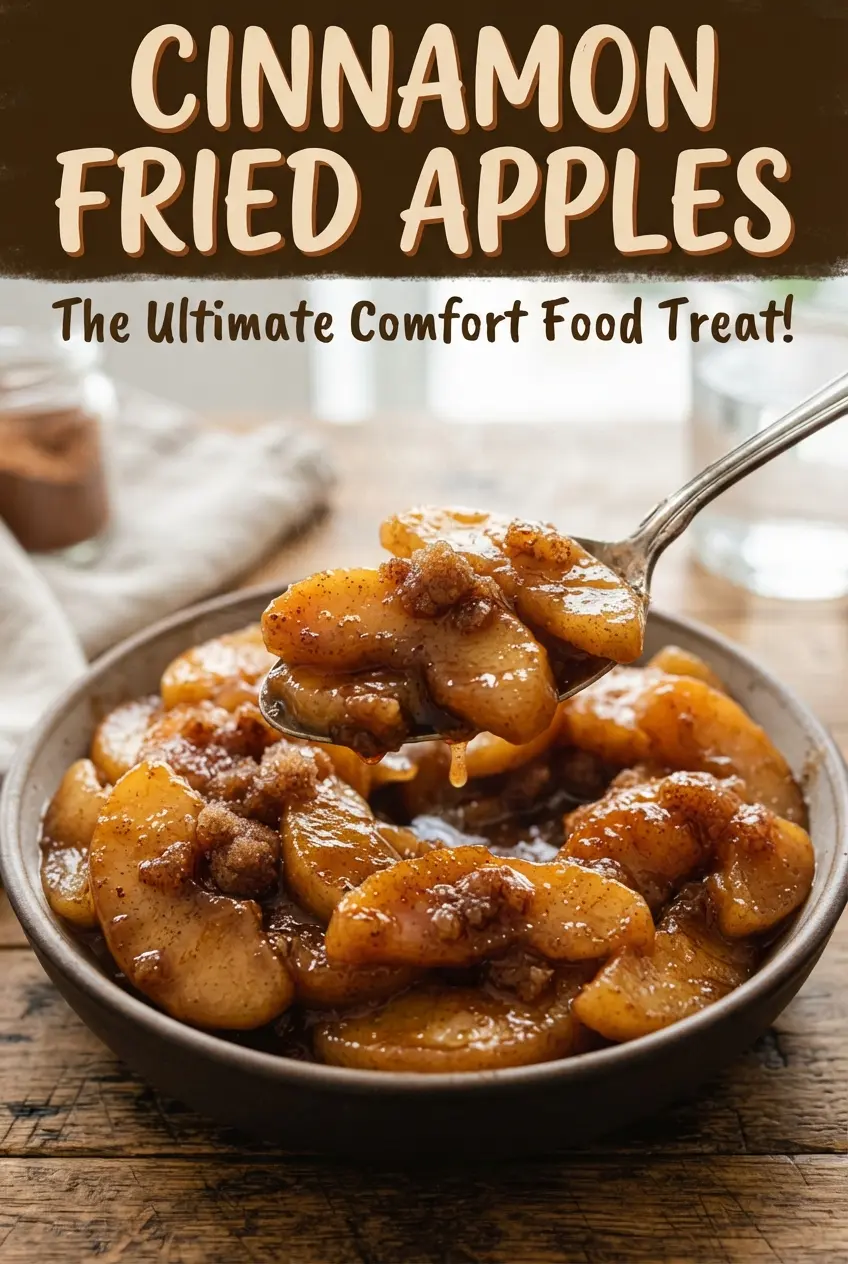
Cinnamon Fried Apples
Ingredients
Equipment
Method
- Melt butter in a large cast iron skillet over medium heat. Stir once so the butter fully melts and coats the pan surface.
- Add firm apples, brown sugar, ground cinnamon, nutmeg, and salt, then stir to coat the slices. Cover and cook 8-10 minutes, stirring occasionally, until the apples are just tender (you should see glossy coating and slight browning).
- Whisk cornstarch with water until smooth, then pour it into the skillet. Stir right away so no lumps form, then keep the mixture at a steady simmer.
- Simmer 2-3 minutes until the sauce thickens and turns glossy. You should see the syrup cling to the apples when you drag a spoon through it.
- Stir in vanilla extract and remove from heat. Serve warm with a saucy scoop, with steam rising from the skillet.