Air fryer chicken breasts can land dry and bland fast, but when the seasoning is balanced and the chicken is pounded to an even thickness, they come out with a bronzed crust and a juicy center that slices cleanly instead of shredding into strings. The air fryer does the kind of heat work that a skillet can struggle to match on a busy night: it sets the outside quickly while keeping the middle tender.
The part that makes this version worth keeping is the combination of simple seasoning and even thickness. Smoked paprika gives the surface a little depth without tasting heavy, while garlic powder, onion powder, and Italian seasoning build a savory crust that stays on the chicken instead of burning off. Pounding the breasts to 3/4-inch thickness matters more than almost anything else here, because uneven chicken is what leads to one end drying out before the thick part is done.
Below, I’ve added the exact signs I look for when the chicken is ready, the easiest way to keep the coating from patching off, and a few smart swaps if you’re working with what’s already in your pantry.
The chicken stayed unbelievably juicy, and the seasoning made a proper little crust in the air fryer. I flipped it at 8 minutes and it hit 165 right on time, then rested up perfectly for slicing.
Like this juicy air fryer chicken? Save it to Pinterest for fast dinners when you need golden, seasoned chicken breasts with almost no cleanup.
The Reason Most Chicken Breasts Dry Out in the Air Fryer
The air fryer is unforgiving with chicken breasts that are thick on one end and thin on the other. The thin portion overcooks while the center is still catching up, and by the time the thickest part reaches temperature, the rest has lost its juices. Pounding the chicken to an even 3/4-inch thickness solves that problem before the basket ever heats up.
The second trap is loading on seasoning without enough oil. A thin coating of olive oil helps the spices cling and gives the outside that baked-on, slightly crisp surface instead of a dusty finish. You don’t need much oil here, but you do need enough to turn the seasoning into a paste-like rub that hugs the meat.
- Even thickness — This is the real insurance policy. If one breast is much thicker, pound it before cooking instead of trying to extend the cook time for the whole batch.
- Smoked paprika — It adds color and a grilled-looking depth that plain paprika won’t give you. Sweet paprika works in a pinch, but the flavor will be gentler.
- Olive oil — Just enough to coat the surface. Too much and the seasoning can slide; too little and the spices look dry and patchy.
- Internal temperature — Pull the chicken when it hits 165°F in the thickest part. That’s the difference between juicy slices and meat that turns stringy as it rests.
What Each Seasoning Is Doing on the Chicken
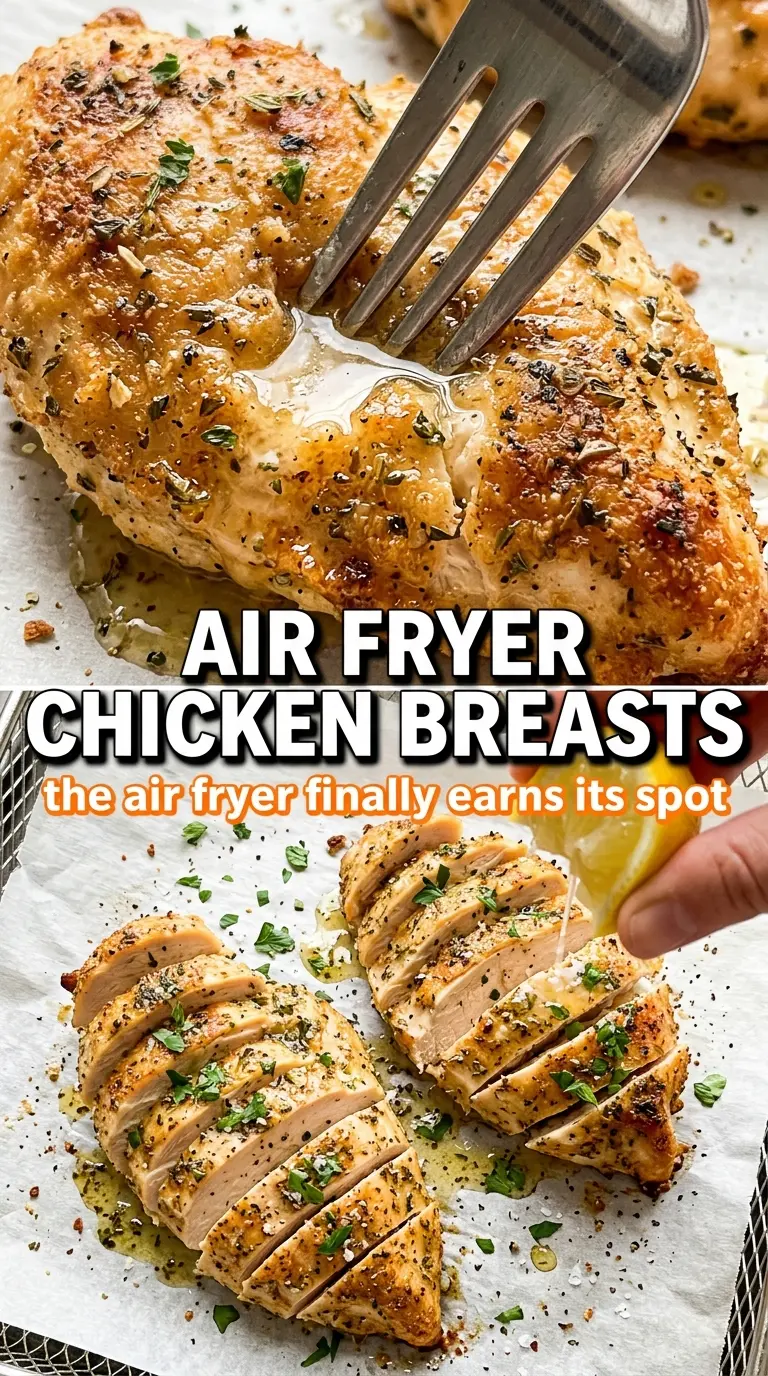
The seasoning blend here is built to taste complete without leaning on anything complicated. Garlic powder and onion powder create the savory base, and they hold up better in the dry heat of the air fryer than fresh minced garlic would. Fresh garlic can scorch before the chicken is done.
Italian seasoning brings in dried herbs that toast lightly against the oil, while smoked paprika gives the top that warm, bronzed look and a little smoky edge. The salt matters for more than seasoning the surface; it helps the chicken taste seasoned all the way through, especially if you let the rub sit on the meat for a few minutes before cooking.
- Garlic powder — Better than fresh garlic here because it won’t burn. If you only have granulated garlic, use the same amount.
- Onion powder — Adds background savoriness without making the coating wet.
- Italian seasoning — A dried herb blend is ideal because it can handle high heat. If yours is heavy on rosemary, crush it between your fingers first so it doesn’t taste sharp.
- Salt and pepper — Keep the seasoning balanced. If your salt is coarse, use a little less by volume because it doesn’t pack the same way as fine salt.
Getting the Seasoned Crust and Juicy Center at the Same Time
Pound and Dry the Chicken
Lay the chicken breasts between sheets of parchment or plastic wrap and pound them to an even 3/4-inch thickness. The goal isn’t to flatten them into cutlets; it’s to remove the thick ridge that causes uneven cooking. Pat the surface dry after pounding so the oil and seasonings actually stick instead of sliding around on moisture.
Build the Rub Before the Chicken Hits the Basket
Mix the garlic powder, onion powder, smoked paprika, Italian seasoning, salt, and pepper together first, then brush both sides of the chicken with olive oil. Rub the seasoning over every surface, pressing it in lightly with your hands. If the coating looks sandy and dry, add the smallest extra drizzle of oil; if it looks wet, you’ve gone too far and the crust won’t set as cleanly.
Cook Hot and Flip Once
Preheat the air fryer to 390°F before the chicken goes in. That burst of heat helps the surface start browning right away. Air fry for 16 to 18 minutes, flipping halfway through, and check the thickest part with an instant-read thermometer. If your basket runs small, leave space between pieces so the air can move around them; crowded chicken steams before it browns.
Rest Before Slicing
Let the chicken rest for 5 minutes before cutting it. That pause keeps the juices in the meat instead of letting them flood the cutting board. Slice against the grain for the most tender texture, then finish with parsley and a squeeze of lemon if you want the edges to taste a little brighter.
Ways to Change the Seasoning Without Losing the Juicy Texture
Dairy-Free and Naturally Gluten-Free as Written
This recipe already works for both dairy-free and gluten-free eating, which is part of why I make it often. Just check that your seasoning blend doesn’t hide any anti-caking additives or sweeteners if you’re cooking for someone with a strict allergy.
Use Chicken Cutlets for a Faster Dinner
If you start with thinner cutlets instead of full breasts, cut the cook time down and check early. They brown faster and can dry out in a hurry, so pull them as soon as they reach 165°F. The texture stays tender, but the crust will be a little thinner because there’s less surface thickness to carry it.
Swap the Herb Blend for a Different Direction
Italian seasoning gives a familiar all-purpose profile, but thyme, oregano, or a poultry seasoning blend can take it in a slightly earthier direction. Keep the amount the same and the chicken will still taste balanced; just avoid anything with a lot of sugar, since that can darken too fast in the air fryer.
Make It a Full Meal Without Changing the Method
Slice the cooked chicken over salad, tuck it into wraps, or serve it with roasted vegetables and potatoes. The seasoning is neutral enough to work in all three directions, and the lemon finish keeps it from tasting flat once it’s paired with starch or greens.
Storage and Reheating
- Refrigerator: Store in an airtight container for up to 4 days. The coating softens a little, but the chicken stays sliceable.
- Freezer: It freezes well if you cool it completely first and wrap individual portions tightly. Thaw overnight in the refrigerator for the best texture.
- Reheating: Reheat gently in the air fryer at 350°F for a few minutes, just until warmed through. High heat for too long is the fastest way to turn the edges dry.
Answers to the Questions Worth Asking
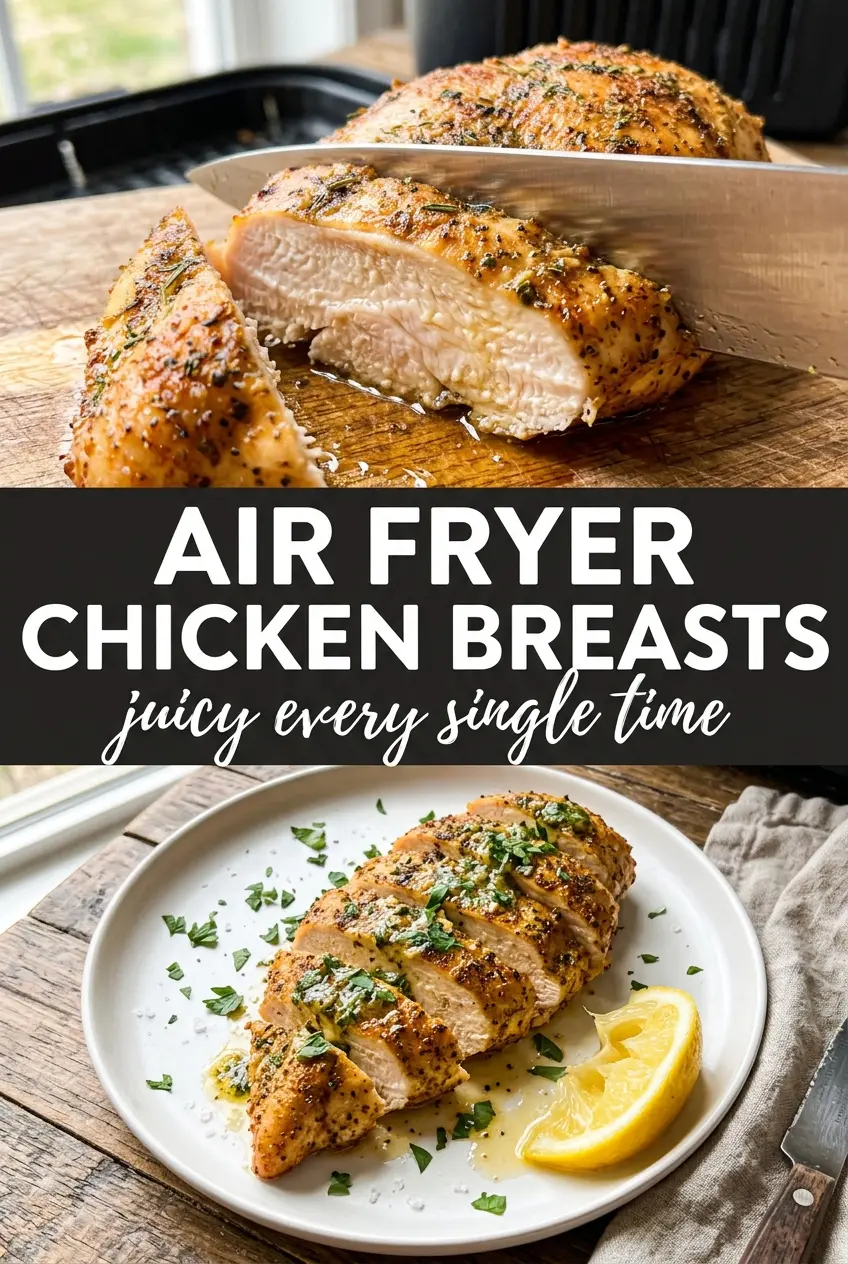
Air Fryer Chicken Breasts
Ingredients
Equipment
Method
- Preheat the air fryer to 390°F while you prep the chicken. You want the basket and airflow to come up to temperature first.
- Pound the chicken breasts to an even 3/4-inch thickness if needed for uniform cooking. The pieces should be similarly thick so they cook through at the same rate.
- Brush both sides of the chicken with olive oil. The surface should look lightly glossy to help seasoning adhere.
- Mix garlic powder, onion powder, smoked paprika, Italian seasoning, salt, and pepper, then rub evenly over both sides of the chicken. Make sure the spices coat the full surface with no bare spots.
- Air fry at 390°F for 16-18 minutes, flipping halfway through. Look for a golden-brown exterior developing by the time you flip.
- Continue air frying until the internal temperature reaches 165°F and the outside is golden. Use a thermometer for accuracy; the chicken should feel firm but not dry.
- Rest the chicken for 5 minutes before slicing. This lets the juices redistribute for a juicier cut.
- Garnish with fresh parsley and lemon wedges and serve. The bright garnish adds a fresh finish against the caramelized crust.