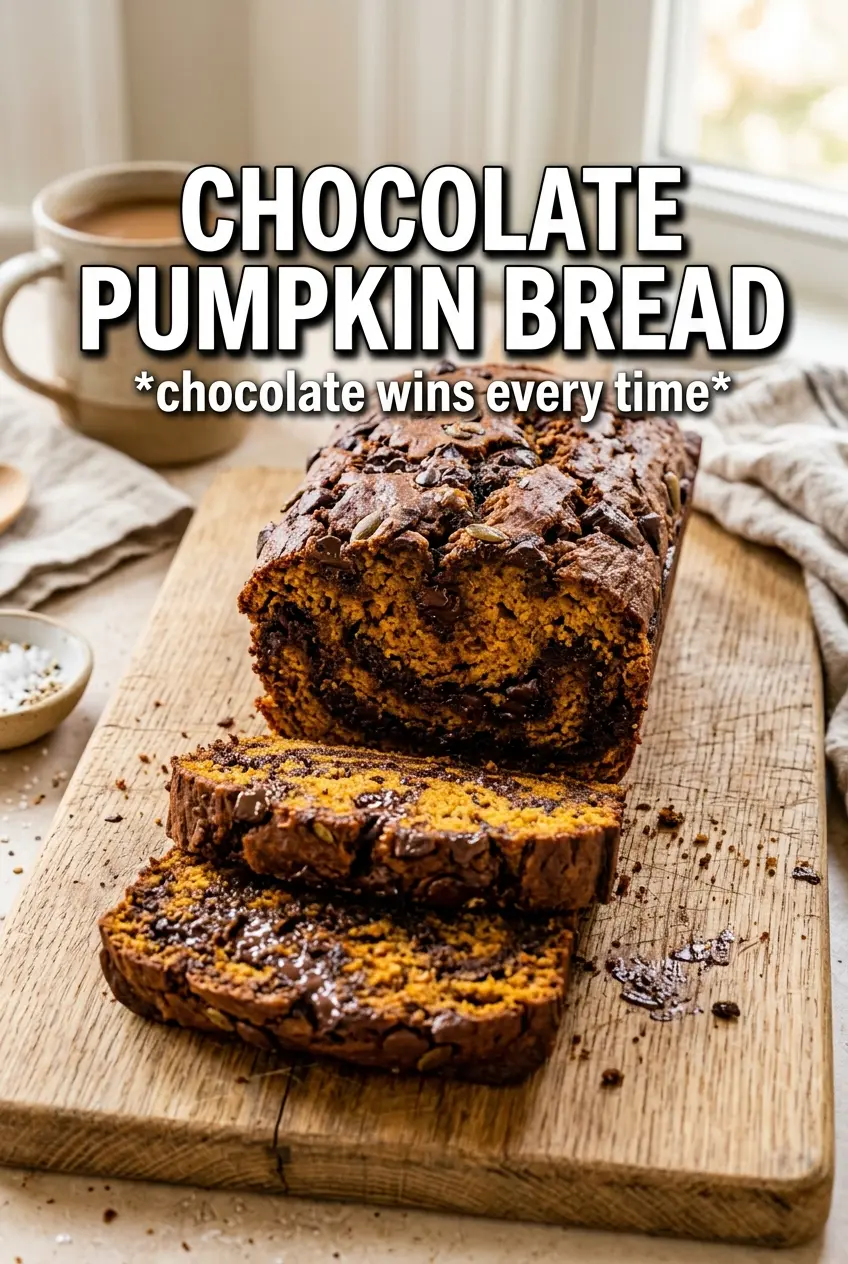
Chocolate pumpkin bread bakes up with a deep cocoa crumb, warm spice, and just enough pumpkin to keep every slice soft for days. The chocolate chips melt into little pockets that make each bite feel rich without turning the loaf heavy, and the glossy glaze on top gives it that bakery-style finish people notice right away.
What makes this version work is the balance. Pumpkin adds moisture and tenderness, but cocoa powder and melted chocolate chips keep the loaf from tasting like plain pumpkin bread with a little chocolate stirred in. The batter comes together in two bowls, which helps you avoid overmixing and keeps the texture tender instead of tight. A quick rest on the counter after baking matters too, because that loaf needs a little time to set before you slice into it.
Below, I’ll walk through the one place people usually go wrong with chocolate quick breads, plus a few easy swaps if you want to adjust the sweetness or make it dairy-free. If you like a loaf that slices cleanly, stays soft, and tastes even better the next day, this one earns its keep.
The loaf stayed incredibly moist for days, and the chocolate glaze set up just enough that it didn’t slide off when I sliced it. My husband kept sneaking pieces all afternoon.
Love the fudgy crumb and chocolate glaze on this chocolate pumpkin bread? Save it to Pinterest for the next time you want a moist loaf with real chocolate in every slice.
The Part That Keeps This Loaf Tender Instead of Dense
Chocolate pumpkin bread can go heavy fast if the batter gets overworked or if the balance of wet to dry ingredients is off. Pumpkin puree brings a lot of moisture, which is great, but it can also make the loaf gummy if you stir after the flour goes in. The fix is simple: whisk the wet ingredients until smooth, fold in the dry just until the flour disappears, and stop there.
The other thing that matters is how the chocolate is used. Cocoa powder gives the loaf its dark base flavor, but the chocolate chips keep it from tasting flat. Some go into the batter, and the rest stay on top so you get those melty pockets and a finished look that doesn’t need much else.
What Each Ingredient Is Actually Doing Here
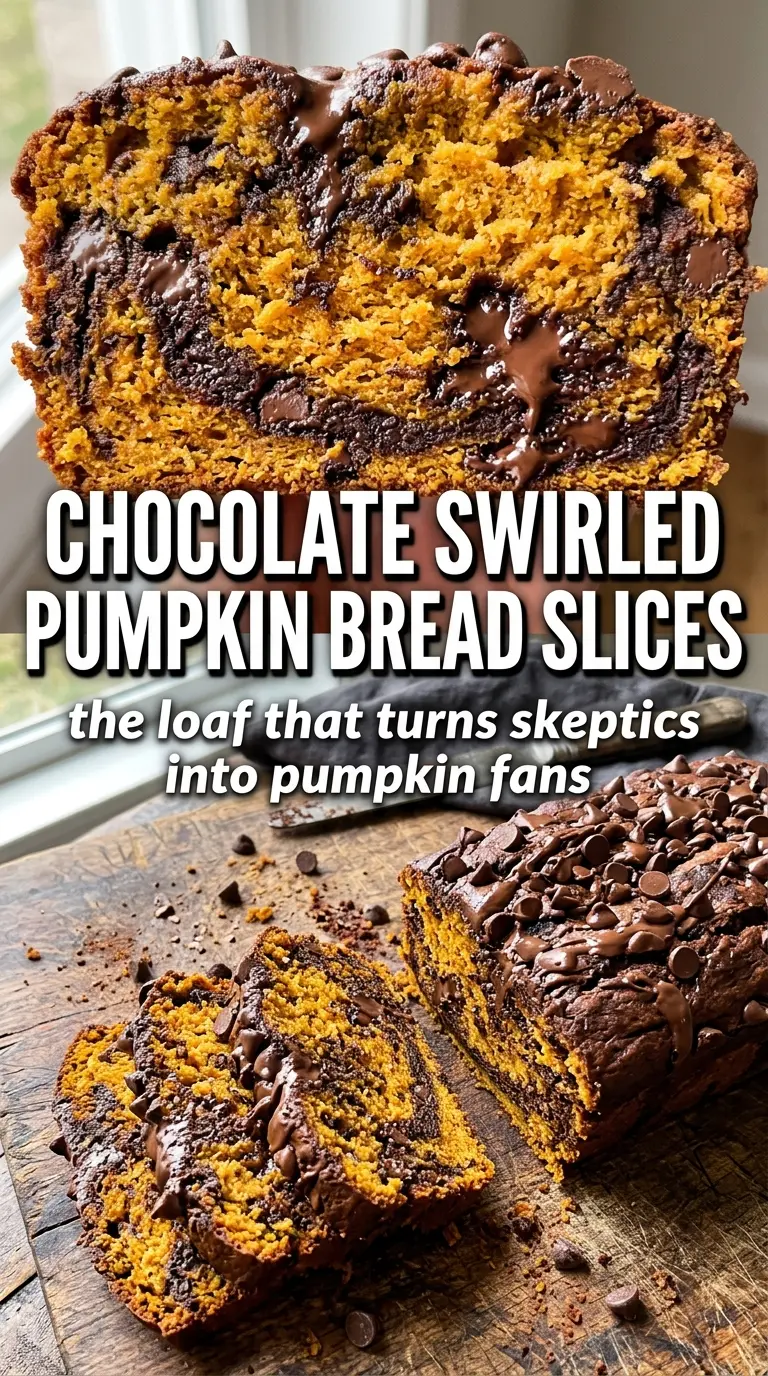
- Pumpkin puree — This is what keeps the loaf moist for days and gives the crumb that soft, almost velvety texture. Use plain pumpkin puree, not pumpkin pie filling, or the loaf will come out overly sweet and spiced in all the wrong ways.
- Cocoa powder — Cocoa gives the bread its deep chocolate base, but it needs enough fat and moisture around it to taste smooth instead of dry. A good unsweetened cocoa makes a difference here.
- Brown sugar and granulated sugar — The combination keeps the loaf sweet without making it cloying. Brown sugar adds a little molasses depth and helps the bread stay tender, while granulated sugar keeps the texture from getting too heavy.
- Vegetable oil — Oil gives this bread a softer crumb than butter would. Butter adds flavor, but oil stays liquid at room temperature, so the loaf slices cleaner and stays moist longer.
- Dark chocolate chips — These are worth using generously. The batter itself is chocolatey, but the chips make the flavor feel fuller and give you actual pockets of melted chocolate in every slice.
- Chocolate glaze — The glaze is optional in theory, but it finishes the loaf with a smoother, richer chocolate note. It also hides the top beautifully if the loaf cracks in the middle, which quick breads often do.
Building the Batter Without Overmixing It
Whisk the dry ingredients first
Start with the flour, cocoa, baking soda, baking powder, spices, and salt in one bowl. Whisking breaks up the cocoa and distributes the leavening evenly, which matters because cocoa tends to clump and create dry pockets if you rush this part. You want the mixture to look uniform and a little lighter in color before it goes into the wet bowl.
Mix the wet ingredients until smooth
In the second bowl, whisk the pumpkin puree, both sugars, oil, eggs, and vanilla until the mixture looks glossy and completely smooth. That smooth base helps the batter come together without streaks of sugar or egg. If the eggs are cold from the fridge, give the bowl an extra minute of whisking so the oil doesn’t separate.
Fold, don’t beat
Once the dry ingredients go into the wet bowl, switch to a spatula and fold just until you stop seeing flour. A few streaks are better than an overmixed batter, because the loaf keeps mixing as it bakes. Fold in one cup of the chocolate chips at the end, then pour the batter into the pan and scatter the remaining chips over the top so they stay visible after baking.
Bake until the center tests clean
Bake at 350°F for 60 to 65 minutes, but trust the loaf more than the clock. The top should be set, the center should spring back lightly, and a toothpick inserted into the middle should come out with a few moist crumbs, not wet batter. If the top starts getting too dark before the center is done, lay a piece of foil loosely over it for the rest of the bake.
Finish with the glaze after cooling
Let the loaf rest in the pan for about 15 minutes before lifting it out, then cool it enough that the top is no longer hot to the touch. Warm glaze melts into the bread instead of sitting on top, so drizzle it after the loaf has cooled a bit. That gives you the shiny finish without losing the clean lines of the slice.
Three Ways to Adjust This Loaf Without Breaking It
Make it dairy-free
The loaf itself is already dairy-free, so the only swap you need is the glaze. Use a dairy-free butter or skip the butter entirely and melt the chocolate chips with a splash of coconut cream. The glaze will be a little softer, but the flavor stays rich and the slice still looks finished.
Cut the sweetness a little
If you want a darker, less sweet loaf, reduce the granulated sugar by 1/4 cup and keep the brown sugar the same. That keeps the crumb tender while letting the cocoa and pumpkin taste more prominent. Don’t cut the sugar too hard, or the loaf will lose moisture and bake up tighter.
Use a different chip
Semi-sweet chips work if that’s what you have, but the bread will taste a little sweeter and less deep. Milk chocolate makes it sweeter still, while chopped dark chocolate gives bigger melted pockets and a more dramatic chocolate bite. I like dark chips best here because they stand up to the pumpkin and spice.
Storage and Reheating
- Refrigerator: Store slices in an airtight container for up to 5 days. The crumb stays moist, but the chocolate chips will firm up a bit when chilled.
- Freezer: This loaf freezes well. Wrap slices individually, then place them in a freezer bag for up to 3 months so you can thaw just what you need.
- Reheating: Warm a slice in the microwave for 10 to 15 seconds or in a low oven until the chocolate softens again. If you reheat too long, the loaf dries out and the glaze can turn sticky instead of glossy.
Answers to the Questions Worth Asking
Chocolate Pumpkin Bread
Ingredients
Equipment
Method
- Preheat oven to 350F, then grease a 9x5 loaf pan until evenly coated.
- In a large bowl, whisk all-purpose flour, cocoa powder, baking soda, baking powder, pumpkin pie spice, cinnamon, and salt until uniform and free of lumps.
- In a separate bowl, whisk pumpkin puree, granulated sugar, brown sugar, vegetable oil, eggs, and vanilla extract until smooth.
- Fold the flour mixture into the pumpkin mixture until just combined, then fold in 1 cup of the dark chocolate chips for visible chocolate pockets.
- Pour the batter into the prepared loaf pan, then scatter the remaining chocolate chips on top so they bake into a chocolaty crust.
- Bake for 60-65 minutes at 350F, until a toothpick inserted in the center comes out clean.
- Cool the loaf for 15 minutes in the pan, so the crumb firms up and the glaze sets cleanly.
- While warm, melt the chocolate chips with butter and cream, then drizzle over the loaf for a glossy chocolate finish.