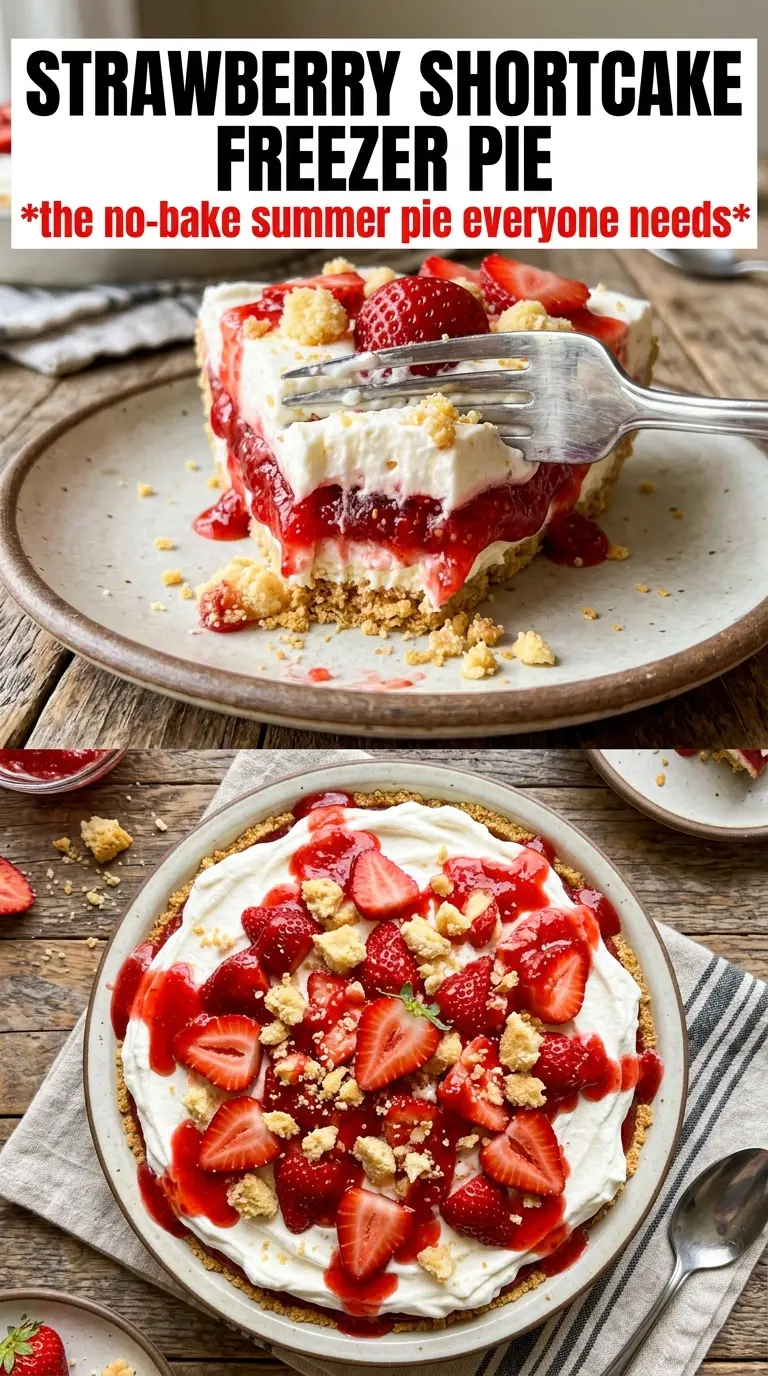
Frozen strawberry cream pie gets its appeal from that first clean slice: a crisp, buttery cookie crust, a filling that stays airy instead of icy, and a topping that brings back the strawberry-shortcake crunch without needing an oven. It tastes like summer dessert with a little more structure, which is why it earns a spot in the freezer long after the last berry basket is gone.
The texture comes from balancing a rich cream cheese base with whipped topping and enough strawberry puree to flavor it without turning the filling loose. The crust needs the butter pressed in firmly so it freezes into a sliceable shell, and the topping works best when the cookies and freeze-dried strawberries are crushed fine enough to cling but still leave some crunch. That mix gives you contrast in every bite instead of one soft, blended layer.
Below, I’ve included the part that matters most with this kind of pie: how to keep the filling smooth, how to get a neat slice after freezing, and which swaps still hold up if you need to work with what’s in the kitchen.
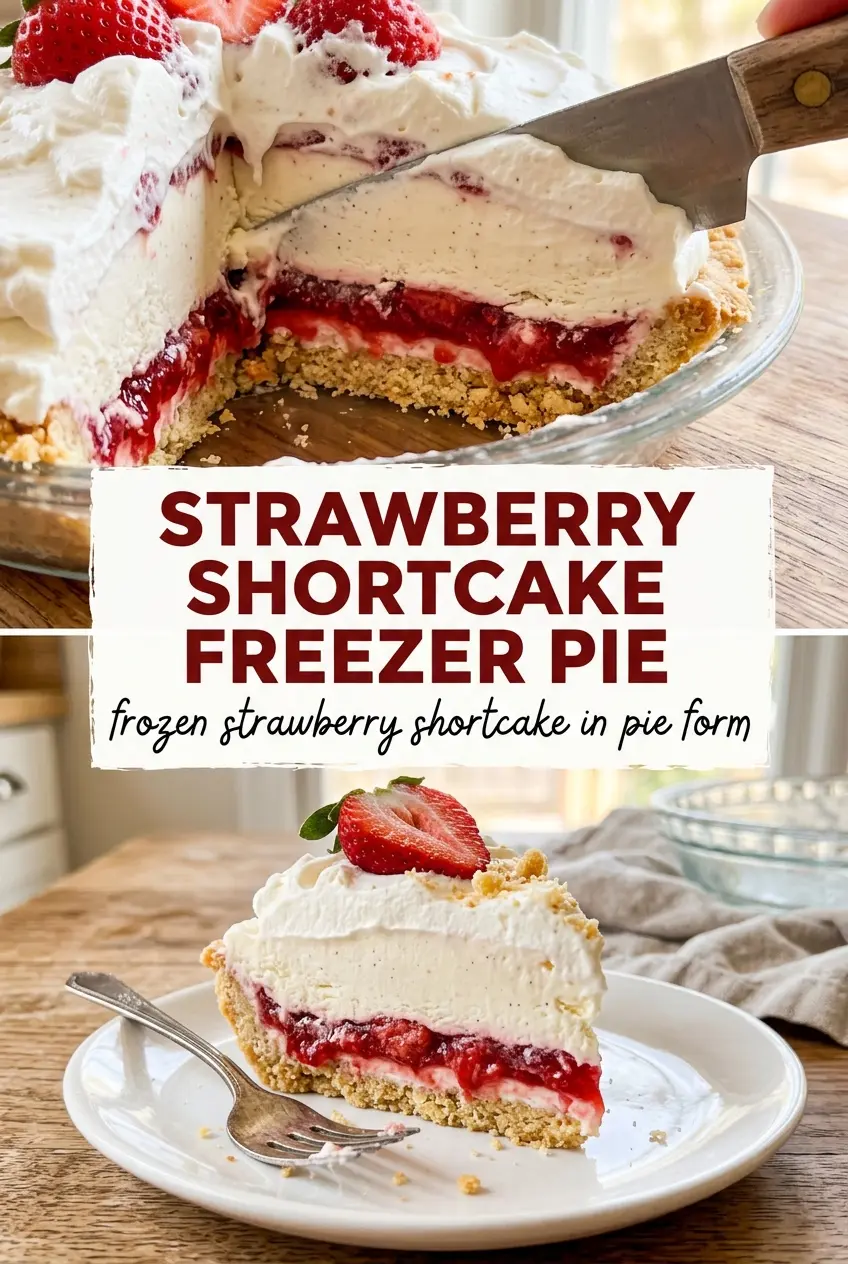
The filling froze up creamy instead of icy, and the strawberry crunch on top stayed crisp even after a few days in the freezer. I let it sit about 5 minutes before slicing and it came out in clean, pretty wedges.
Save this Strawberry Shortcake Freezer Pie for the dessert nights when you want a creamy frozen pie with that cookie-and-berry crunch on top.
The Trick to Keeping a Frozen Cream Pie Sliceable
The difference between a clean slice and a sloppy scoop comes down to how stable the filling is before it goes into the freezer. Cream cheese gives the pie body, powdered sugar sweetens without thinning it, and whipped topping keeps the texture light enough that it doesn’t freeze into a brick. If you rush the mixing or use cream cheese that’s still lumpy, those bits stay in the finished pie.
The crust matters more than people expect here. A crumb crust for a freezer pie needs enough butter to hold together once it’s packed down, but not so much that it turns greasy after freezing. Press it firmly into the dish and up the sides a little; that edge gives the filling a place to settle and helps the pie release in neat wedges.
- Golden Oreos or shortbread cookies — Either one gives you that sweet, vanilla-cookie base that tastes like shortcake without extra work. Shortbread is a little more delicate; Golden Oreos bring a stronger cookie flavor and a sturdier crust.
- Cream cheese — This is what keeps the filling from tasting like flavored whipped cream. It has to be softened all the way through, or you’ll end up beating in little lumps that won’t disappear later.
- Fresh strawberries — Fresh berries are worth using here because they give brighter flavor and less water than thawed frozen berries. Puree them smooth, then stir them in after the cream cheese mixture is already silky.
- Freeze-dried strawberries — These are the secret to the topping. They bring concentrated berry flavor and stay crisp, while fresh strawberries would turn wet and soften the whole layer.
What Each Ingredient Is Actually Doing in This Dessert
- Sugar (the sweetness and structure) — Sugar tenderizes baked goods and creams into butter to create air. Don’t skip it or reduce it too much.
- Fat (butter, oil, or cream cheese) — This carries flavors and creates tender crumb. Proper creaming with sugar adds volume to cakes.
- Eggs (the binder and lift) — Eggs create structure and help baked goods rise. Room temperature eggs incorporate better than cold ones.
- Flour (the structure) — This is what makes baked goods hold together. Don’t overmix or the texture becomes tough and dense.
- Flavoring (vanilla, chocolate, fruit, spices) — These define the personality of the dessert. Use good quality flavorings so they shine.
- Leavening (baking powder, baking soda, whipped eggs) — This creates rise and light crumb. Too much makes the dessert taste bitter.
- Liquid (milk, water, or fruit juice) — This hydrates flour and carries flavors. Too much makes the dessert dense; too little makes it dry.
- Final finish (frosting, glaze, fruit, whipped cream) — The topping adds moisture, flavor, and visual appeal. Don’t skip it or the dessert feels incomplete.
Building the Filling Before It Goes Into the Freezer
Making the Crust Firm Enough to Hold
Mix the crushed cookies with melted butter until every crumb looks evenly moistened, then press the mixture into a 9-inch pie dish with the bottom of a measuring cup or glass. You want a compact layer with no sandy patches, because loose crumbs fall apart when you slice. Freeze the crust for at least 15 minutes so it sets before the filling goes in.
Smoothing the Strawberry Cream Base
Beat the cream cheese until it looks completely smooth before anything else goes in. Powdered sugar and vanilla blend in easily once the base is supple, and the strawberry puree should be stirred in after that so the mixture stays even instead of streaking. Fold in the whipped topping by hand at the end; if you beat it hard, you’ll knock out the air that keeps the filling light.
Pressing on the Crunch Topping
Combine the crunch topping while the filling is still freshly spread, then press it on firmly with your fingers or the back of a spoon. You want it anchored into the surface, not just scattered over the top, or it will slide off when sliced. The pie needs at least 6 hours in the freezer, and overnight is even better if you want the cleanest cuts.
Slicing Without Cracking the Pie
Let the pie sit at room temperature for about 5 minutes before cutting. That short rest softens the outer edge just enough to give you a neat slice without melting the filling. Run a sharp knife under warm water, wipe it dry, and cut straight down through the topping instead of sawing back and forth.
How to Adapt This Pie Without Losing the Texture
Make it dairy-free
Use a dairy-free cream cheese and a non-dairy whipped topping with similar stiffness. The pie still freezes well, but the filling may be a little softer, so give it the full overnight chill before slicing.
Swap the strawberries for raspberries
Raspberries make the filling tangier and a little less sweet, which works well with the cookie crust. Strain the puree if you want a smoother filling, since the seeds can make the texture feel slightly rough.
Use graham crackers instead of cookies
A graham crust makes the pie taste more like classic strawberry cheesecake than shortcake. It’s a little softer than the cookie version, so press it firmly and freeze it well before filling.
Storage and Reheating
- Refrigerator: This pie is best stored in the freezer, not the fridge. If it sits in the refrigerator, the filling turns too soft and the crust loses its clean slice.
- Freezer: Keep it covered for up to 2 weeks. After that, the crust still holds, but the topping starts to lose its crisp crunch and the berries taste less fresh.
- Reheating: Don’t reheat this pie. Let it stand at room temperature for 5 to 10 minutes before serving so the filling softens just enough to slice.
Answers to the Questions Worth Asking
Strawberry Shortcake Freezer Pie
Ingredients
Equipment
Method
- Mix the crushed Golden Oreos or shortbread cookies with the melted butter until evenly coated. Press the mixture firmly into a 9-inch pie dish to form an even layer, then freeze for 15 minutes to set.
- Beat the cream cheese until smooth, then add the powdered sugar and vanilla extract. Stir in the strawberry puree until combined, then fold in the whipped topping just until the mixture looks uniform.
- Pour the strawberry cream filling into the crust and smooth the top with a spatula so it’s level. Mix the crunch topping by combining the crushed Golden Oreos, crushed freeze-dried strawberries, and melted butter, then press it firmly onto the top of the pie.
- Cover and freeze for at least 6 hours until solid throughout. Let the pie sit for 5 minutes before slicing, then garnish with fresh strawberries and extra whipped cream.