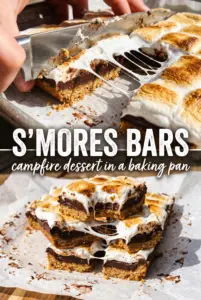
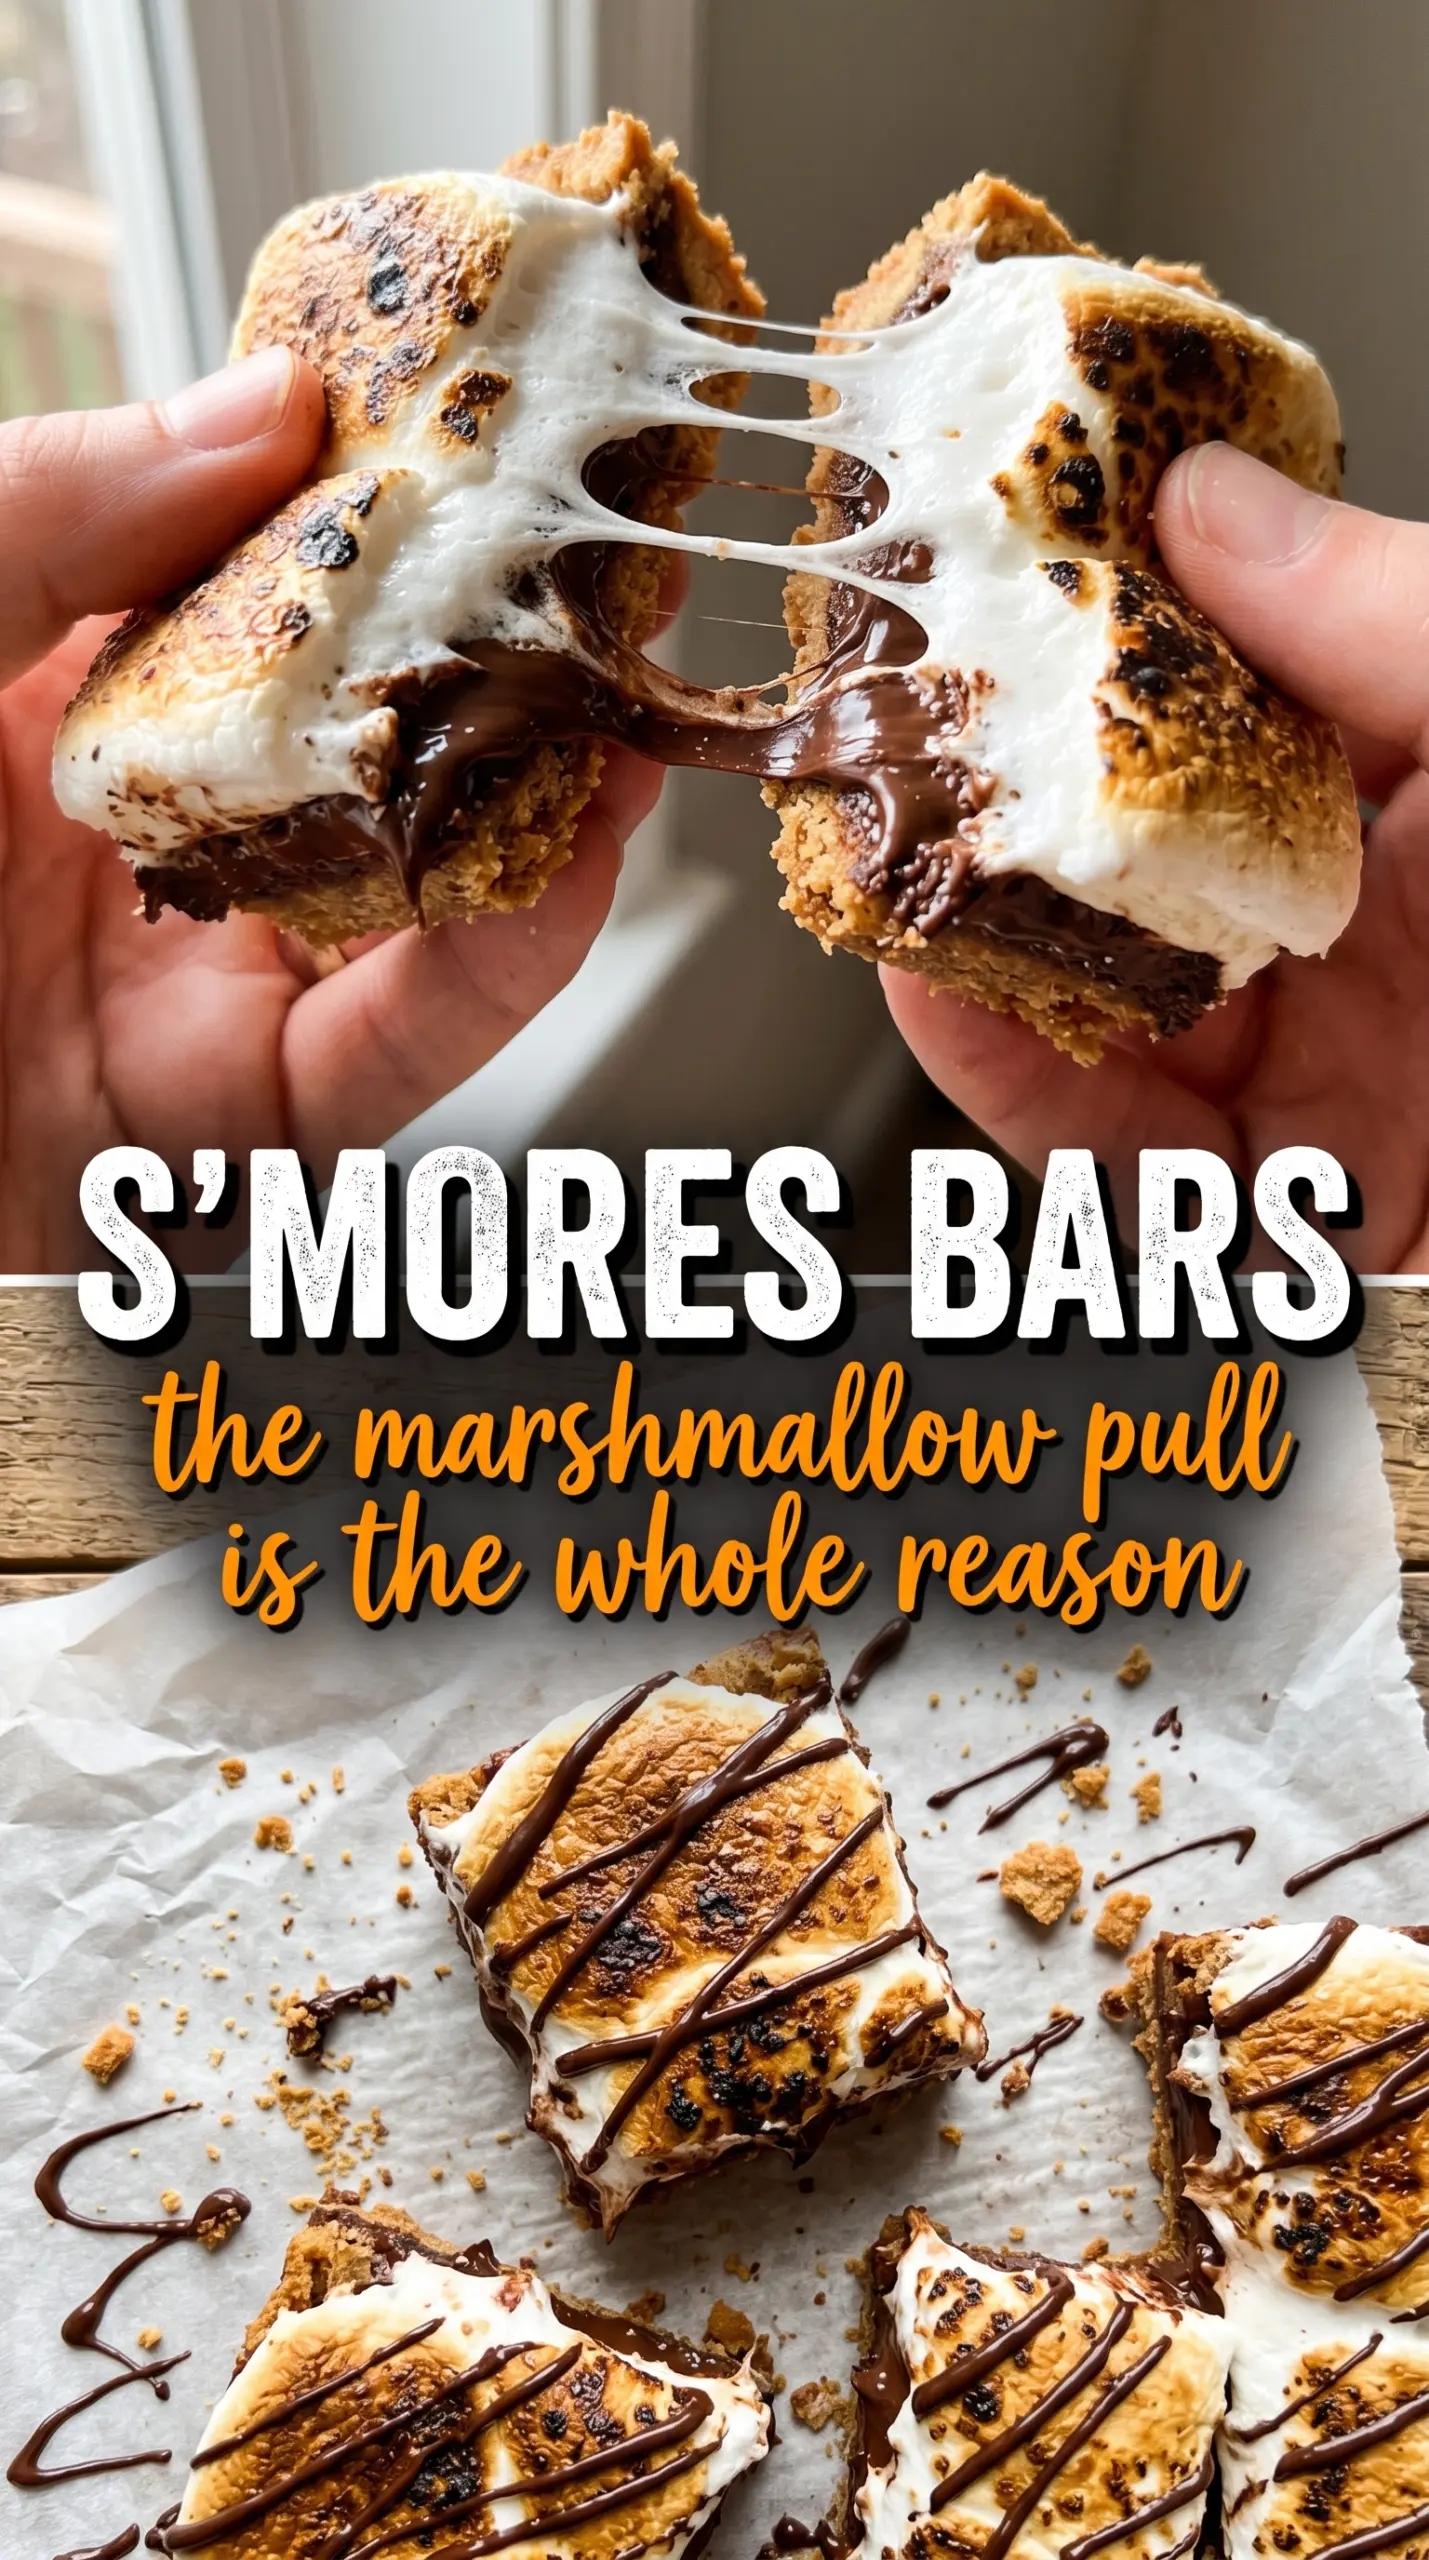
Thick s’mores bars deliver the whole campfire experience in one neat pan: a buttery graham cracker base, a fudgy chocolate middle, and a toasted marshmallow top that turns glossy and dramatic the second it hits the knife. The best ones cut into clean squares without crumbling, but still give you that pull of melted marshmallow and a dense, brownie-like center underneath.
What makes this version work is the layering and timing. The crust gets a short bake first, which keeps it crisp instead of sandy. The chocolate layer is cooked just enough to set around the edges without turning dry in the oven, then the marshmallows go on immediately so they soften and brown on top instead of melting away into the batter.
There’s one trick below that matters more than any other: how to broil the marshmallows without burning the top before the center is ready. Once you’ve got that, the rest is straightforward and the payoff is a pan of bars that tastes like a s’more with better structure.
The marshmallow top browned in just a couple minutes and the chocolate layer stayed fudgy instead of cakey. I cut them after cooling and they held together perfectly.
Love the fudgy chocolate layer and toasted marshmallow top? Save these s’mores bars to Pinterest for the next time you want a campfire-style dessert from the oven.
The Broiler Is Where These Bars Are Won or Lost
The marshmallow layer is the part that can go sideways fastest. Once the bars come out of the oven, the chocolate base is already set enough to hold the topping, so the marshmallows need only a short blast of heat. Leave them under the broiler too long and the tops scorch before they puff; pull them too early and you get pale marshmallows that collapse instead of toasting.
The other place people lose texture is in the crust. Graham crumbs need to be pressed firmly and baked briefly before the chocolate batter goes in, or they turn soft under the weight of the filling. That first bake gives the base a little structure, which matters when you want clean slices instead of a crumbly mess.
- Press the crust like you mean it. Loose crumbs fall apart when the bars cool. A flat-bottomed measuring cup helps pack the mixture into an even layer.
- Stop the chocolate bake while the center still looks slightly soft. It finishes setting as it cools, and that keeps the texture fudgy instead of dry.
- Watch the marshmallows the whole time under broil. They can go from golden to burned in less than a minute, especially near the back of the oven.
What Each Layer Is Doing in These S’mores Bars
Graham cracker crumbs give you the s’mores flavor without the hassle of whole crackers shattering into uneven pieces. Finely crushed crumbs pack together best, so pulse them until they look like damp sand. If you only have whole crackers, crush them in a bag and then sift out the big chunks.
Butter appears in every layer for a reason. It binds the crust, carries the cocoa flavor, and keeps the bars rich enough to taste like a brownie instead of a snack cake. Use real butter here; margarine makes the crust greasy and the chocolate layer flatter.
Cocoa powder gives the filling its deep chocolate base without adding extra melt-in-the-middle chocolate chips that can make slicing messy. Natural unsweetened cocoa works well, and Dutch-process cocoa gives a darker, smoother flavor if that’s what you have.
Mini marshmallows are easier to spread evenly over the top, but halved large marshmallows work in a pinch. The goal is full coverage, because gaps expose the chocolate layer to direct heat and can dry out the top edges before the center is ready.
Building the Layers in the Right Order
Setting the Crust First
Mix the graham cracker crumbs, sugar, and melted butter until every crumb looks evenly moistened, then press the mixture into a parchment-lined 9×13 pan. Use firm pressure and pay attention to the corners, which tend to stay loose. Bake it for 8 minutes so it firms up just enough to support the filling. If it looks pale but set, that’s right where it should be.
Cooking the Chocolate Base Without Drying It Out
Melt the butter in a saucepan, then stir in the sugar, eggs, and vanilla before adding the cocoa, flour, baking powder, and salt. The batter should look smooth and glossy, not airy. Spread it over the crust and bake until the center is just set; the middle should still have a slight wobble when you nudge the pan. If you wait until it looks fully firm in the oven, the bars finish as dry squares instead of fudgy ones.
Toasting the Marshmallow Top
As soon as the pan comes out, cover the surface with marshmallows while the chocolate layer is still hot enough to help them soften. Return the pan to the oven for a short bake so they puff first, then switch to broil and stay close by. You want the tops to turn golden and blistered, not blackened. Cool the bars before cutting, because the marshmallow layer needs time to set enough to slice cleanly.
How to Adapt These Bars Without Losing the Texture
Gluten-Free S’mores Bars
Swap the all-purpose flour for a 1:1 gluten-free baking blend that includes xanthan gum. The crust is already gluten-free if your graham cracker crumbs are certified gluten-free, and the texture stays close to the original. Skip single-ingredient flour substitutes here; they won’t hold the chocolate layer together the same way.
Dairy-Free Version
Use a plant-based butter with a solid fat content and choose dairy-free marshmallows if needed. The bars will still set, though the crust may be a touch softer because some vegan butters contain more moisture. Keep the bake times the same and let the pan cool fully before slicing so the structure has time to tighten.
Make Them More Like Brownie Bars
Add a handful of chocolate chips to the batter if you want a denser, more molten center. This pushes the bars toward a richer brownie texture, but they’ll be a little messier when warm. If you do this, cool them longer before cutting so the chocolate has time to settle.
Storage and Reheating
- Refrigerator: Store in an airtight container for up to 4 days. The marshmallow top will lose some of its glossy lift, but the bars stay chewy and sliceable.
- Freezer: Freeze well for up to 2 months, wrapped tightly and layered with parchment. Thaw at room temperature before serving; freezing the marshmallow topping slightly softens the texture, but the bars still hold up.
- Reheating: Warm individual bars in the microwave for 8 to 10 seconds if you want the chocolate layer soft again. Don’t overheat them, or the marshmallow top turns sticky and the crust gets greasy.
Answers to the Questions Worth Asking

S'mores Bars
Ingredients
Equipment
Method
- Preheat the oven to 350°F and line a 9x13 pan with parchment paper. This prevents sticking so the bars release cleanly.
- Mix graham cracker crumbs, granulated sugar, and melted butter, then press firmly into the bottom of the pan. Bake for 8 minutes, then cool slightly.
- Melt butter in a saucepan, then stir in granulated sugar, eggs, and vanilla extract. Mix until smooth before adding the dry ingredients.
- Add unsweetened cocoa powder, all-purpose flour, baking powder, and salt, then mix until smooth and spread over the graham cracker crust. Keep the top level for even baking.
- Bake at 350°F for 18-20 minutes until the center is just set. Look for a set surface with only slight softness in the middle.
- Remove the pan from the oven and immediately cover the entire top with mini marshmallows. The marshmallows should start melting on contact.
- Return to the oven for 3-4 minutes at 350°F until the marshmallows puff and start to turn golden. Aim for a light golden sheen.
- Switch to broil for 1-2 minutes until the marshmallows are golden brown. Watch closely so they don’t scorch.
- Cool for 30 minutes before cutting with a buttered knife. The chocolate should pull neatly without smearing.