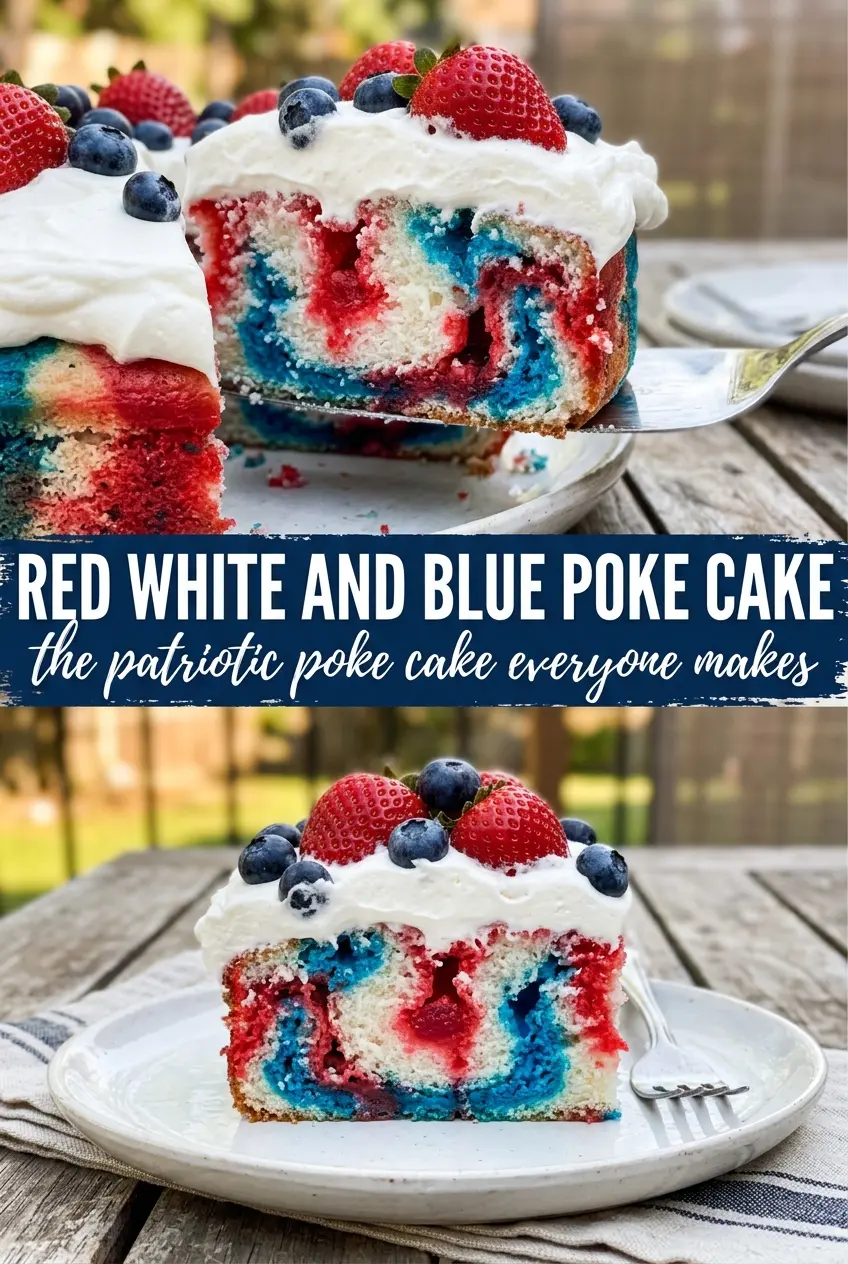
Red, white, and blue poke cake is the kind of dessert that gets cut once and immediately starts the conversation. The cake itself stays soft and tender, but every slice shows off clean stripes of strawberry and berry blue Jell-O soaked all the way through the crumb. It looks festive on the table, but what keeps people going back is the cold, fruity layer tucked into each bite.
The trick is timing. The cake needs to be warm enough for the Jell-O to sink into the holes, but not so hot that it turns the top soggy. I also pour each color over its own half of the pan so the stripes stay bold instead of bleeding into a muddy middle. Once the cake chills long enough for the gelatin to set, the whipped topping spreads smoothly and gives the whole dessert that classic creamy finish.
Below, I’ve included the little details that make this cake slice neatly, hold its color, and still taste fresh after a few hours in the fridge. If you’ve ever had poke cake turn watery or patchy, the fix is in the order you build it.
The Jell-O soaked in perfectly and the stripes stayed bright after chilling overnight. I used the spoon handle for the holes and the cake came out soft, not mushy.
Like this patriotic poke cake? Save it to Pinterest for the slice with bright berry stripes, whipped topping, and easy summer party color.
The Trick to Keeping the Colors Bold Instead of Muddy
Poke cake looks simple, but the part that ruins it is usually the pour. If the cake is too hot, the Jell-O runs straight through and pools at the bottom. If it’s too cool, it won’t absorb evenly and you end up with pale streaks instead of saturated color. The sweet spot is a cake that has cooled for about 15 minutes, still warm enough to drink in the gelatin but set enough to hold its structure.
The second mistake is pouring both colors into the whole pan. That sounds faster, but it blurs the red and blue into a purple center that loses the sharp patriotic look. Splitting the cake into halves keeps the stripes distinct and makes every slice look intentional. The holes need to be close enough together that the Jell-O reaches across the crumb, but not so close that the cake turns fragile.
What Each Ingredient Is Actually Doing Here

- White cake mix — This gives you a light-colored base that lets the red and blue stripes show clearly. A homemade white cake works too, but a boxed mix is actually a good choice here because it bakes up sturdy enough to handle the gelatin without falling apart.
- Strawberry Jell-O and berry blue Jell-O — These are the color and flavor of the whole dessert. You need the gelatin here, not just flavored syrup, because it sets inside the holes and gives you that signature stripe when the cake is sliced.
- Cool Whip — The whipped topping adds a soft, creamy layer that balances the sweet gelatin and keeps the top from feeling sticky. Real whipped cream can work, but it won’t hold as long if the cake sits out for a party.
- Fresh strawberries and blueberries — These aren’t just garnish. They echo the Jell-O flavors and give the finished cake a fresher, less candy-like bite.
- Star sprinkles — Use them after the whipped topping goes on so they stay bright and visible. If you add them too early, the color can bleed a little into the cream.
Building the Poke Cake So the Layers Stay Clean
Baking and Cooling the Base
Bake the white cake in a 9×13 pan and let it cool for about 15 minutes before you poke it. That short rest matters more than people think. If the cake is piping hot, the gelatin races to the bottom; if it’s fully cold, it won’t soak in evenly. You want the top to be set, the interior still tender, and the surface easy to pierce without crumbling.
Making the Holes
Use the handle of a wooden spoon and press straight down about 1 inch apart across the cake. Wobbling the spoon twists the crumb and makes ragged tunnels instead of clean channels. The holes should be deep enough for the Jell-O to travel through the cake, but not so deep that you hit the pan and flatten the bottom.
Pouring the Gelatin in Two Halves
Dissolve each box of Jell-O completely in boiling water before adding the cold water. If the granules are still floating, they’ll leave grainy spots in the cake. Pour one color over each half slowly, aiming for the holes and letting the liquid sink in on its own. The cake should look saturated on top without a puddle sitting there.
Chilling and Finishing
Refrigerate the cake for at least 2 hours, and don’t rush this part. The gelatin needs that time to set inside the crumb or the first slice will slump. Spread the whipped topping over a fully chilled cake, then finish with sprinkles and fruit right before serving so the top stays neat and the berries keep their shine.
How to Adapt This Cake for Different Crowds
Make it dairy-free
Use a dairy-free white cake mix or homemade white cake made with neutral oil, then top it with a dairy-free whipped topping. The texture stays light, and you still get the same clean red and blue stripes from the gelatin.
Swap in homemade whipped cream
If you want a fresher, less sweet topping, use lightly sweetened whipped cream instead of Cool Whip. It tastes brighter, but it won’t hold as long, so add it close to serving time and keep the cake chilled until then.
Change the colors for another party
This same method works with any two Jell-O colors that make sense for the occasion. Keep the white cake base and the separate half-and-half pour, and you’ll get the same striped effect with a different color story.
Storage and Reheating
- Refrigerator: Keep covered and chilled for up to 4 days. The cake stays moist, though the whipped topping softens a little on day two.
- Freezer: I don’t recommend freezing this cake. The gelatin changes texture after thawing and the topping gets watery.
- Reheating: Don’t reheat it. Serve it cold straight from the fridge for the cleanest slices and the best Jell-O texture.
Questions I Get Asked About This Recipe
Red, White and Blue Poke Cake
Ingredients
Equipment
Method
- Bake the white cake in a 9x13 pan according to package directions, then let it cool for 15 minutes so it doesn’t release steam while soaking.
- Using the handle of a wooden spoon, poke holes all over the cake about 1 inch apart so the Jell-O can soak through evenly.
- Dissolve the strawberry Jell-O in 1 cup boiling water, stir in 1/2 cup cold water, then pour slowly over the left half of the cake to fill the holes.
- Dissolve the berry blue Jell-O in 1 cup boiling water, stir in 1/2 cup cold water, then pour over the right half of the cake to create the red and blue stripes.
- Refrigerate the cake for at least 2 hours until the Jell-O is fully set inside the cake so it slices cleanly.
- Spread the whipped topping evenly over the top of the chilled cake, then decorate with red and blue star sprinkles and fresh strawberries and blueberries before serving.


