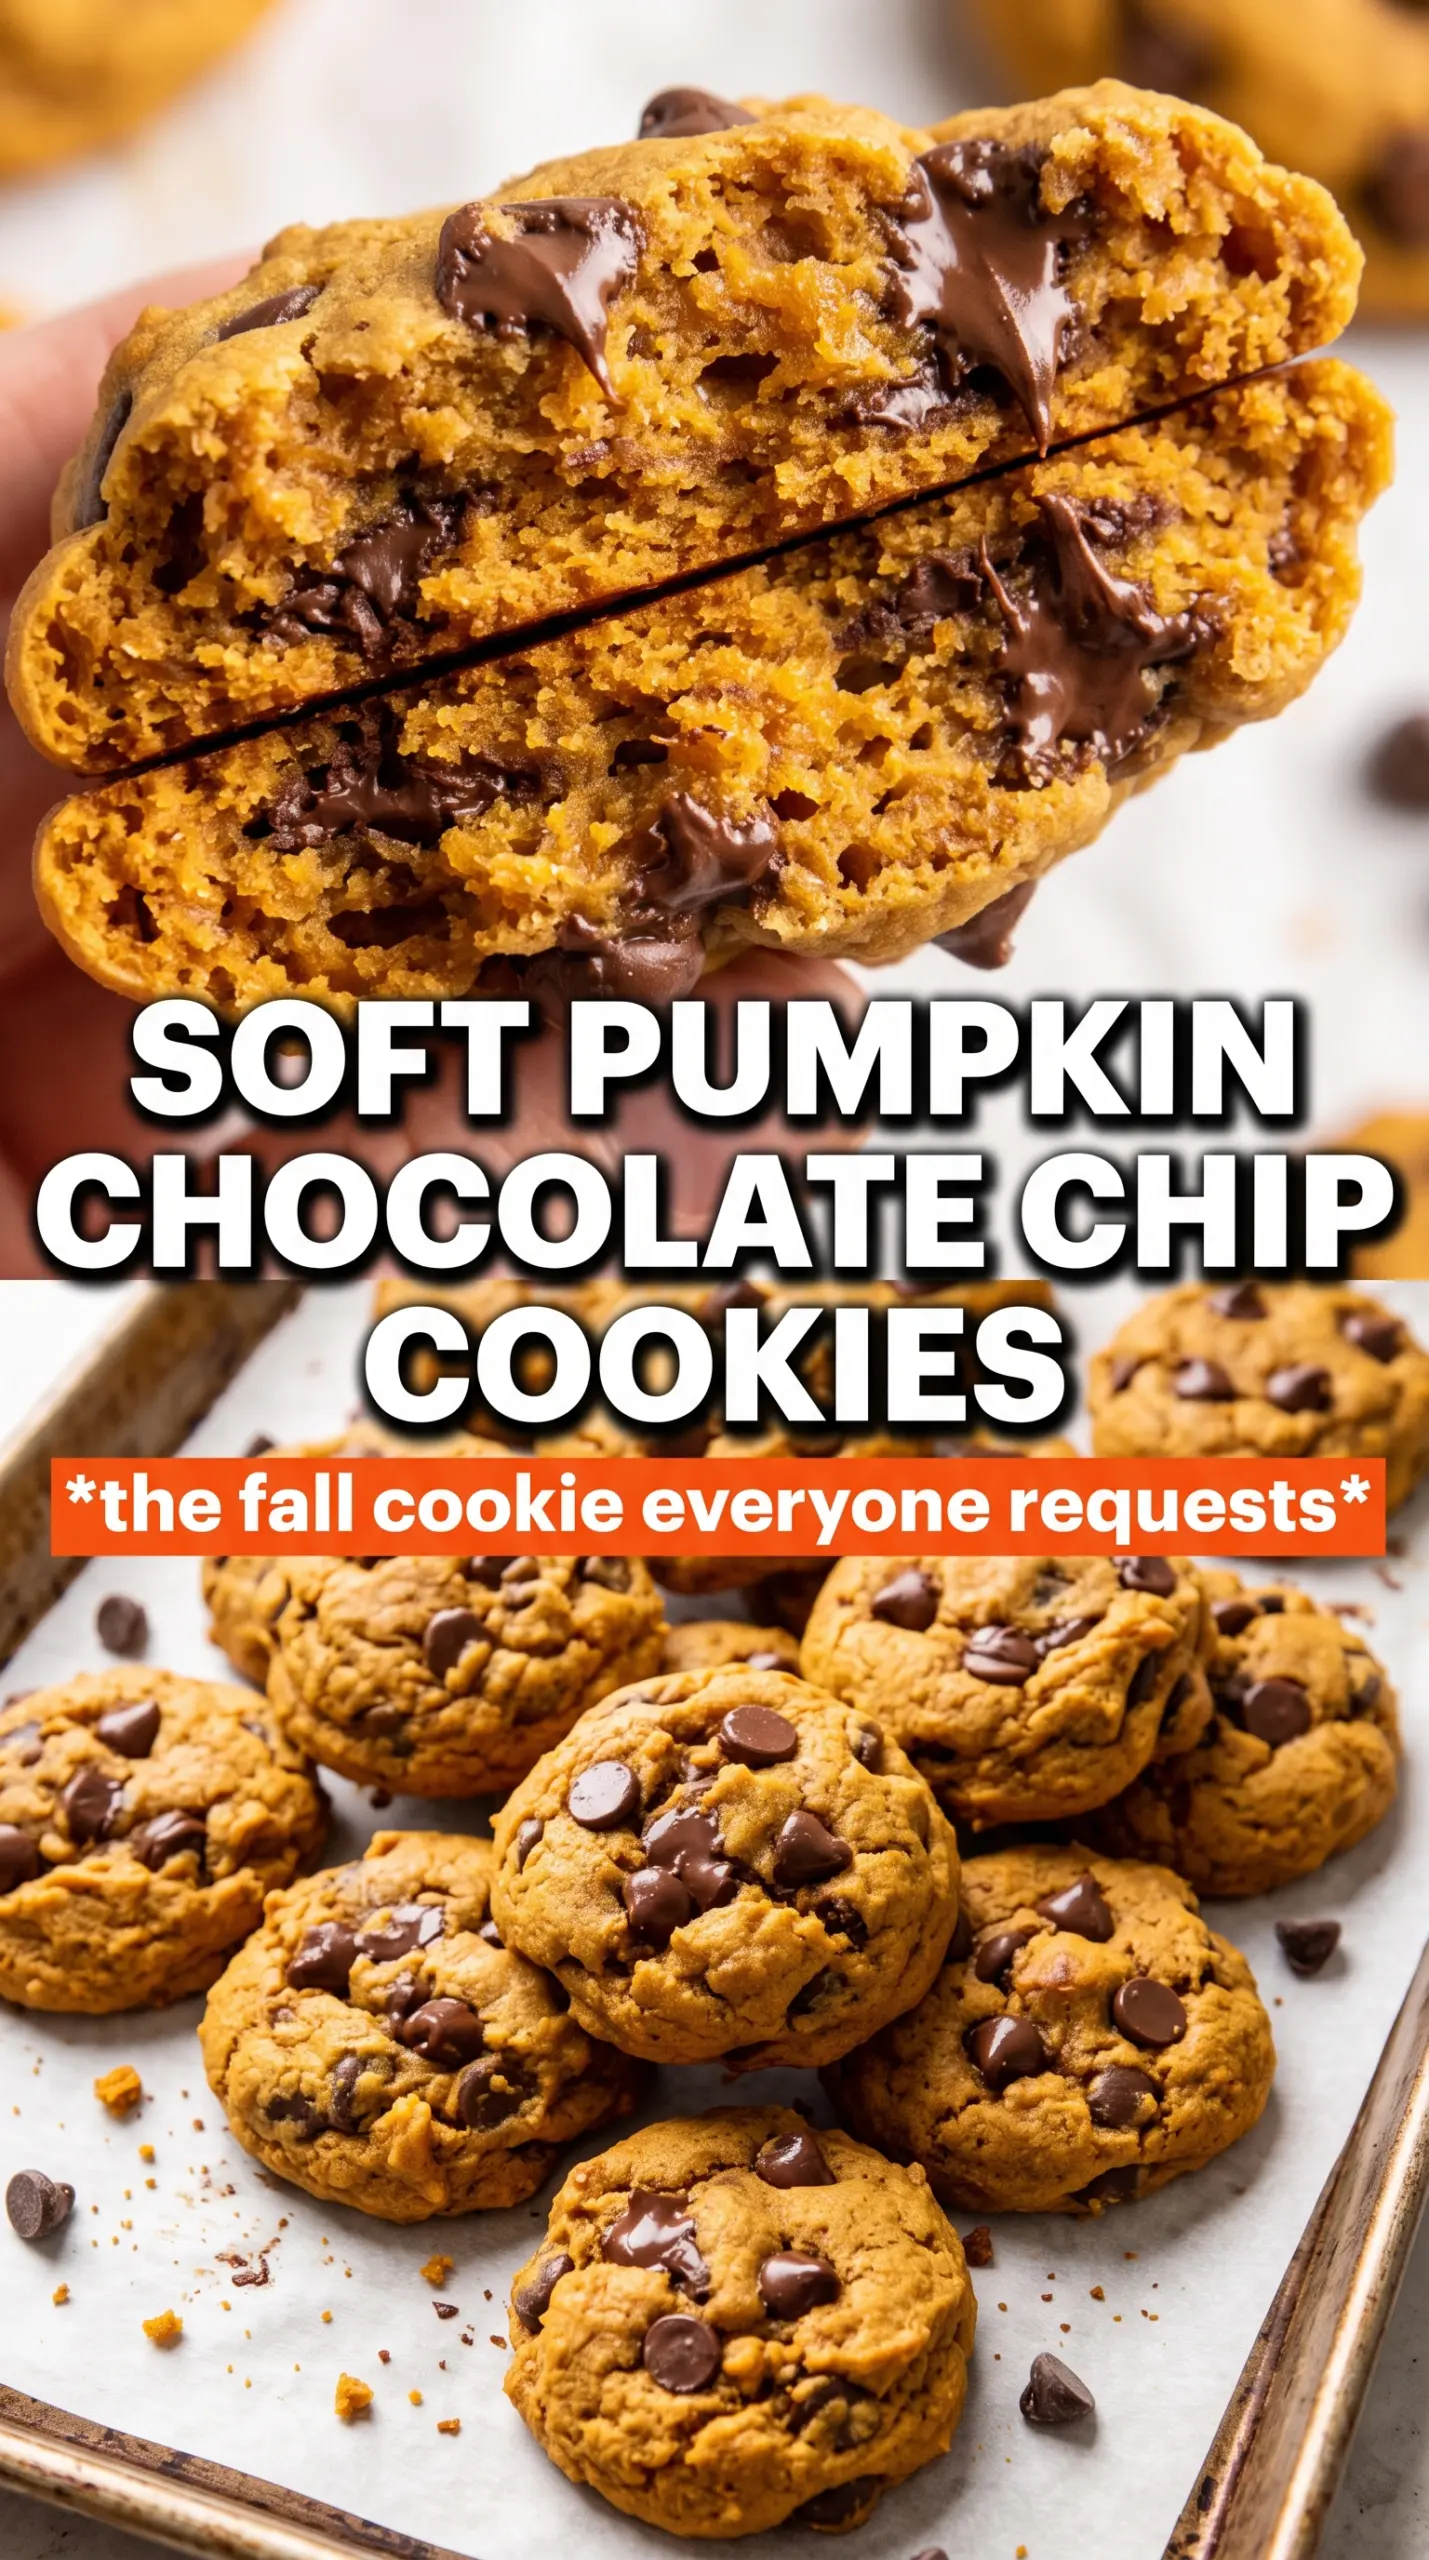
Soft pumpkin chocolate chip cookies can go one of two ways: cakey and bland, or tender in the center with crisped edges and little pools of melted chocolate. This version lands in the second camp. The cookies bake up with a soft orange crumb, caramelized bottoms, and just enough structure to hold their shape without turning dry.
The difference is in the moisture control. Pumpkin puree brings a lot of water to the dough, and if you skip the blotting step, the cookies spread less, bake up puffy, and can taste a little muted. Using just the egg yolk instead of the whole egg keeps the dough rich without adding extra liquid, and that small change matters more than people expect.
Below, I’ll walk you through the one step that keeps these cookies from turning cakey, plus a few smart swaps if you need to work with what’s already in your pantry.
The pumpkin flavor came through without making the cookies heavy, and blotting the puree made a huge difference. Mine spread just enough and the edges got that perfect little crunch.
Save these pumpkin chocolate chip cookies for when you want soft centers, caramelized edges, and that salty chocolate finish.
The Trick That Keeps Pumpkin Cookies from Going Cakey
Pumpkin cookies get cakey fast because pumpkin puree behaves more like a wet puree than a fat. The dough can look fine at first, then bake into little domed rounds that never spread properly. Blotting the pumpkin until it feels almost dry is what keeps the texture closer to a true cookie and farther from muffin territory.
That same logic is why this recipe uses an egg yolk instead of a whole egg. The yolk adds richness and helps bind the dough, while the white would bring extra water and more lift than you want here. If your cookies ever bake up pale and puffy instead of crisp at the edges, the dough was probably too wet from the start.
- Pumpkin puree — Use plain canned pumpkin, not pumpkin pie filling. The puree should be blotted between layers of paper towels until it feels thick and dry; that single step changes the bake.
- Butter — Softened butter gives the cookies spread and flavor. If it’s melted, the dough gets greasy and the cookies flatten too much.
- Brown sugar — This brings chew and a deeper caramel note that plays well with the spice. Granulated sugar helps with edge crispness, so don’t swap all of it out.
- Chocolate chips — Dark or semi-sweet chips hold their shape and balance the pumpkin sweetness. Chopped chocolate works too, but it melts more dramatically and gives you fewer neat pockets.
What Each Ingredient Is Actually Doing in This Recipe
- Primary ingredient (the star) — Quality matters most. Choose the best you can find.
- Cooking medium (oil, butter, or broth) — This carries flavors and prevents dryness.
- Seasonings (salt, pepper, spices, herbs) — Layer flavors so nothing overpowers. Build depth gradually.
- Aromatics (garlic, onion, herbs) — Cook with fat to bloom flavors. Become the foundation.
- Supporting ingredients — Complement the main ingredient without overpowering it.
- Sauce or liquid (if applicable) — Brings flavors together. Balance richness with acid.
- Acid (lemon, vinegar, wine, or other) — Brightens and prevents flat-tasting results.
- Final finish (garnish, glaze, or sauce) — Prevents one-dimensional taste and adds visual appeal.
Building the Dough So the Cookies Spread the Right Way
Drying the Pumpkin First
Lay the pumpkin puree between several layers of paper towels and press gently until the towels stop pulling out much moisture. You’re aiming for a thick paste, not a wet puree. If you skip this, the dough will stay sticky and the cookies will bake up more like cake than cookie. This step sounds fussy, but it’s the difference between soft and bloated.
Whipping the Butter and Sugars
Beat the butter with both sugars until the mixture looks pale and fluffy. That gives the cookies some air and helps the edges bake up with a little snap. Once the pumpkin, egg yolk, and vanilla go in, the mixture may look slightly curdled for a moment. That’s normal. It comes together as soon as the flour is folded in.
Baking Until the Edges Set
Scoop the dough into 2-tablespoon rounds and give them space on the baking sheet. Bake just until the edges are golden and the centers still look a little soft, because they finish setting on the hot pan. If you wait until the tops look completely dry, the cookies will lose that tender middle. A five-minute rest on the sheet pan is enough to firm them up before moving them.
Make Them Dairy-Free
Use a good plant-based butter stick in place of the unsalted butter. The cookies will still spread and brown, but they may taste a touch less rich and the edges can be a little softer. Skip buttery spreads from a tub; they hold too much water and can throw off the texture.
Use Different Chocolate for a Different Finish
Semi-sweet chips give the most balanced result, but dark chocolate makes the pumpkin flavor taste deeper and less sweet. Milk chocolate will work if that’s what you have, though the cookies finish sweeter and a little softer-tasting. Chopped chocolate gives more molten pockets, while chips keep cleaner chunks.
Make the Spice Warmer or Milder
If you want a stronger spice note, add a pinch more cinnamon and pumpkin pie spice. For a milder cookie, cut the pumpkin pie spice back slightly and let the vanilla and chocolate lead. The texture won’t change much, but the overall cookie will feel either more autumn-spiced or more chocolate-forward.
Storage and Reheating
- Refrigerator: Store in an airtight container for up to 5 days. The cookies soften a bit by day two, but the flavor stays good.
- Freezer: Freeze baked cookies for up to 2 months, or freeze scooped dough balls and bake from frozen with 1 to 2 extra minutes.
- Reheating: Warm a cookie in the microwave for 8 to 10 seconds or in a low oven for a few minutes. Too much heat dries out the edges and dulls the chocolate.
Questions I Get Asked About This Recipe
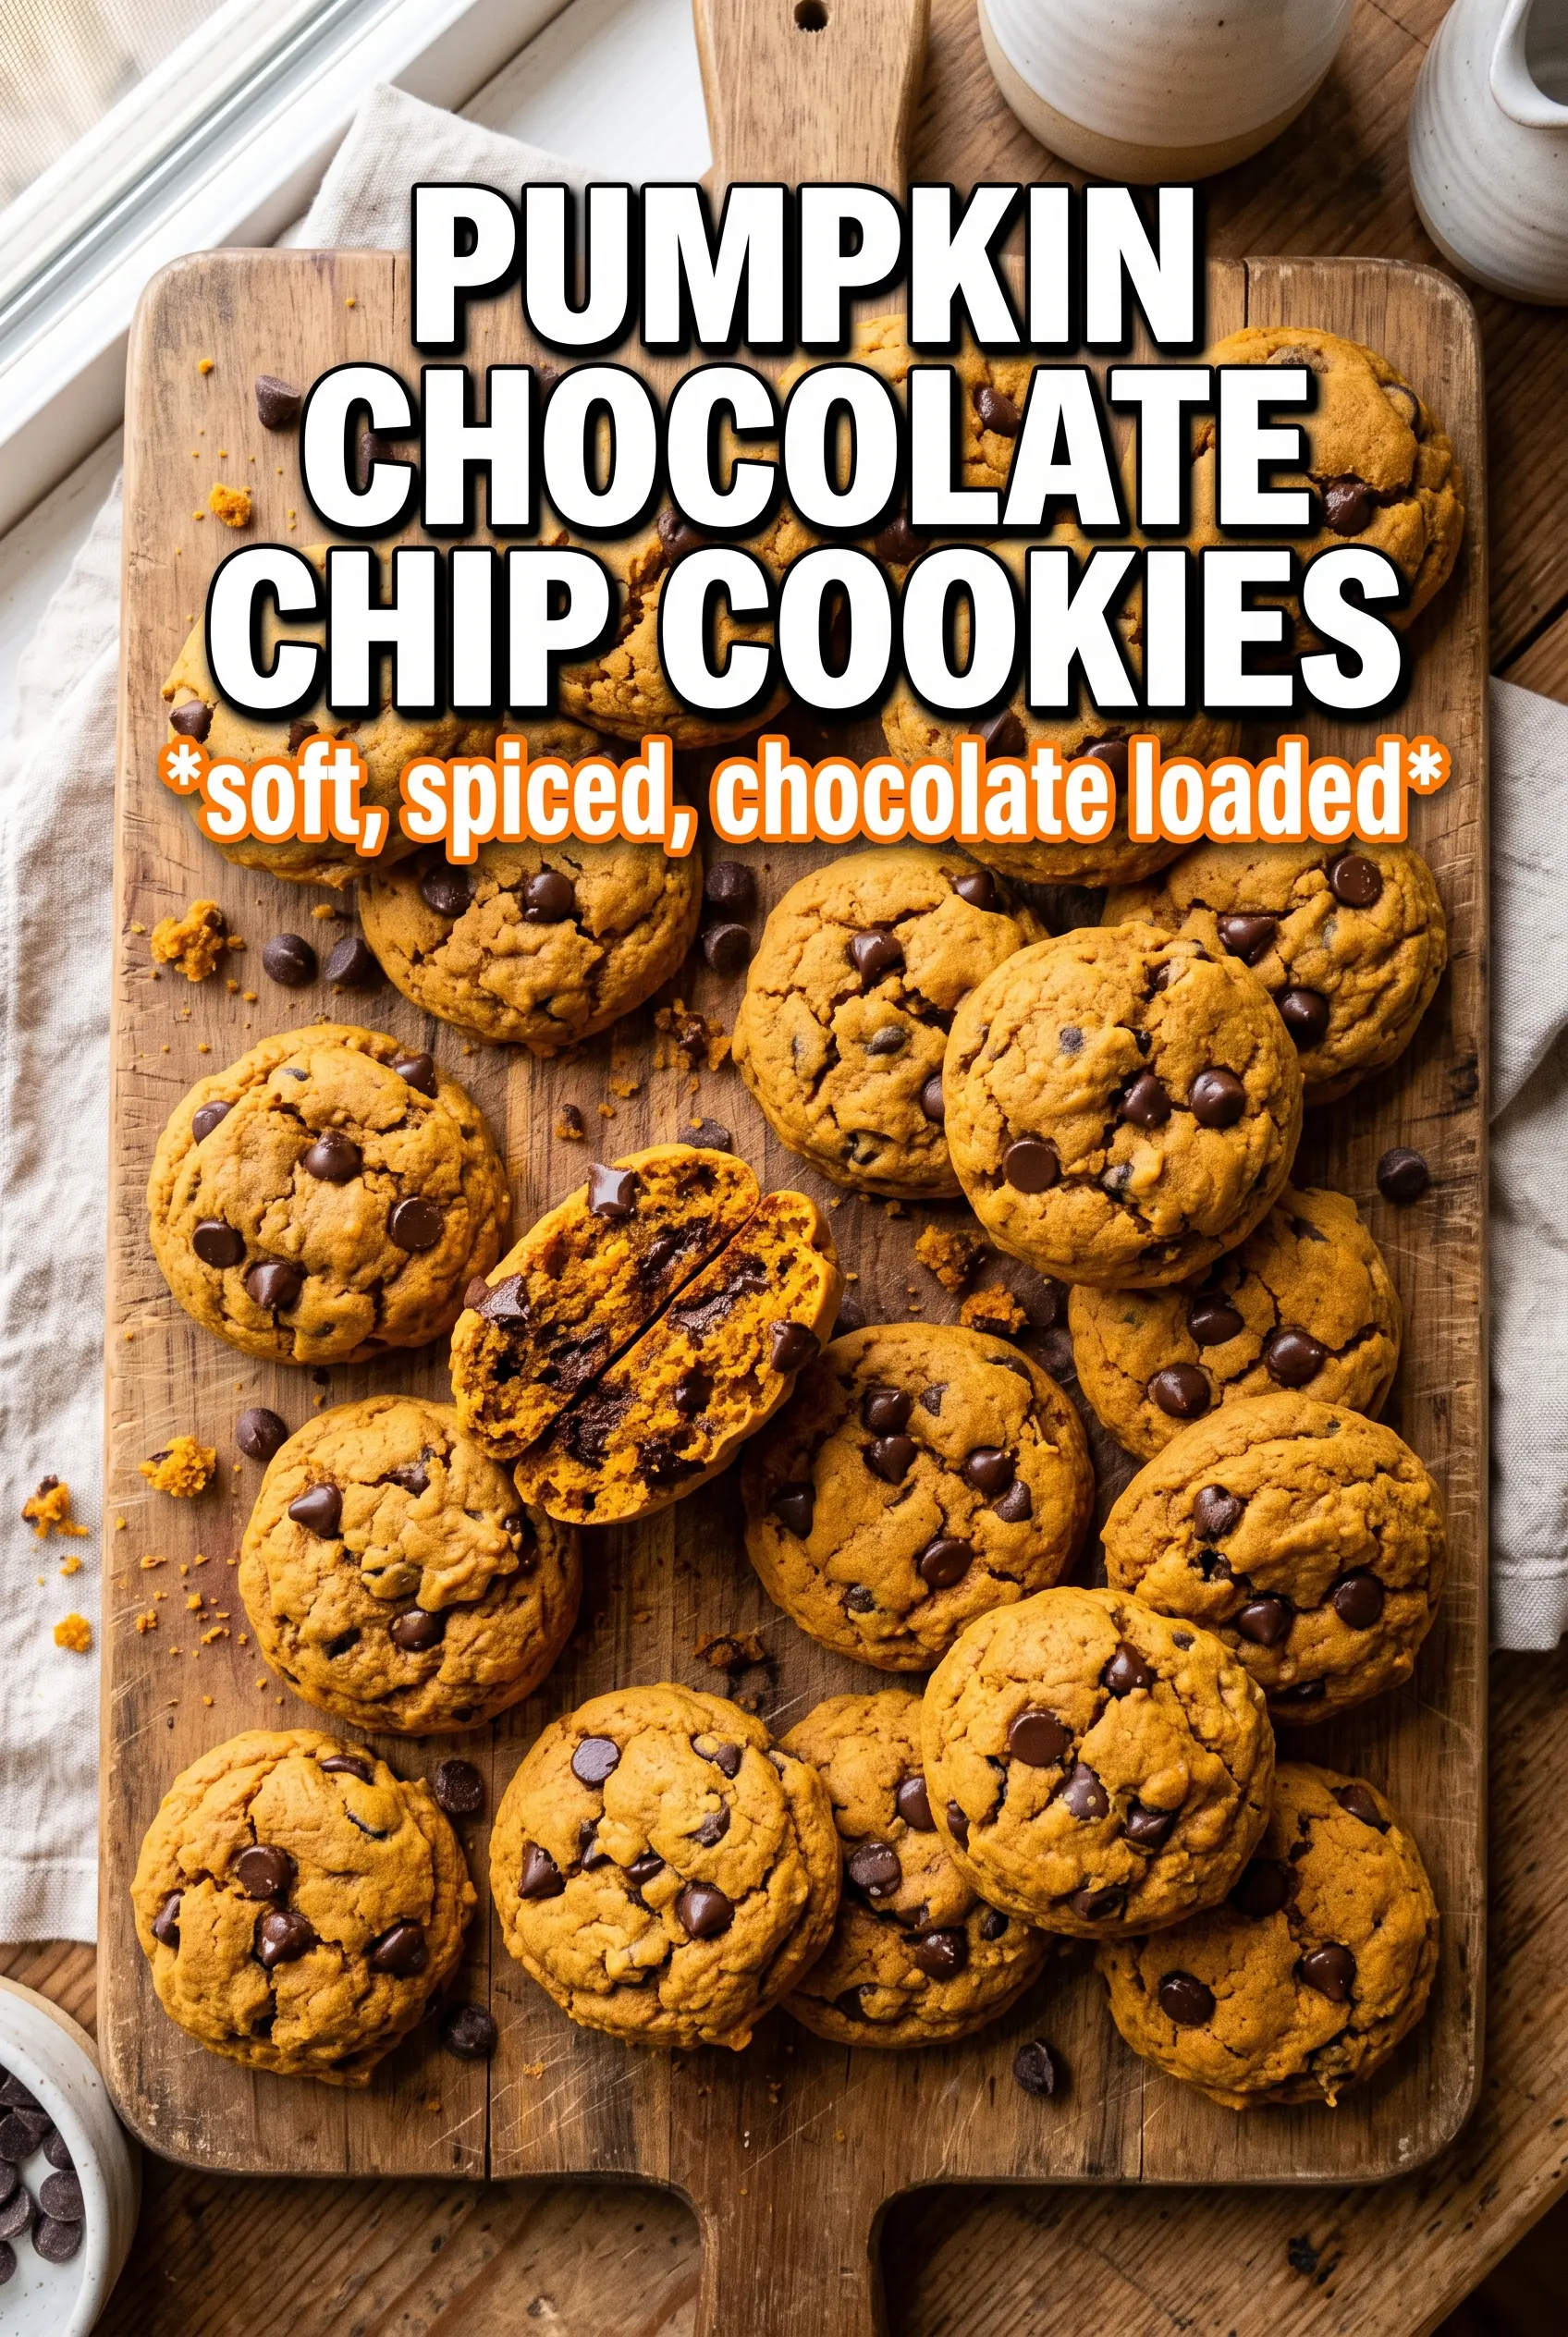
Pumpkin Chocolate Chip Cookies
Ingredients
Equipment
Method
- Preheat oven to 375F and line sheet pan(s) with parchment.
- Blot pumpkin puree between many layers of paper towels until very dry, using a lot of pressure; this helps cookies spread and crisp.
- Whisk all-purpose flour, baking soda, baking powder, pumpkin pie spice, cinnamon, and salt until evenly combined.
- Beat softened unsalted butter, granulated sugar, and brown sugar until fluffy.
- Add blotted pumpkin puree, egg yolk, and vanilla extract, then mix until smooth and cohesive.
- Fold in the flour mixture just until no dry streaks remain.
- Fold in dark or semi-sweet chocolate chips so they are evenly distributed; the dough should look thick.
- Scoop dough into 2-tablespoon rounds and place on the prepared sheet pan(s), spacing them apart.
- Bake at 375F for 11-13 minutes, until the cookies are golden at the edges with set centers.
- Sprinkle flaky sea salt over the warm cookies, then cool on the pan for 5 minutes so they finish setting.