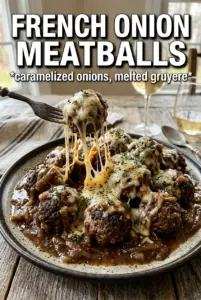
French onion meatballs bring everything people love about the classic soup into one hearty pan: deeply browned onions, a rich beefy sauce, tender meatballs, and a melted cheese cap that pulls into strings when you scoop in. The onions carry the whole dish, so the meatballs stay juicy without turning bland, and the broiler finish gives you that savory, bubbling top that makes the first spoonful worth waiting for.
The part that makes this version work is patience with the onions. They need time over medium-low heat to go from sharp and crunchy to soft, brown, and jammy. That slow caramelization builds the base of the sauce, and the wine or broth used to deglaze picks up every browned bit from the pan. Once the meatballs go back in, they only need a short simmer, just enough to finish cooking and soak up the onion broth without drying out.
Below, I’m walking through the exact cues I watch for when the onions are ready, the point where the cheese should go under the broiler, and a few smart swaps if you need to adjust the dish for what’s in your kitchen.
The onions cooked down into a sweet, rich sauce and the meatballs stayed tender all the way through. I broiled it for three minutes and the cheese turned golden without getting greasy.
Save these French onion meatballs for the night you want a bubbling cheese-topped dinner with caramelized onions and almost no cleanup.
The Part That Makes French Onion Meatballs Worth the Extra Onion Time
The mistake most people make with French onion flavors is rushing the onions until they only look soft. Soft onions still taste sharp. What you want is the slow, brown, sticky stage where the pan starts building little fond spots again and the onions taste sweet enough to carry the whole sauce. That is what gives this dish its soup-like depth instead of a generic beef-and-cheese casserole.
Brown the meatballs first and don’t try to cook them through at that point. You’re looking for a deep crust on the outside, because that crust holds up once they go back into the broth. If the pan looks dry after browning, that’s fine; the butter and onion juices will loosen it when you start the sauce, and those browned bits are where a lot of the flavor lives.
- Ground beef — An 80/20 blend gives the meatballs enough fat to stay tender after the simmer. Leaner beef works, but the texture will be a little firmer and less rich.
- Breadcrumbs and egg — These hold the meatballs together and keep them from tightening up in the sauce. If you use gluten-free breadcrumbs, the recipe still works; just use a fine crumb so the meatballs don’t fall apart.
- Worcestershire — This adds savory depth to both the meatballs and the sauce. There isn’t a perfect substitute, but a splash of soy sauce plus a little balsamic comes close if that’s what you have.
- Dry white wine or beef broth — Wine gives the onions a brighter finish, while broth keeps the sauce deeper and more purely savory. If you skip the wine, deglaze with broth and scrape the pan well so nothing flavorful stays stuck behind.
- Gruyere or provolone — Gruyere gives the most classic French onion result, with a nutty melt that browns beautifully. Provolone melts more softly and is easier to find, so it’s the better everyday choice if you want that cheese pull without hunting for specialty cheese.
What Each Ingredient Is Actually Doing in This Recipe

- Primary ingredient (the star) — Quality matters most. Choose the best you can find.
- Cooking medium (oil, butter, or broth) — This carries flavors and prevents dryness.
- Seasonings (salt, pepper, spices, herbs) — Layer flavors so nothing overpowers. Build depth gradually.
- Aromatics (garlic, onion, herbs) — Cook with fat to bloom flavors. Become the foundation.
- Supporting ingredients — Complement the main ingredient without overpowering it.
- Sauce or liquid (if applicable) — Brings flavors together. Balance richness with acid.
- Acid (lemon, vinegar, wine, or other) — Brightens and prevents flat-tasting results.
- Final finish (garnish, glaze, or sauce) — Prevents one-dimensional taste and adds visual appeal.
Building the Onion Broth Before the Cheese Goes On
Getting the Meatballs Brown, Not Gray
Mix the meatball ingredients just until combined, then roll them into even balls so they cook at the same rate. Brown them in butter over medium heat until the outside is deeply colored but the centers are still underdone. If you crowd the pan, they’ll steam instead of sear, and you’ll miss the crust that gives the final sauce more body.
Caramelizing the Onions Without Burning Them
Cook the onions slowly in butter over medium-low heat, stirring often and scraping up the browned bits as they form. They should shrink down, turn glossy, then shift into a deep golden-brown color with a sweet smell that replaces the raw onion bite. If the heat is too high, the edges will scorch before the whole pan has time to caramelize, so keep the pace steady and add a small splash of broth if the pan gets too dark too fast.
Turning the Pan Drippings Into Sauce
Once the onions are caramelized, pour in the wine or broth and scrape the bottom of the skillet hard with a wooden spoon. That loosens the browned bits from both the meatballs and the onions, which is where the sauce gets its depth. Stir in the beef broth, Worcestershire, and thyme, then return the meatballs to the pan and let everything simmer until the meatballs are cooked through and the sauce tastes rounded, not sharp.
The Broil Finish That Makes It Feel Like French Onion Soup
If your skillet isn’t oven-safe, move everything to a baking dish before the cheese goes on. Scatter the shredded cheese over the top in an even layer, then broil just until it turns bubbly and spotty brown. Watch it closely, because the difference between perfectly bronzed cheese and burnt cheese is less than a minute under the broiler.
How to Change the Dish Without Losing the French Onion Feel
Make it gluten-free
Use gluten-free breadcrumbs in the meatballs and check that your Worcestershire sauce is gluten-free. The texture stays close to the original as long as the crumb is fine, and the sauce still tastes full and savory.
Make it dairy-free
Use olive oil instead of butter and skip the cheese, or finish with a dairy-free melty cheese if you have one you trust. You’ll lose some of the classic French onion richness, but the caramelized onion broth still gives the dish most of its character.
Swap the meat
Ground turkey or chicken works, but the flavor is lighter and the meatballs need gentler handling so they don’t dry out. Add a little extra fat if needed, and don’t overbrown them since they’ll spend time in the sauce.
Storage and Reheating
- Refrigerator: Store leftovers for up to 4 days. The sauce thickens as it chills, which actually helps the flavors settle in.
- Freezer: This freezes well without the cheese topping. Freeze the meatballs and sauce in an airtight container for up to 2 months, then add fresh cheese before reheating if you want the best finish.
- Reheating: Warm gently on the stove over low heat or in a covered baking dish at 325°F until hot through. High heat can make the meatballs tough and can separate the sauce, so go slow and add a splash of broth if it looks too tight.
Questions I Get Asked About This Recipe
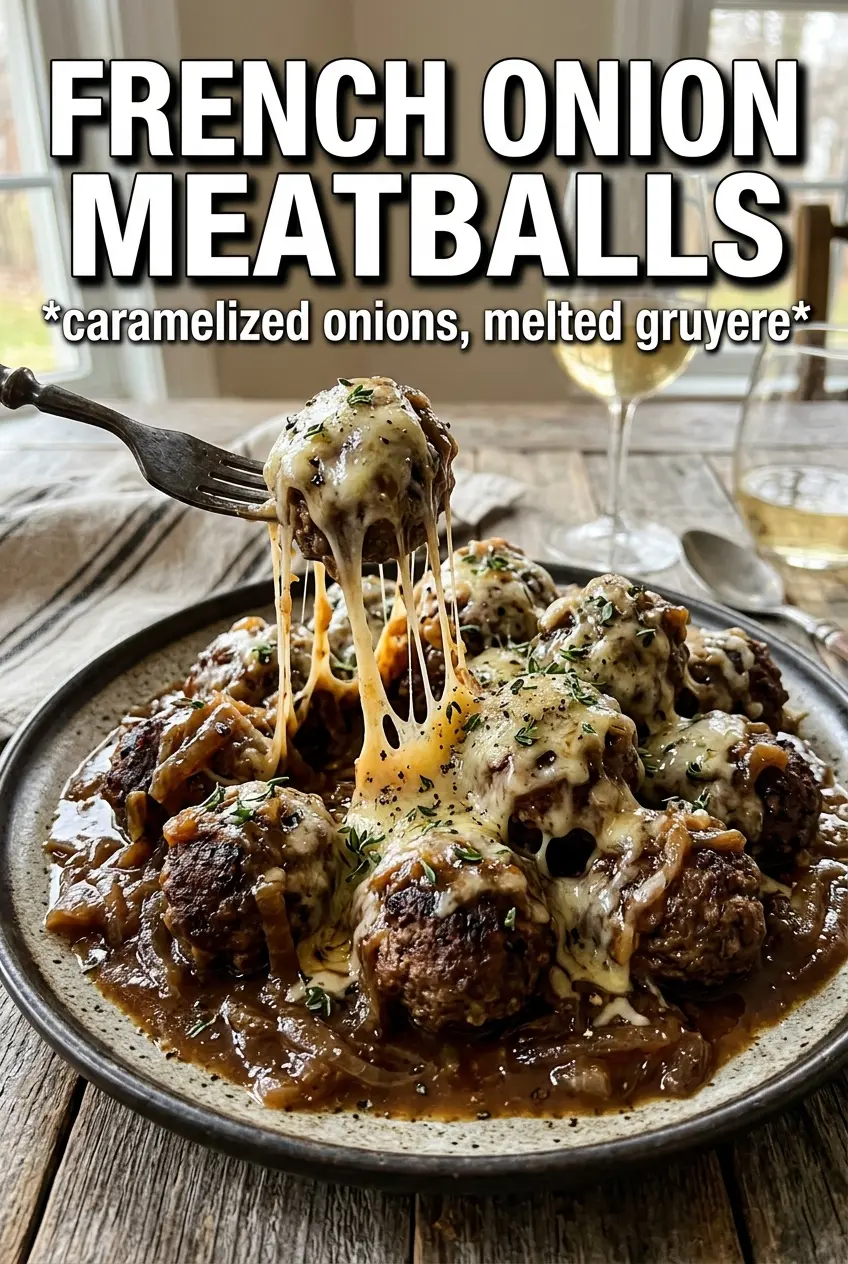
French Onion Meatballs
Ingredients
Equipment
Method
- Mix ground beef, breadcrumbs, egg, Worcestershire, garlic powder, onion powder, salt, and pepper until evenly combined.
- Roll the mixture into 1.5-inch meatballs, then brown them in butter in a skillet over medium-high heat until deep golden all over, and set aside.
- In the same skillet, caramelize the sliced onions in butter over medium-low heat for 30-35 minutes, stirring occasionally until deeply browned and soft.
- Deglaze the skillet with wine, scraping up any browned bits, then cook 1-2 minutes.
- Add beef broth, Worcestershire, and fresh thyme, then bring the mixture to a simmer.
- Return the browned meatballs to the onion sauce, then simmer for 15 minutes until cooked through and coated.
- Transfer to a baking dish if the skillet is not oven-safe, then scatter shredded Gruyere/provolone over the top.
- Broil 3-4 minutes until the cheese is golden and bubbly with lightly browned spots.