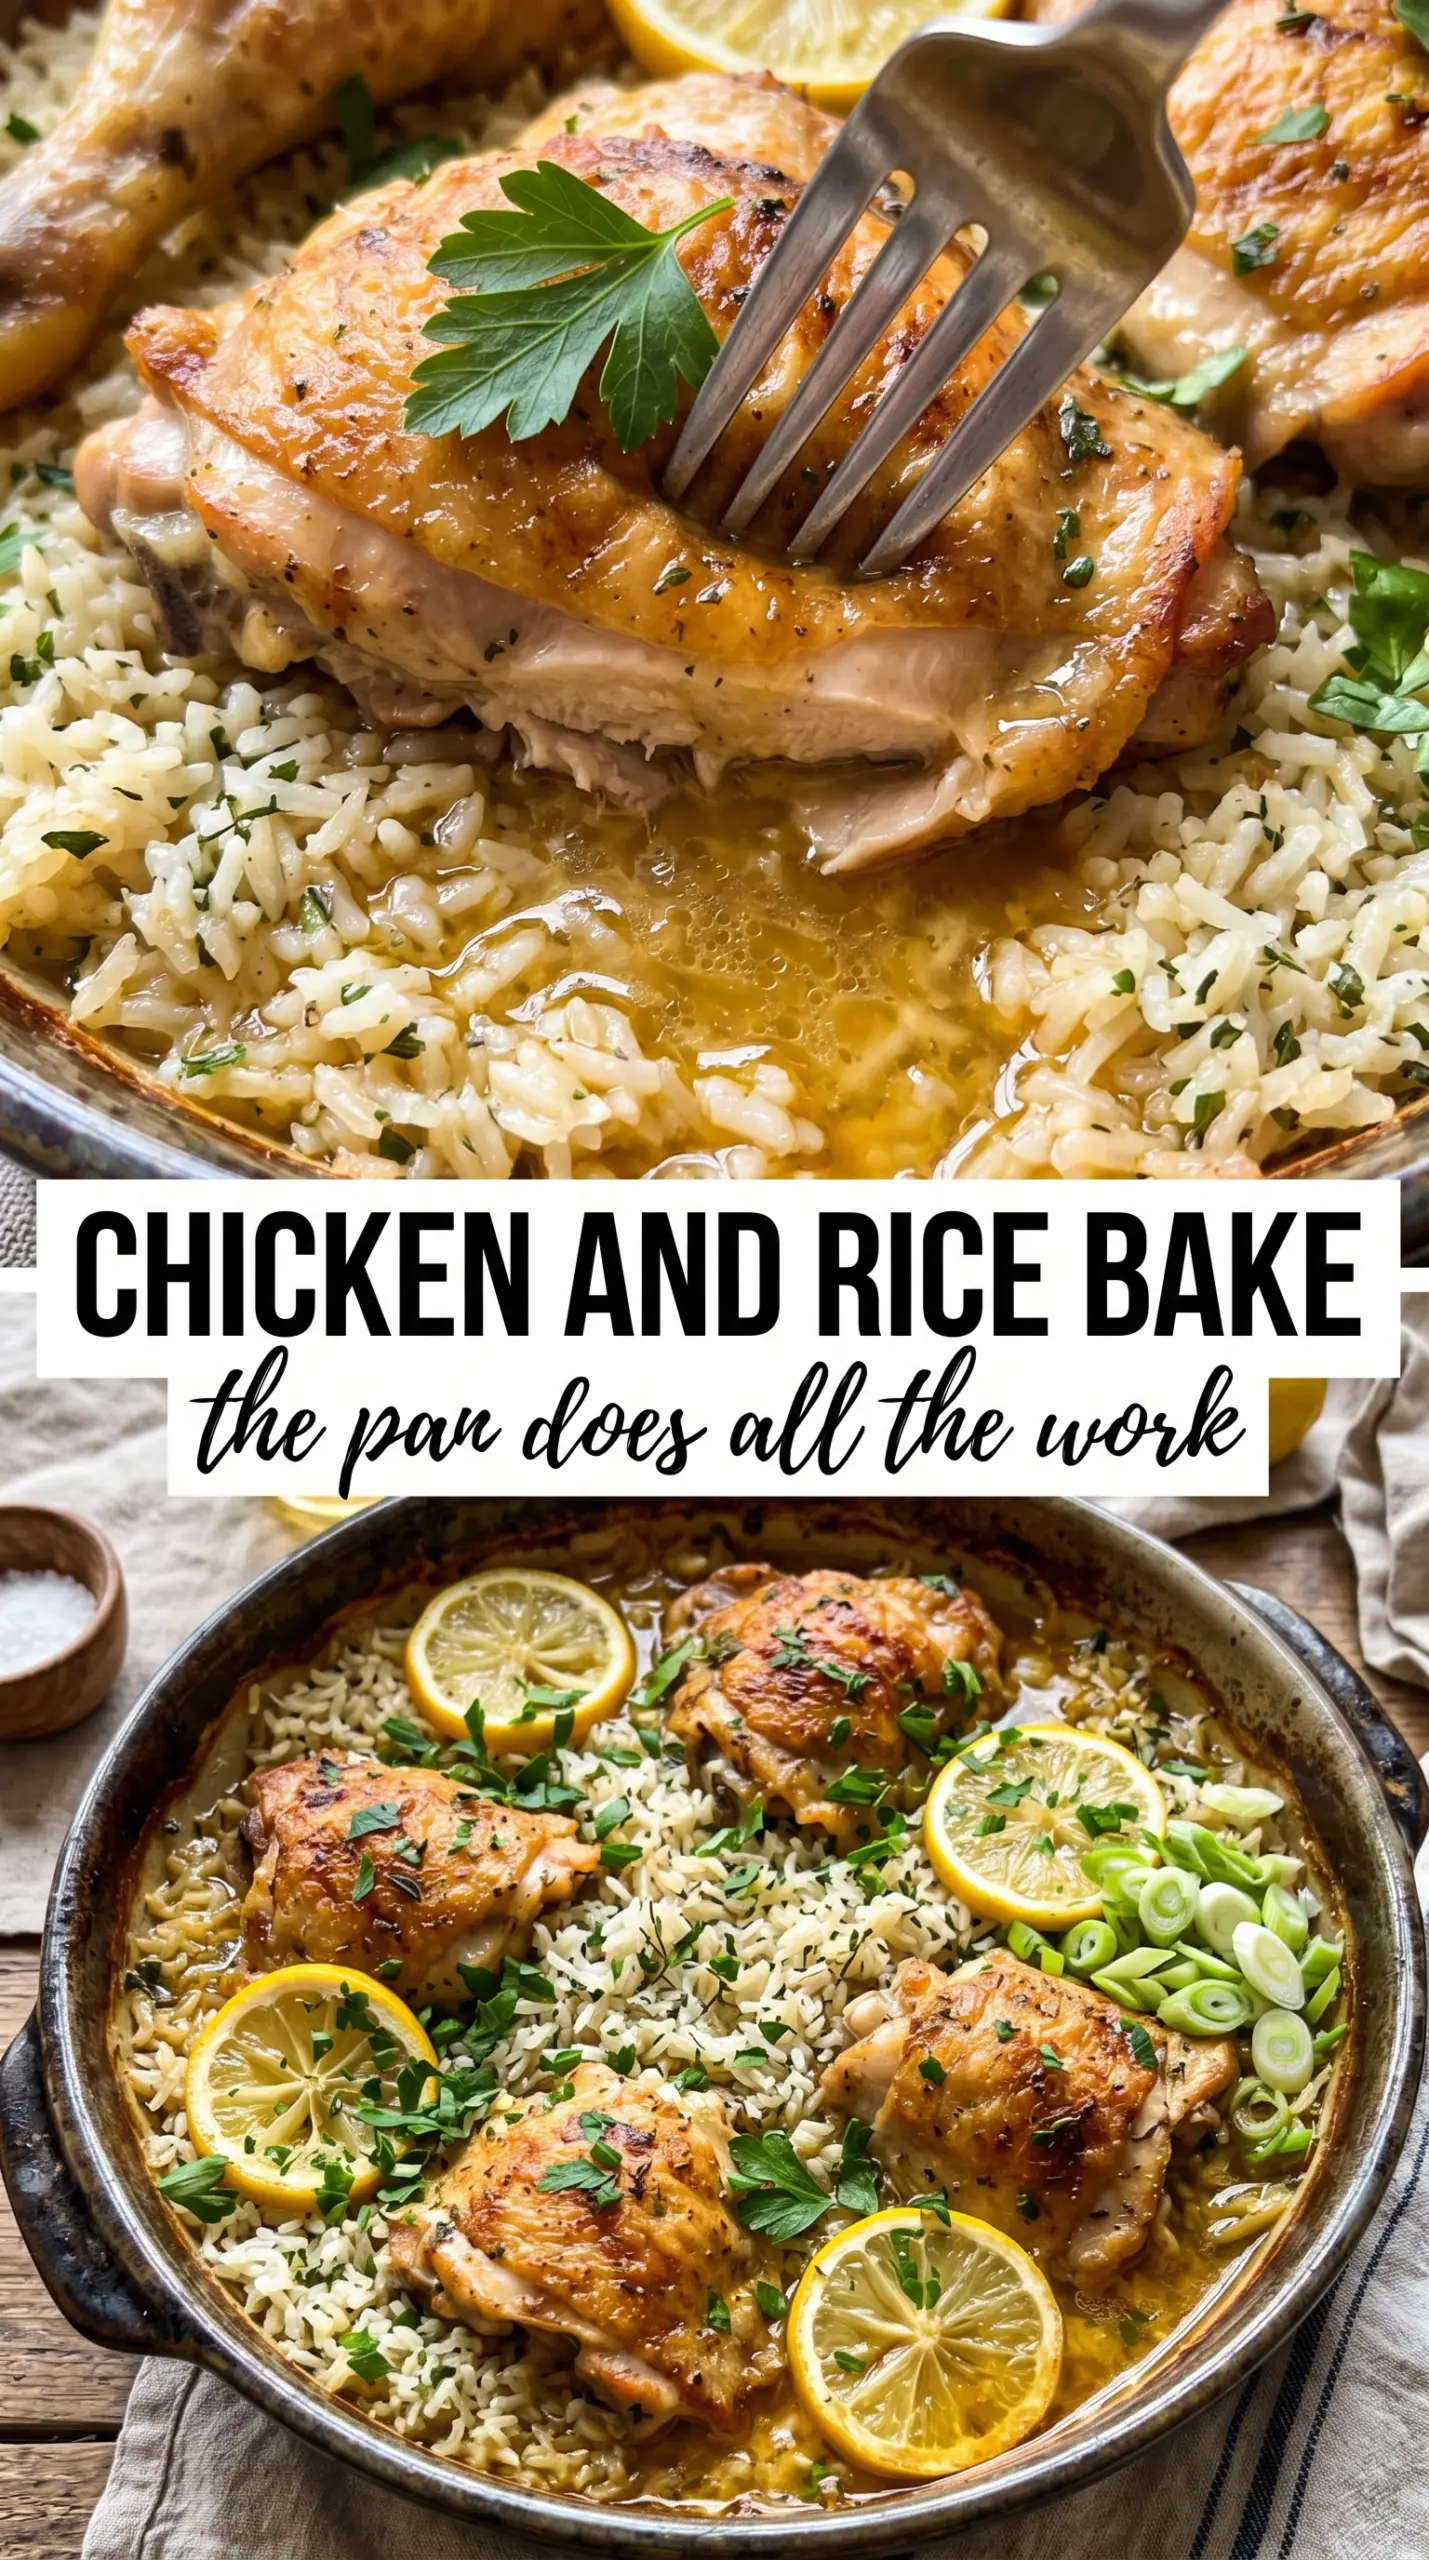
Golden-skinned chicken tucked over a pan of herb-flecked rice is one of those dinners that looks plain going in and comes out tasting like you put in a lot more work than you did. The rice soaks up the seasoned broth and the chicken drippings, so every spoonful carries both savory depth and those little browned edges from the oven.
This version works because the rice starts with enough liquid to cook fully under foil, then finishes uncovered so the chicken skin can crisp and the top layer of rice dries just enough to turn fluffy instead of mushy. Bone-in, skin-on thighs matter here. They stay juicy through the full bake and give the rice more flavor than boneless pieces ever could.
Below, I’ll walk through the one detail that keeps the rice from turning wet, plus the ingredient swaps that still keep this dinner steady and satisfying.
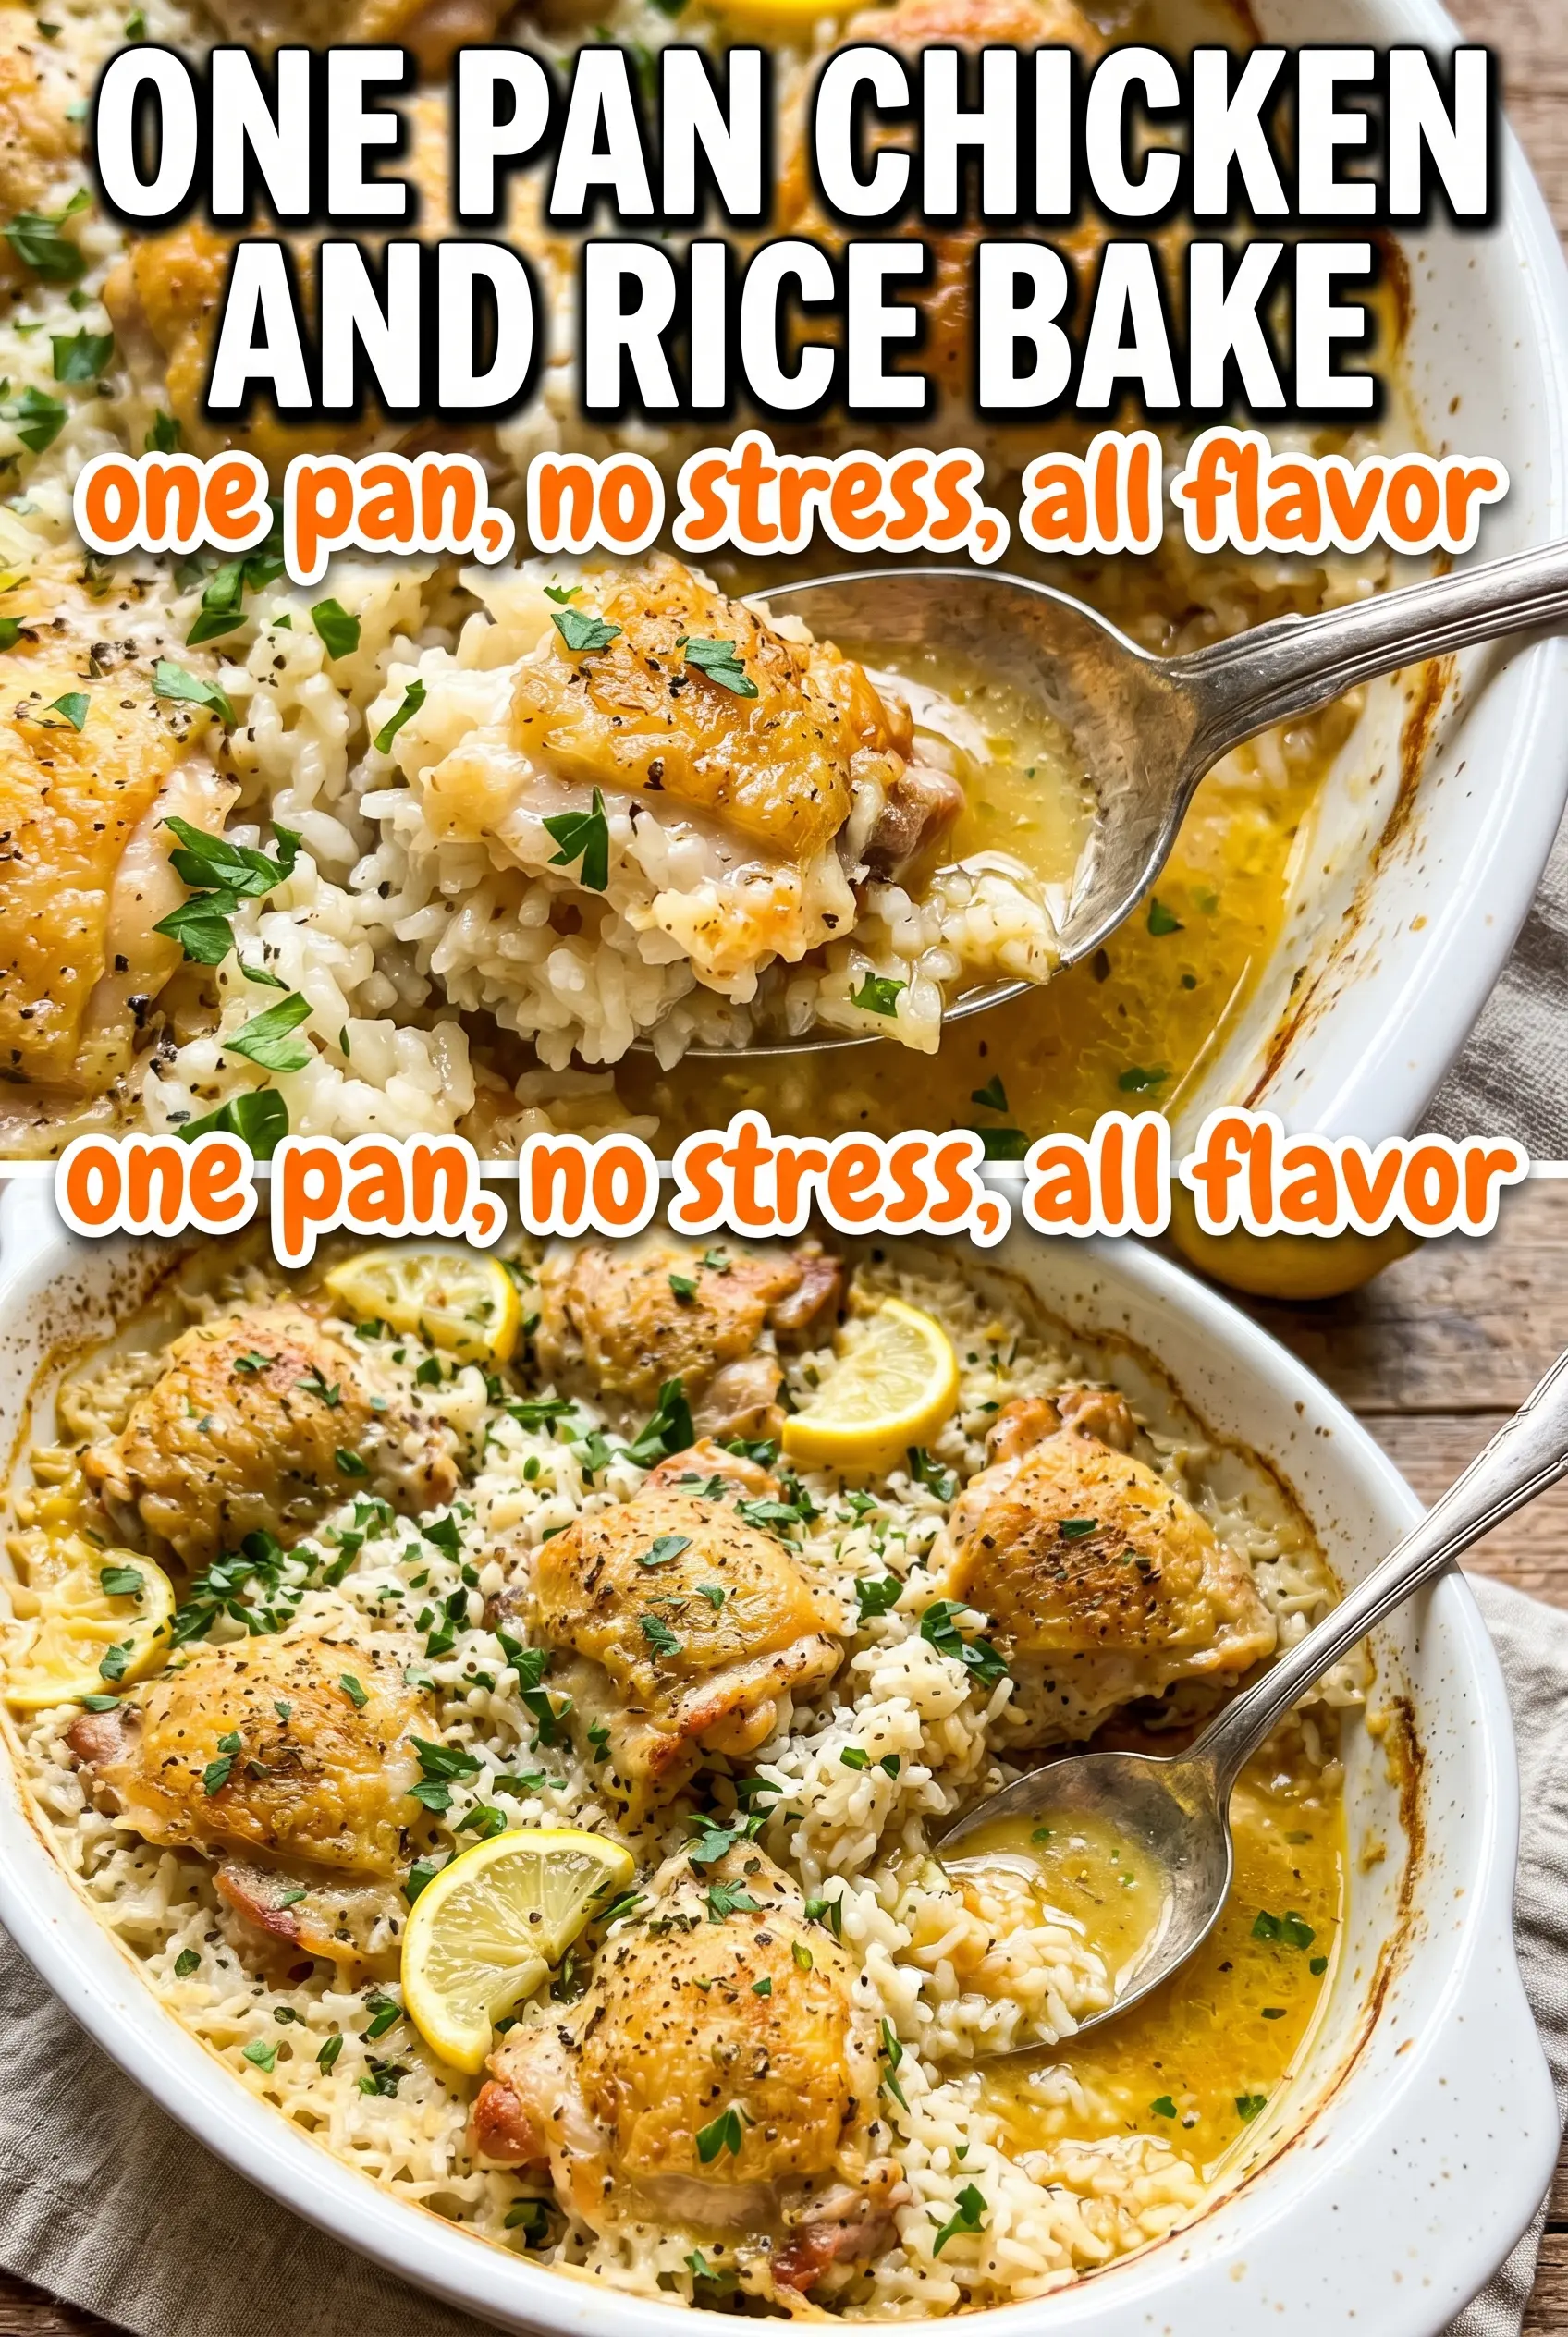
The rice came out fluffy and carried all the chicken flavor, and the skin on top crisped up instead of steaming like it usually does in casseroles.
Save this one-pan chicken and rice bake for the nights when you want crispy-skinned chicken and fluffy herb rice from a single dish.
The Secret to Rice That Cooks Through Without Turning Soft
The most common failure in chicken and rice bakes is adding too little liquid or lifting the foil too early. The rice needs that covered time to absorb broth evenly, and the chicken needs the trapped steam to finish cooking the grains underneath. If the dish dries out before the rice is tender, the top turns chewy while the bottom stays hard.
Long-grain white rice is the safest choice here because it holds its shape and stays fluffy. Short-grain rice gives you a denser, stickier pan, and brown rice needs a different liquid ratio and a longer bake. Keeping the chicken skin above the rice also matters. When it sits directly in the liquid, the skin steams instead of browning.
- Long-grain white rice — This is the texture you want for a bake like this: separate grains that stay light after 55 minutes in the oven.
- Chicken broth — It seasons the rice from the inside out. Water works in a pinch, but the dish loses a lot of depth.
- Bone-in, skin-on thighs — They’re forgiving and flavorful. Boneless chicken cooks faster and can dry out before the rice finishes.
- Onion and garlic — They melt into the broth and build the base of the dish. Dice the onion small so it softens fully in the baking time.
What Each Ingredient Is Actually Doing in the Pan
- Chicken thighs — They baste the rice as they cook. You can use drumsticks if that’s what you have, but keep the pieces close in size so they finish together.
- Italian seasoning, thyme, paprika, and garlic powder — These season the chicken and the rice at the same time, which is why the dish tastes cohesive instead of like plain rice with chicken on top.
- Olive oil — A little fat on the skin helps the top brown once the foil comes off. Don’t skip it if you want crisp skin.
- Fresh parsley — It’s not just garnish here. The chopped herbs wake the whole dish up at the end and keep the final bite from feeling heavy.
How to Bake It So the Chicken Crisps and the Rice Stays Fluffy
Building the Rice Base
Stir the rice, broth, onion, garlic, thyme, Italian seasoning, and salt right in the baking dish so the seasonings are evenly distributed before the chicken goes on top. The liquid should look well mixed and slightly cloudy from the starch. If the onion is cut too large, it stays too firm by the time the rice is done, so keep the dice small and even.
Seasoning the Chicken for the Oven
Coat the thighs generously on both sides with salt, pepper, garlic powder, paprika, and a little Italian seasoning. The seasoning on the skin matters most because that’s the side that browns and carries the first hit of flavor. If the chicken looks pale before it goes into the oven, it usually means it’s under-seasoned, and the rice underneath will taste flat too.
Covered Baking Time
Tight foil is what turns this from a dry casserole into a proper rice bake. Seal the pan well so the steam stays inside and cooks the rice evenly. After 40 minutes, the rice should be mostly tender and the chicken should be close to cooked through; if steam escapes the pan, the rice can stay hard in spots.
Uncovering for the Finish
Remove the foil and bake until the chicken skin turns deep golden and the rice has absorbed the last of the liquid. This is the stage where the top dries slightly and the drippings concentrate into the rice. If the pan still looks wet, give it a few more minutes uncovered rather than cranking the heat, which can scorch the edges before the center catches up.
How to Adapt This for Different Kitchens and Different Nights
Make It with Chicken Breasts
You can use bone-in chicken breasts, but they need a little more attention because the lean meat dries faster than thighs. Keep the foil on until the rice is nearly done, then uncover just long enough for the skin to color. Boneless breasts aren’t the best fit here; they cook too quickly and don’t flavor the rice the same way.
Dairy-Free and Naturally Gluten-Free
This recipe already lands naturally dairy-free and gluten-free as written, as long as your broth is certified gluten-free. That makes it an easy one to serve to a mixed crowd without changing the texture or the baking method. The broth and olive oil carry all the richness you need.
Swap the Herb Profile
If you want a brighter version, swap the Italian seasoning for rosemary and extra thyme, then finish with lemon zest and parsley. That gives the bake a cleaner, more savory edge without changing the liquid ratio. Keep the seasoning simple if you’re adding a strong herb like rosemary, since it can take over the whole pan.
Storage and Reheating
- Refrigerator: Store leftovers in an airtight container for up to 4 days. The rice will firm up as it sits, but it still reheats well.
- Freezer: It freezes fine for about 2 months, though the rice gets a little softer after thawing. Freeze in portions so it reheats more evenly.
- Reheating: Reheat covered in the oven at 325°F with a splash of broth or water, or warm individual portions in the microwave with a damp paper towel over the top. The mistake people make is blasting it uncovered, which dries the rice before the center heats through.
Questions I Get Asked About This Recipe
One-Pan Chicken and Rice Bake
Ingredients
Equipment
Method
- Preheat the oven to 375°F so it reaches temperature for even cooking.
- Combine the long-grain white rice, chicken broth, diced onion, minced garlic, dried thyme, dried Italian seasoning, and salt in a 9x13 baking dish; stir to combine.
- Season the bone-in skin-on chicken thighs generously on all sides with pepper, garlic powder, paprika, and any additional Italian seasoning to taste.
- Nestle the chicken skin-side up on top of the rice mixture, then drizzle the chicken with olive oil.
- Cover tightly with foil and bake for 40 minutes, until the rice is mostly tender and the broth is bubbling under the foil.
- Remove the foil and bake for 15 minutes more at 375°F until the chicken skin is golden and the rice has absorbed all the liquid.
- Garnish with fresh parsley and serve straight from the baking dish.


