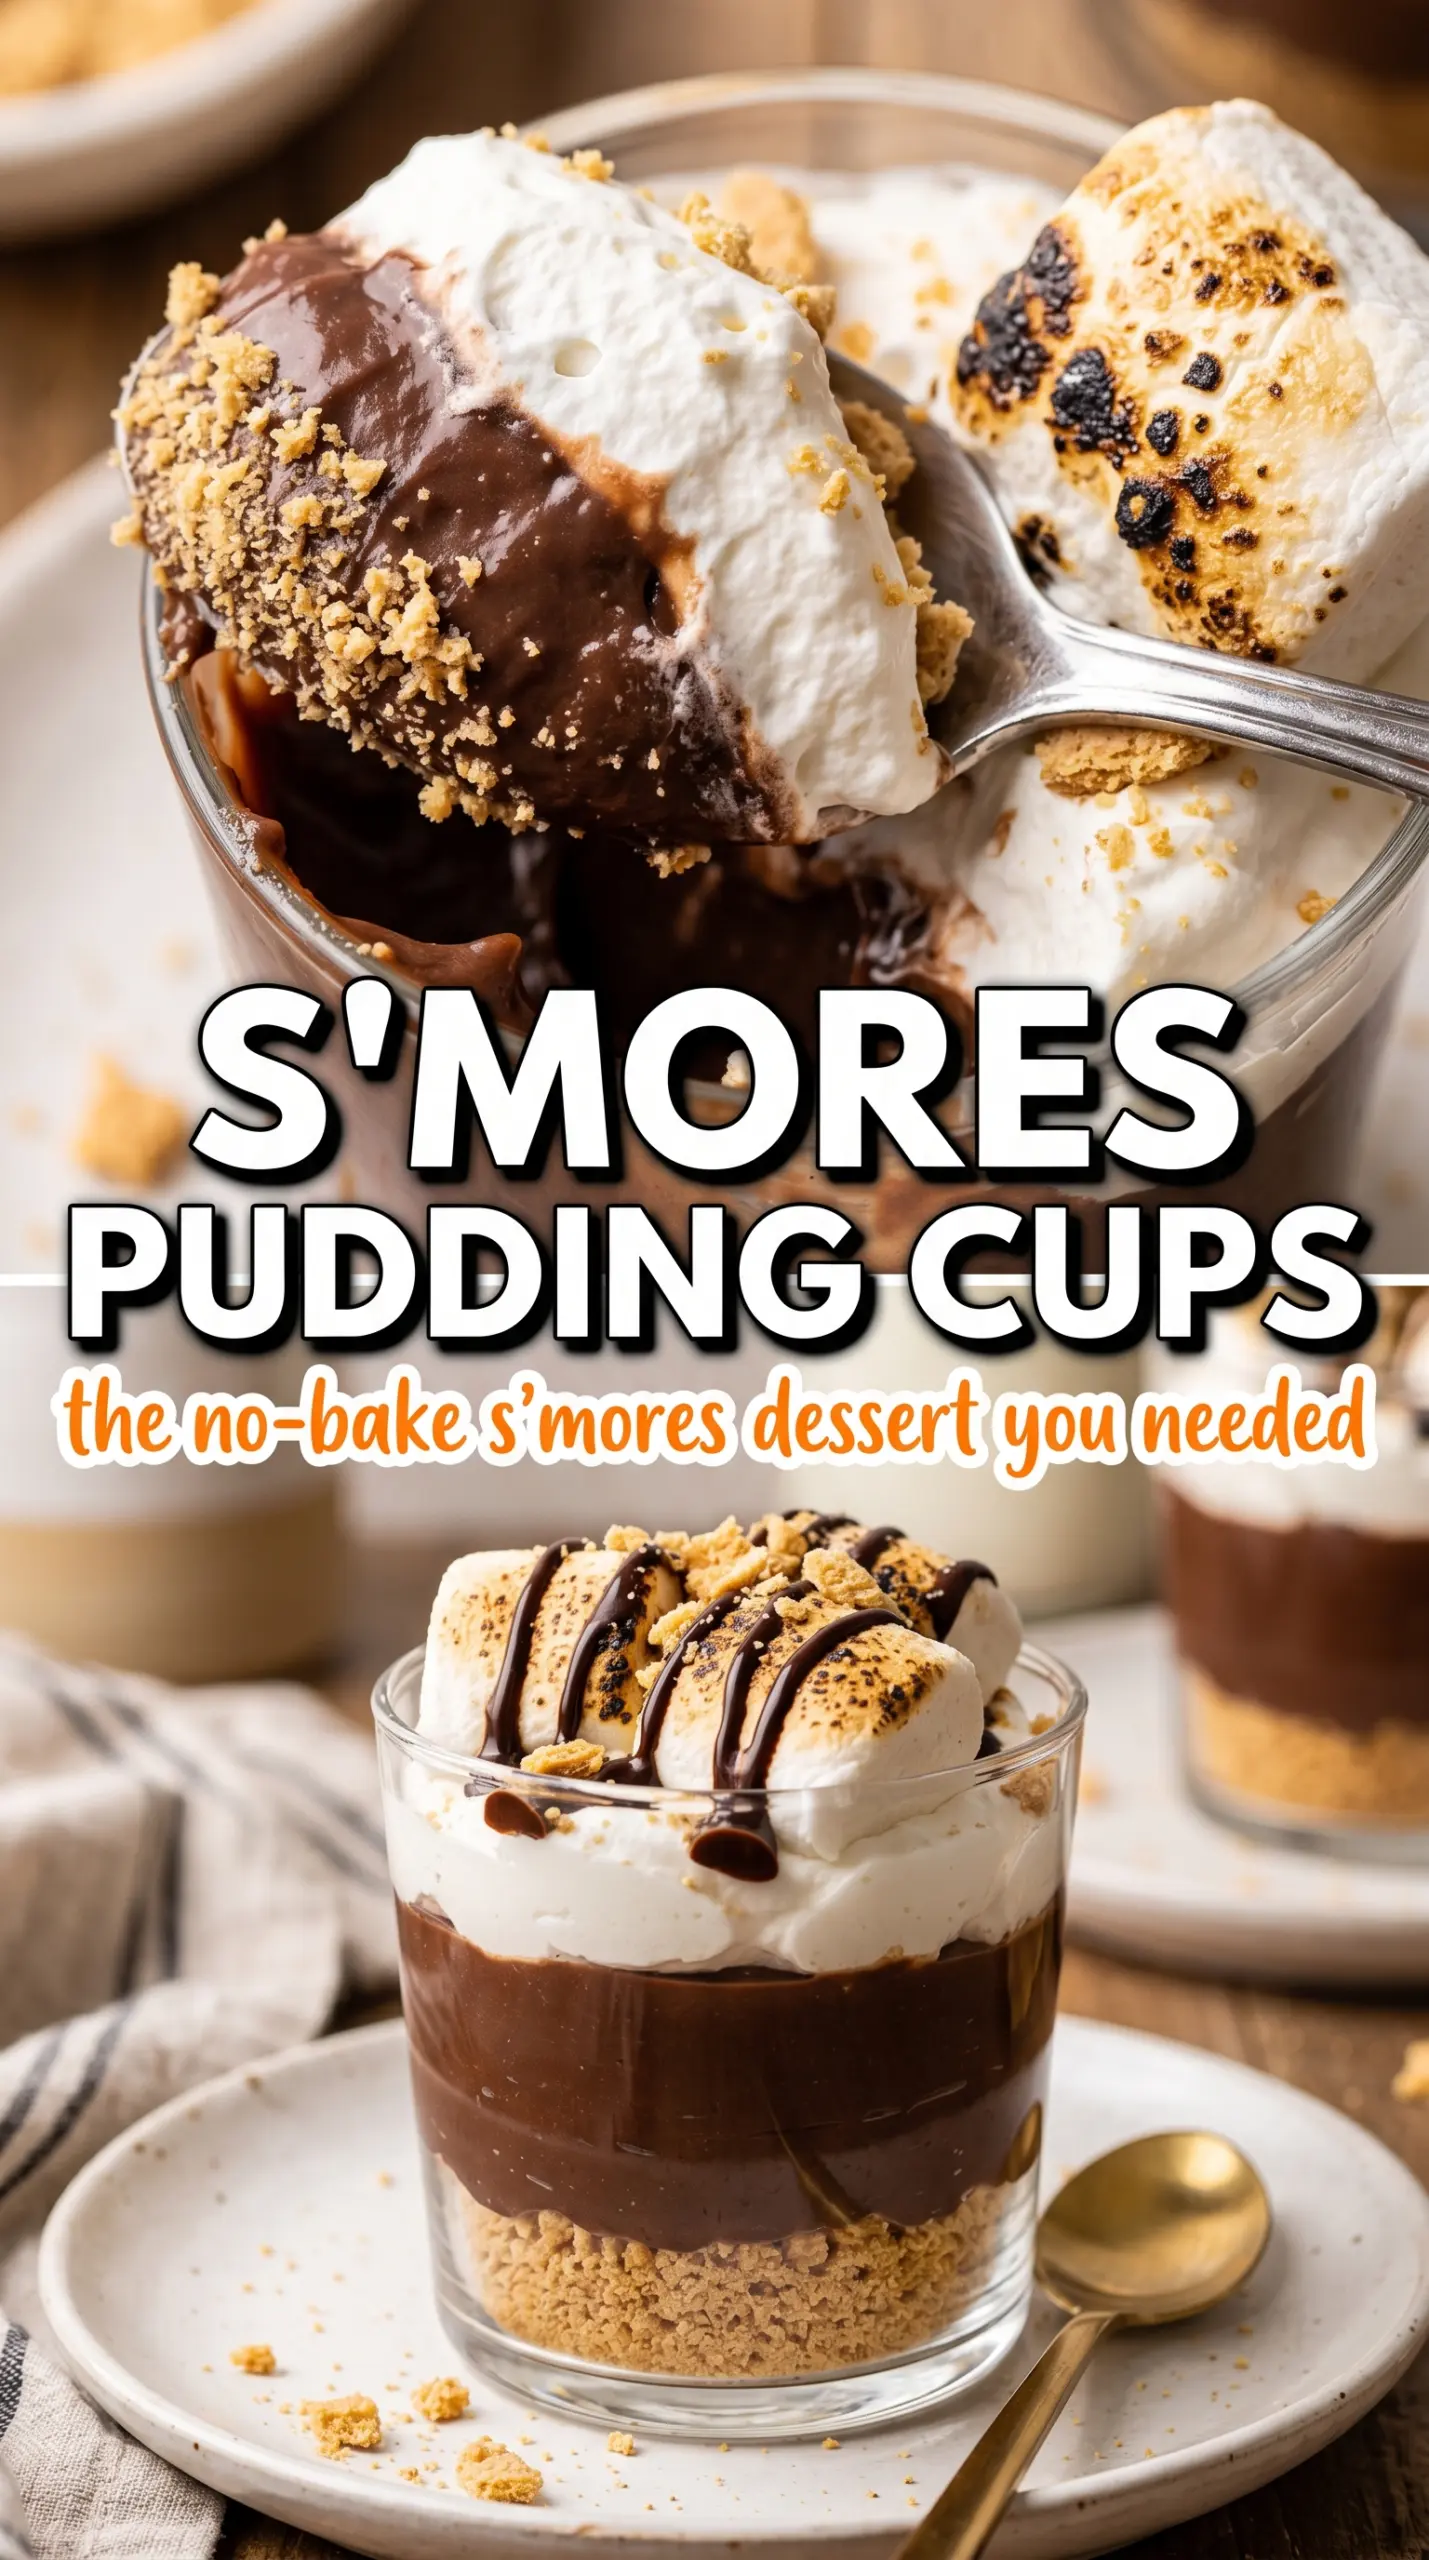
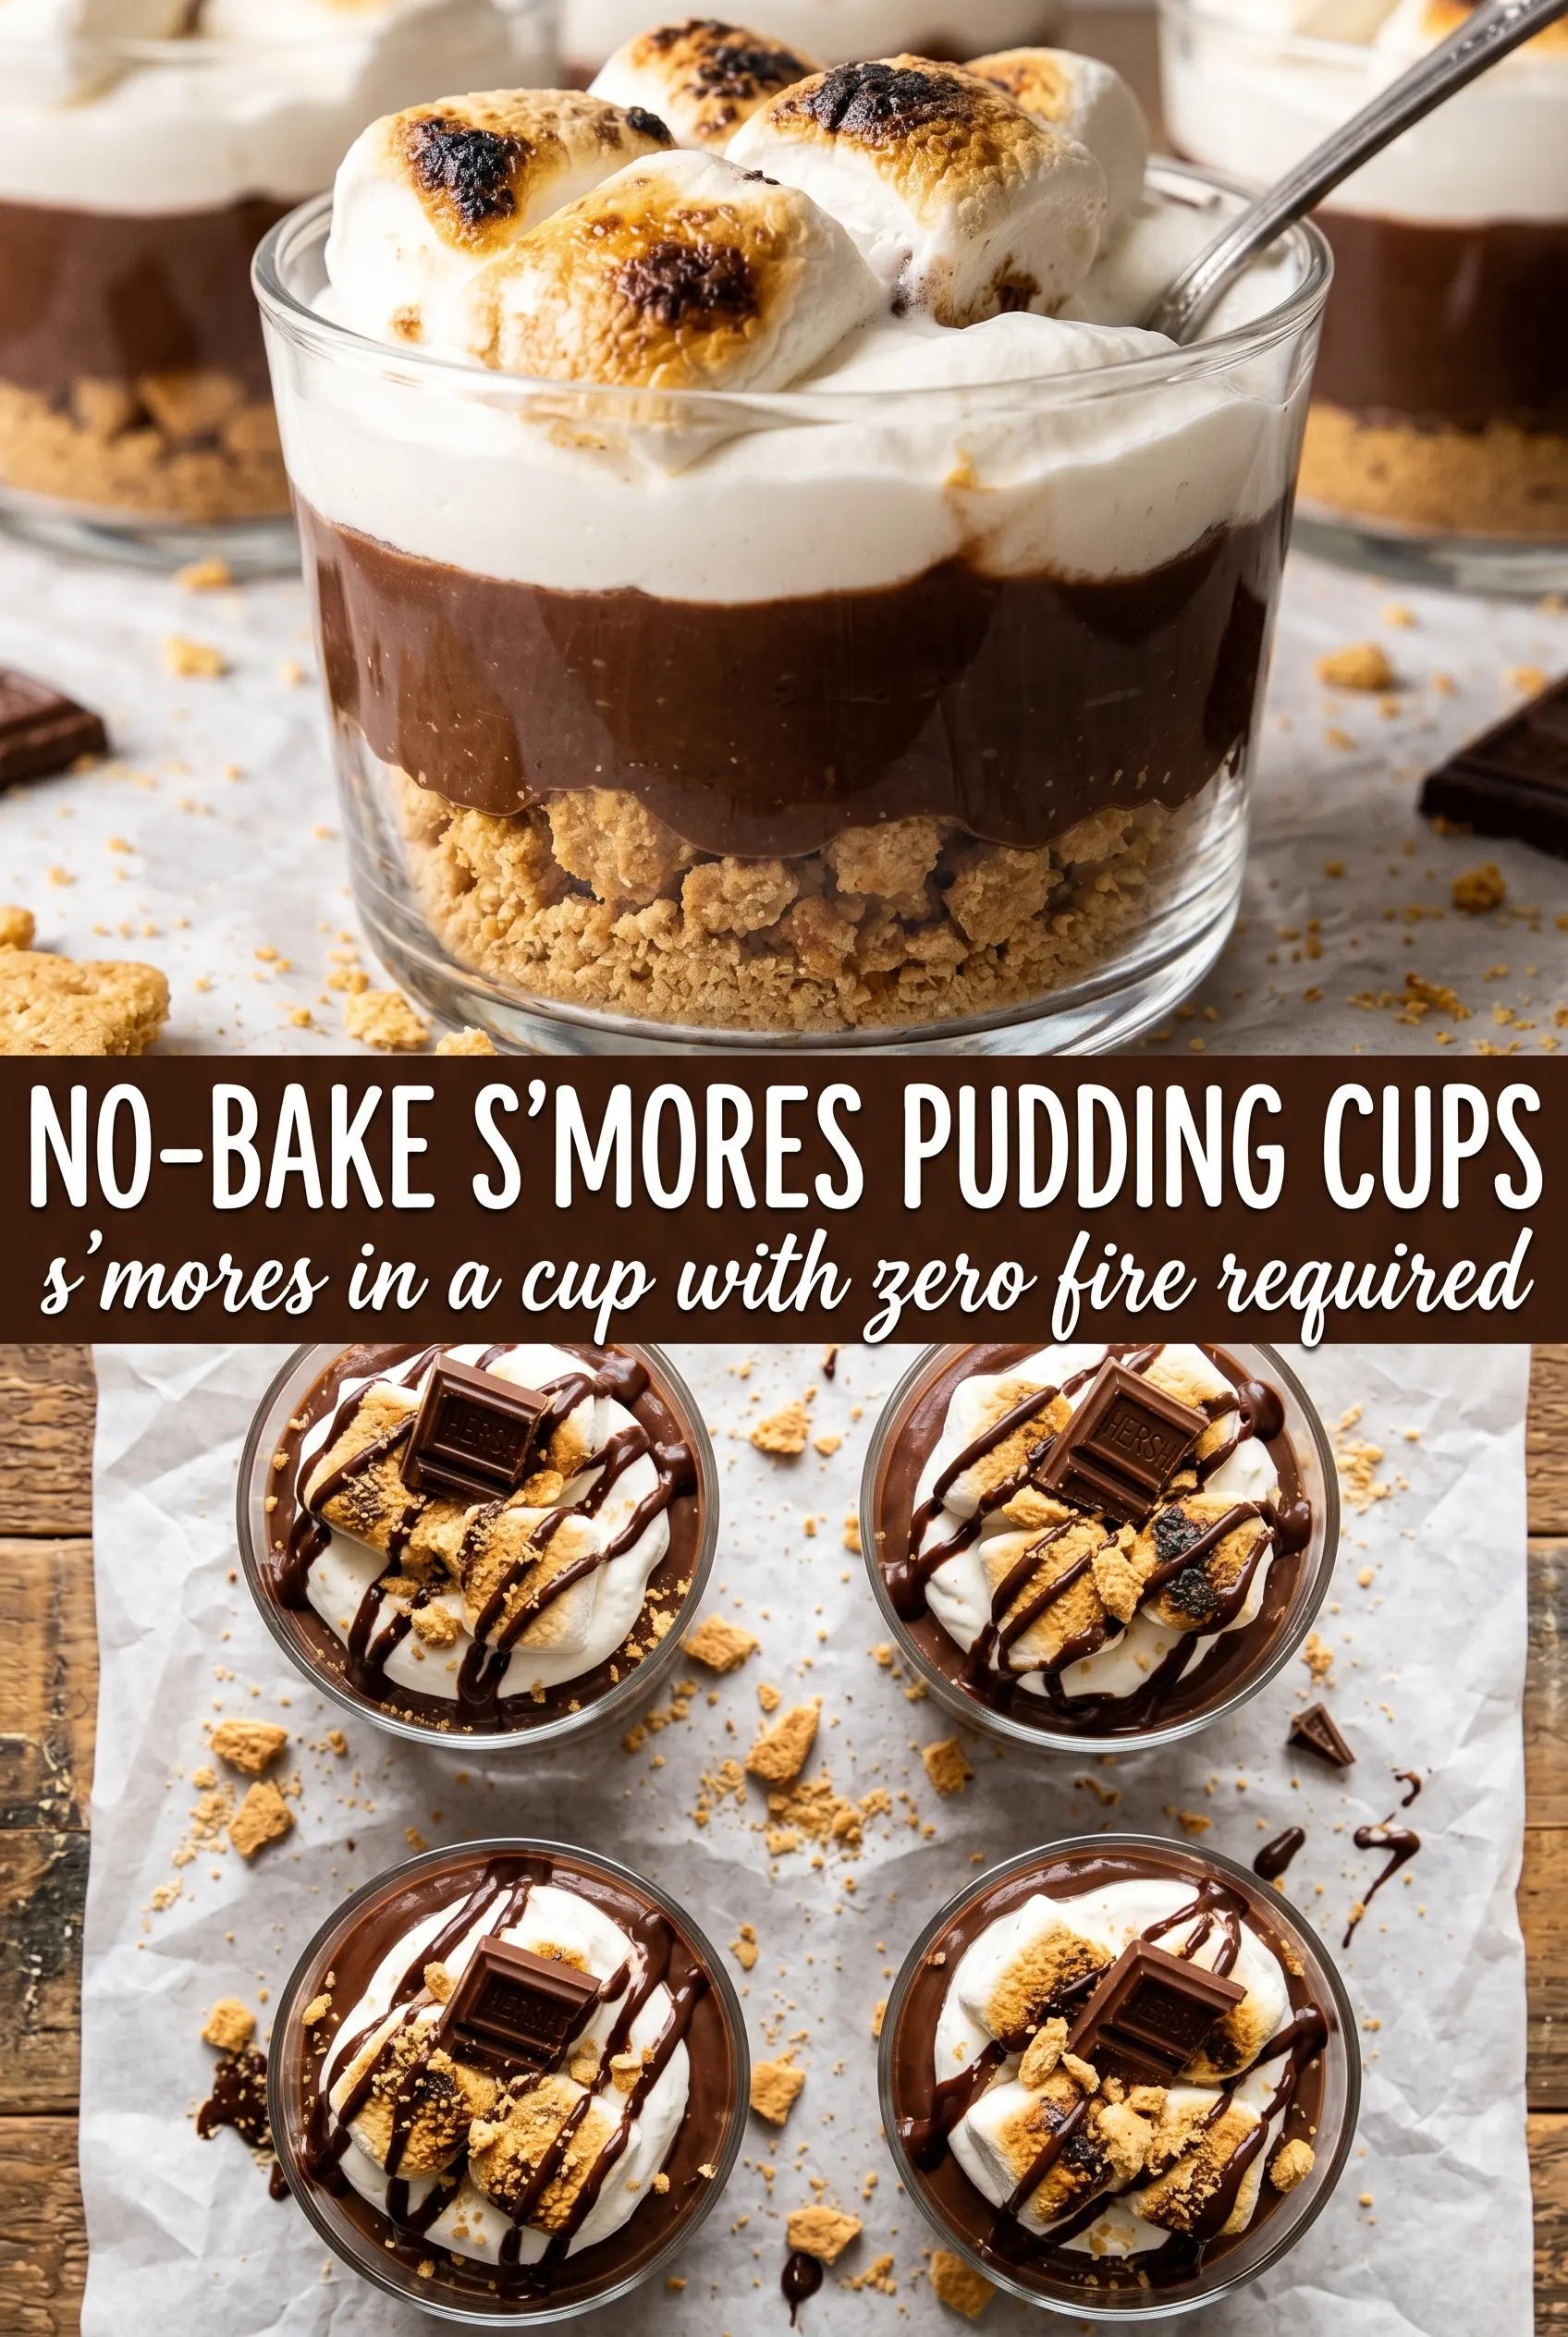
Golden graham cracker crumbs, cold chocolate pudding, and a cloud of marshmallow cream give these No-Bake S’mores Pudding Cups the same campfire payoff without the fire pit. The layers stay distinct, the pudding sets up cleanly, and every spoonful gets a little crunch, a little creaminess, and that toasted-marshmallow finish people expect from s’mores.
The trick is keeping each layer thick enough to hold its shape. Instant pudding needs the full whisking time and a short chill before it goes into the cups, and the marshmallow layer works best when the cream cheese is beaten smooth first so the fluff doesn’t stay streaky. The graham crumb base also matters more than it looks; the butter-sugar mix firms up just enough to taste like a crust instead of dry crumbs at the bottom of the cup.
Below you’ll find the easiest way to layer them without muddying the colors, plus a few smart swaps if you need a dairy-free version or want to prep these ahead for a party.
The graham layer set up like a real crust and the chocolate pudding stayed thick even after chilling overnight. I added the toasted marshmallows right before serving and they tasted just like s’mores from the fire.
Save these layered No-Bake S’mores Pudding Cups for the dessert table when you want campfire flavor in clean, spoonable cups.
The Layering Trick That Keeps These Cups From Turning Muddy
The biggest mistake with pudding cups is rushing the assembly. Warm pudding melts into the crumbs, the marshmallow layer slips, and the whole thing turns into a beige mess instead of three clean layers. Let the pudding thicken first, then give it a few minutes in the refrigerator so it holds its shape when you spoon it over the crust.
The other place people lose the texture is with the graham base. Melted butter alone makes crumbs slick, but the little bit of sugar helps the bottom set with a firmer bite. That gives you something closer to a pie crust in a cup, which matters because these are meant to taste layered, not just mixed.
What Each Ingredient Is Actually Doing in These S’mores Cups
- Graham cracker crumbs — These give you the s’mores backbone. Freshly crushed crumbs stay a little coarser, which makes the base taste more like a crust, but store-bought crumbs work fine if that’s what you have.
- Melted butter — This is what makes the crumb layer clump and set after chilling. If the mixture looks sandy after stirring, add the butter slowly until the crumbs hold together when pressed.
- Sugar — A small amount rounds out the graham flavor and helps the base taste less dry. You can reduce it a little, but skipping it entirely makes the bottom taste flat.
- Instant chocolate pudding — Instant pudding is the shortcut that makes this recipe work. Cook-and-serve pudding won’t set the same way without extra heat and time, so stick with instant for the cleanest layers.
- Cold whole milk — Whole milk gives the pudding a fuller set and a richer finish. Lower-fat milk works, but the pudding can taste thinner and the layers won’t feel as plush.
- Marshmallow fluff — This brings the marshmallow flavor without the mess of melted marshmallows. It folds into a lighter, more spoonable layer than actual melted marshmallows would give you.
- Cream cheese — The cream cheese stabilizes the fluff and keeps the top layer from sliding around. Beat it until completely smooth before adding the fluff, or you’ll end up with little tangy lumps.
- Whipped topping — This lightens the marshmallow layer so it pipes or spoons cleanly. Homemade whipped cream can work, but it softens faster and is best if you’re serving the cups the same day.
Building the Cups So Every Spoonful Gets the Right Ratio
Mixing the Crust First
Stir the graham crumbs, melted butter, and sugar until every crumb looks evenly coated and the mixture holds together when you pinch it. If there are dry pockets, they stay loose in the cup and break apart under the pudding. Pack a little of the crumb mixture into the bottom of each cup, but don’t smash it so hard that it turns dense and greasy.
Letting the Pudding Thicken Before Layering
Whisk the chocolate pudding and cold milk for the full two minutes until it starts to mound on itself. Then give it a short chill so it firms up further. If you spoon it in too soon, it seeps into the crust and the clean layers disappear.
Beating the Marshmallow Layer Until Smooth
Start with the cream cheese and fluff on their own so the mixture turns silky before anything airy gets involved. Fold in the whipped topping at the end with a light hand; aggressive mixing knocks out the volume and leaves the layer heavy. The finished texture should hold a soft peak, not slump like frosting in a warm kitchen.
Assembling the Final Cups
Layer the crumbs, pudding, and marshmallow cream in that order, then repeat if your cups have enough height. Use a spoon or piping bag to keep the sides clean so the layers stay visible through the glass. Finish with a little crumb, a few mini marshmallows, and chocolate shavings right before serving so the top still looks sharp.
How to Adapt These S’mores Cups for Different Needs
Dairy-Free S’mores Cups
Use a dairy-free butter substitute, plant milk that works with instant pudding, and a non-dairy whipped topping. Swap the cream cheese for a dairy-free cream cheese style spread that beats smooth, or the marshmallow layer won’t have the same body. The texture will still be layered and spoonable, but a little less rich.
Gluten-Free Version
Use gluten-free graham-style crumbs in the base and keep the rest of the recipe the same. The crumb layer may be slightly more delicate, so press it gently into the cups and chill before adding the pudding. The flavor stays close to classic s’mores without changing the structure of the dessert.
Make-Ahead Party Cups
Assemble the cups up to one day ahead, then hold back the mini marshmallows and chocolate shavings until serving. The layers stay neat, but the garnish looks best fresh, especially if you torch the marshmallows for a toasted top. If the cups sit uncovered in the fridge, the graham layer softens faster, so cover them tightly.
Storage and Reheating
- Refrigerator: Store covered for up to 3 days. The graham layer softens after the first day, but the cups still taste good.
- Freezer: I don’t recommend freezing these. The pudding and whipped layer can break and turn grainy after thawing.
- Reheating: No reheating needed. Serve straight from the refrigerator, and add the marshmallow garnish at the last minute so it doesn’t weep or collapse.
Answers to the Questions Worth Asking
No-Bake S'mores Pudding Cups
Ingredients
Method
- Mix graham cracker crumbs, melted butter, and sugar until evenly combined and sandy. The mixture should look like moist, golden crumbs.
- Whisk together instant chocolate pudding mix and cold milk for 2 minutes until noticeably thickened. It should hold soft peaks when you lift the whisk.
- Refrigerate the pudding for 5 minutes to firm up slightly before layering. Keep it chilled until you’re ready to assemble the cups.
- Beat marshmallow fluff and softened cream cheese together until smooth and lump-free. Scrape the bowl as needed for an even texture.
- Fold in whipped topping until the mixture is light and fully incorporated. Stop mixing as soon as no white streaks remain.
- Layer 6 individual cups by adding graham cracker crumble first, then spooning in chocolate pudding, then adding marshmallow cream. Repeat the layers for a visible stack in each cup.
- Top each cup with a little extra graham cracker crumble, mini marshmallows, and chocolate shavings. Finish so the garnishes sit clearly on top for the campfire look.
- Refrigerate the assembled cups for at least 2 hours to set the layers. They should be firm when you gently move a cup.
- Torch the mini marshmallows just before serving if desired. Cook until the tops are lightly browned and blistered, then serve immediately.