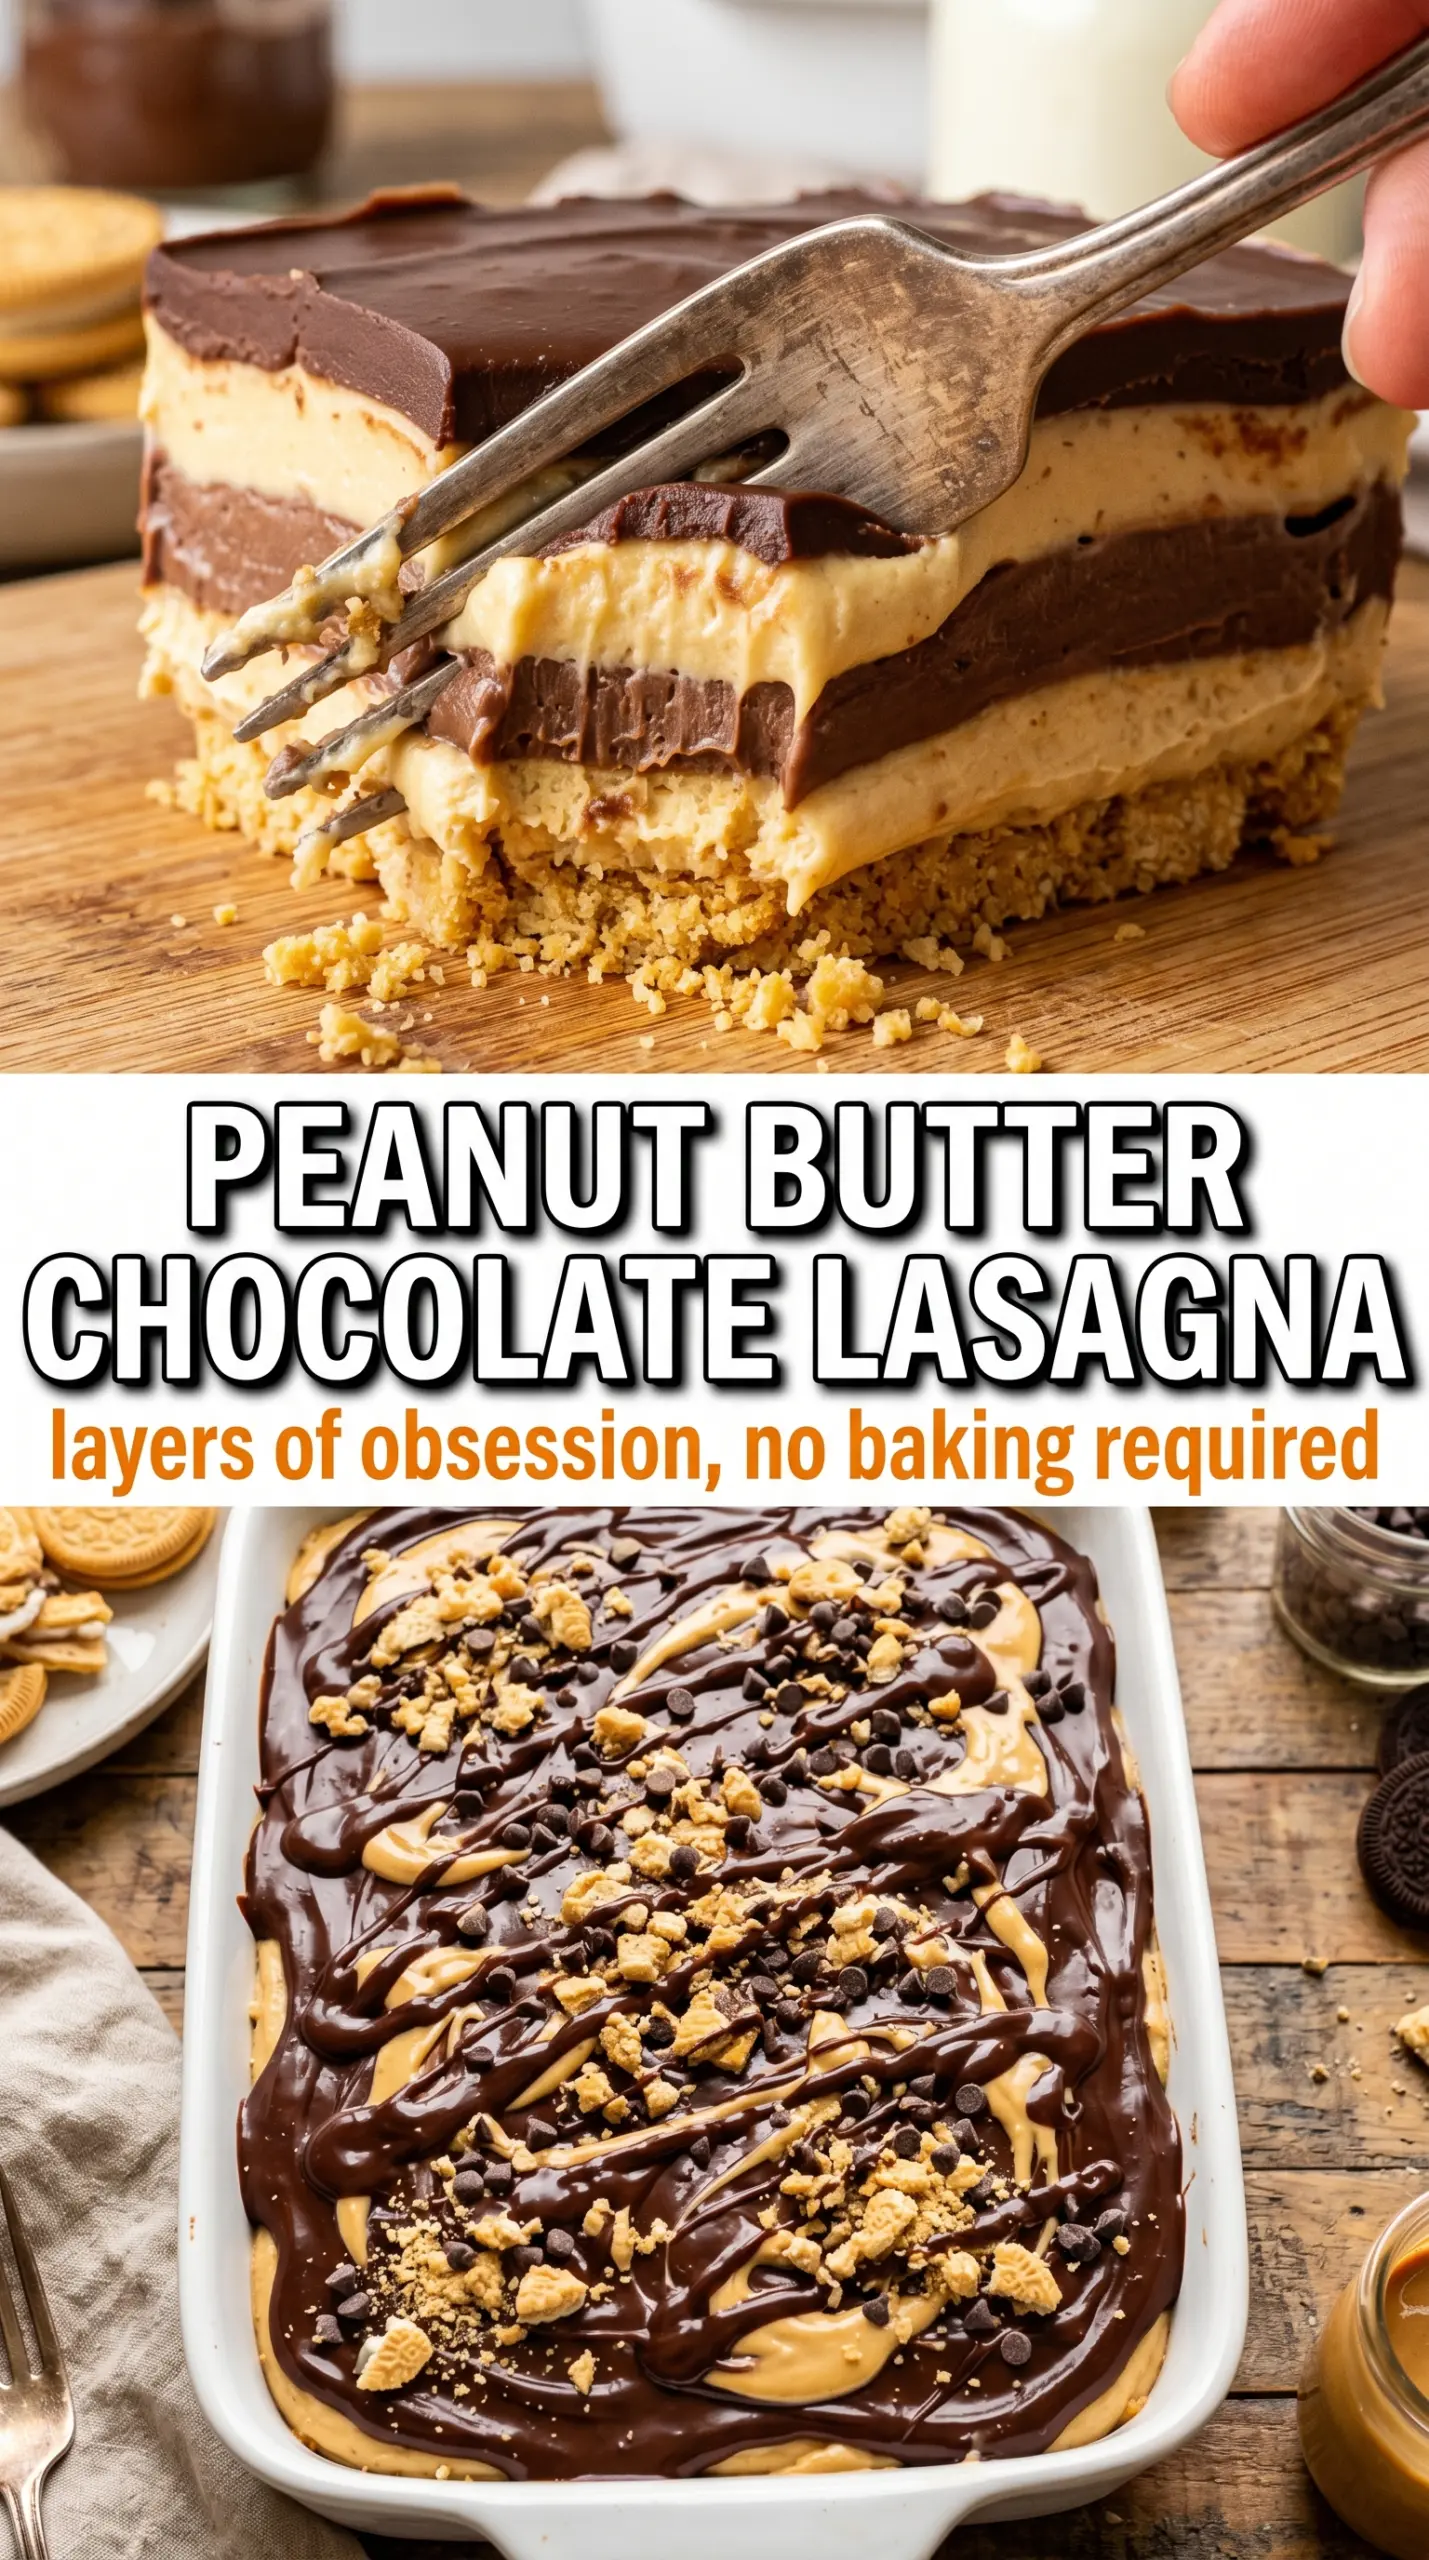
Cold, creamy layers and a crisp Oreo base make this no-bake peanut butter chocolate lasagna the kind of dessert people hover over before dinner is even over. It slices into neat squares with clean, distinct layers, and every bite gives you that hit of chocolate pudding, peanut butter cheesecake filling, and whipped topping without ever turning on the oven.
What makes this version work is the balance between structure and softness. The cream cheese keeps the peanut butter layer firm enough to cut, the instant pudding sets fast enough to hold its shape, and the whipped topping lightens both so the finished dessert doesn’t eat like a brick. Pressing the crust firmly and chilling between layers gives you those tidy slices instead of a loose, slumpy pan.
Below, I’m breaking down the parts that matter most: how to keep the filling smooth, why the pudding layer needs to be mixed just long enough to thicken, and a few easy swaps if you want to adjust the dessert for a different pan size or ingredient stash.
The peanut butter layer stayed fluffy, the pudding set up right away, and the crust held together cleanly when I sliced it after chilling overnight. My sister asked for the recipe before dessert was even gone.
Save this no-bake peanut butter chocolate lasagna for the kind of dessert that slices cleanly, chills beautifully, and disappears fast.
The Layer Order That Keeps This Dessert Neat When You Slice It
The biggest mistake with dessert lasagna is rushing the layers before the one beneath it has enough body. If the crust isn’t packed down well or the peanut butter filling is too loose, the knife drags everything into a soft mess instead of cutting through cleanly. This recipe avoids that by giving each layer just enough structure before the next one goes on.
The other place people get tripped up is the pudding. Instant pudding needs cold milk and a full two minutes of whisking so it thickens before it hits the pan. If it still looks thin when you spread it, it’ll slide around and seep into the peanut butter layer instead of sitting on top of it.
- The crust needs to be pressed firmly into the pan so it acts like a base, not loose crumbs under the filling.
- The peanut butter layer gets lift from whipped topping, but the cream cheese keeps it stable enough to hold the chocolate layer.
- The pudding should thicken in the bowl first. Spread it as soon as it reaches a pudding-like body, not after it turns slack again.
- The chill time is what turns this from a layered bowl of fillings into something you can slice into squares.
What Each Layer Is Actually Doing in the Pan
Each layer has a job here, and swapping one without understanding that job changes the whole dessert. Oreo cookies give you a dark, sturdy crust with enough chocolate flavor to stand up to the fillings. Graham crackers work in a pinch, but the dessert loses some of that cookies-and-cream edge and the crust comes out lighter and sweeter.
Cream cheese is the backbone of the peanut butter layer. It cuts the sweetness of the powdered sugar and gives the filling enough firmness to support the pudding. Use full-fat cream cheese if you can; reduced-fat versions soften more and can make the layer less tidy when sliced.
The whipped topping is doing more than adding fluff. It loosens the peanut butter mixture and makes the top layer soft and airy instead of dense. For the pudding, instant mix is non-negotiable here because cooked pudding needs cooling time and won’t set the same way in a layered dessert.
- Oreos — The chocolate cookie flavor anchors the whole dessert. Fine crumbs make the crust pack tighter and slice better.
- Cream cheese — Soften it fully so the peanut butter layer turns smooth instead of lumpy. Cold cream cheese is the fastest way to get a grainy filling.
- Whipped topping — Use it chilled straight from the fridge for the best fold-in texture. If it’s partially thawed and watery, the layers soften too much.
- Instant chocolate pudding — Boxed instant pudding gives you the set this dessert needs. Cook-and-serve pudding won’t work the same way.
Building the Layers So They Set Up Cleanly
Pressing the Oreo Base
Mix the crushed Oreos with melted butter until every crumb looks damp, then press the mixture into the bottom of a 9×13 dish in an even layer. A flat-bottomed measuring cup makes this easy and helps you compact the crust without leaving soft patches. Chill it for 15 minutes so the butter firms back up; if you skip that pause, the crust can crumble when the peanut butter layer goes on.
Making the Peanut Butter Filling
Beat the cream cheese, peanut butter, powdered sugar, and vanilla until the mixture is completely smooth before adding the whipped topping. If the cream cheese is still cold, you’ll chase little lumps around the bowl and they won’t disappear later. Fold in the whipped topping gently so you keep the filling light, then spread it all the way to the edges so the pudding has a level surface to sit on.
Whisking the Pudding Layer
Whisk the instant pudding and cold milk for the full two minutes, then stop and spread it right away while it’s thick and glossy. That timing matters because instant pudding sets fast, and the edges can start tightening before you’re done if you dawdle. If it looks thin, wait a minute and whisk again; if it still pours like milk, it needs more mixing time or colder milk.
Finishing and Chilling
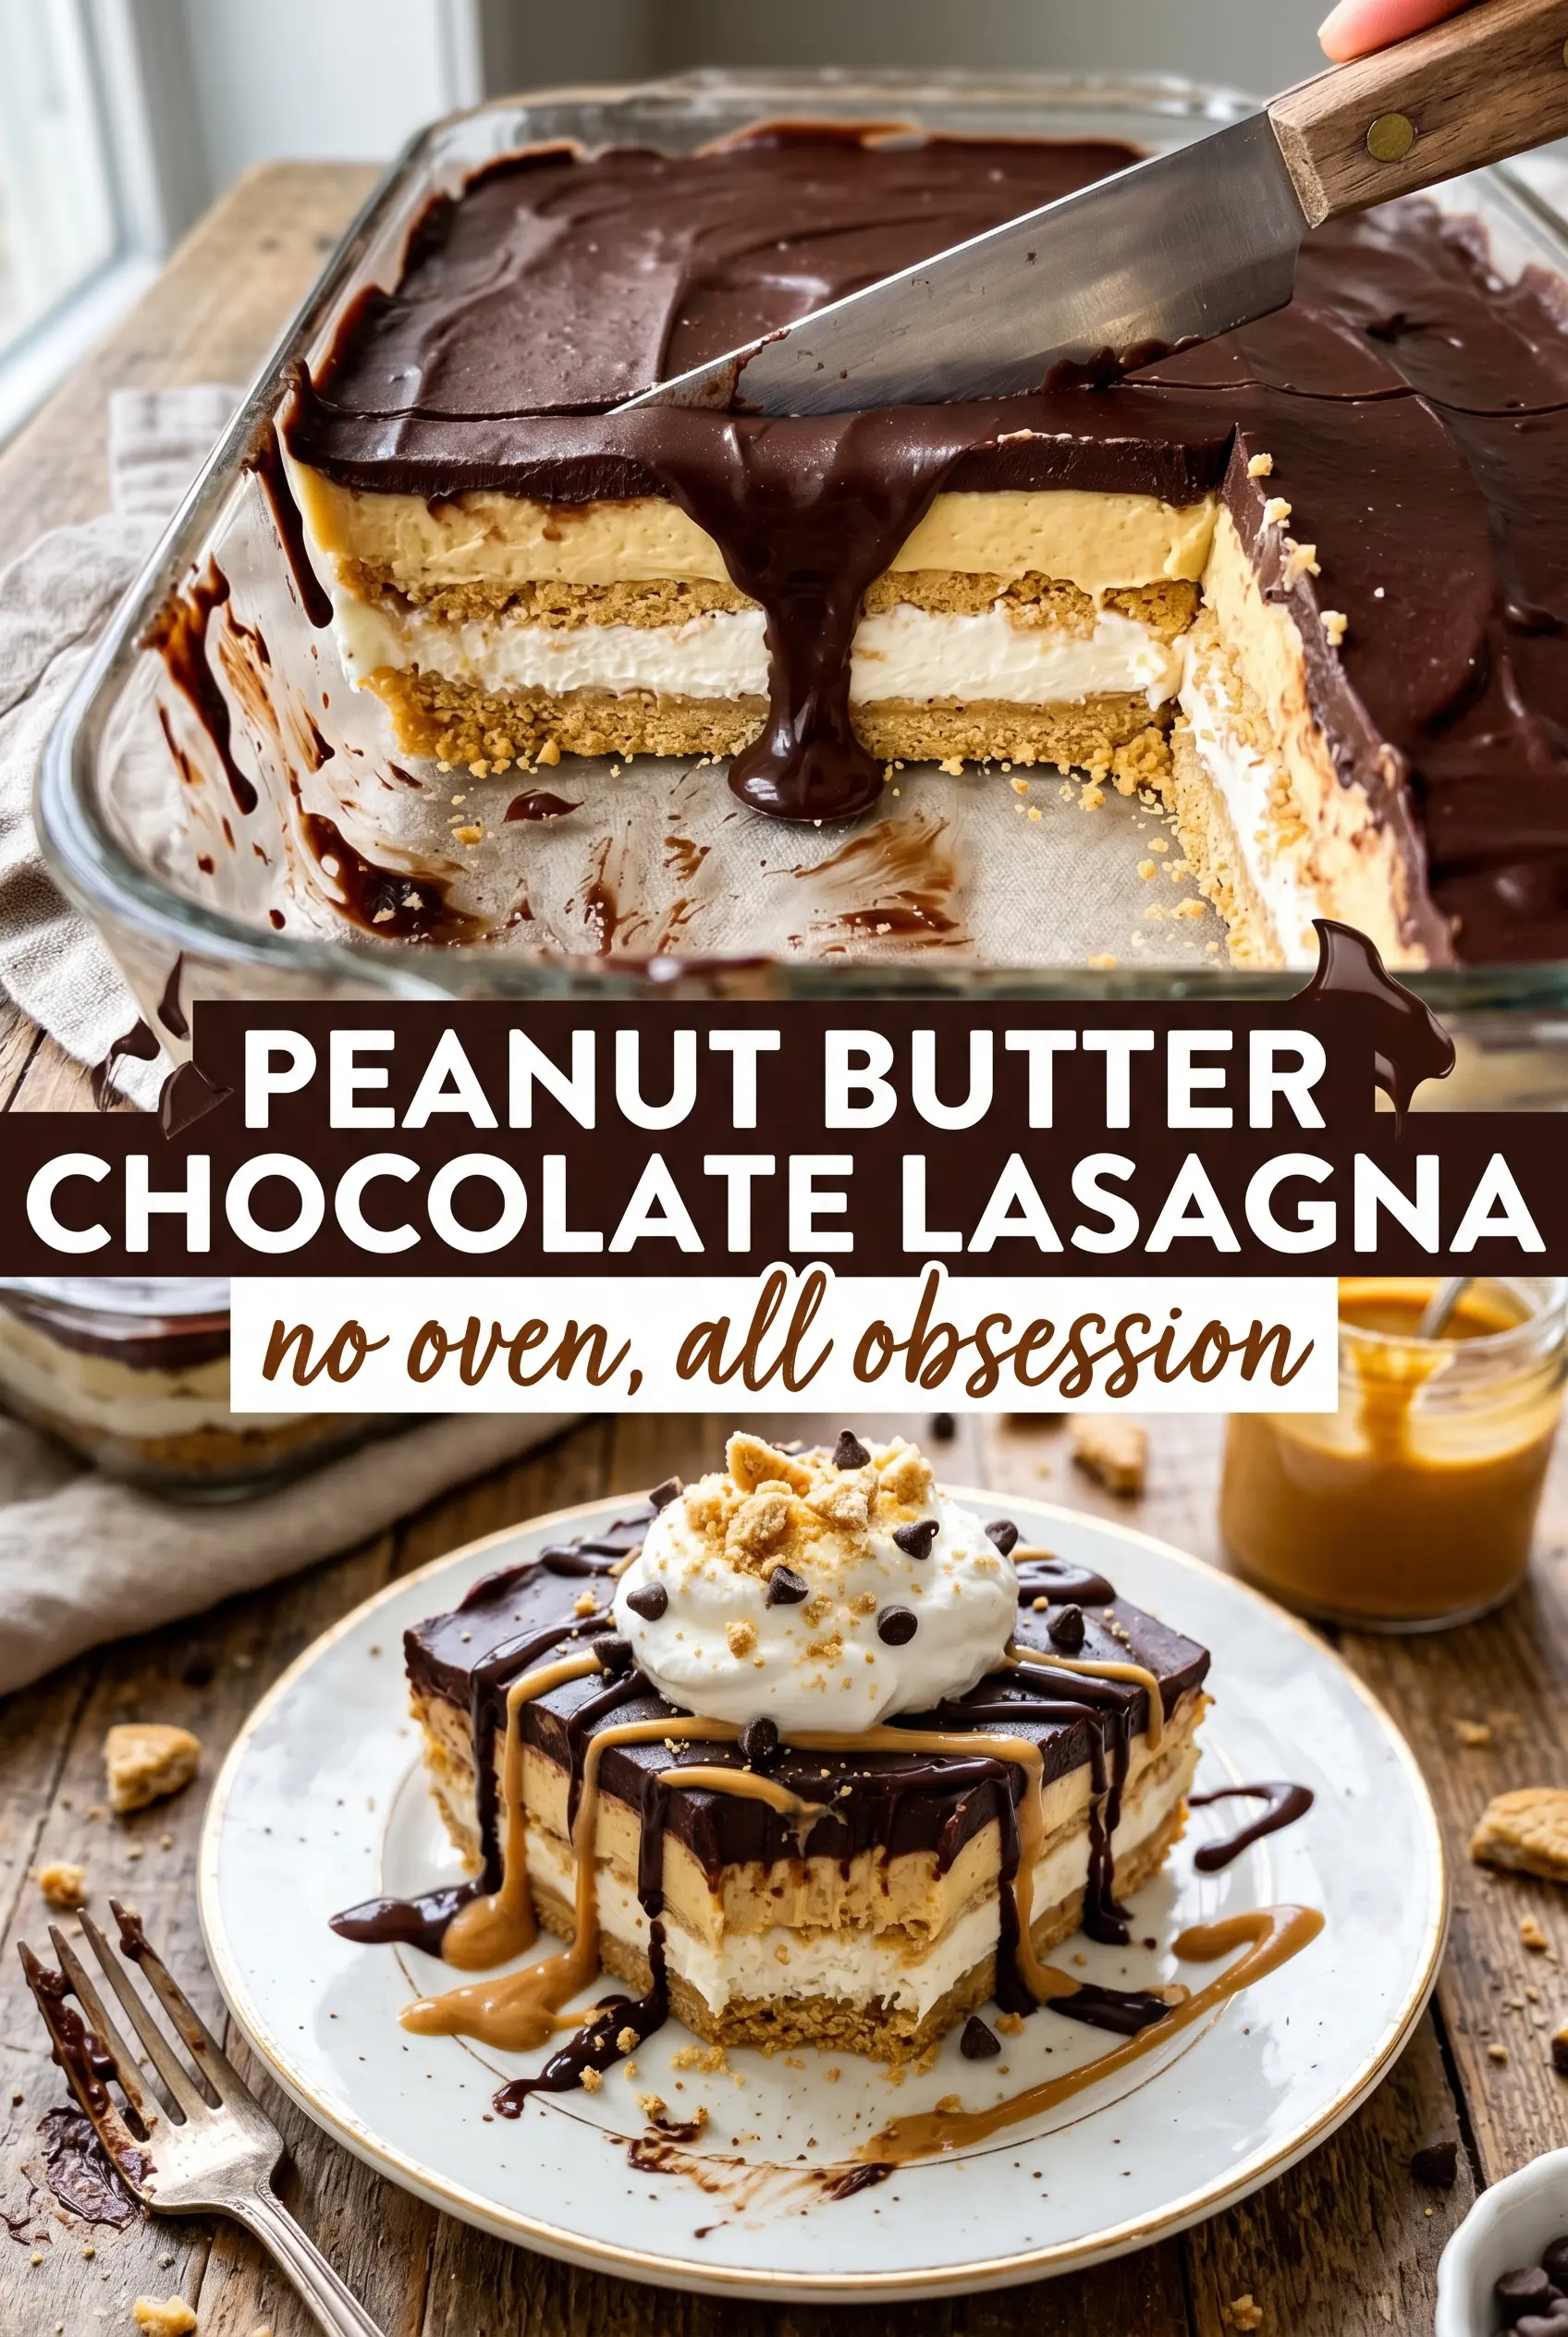
Spread the remaining whipped topping over the pudding in a smooth, even blanket, then scatter the chopped peanut butter cups and chocolate shavings over the top. A drizzle of peanut butter gives you that bakery-style look, but it’s best added in thin ribbons so it doesn’t sink into the topping. Chill the dessert at least 4 hours, and overnight is even better if you want the cleanest squares.
How to Adapt This Dessert for Different Needs
Make It Gluten-Free
Use certified gluten-free sandwich cookies in place of Oreos, then crush and mix them with the butter the same way. The texture stays close to the original, but the crust may be a little softer, so chilling it well matters even more.
Make It a Little Less Sweet
Use plain whipped cream instead of whipped topping for the top layer if you want a fresher, less sugary finish. You’ll lose a touch of stability, so serve it cold and cut it after a full chill.
Use a Different Pan Size
An 8×8 or 9×9 pan makes a taller, richer dessert, but you’ll want to halve the recipe or the layers will be too thick to cut neatly. If you keep the full recipe in a smaller pan, the center takes longer to set and the slices won’t hold their shape as well.
Storage and Reheating
- Refrigerator: Keep covered and chilled for up to 4 days. The crust softens a bit after day two, but the dessert still slices well.
- Freezer: It freezes surprisingly well for up to 1 month if you wrap it tightly and freeze before adding the final toppings. Thaw in the refrigerator so the layers don’t turn watery.
- Reheating: No reheating needed. Serve it cold straight from the fridge; warming it melts the pudding and whipped layers and ruins the clean layers that make this dessert work.
Questions I Get Asked About This Recipe
No-Bake Peanut Butter Chocolate Lasagna
Ingredients
Equipment
Method
- Mix the crushed Oreo cookies and melted butter until combined. Press firmly into the bottom of a 9x13 dish with an even layer and refrigerate for 15 minutes.
- Beat the cream cheese, peanut butter, powdered sugar, and vanilla until smooth and fluffy. Fold in 1 cup whipped topping, then spread evenly over the chilled Oreo crust.
- Whisk the instant chocolate pudding mix and cold whole milk for 2 minutes until thickened. Spread the pudding evenly over the peanut butter layer.
- Spread the remaining 2 cups whipped topping over the chocolate pudding layer. Scatter the chopped Reese’s Peanut Butter Cups and chocolate shavings over the top, then drizzle with peanut butter.
- Refrigerate for at least 4 hours or overnight until fully set. Slice into squares and serve cold.


