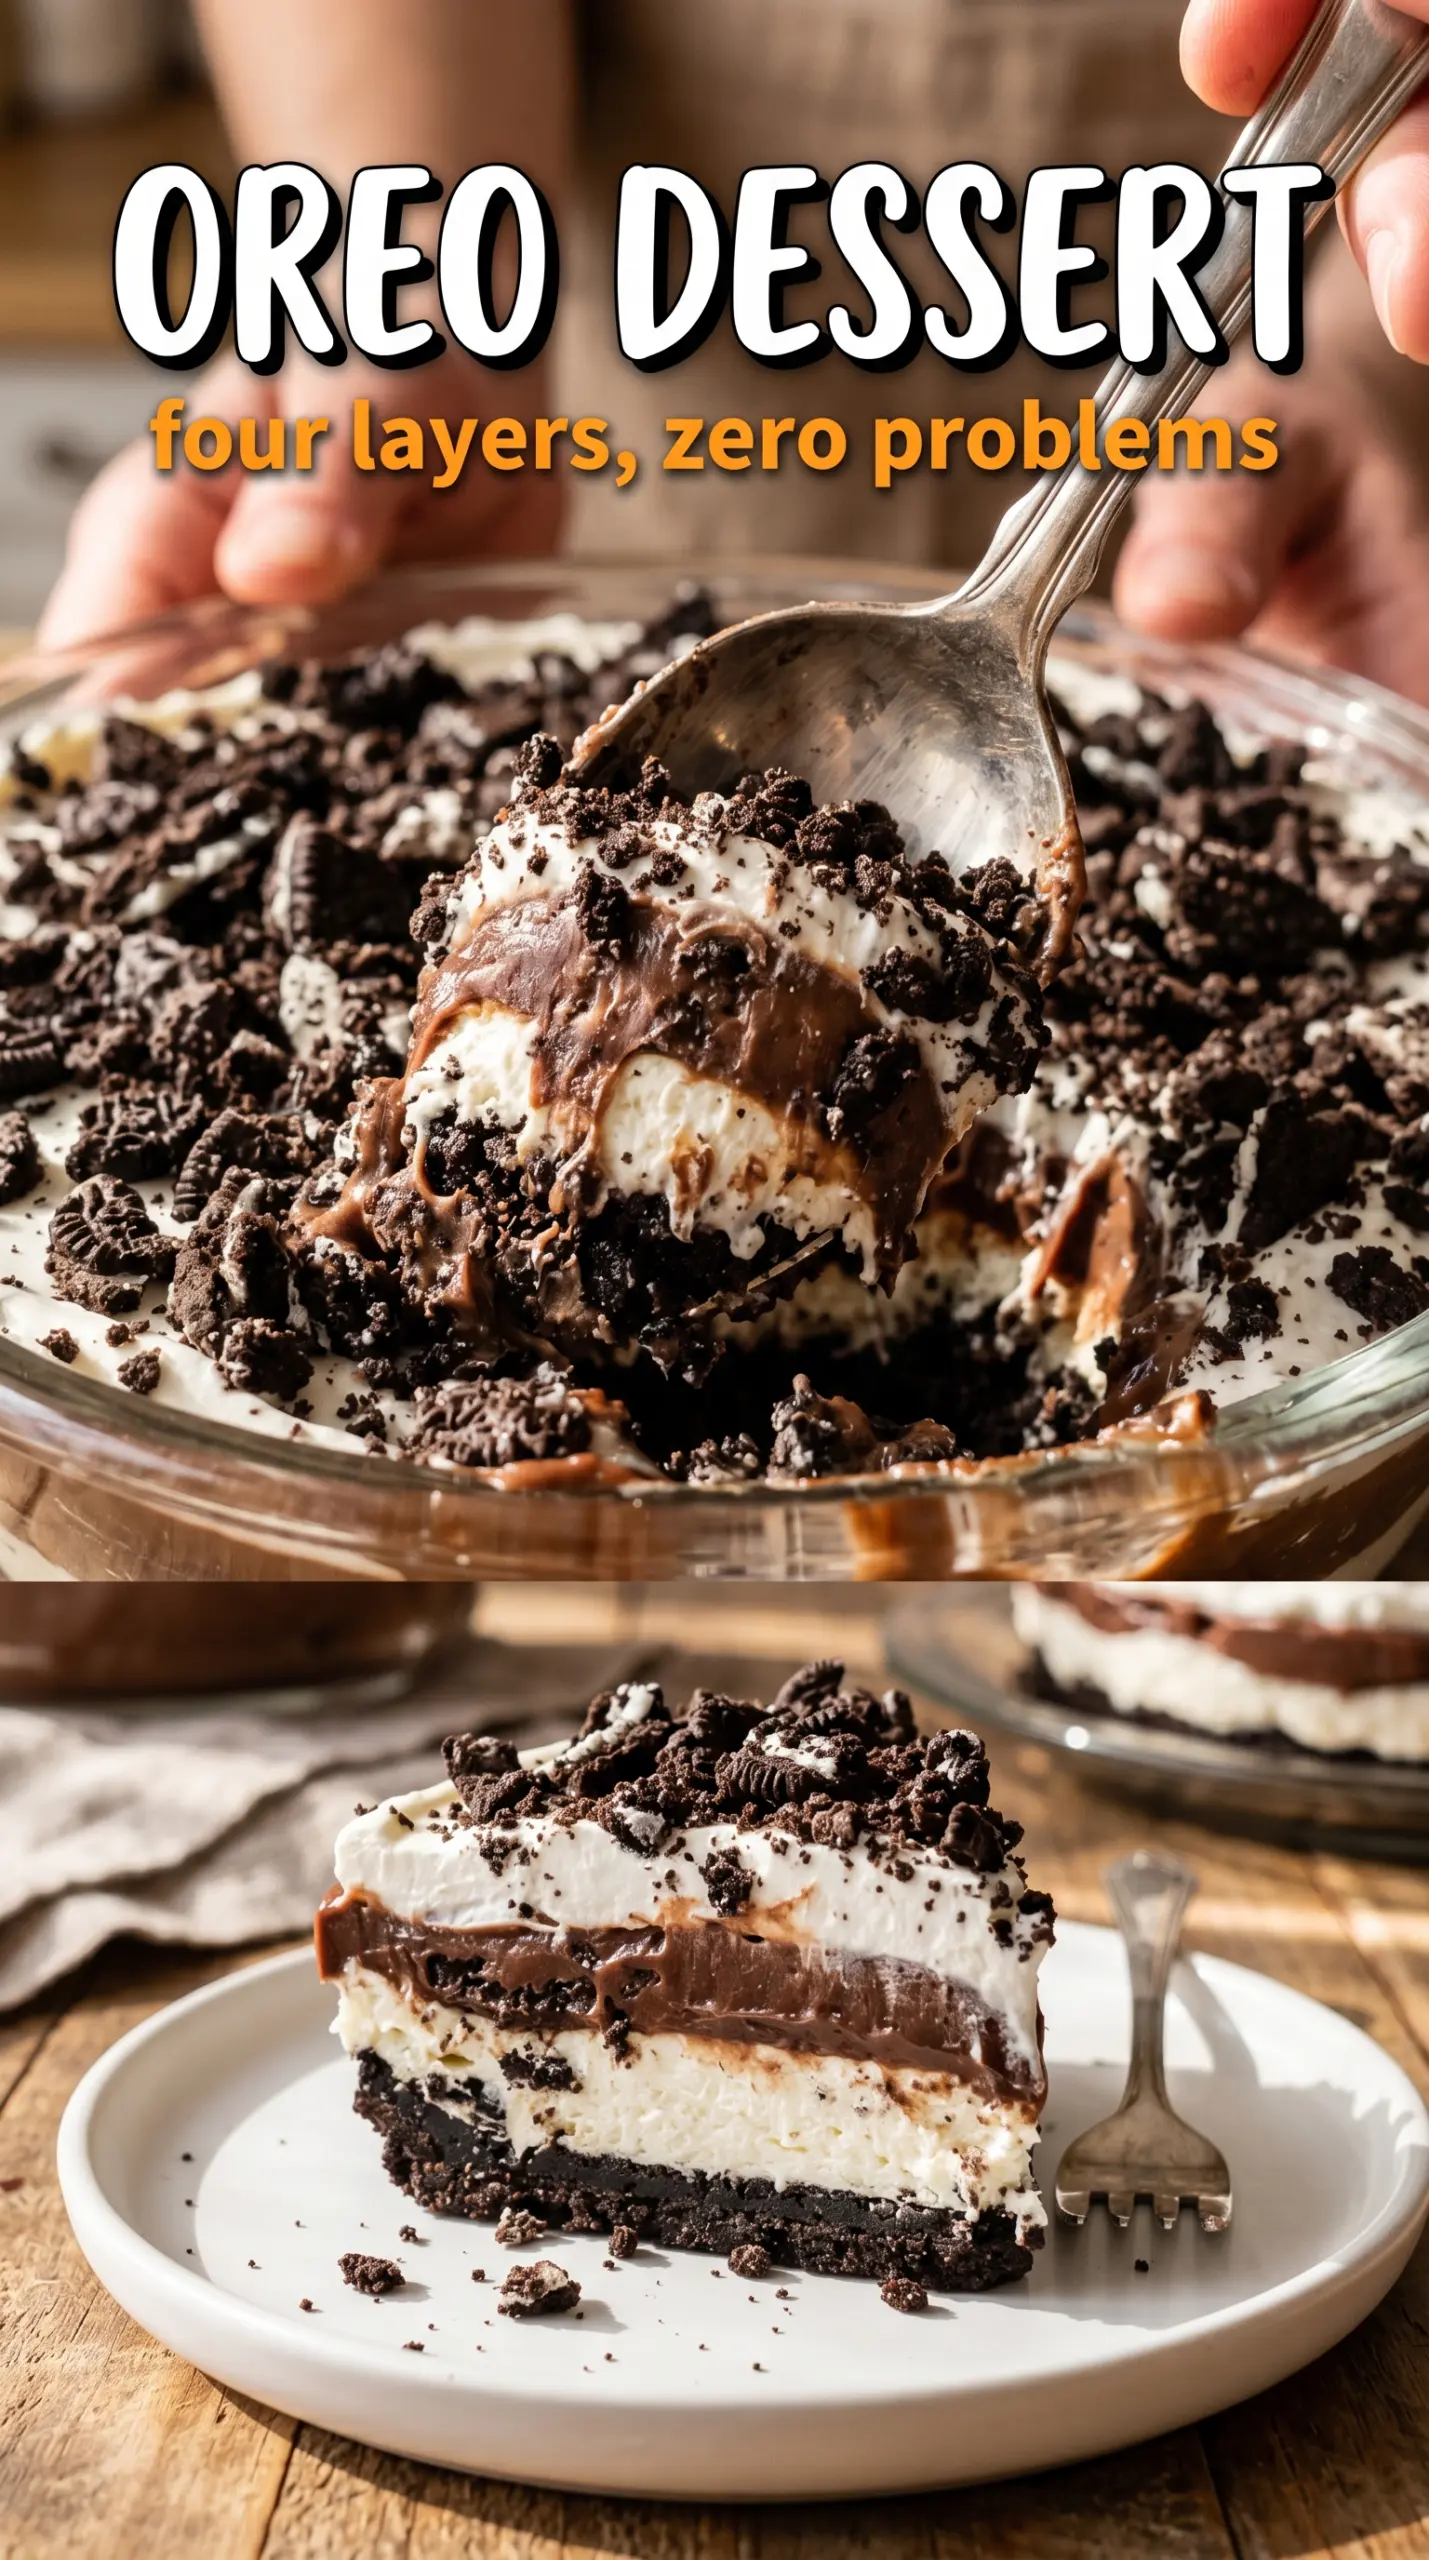
Oreo Dessert doesn’t need baking to earn its place on the table. The crust stays crisp enough to give each square some structure, the cream cheese layer adds a cool tang that keeps the dessert from tasting flat, and the chocolate pudding sets into a smooth middle that slices cleanly after chilling. When it’s done right, you get distinct layers, not a messy scoop.
The trick is treating each layer like it has a job. The Oreo crust has to be pressed firmly enough to hold together, the cream cheese needs to be beaten until there are no lumps before the whipped topping goes in, and the pudding has to thicken before you spread it or it will slide around in the dish. A long chill is what turns the whole thing from soft and spoonable into a dessert you can cut into neat squares.
Below, I’m breaking down the part that matters most: how to keep the layers clean, how to avoid a grainy cream cheese filling, and what to do if you want to make it ahead for a party.
The pudding layer thickened up perfectly and the cream cheese filling stayed smooth, not lumpy. I chilled it overnight and the slices held their shape all the way to the end of the party.
Like this Oreo dessert? Save it to Pinterest for the nights when you want a layered no-bake treat that slices cleanly and chills up beautifully.
The Layer That Fails First If You Rush It
The Oreo crust is the part that decides whether this dessert slices or slumps. If the crumbs aren’t pressed firmly into the pan, the buttery base falls apart the second you lift a square. A 9×13 dish gives you enough surface area to keep the layers thin and even, which matters here because this is a dessert built on contrast, not height.
The other place people run into trouble is the pudding. Instant pudding thickens fast, but it still needs the full whisking time before you spread it. If it looks loose when it hits the cream cheese layer, it will keep moving in the pan instead of setting into a clean middle. That’s why the chill time isn’t optional — it gives each layer time to settle into its own shape.
What Each Layer Is Doing in This Oreo Dessert
- Oreo cookies — These do double duty as both the crust and the garnish. Crushed finely, they turn into a dense base that holds together better than chunky crumbs. A food processor gives the most even texture, but a zip-top bag and rolling pin work fine if you crush them all the way to fine crumbs.
- Butter — This is what binds the crust. Melted butter coats the crumbs and helps them set after chilling. Don’t cut it too low or the crust will be sandy and loose instead of sliceable.
- Cream cheese — This layer gives the dessert its tang and structure. It needs to be fully softened before beating or you’ll end up with little lumps that never disappear once the whipped topping goes in. Full-fat cream cheese gives the best texture here.
- Whipped topping — It lightens the cream cheese layer and gives the top a stable, fluffy finish. You can use homemade whipped cream, but it won’t hold quite as firmly over several hours, so the dessert will soften faster.
- Instant chocolate pudding — Instant pudding is the right choice because it sets quickly and stays smooth. Cook-and-serve pudding won’t give the same firm layer. Use cold whole milk for the richest result and the fastest thickening.
Building the Layers So They Set Cleanly
Pressing the Crust
Mix the crushed Oreos with melted butter until every crumb looks evenly damp, then press the mixture firmly into the bottom of the dish. Use the bottom of a measuring cup to compact it, especially in the corners, or the base will crumble when you serve it. Chill it for 15 minutes so the butter has time to firm up before you add the cream layer.
Making the Cream Cheese Layer Smooth
Beat the softened cream cheese and powdered sugar until the mixture looks completely smooth and a little glossy. If the cream cheese is still cool in the center, you’ll get tiny bits that stay grainy in the finished dessert. Fold in the whipped topping gently so you keep the filling airy instead of deflating it into a dense paste.
Setting the Pudding
Whisk the pudding mix and cold milk for the full two minutes, then stop and let it sit for a minute or two until it thickens noticeably. It should mound slightly on the whisk and spread without running. If you add it too soon, the layer can bleed into the cream cheese beneath it and the slices won’t look sharp.
Finishing and Chilling
Spread the remaining whipped topping over the pudding layer, then scatter crushed Oreos over the top while the surface is still soft enough to catch them. Refrigerate for at least 4 hours, but overnight is better if you want cleaner cuts. When it’s fully set, the top should feel firm to the touch and the knife should slide through in distinct layers.
How to Adjust This Dessert Without Losing the Texture
Make It Gluten-Free With Gluten-Free Chocolate Sandwich Cookies
Use a gluten-free chocolate sandwich cookie in place of Oreos and keep the rest of the recipe the same. The crust will still hold if the crumbs are fine and the butter ratio stays unchanged. The flavor lands in the same place, though some gluten-free cookies crumble a little more easily, so press the base especially well.
Use Homemade Whipped Cream Instead of Whipped Topping
You can swap in sweetened whipped cream, but it softens faster and won’t hold as long in the fridge. If you use it, beat it to medium-stiff peaks and keep the dessert well chilled until serving. The result tastes a little fresher and less sweet, but the layers won’t stay quite as sharp after a full day.
Turn It Into a Peanut Butter Oreo Dessert
Stir a few spoonfuls of creamy peanut butter into the cream cheese layer before folding in the whipped topping, or drizzle it over the crust before the pudding goes on. Peanut butter makes the dessert richer and slightly heavier, so keep the layer thin. It pairs well with the chocolate pudding and gives the dessert a Reese’s-style edge.
Storage and Reheating
- Refrigerator: Keep covered for up to 4 days. The crust softens a little by day two, but the dessert still slices well.
- Freezer: It freezes better than you might expect, though the whipped topping texture gets a little less fluffy after thawing. Freeze in airtight squares, then thaw in the refrigerator overnight.
- Reheating: No reheating needed. Serve it cold straight from the fridge. If it sits out too long, the pudding layer softens and the clean layers start to blur.
Answers to the Questions Worth Asking

Oreo Dessert (No-Bake Icebox Cake)
Ingredients
Equipment
Method
- Mix the finely crushed Oreo cookies with the melted butter until evenly combined, then press firmly into the bottom of a 9x13 dish.
- Refrigerate the crust for 15 minutes to firm it up, so it holds a crisp base when sliced.
- Beat the softened cream cheese and powdered sugar until smooth, then fold in 1 cup of whipped topping and spread over the Oreo crust.
- Whisk the instant chocolate pudding mix with the cold whole milk for 2 minutes until thickened, then spread evenly over the cream cheese layer.
- Spread the remaining 2 cups of whipped topping over the pudding layer to cover completely.
- Sprinkle crushed Oreos generously over the top for a textured, crackled finish.
- Refrigerate for at least 4 hours or overnight until set, then cut into squares and serve.