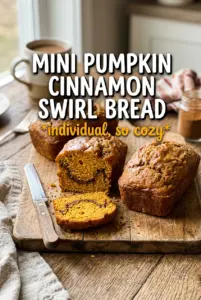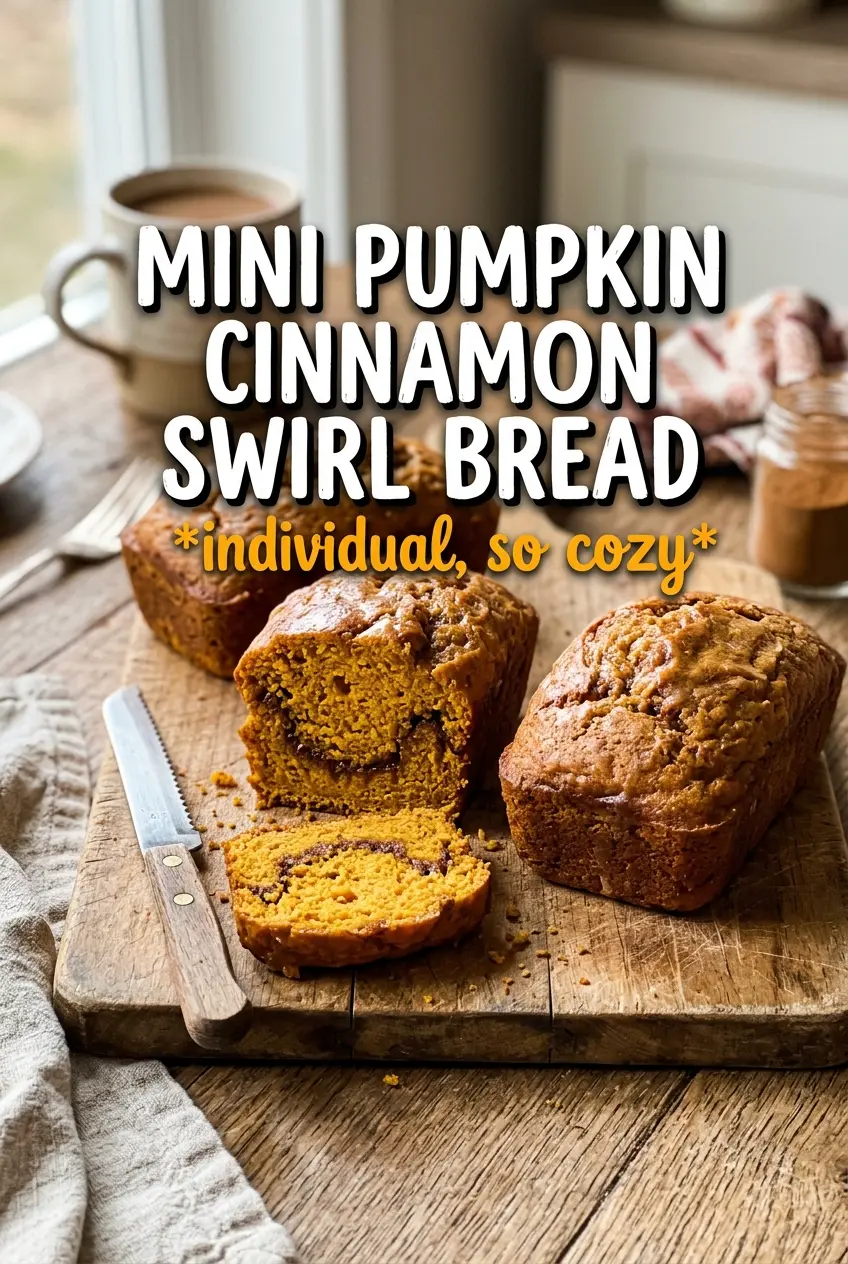
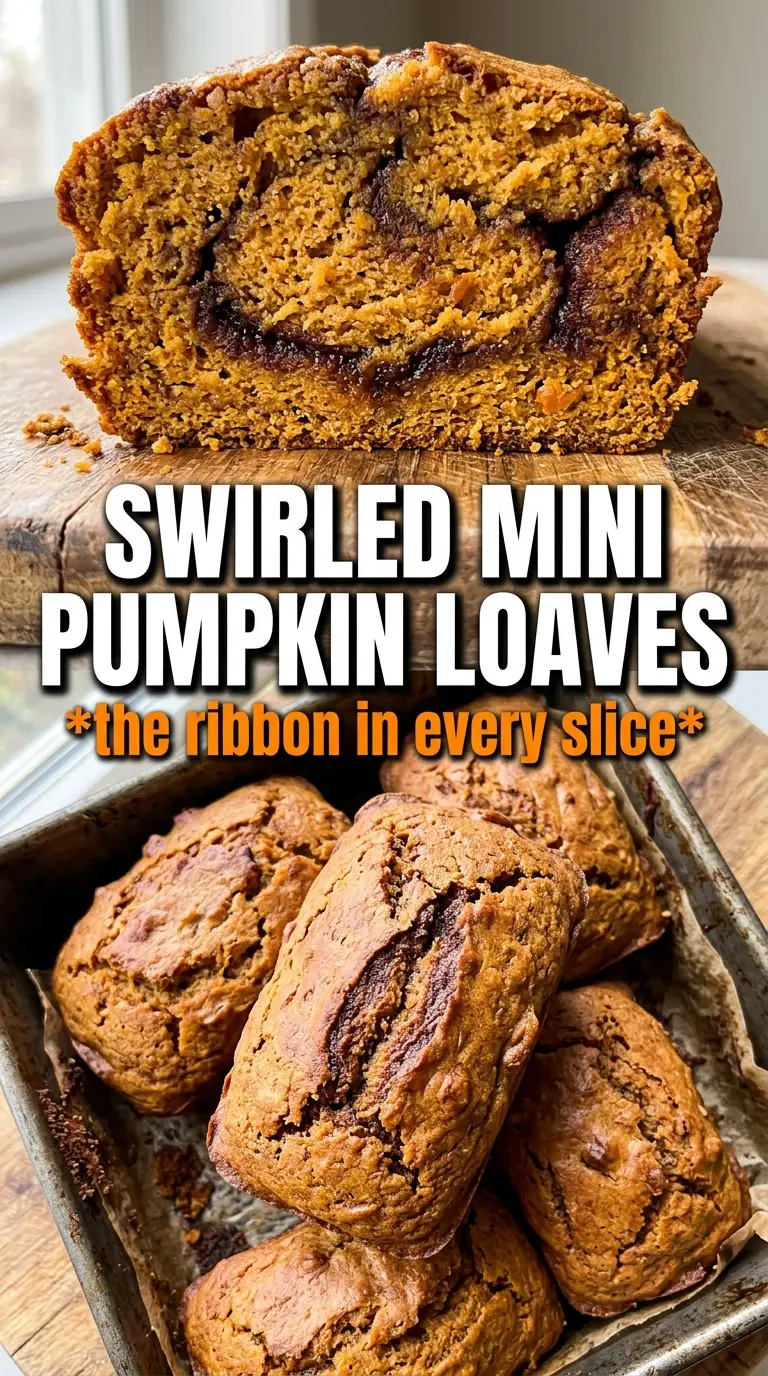
Mini pumpkin bread with cinnamon swirl bakes up with a tender crumb, a deep pumpkin aroma, and those streaks of brown sugar and cinnamon that run through every slice. The smaller loaves mean more edges, more swirl in each piece, and a faster bake than a full-size loaf, which is exactly why I keep coming back to this version. It feels cozy and homemade without asking for much more than a bowl and a whisk.
The key is keeping the batter simple and mixing it only until the flour disappears. Pumpkin puree brings moisture, oil keeps the crumb soft for days, and the cinnamon-sugar swirl needs to stay thick enough to hold its shape instead of melting into the batter. The result is a loaf that slices cleanly, with a little ribbon of spiced sweetness in the middle instead of a muddy marbled swirl.
Below, I’ve included the small details that matter most: how to keep the swirl visible, what to look for at the end of baking, and how to change the glaze if you want something a little lighter or richer.
The swirl stayed distinct all the way through, and the mini loaves baked up with a soft center and slightly crisp edges. I glazed them while they were still warm and they disappeared before they even cooled.
Love the tender crumb and cinnamon swirl? Save these mini pumpkin bread loaves for a breakfast treat that bakes fast and slices beautifully.
The Trick to Keeping the Cinnamon Swirl Visible
The swirl disappears when the filling gets too thin or when the batter is overmixed after it goes in. A thick brown sugar mixture holds its line better, and a light hand with the toothpick keeps the layers distinct instead of turning the whole loaf into one uniform cinnamon crumb. That’s the difference between a pretty center stripe and a loaf that just tastes vaguely spiced.
Filling each mini loaf pan only halfway matters too. If the pans are too full before the swirl goes in, the topping sinks and blends into the batter as it rises. Leaving room gives the loaf space to lift around the cinnamon layer, which helps you get those clean streaks when you slice it.
What Each Ingredient Is Actually Doing in This Bread
- Pumpkin puree — This gives the bread its moisture, color, and that soft, dense-yet-tender texture. Use pure pumpkin, not pumpkin pie filling, or the sweetness and spices will throw off the balance.
- Vegetable oil — Oil keeps the crumb soft even after the loaves cool. Butter will work in a pinch, but the texture is a little firmer and less plush.
- Brown sugar — It deepens the pumpkin flavor and helps the bread stay moist. In the swirl, it melts into a ribbon that tastes more caramel-like than plain granulated sugar would.
- Pumpkin pie spice and cinnamon — Pumpkin pie spice gives the bread its base warmth, while the extra cinnamon sharpens the swirl and keeps it from tasting flat. If you only have pumpkin pie spice, use a little extra in the batter and keep the swirl heavy on cinnamon.
- Cream cheese glaze — The glaze is optional, but it adds tang and a little richness that plays nicely with the spice. If you want a thinner drizzle, add the milk a teaspoon at a time until it ribbons off the spoon.
Building and Baking the Mini Loaves Without Drying Them Out
Mix the Wet Batter First
Whisk the pumpkin, both sugars, oil, eggs, and vanilla until the mixture looks smooth and glossy. That helps dissolve the sugar and keeps the batter from feeling gritty. Once the dry ingredients go in, stop as soon as you no longer see streaks of flour. Overmixing at this point builds toughness fast, especially in smaller loaves that bake quickly.
Layer in the Swirl
Fill each mini loaf pan halfway, then spoon the cinnamon mixture over the batter in little patches. A toothpick or skewer is enough for swirling; one or two passes through each loaf gives you a marbled center without dragging the filling all the way down. If you keep swirling and swirling, the layers blur and sink.
Bake Until the Centers Set
Bake at 350°F for 28 to 32 minutes, watching for a toothpick to come out clean or with a few moist crumbs. The tops should spring back when pressed lightly and the edges should pull just slightly from the pans. If the tops brown too fast before the centers are done, tent loosely with foil for the last few minutes instead of lowering the heat too soon.
Glaze While Warm
Drizzle the cream cheese glaze over the loaves while they’re still warm so it melts into the top and settles into the cracks. If the bread is fully cool, the glaze sits on top instead of sinking in a little, which is still fine, just less integrated. Let the loaves cool enough to hold their shape before lifting them from the pans, or the bottoms can tear.
How to Adjust These Mini Pumpkin Loaves for Different Kitchens
Dairy-Free Glaze
Skip the cream cheese and use powdered sugar with just enough plant milk to make a thick drizzle. You lose the tang, but you keep the sweet finish and the glaze still sets nicely over the warm loaves.
Make It a Little Less Sweet
Cut the granulated sugar back slightly if you want the pumpkin and spice to come forward more. Keep the brown sugar in the swirl as written, since that’s what gives you the defined ribbon in the middle.
Swap to One Standard Loaf Pan
You can bake the batter in one 9×5-inch loaf pan, but the bake time will be longer and the swirl can sink if the pan is overfilled. Check for a set center with a clean toothpick in the middle and expect a softer, taller slice instead of the edge-heavy mini loaves.
Storage and Reheating
- Refrigerator: Store in an airtight container for up to 5 days. The crumb stays moist, though the glaze will soften as it sits.
- Freezer: Freeze the unglazed mini loaves tightly wrapped for up to 2 months. Thaw at room temperature, then glaze after defrosting for the cleanest finish.
- Reheating: Warm individual slices for 10 to 15 seconds in the microwave. Don’t overheat them or the bread turns rubbery and the glaze melts away completely.