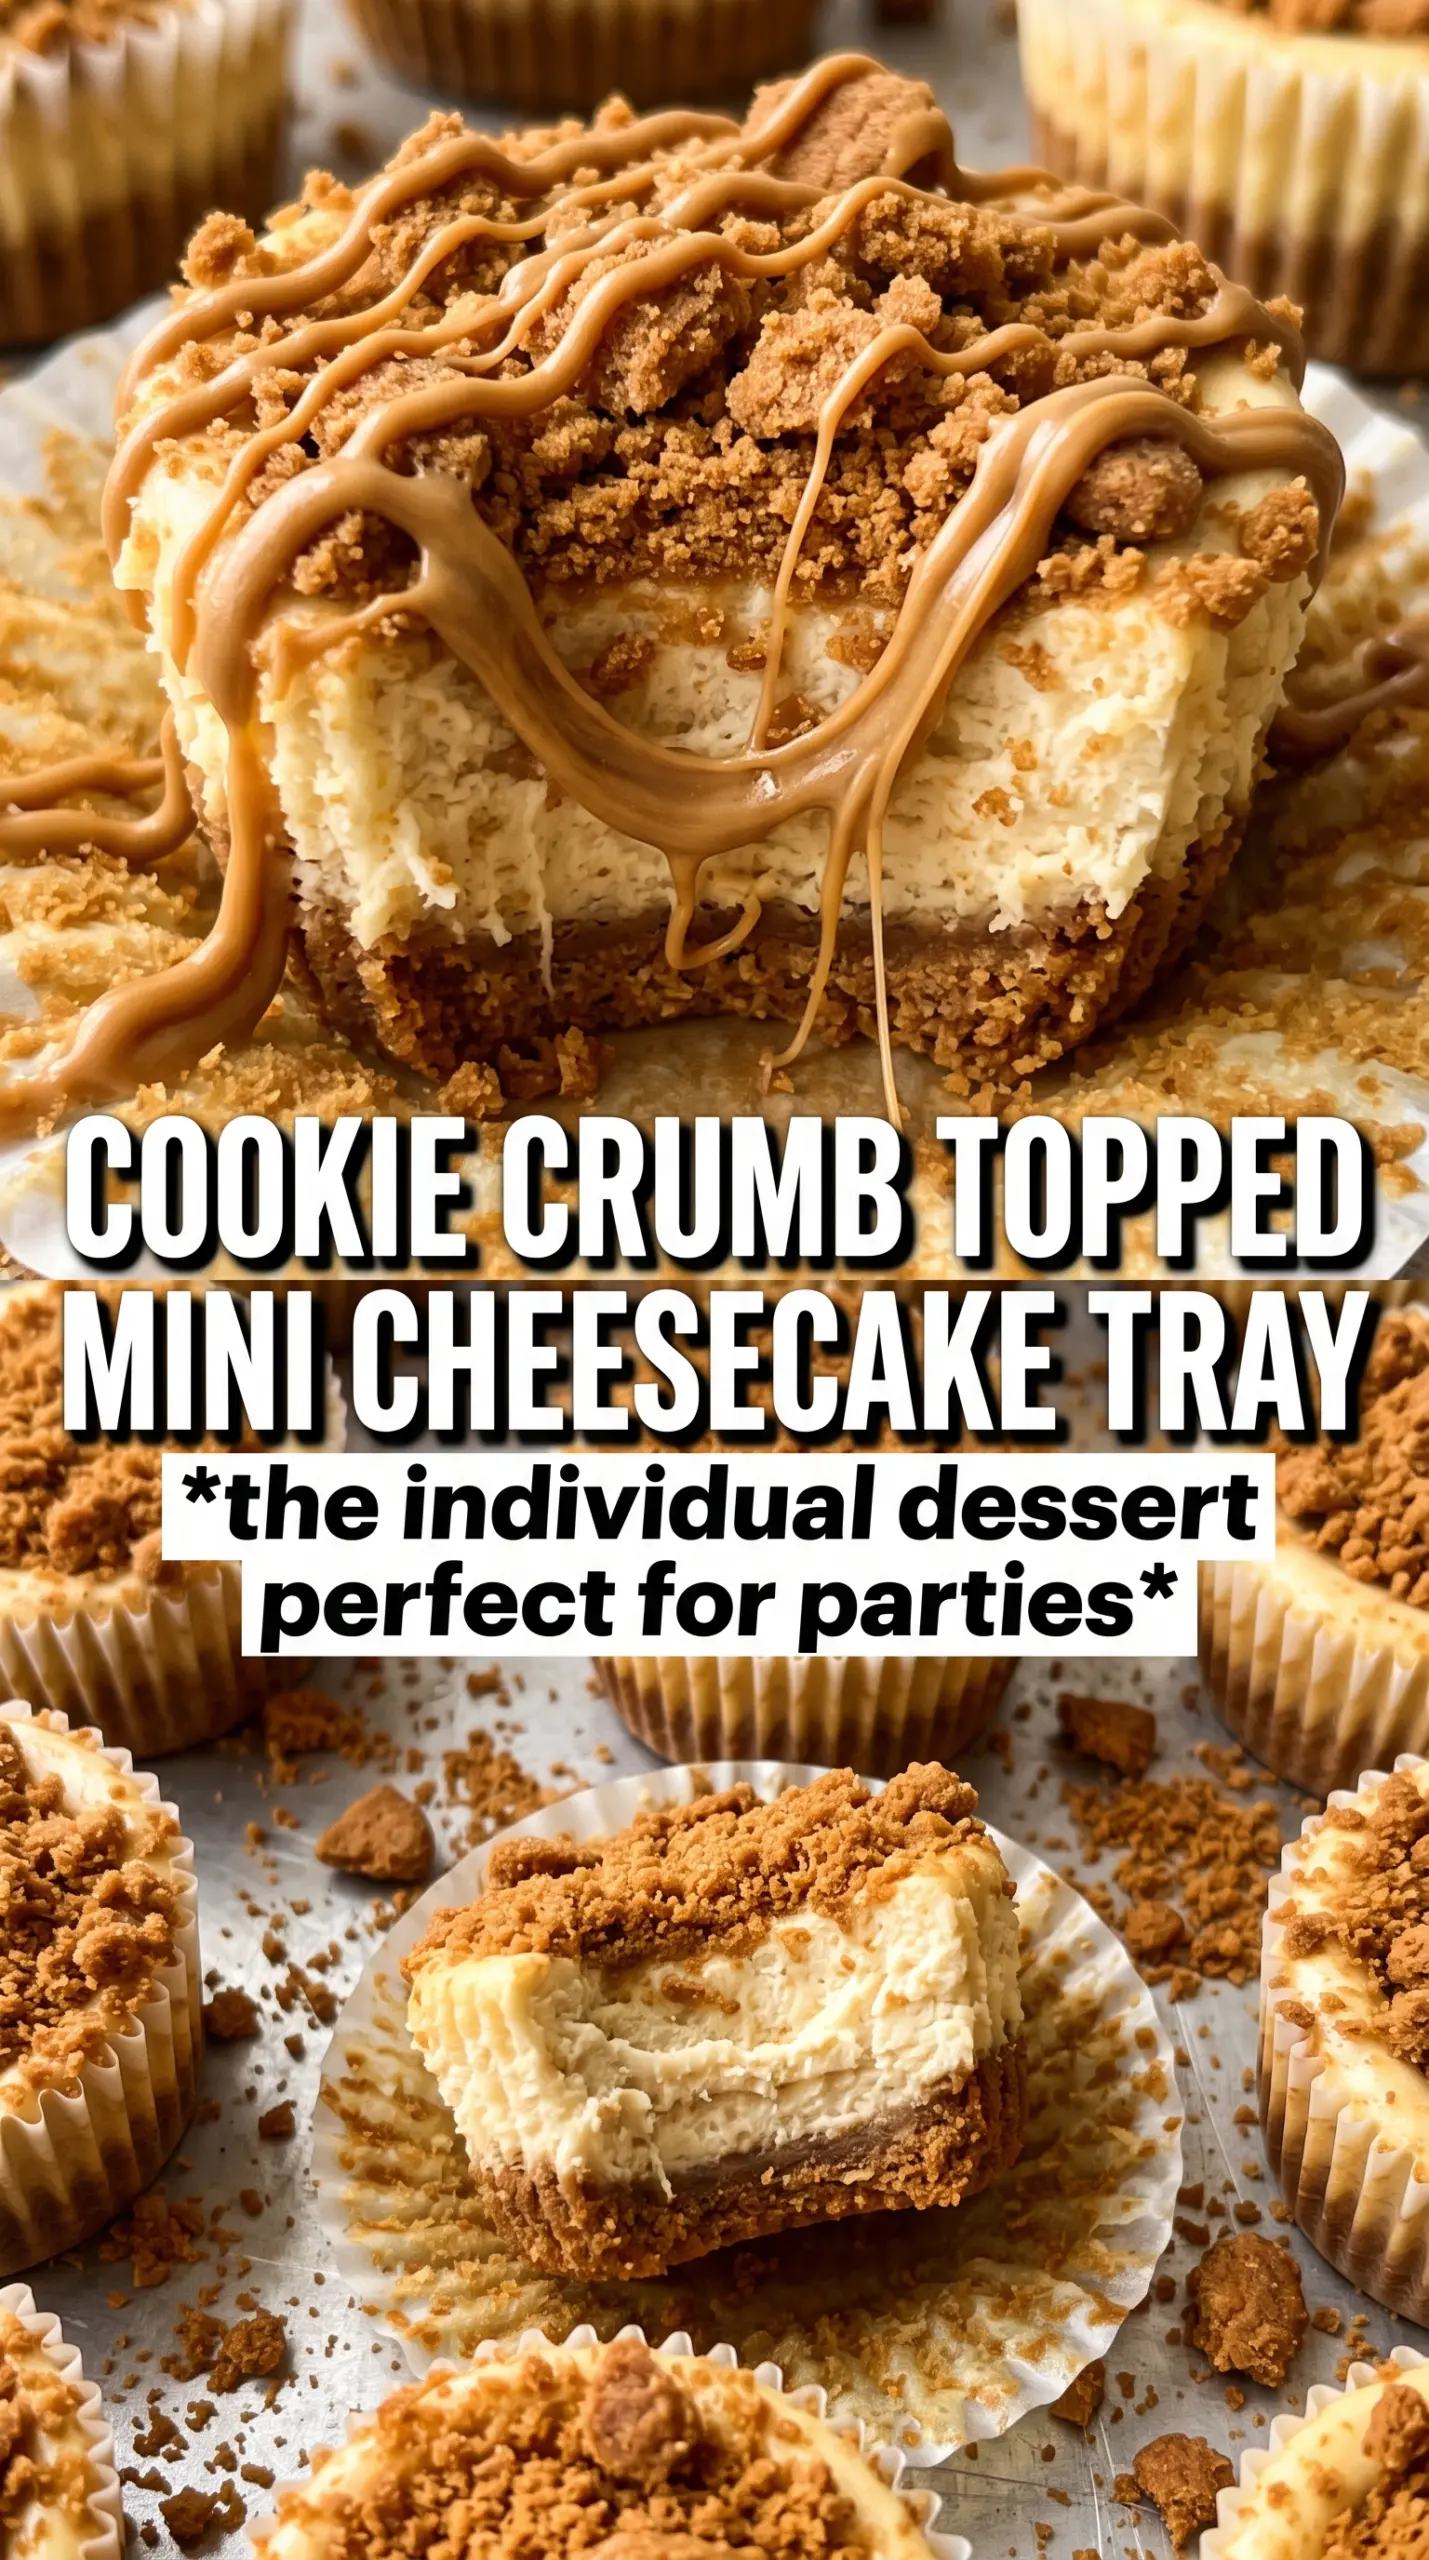
Mini Biscoff cheesecakes land with the kind of first bite that makes people pause for a second. The crust stays crisp enough to hold its shape, the filling bakes up creamy instead of dense, and the warm cookie butter drizzle on top gives each one that unmistakable spiced caramel taste Biscoff fans are after. In a muffin tin, they come out neat, rich, and just the right size for serving without having to slice a thing.
What makes this version work is the balance between a firm cookie crust and a filling that’s mixed just enough to stay smooth. Cream cheese, sour cream, and egg give the centers structure, but the Biscoff spread carries the flavor so you don’t need to overload the batter. Baking them in liners also helps them release cleanly after chilling, which matters more here than people expect.
Below, I’ve included the little details that keep the filling from cracking, plus the best way to warm the Biscoff spread so it drizzles instead of clumping. If you’ve ever wanted a miniature cheesecake that looks polished but still tastes homemade, this is the one to keep close.
The centers set up perfectly after chilling, and the Biscoff drizzle stayed glossy instead of soaking into the tops. I brought these to a potluck and everyone kept asking if the cookie crust was baked first.
Mini Biscoff cheesecakes with a crisp cookie crust, creamy center, and glossy cookie butter topping are made for the dessert tray.
The Reason Mini Cheesecakes Crack Less in Muffin Liners
Mini cheesecakes are a little more forgiving than full-size ones, but they still crack when the batter gets overmixed or baked past the point of just-set. The filling should look slightly puffed at the edges and still have a soft wobble in the center when they come out. That wobble finishes setting as they cool, and that’s what keeps the texture smooth instead of dry and chalky.
The crust also does more than hold the filling. Baking it for five minutes first gives the cookies enough structure to stay crisp under the creamy layer, which is important because Biscoff crumbs can turn sandy if they never get that short blast of heat. Press them firmly into the liners so they pack down like wet sand; loose crumbs fall apart once the cheesecakes are chilled and unmolded.
- Avoid beating too much air into the filling. Air bubbles expand in the oven, then collapse and leave cracks behind.
- Pull the pan when the centers still jiggle. If they look fully firm in the oven, they’ll end up overbaked after chilling.
- Use liners. They keep the edges tidy and make it much easier to lift the cheesecakes out without damaging the crust.
What Each Ingredient Is Actually Doing in These Biscoff Cheesecakes
- Biscoff cookies — These are the backbone of the crust and the source of that spiced caramel note in every bite. Generic graham crackers won’t give the same flavor, though they can work in a pinch if you add a little extra cinnamon.
- Butter — Melted butter binds the crumbs so the crust holds together after baking and chilling. If the crust feels too dry when pressed, it will crumble when you peel the liner back.
- Cream cheese — Full-fat cream cheese gives the filling its body and tang. Let it soften fully before beating or you’ll end up with little lumps that never disappear.
- Sour cream — This keeps the center creamy and adds a little acidity so the filling doesn’t taste flat. You can swap in full-fat Greek yogurt, but the texture will be slightly tangier and a touch less rich.
- Biscoff spread — This is what makes the filling taste unmistakably like Biscoff rather than just a spiced cheesecake. Warm it slightly before stirring and drizzling so it blends smoothly and doesn’t seize.
- Eggs — Eggs set the filling. Add them one at a time and stop mixing as soon as each one disappears, or the batter can turn airy and bake up with cracks.
Building the Filling So It Bakes Smooth, Not Grainy
Pressing and Prebaking the Crust
Mix the cookie crumbs, melted butter, and sugar until every crumb looks evenly moistened, then press the mixture firmly into the liners. A flat-bottomed measuring cup works well here because it packs the crust tightly into the corners. Bake the crusts just long enough to smell toasted, not browned; that short bake keeps them from turning greasy once the filling goes in.
Mixing the Cheesecake Base
Beat the cream cheese and sugar until the mixture looks smooth and glossy before the eggs go in. If the cream cheese is still cool, you’ll see tiny lumps and those don’t bake out. Add the eggs one at a time, mixing on low speed and stopping as soon as the batter comes together, then stir in the sour cream, Biscoff spread, vanilla, and cinnamon until just combined.
Baking Until Just Set
Divide the filling evenly among the cups so they bake at the same pace. The tops should look set around the edges with a slight jiggle in the middle, almost like soft gelatin. If the centers are completely firm in the oven, the cheesecakes will turn dense after chilling, so trust the wobble and pull them on time.
Cooling and Finishing
Let the cheesecakes cool before moving them to the refrigerator, or the tops can sink from a sudden temperature change. Once chilled, warm the remaining Biscoff spread just enough to loosen it, then drizzle it over each cheesecake. Press the whole cookie in at the end so it stays visible and crisp instead of softening into the topping.
How to Adapt These Mini Cheesecakes Without Losing the Texture
Gluten-Free Version
Use gluten-free speculoos-style cookies if you can find them. The texture stays closest to the original because you keep the same spiced, buttery crunch without changing the filling at all.
Dairy-Free Swap
Use dairy-free cream cheese and a thick dairy-free yogurt in place of sour cream, then bake only until the centers are barely set. The texture will be a little softer, but the cookie butter flavor still comes through clearly.
Extra-Spiced Filling
Add a small pinch of nutmeg or ginger if you want the Biscoff spice notes to read a little warmer. Keep the amount light or it starts to compete with the cookie butter instead of supporting it.
Storage and Reheating
- Refrigerator: Store covered for up to 5 days. The crust softens a little over time, but the flavor stays excellent.
- Freezer: These freeze well without the cookie garnish. Wrap each cheesecake tightly and freeze for up to 2 months, then thaw overnight in the refrigerator.
- Reheating: No reheating needed. Serve them chilled, and add the Biscoff drizzle after thawing or chilling so it stays smooth and shiny.
Answers to the Questions Worth Asking
Mini Biscoff Cheesecakes
Ingredients
Equipment
Method
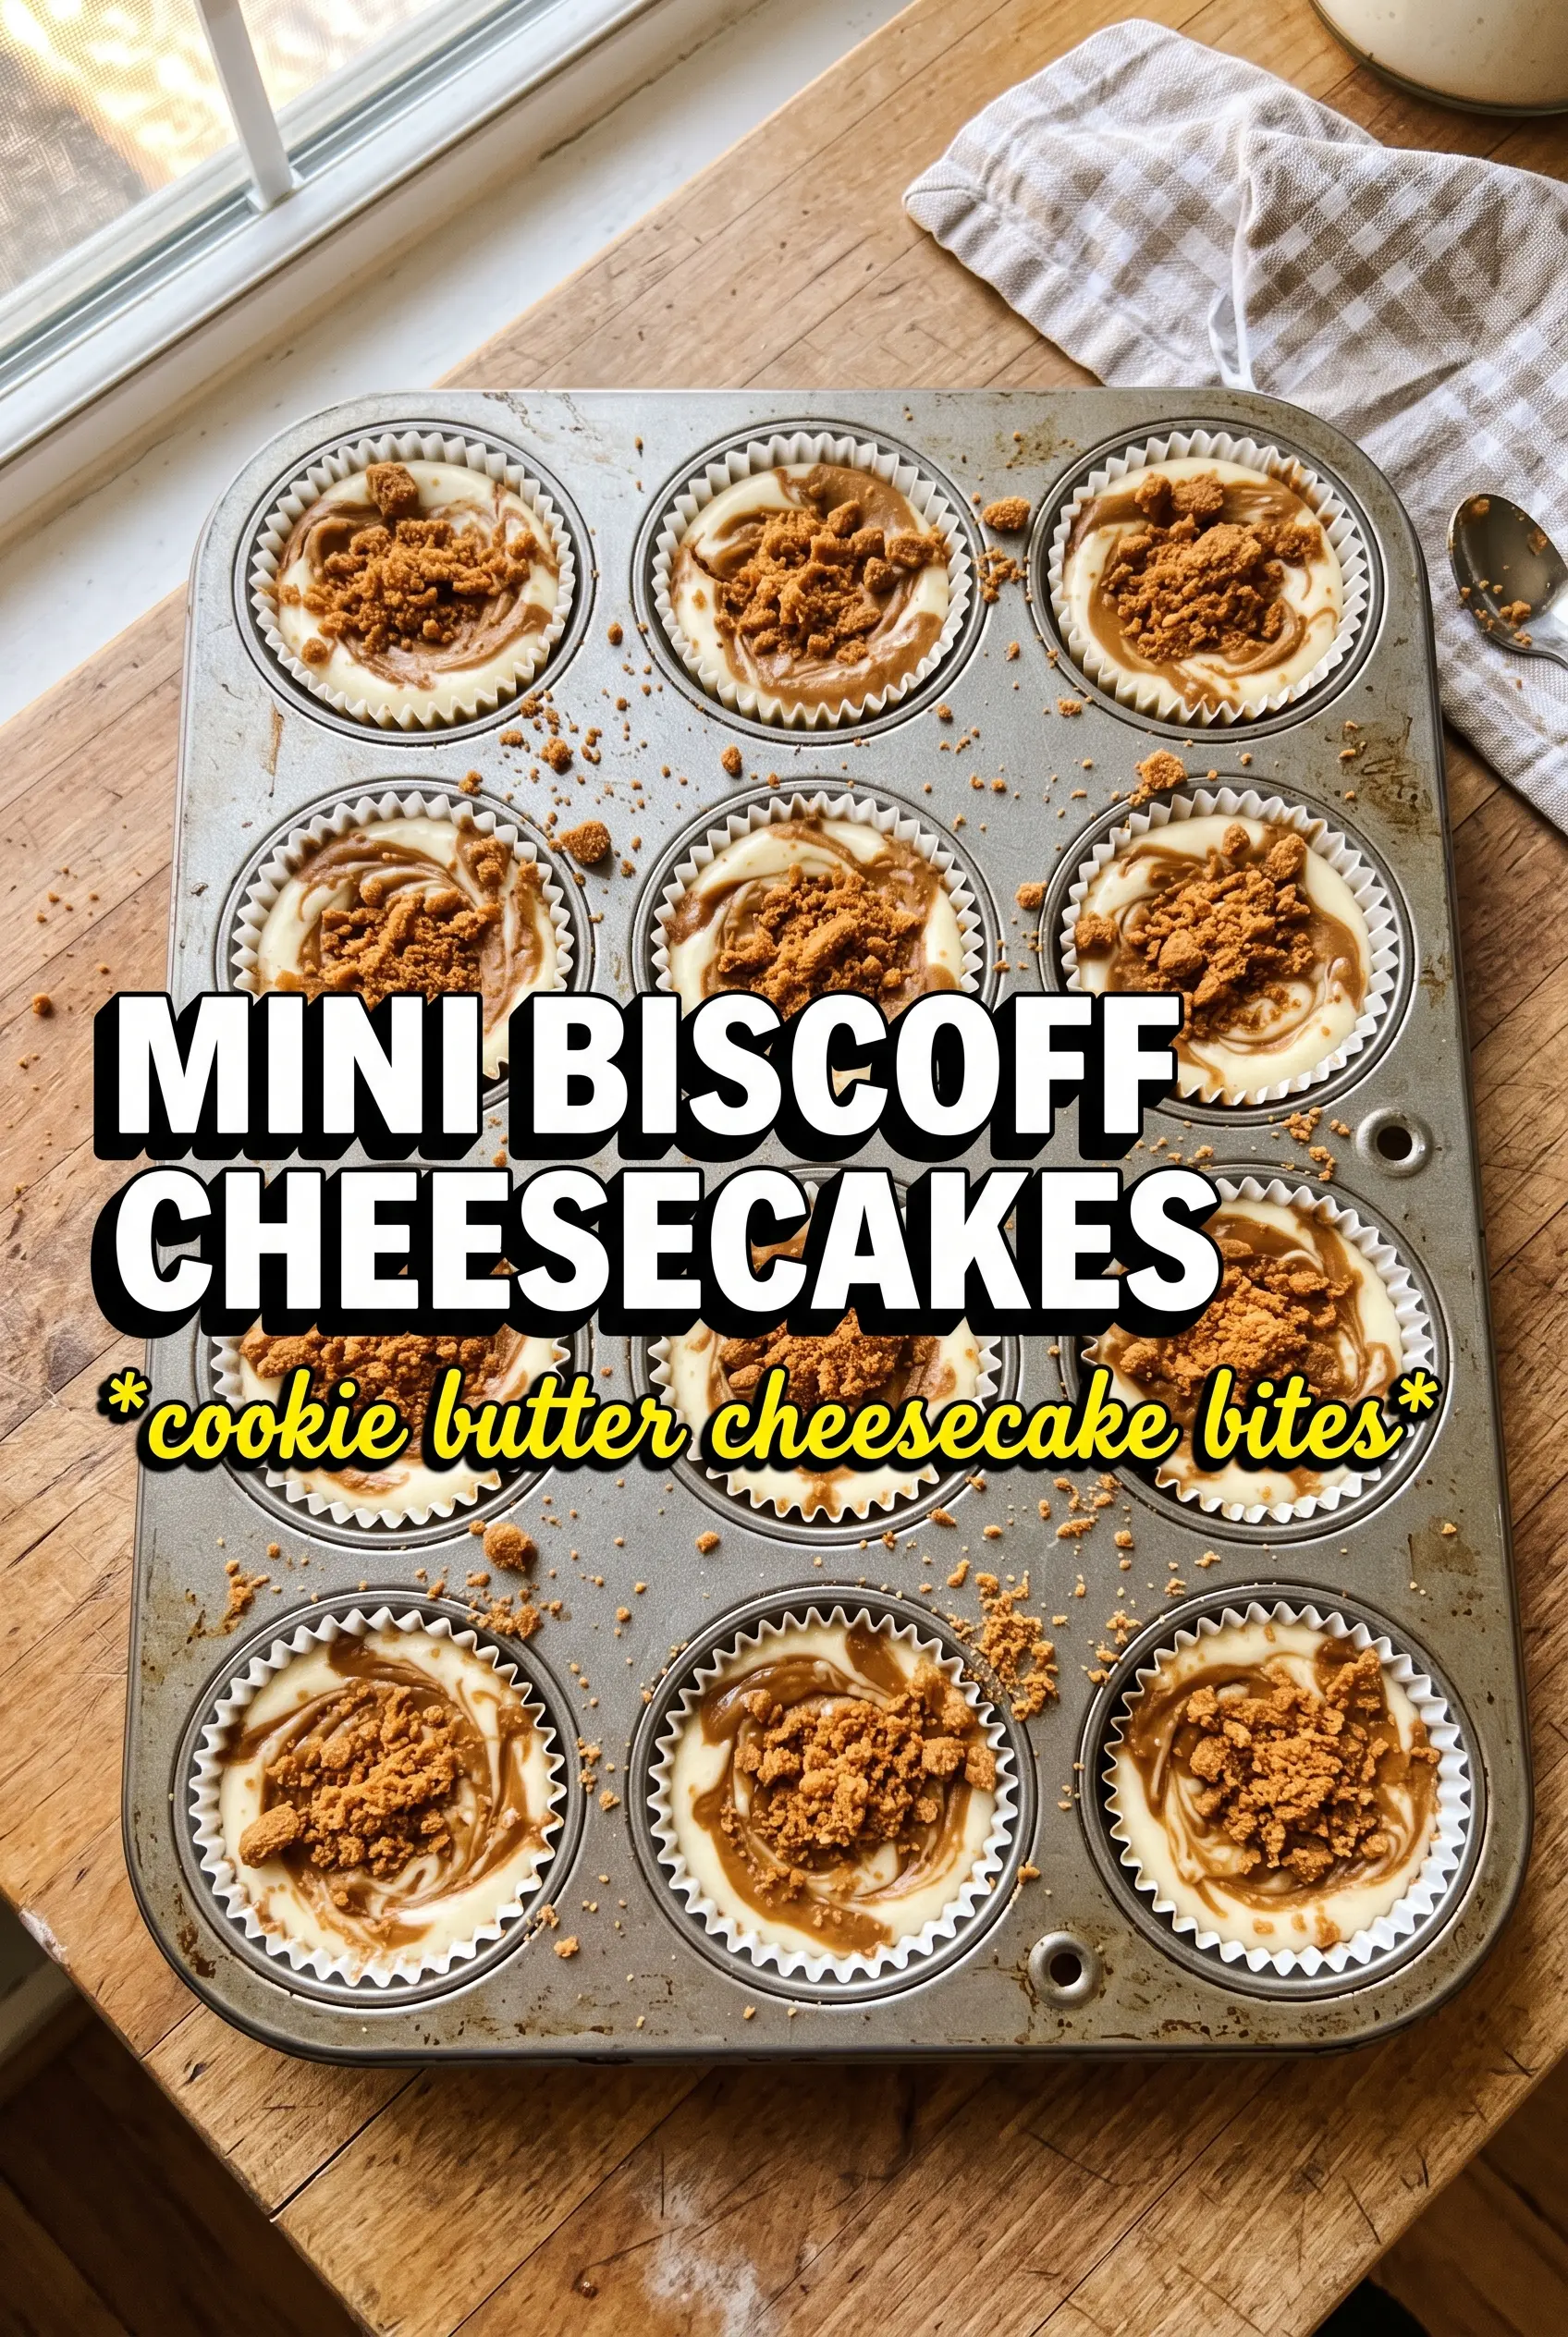
- Preheat oven to 325F, then line a 12-cup muffin tin with paper liners.
- Combine the crust ingredients, then press the mixture firmly into the bottom of each liner.
- Bake the crust for 5 minutes, until set and fragrant, then remove to cool slightly.
- Beat the cream cheese and granulated sugar until smooth, scraping the bowl as needed for a silky texture.
- Add eggs one at a time, beating after each addition just until incorporated.
- Mix in sour cream, Biscoff cookie butter, vanilla extract, and cinnamon until evenly blended.
- Divide filling among the cups, filling to near the top of each liner.
- Bake for 18-20 minutes at 325F, until the centers are just set with a slight jiggle.
- Let the cheesecakes cool fully, then refrigerate for 3 hours to firm up.
- Warm the Biscoff spread until pourable, then drizzle a thick ribbon over each cheesecake.
- Press one whole Biscoff cookie into the top of each cheesecake so it adheres to the spread.