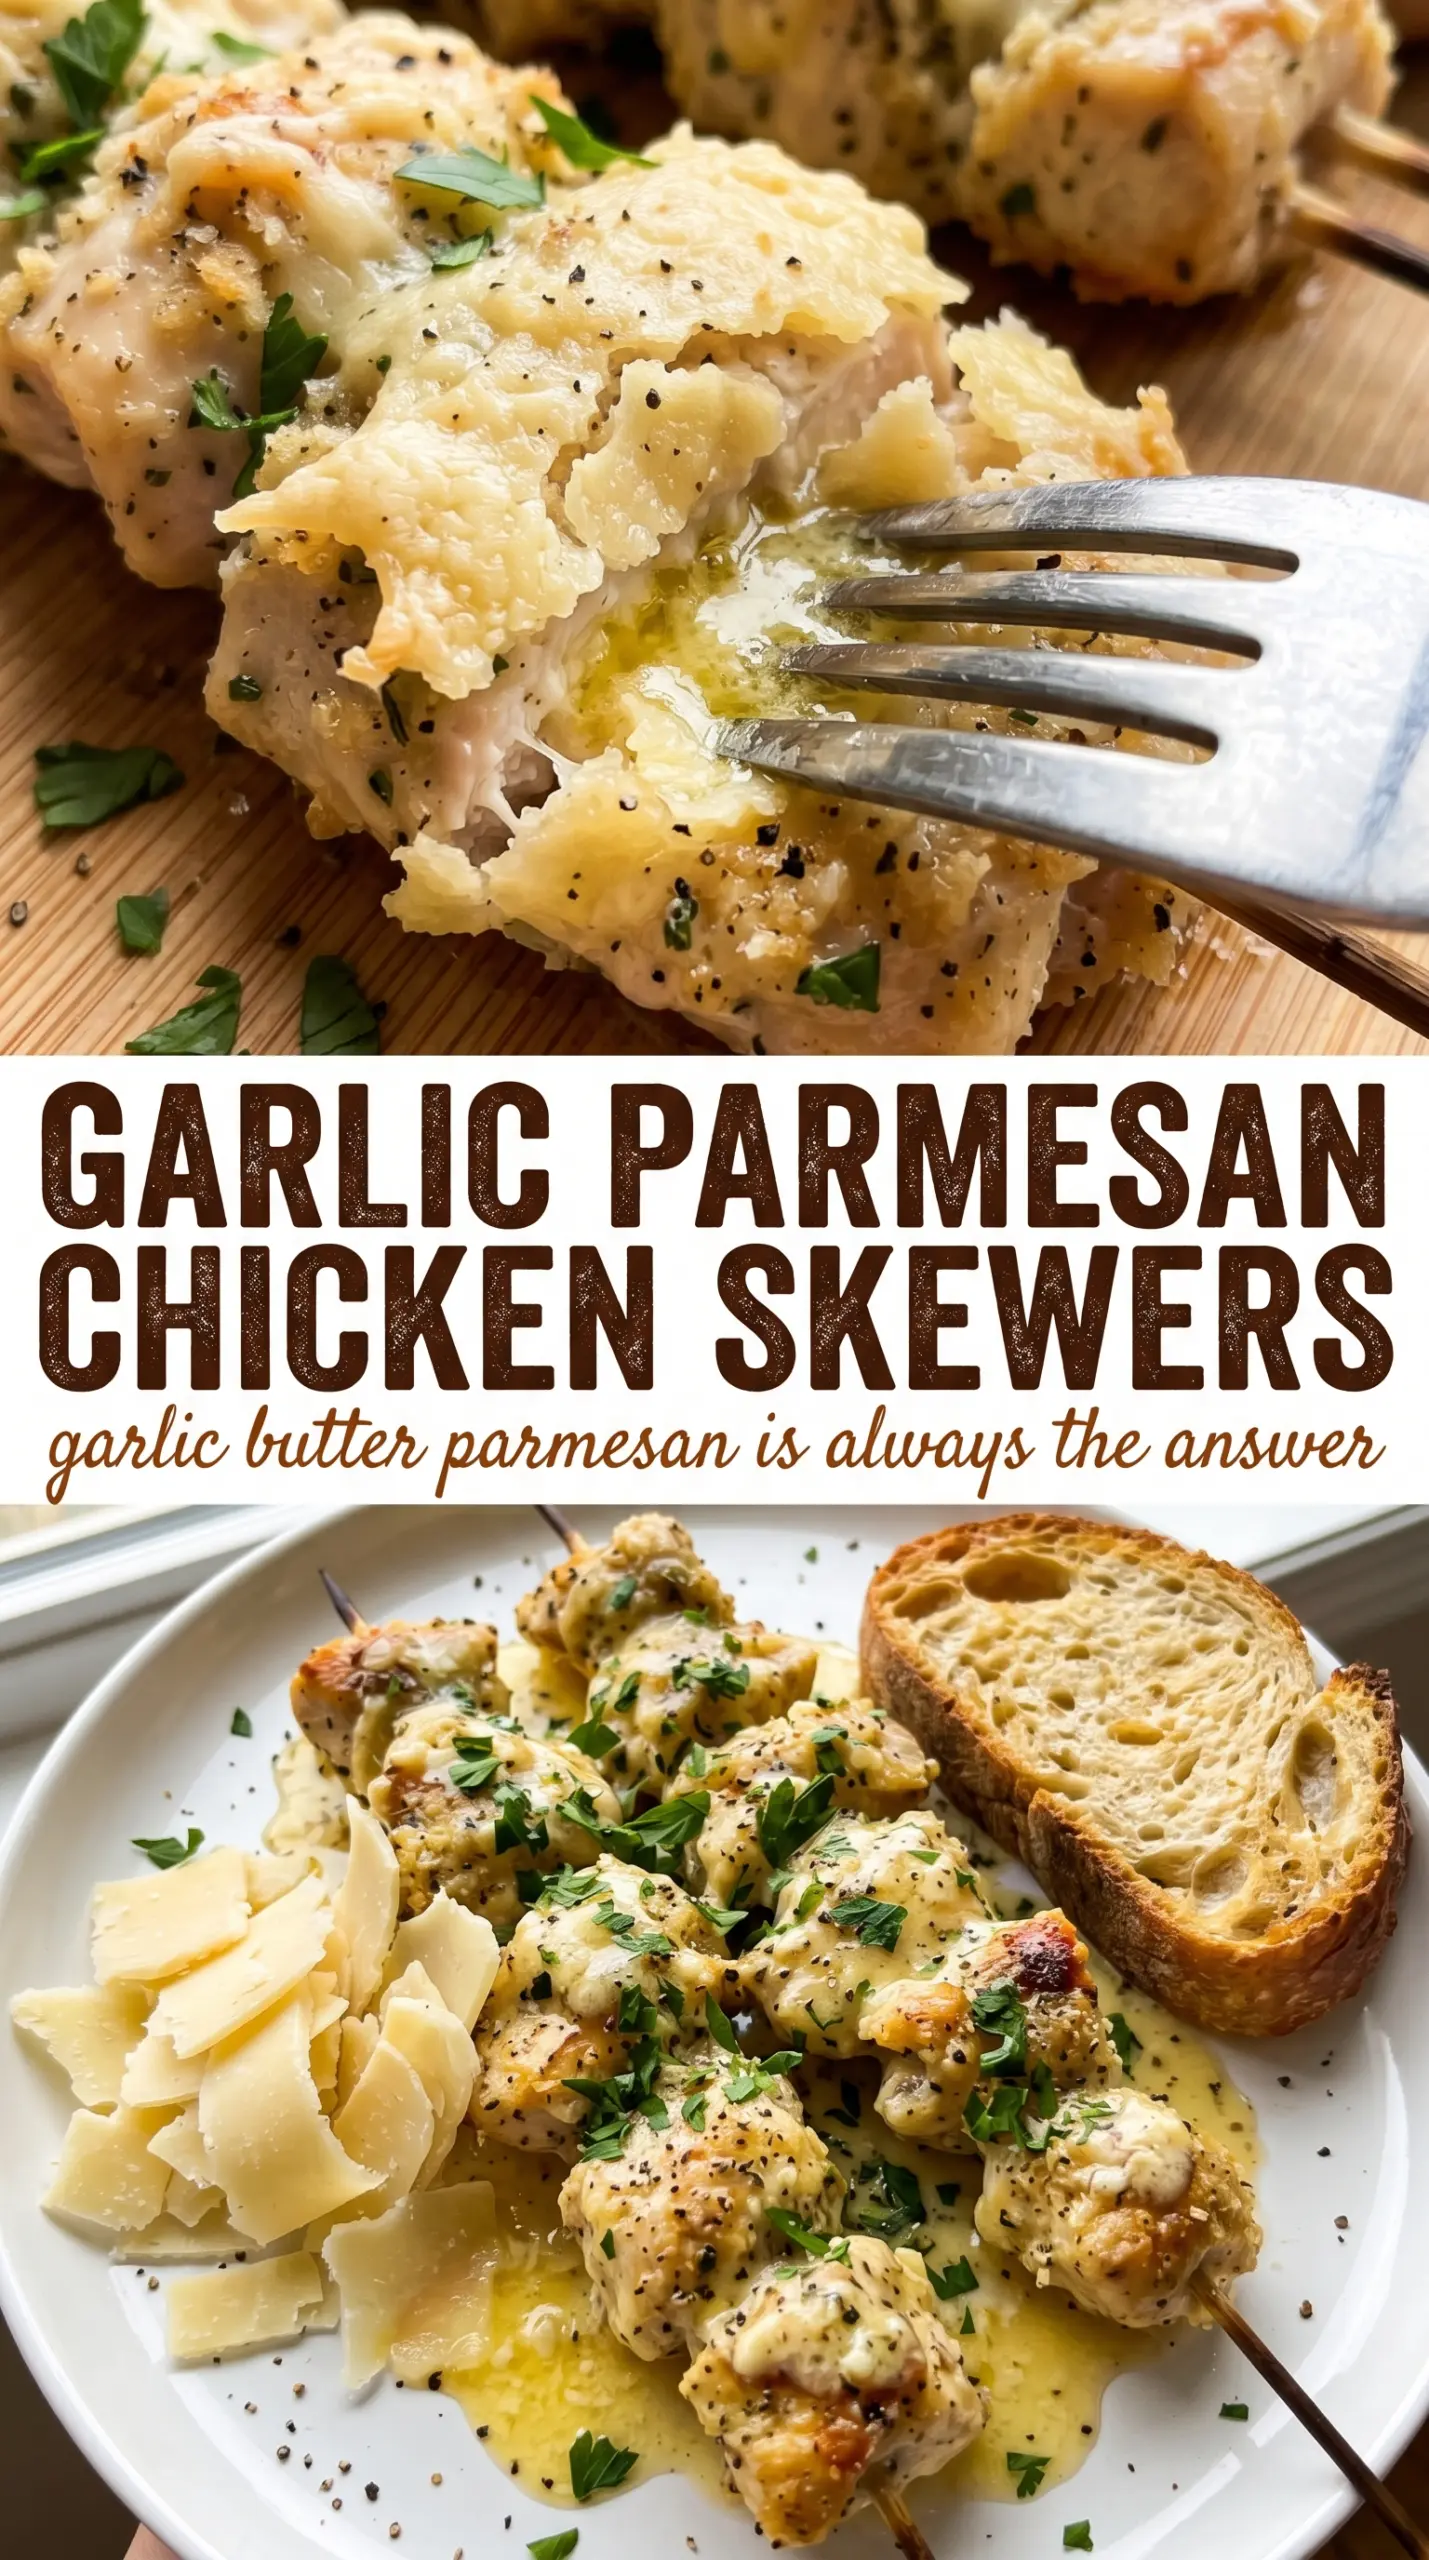
Garlic Parmesan Chicken Skewers come off the grill with crisp, charred edges, juicy centers, and that salty, buttery finish that clings to every cube. The garlic hits first, then the parmesan melts into the warm chicken and leaves behind a savory crust that tastes like much more work than it is. These are the kind of skewers that disappear before they reach the table.
The key is treating the chicken like something that needs a head start, not something that can be rushed onto heat. A short marinade with olive oil, garlic, Italian seasoning, and smoked paprika seasons the meat all the way through, while the finishing butter gives you the punch of parmesan without burning it on the grill. Freshly grated parmesan matters here because pre-shredded cheese doesn’t melt into the butter the same way and can leave the sauce grainy.
Below you’ll find the one grill-pan detail that keeps the chicken from drying out, plus a few smart swaps if you’re cooking indoors or need a dairy-free path.
The chicken stayed juicy and the garlic parmesan butter clung to every piece without sliding off. I cooked mine on a grill pan, and the edges still got that nice little char.
Golden grilled chicken skewers finished with garlic parmesan butter and crisp charred edges are perfect for your next grill night.
The Part Most People Get Wrong About Chicken Skewers
The fastest way to dry out chicken skewers is to treat them like thin cutlets and overcook them in a panic. Cubes of chicken breast need space on the skewer, steady medium-high heat, and a quick pull from the grill the moment they hit 165°F in the center. Crowding the pieces too tightly traps steam between them, which blocks browning and leaves you with pale, rubbery chicken instead of those browned edges you want.
This recipe avoids that by starting with a short marinade that does two jobs at once: it seasons the chicken and gives the surface enough oil to help it char. The parmesan stays out of the direct heat and goes into the finishing butter, which keeps it from scorching while still giving you that salty, nutty coating.
- Chicken breast — Breast meat cooks quickly and stays juicy if the cubes are cut evenly. Large pieces take longer to cook through and smaller ones dry out before they pick up color.
- Olive oil — This carries the garlic and spices across the surface of the chicken and helps the grill do its job. A neutral oil works in a pinch, but olive oil gives the best flavor here.
- Smoked paprika — This adds a quiet smoky note that makes the skewers taste like they came off a live fire even if you use a grill pan. Regular paprika works, but you lose some depth.
- Freshly grated parmesan — This melts into the warm butter instead of staying dusty or clumpy. Pre-grated parmesan can work, but it won’t give you the same smooth finish.
Building the Garlic Parmesan Finish Without Burning the Cheese
- Butter — Melted butter carries the garlic and parmesan and gives the skewers their glossy finish. Use real butter here; the flavor matters, and margarine won’t give the same richness.
- Garlic — One batch goes into the marinade and another into the finishing butter, which builds layers of flavor instead of one flat garlic note. Mince it fine so it softens into the butter and doesn’t burn in little sharp bits.
- Parsley — Fresh parsley keeps the finish bright and cuts through the richness. Dried parsley won’t give the same lift, and it tends to disappear against the butter.
Getting the Char, the Juiciness, and the Butter Finish in the Right Order
Mixing the Marinade
Stir the olive oil, garlic, Italian seasoning, smoked paprika, salt, and pepper together first so the garlic and spices are evenly distributed before the chicken goes in. Toss the cubes until every side looks lightly coated. If the marinade pools at the bottom of the bowl, the chicken won’t season evenly, so keep turning it until the surface looks glossy. Thirty minutes is enough to help the flavor sink in without changing the texture of the chicken breast.
Threading the Skewers
Slide the chicken onto the skewers with a small gap between each piece. That little bit of space matters because it lets the hot air and grill heat reach more surface area, which means better browning. If the cubes are pressed flush against each other, they steam. If you’re using wooden skewers, soak them first so they don’t scorch before the chicken is done.
Grilling Over Medium-High Heat
Preheat the grill or grill pan before the chicken goes on. You want a sizzle the second the skewers touch the surface, not a slow warm-up. Cook for 5 to 6 minutes per side, turning only when the first side releases easily and has dark grill marks. If the chicken sticks, it’s not ready to turn yet, and forcing it will tear the crust right off.
Finishing With Garlic Parmesan Butter
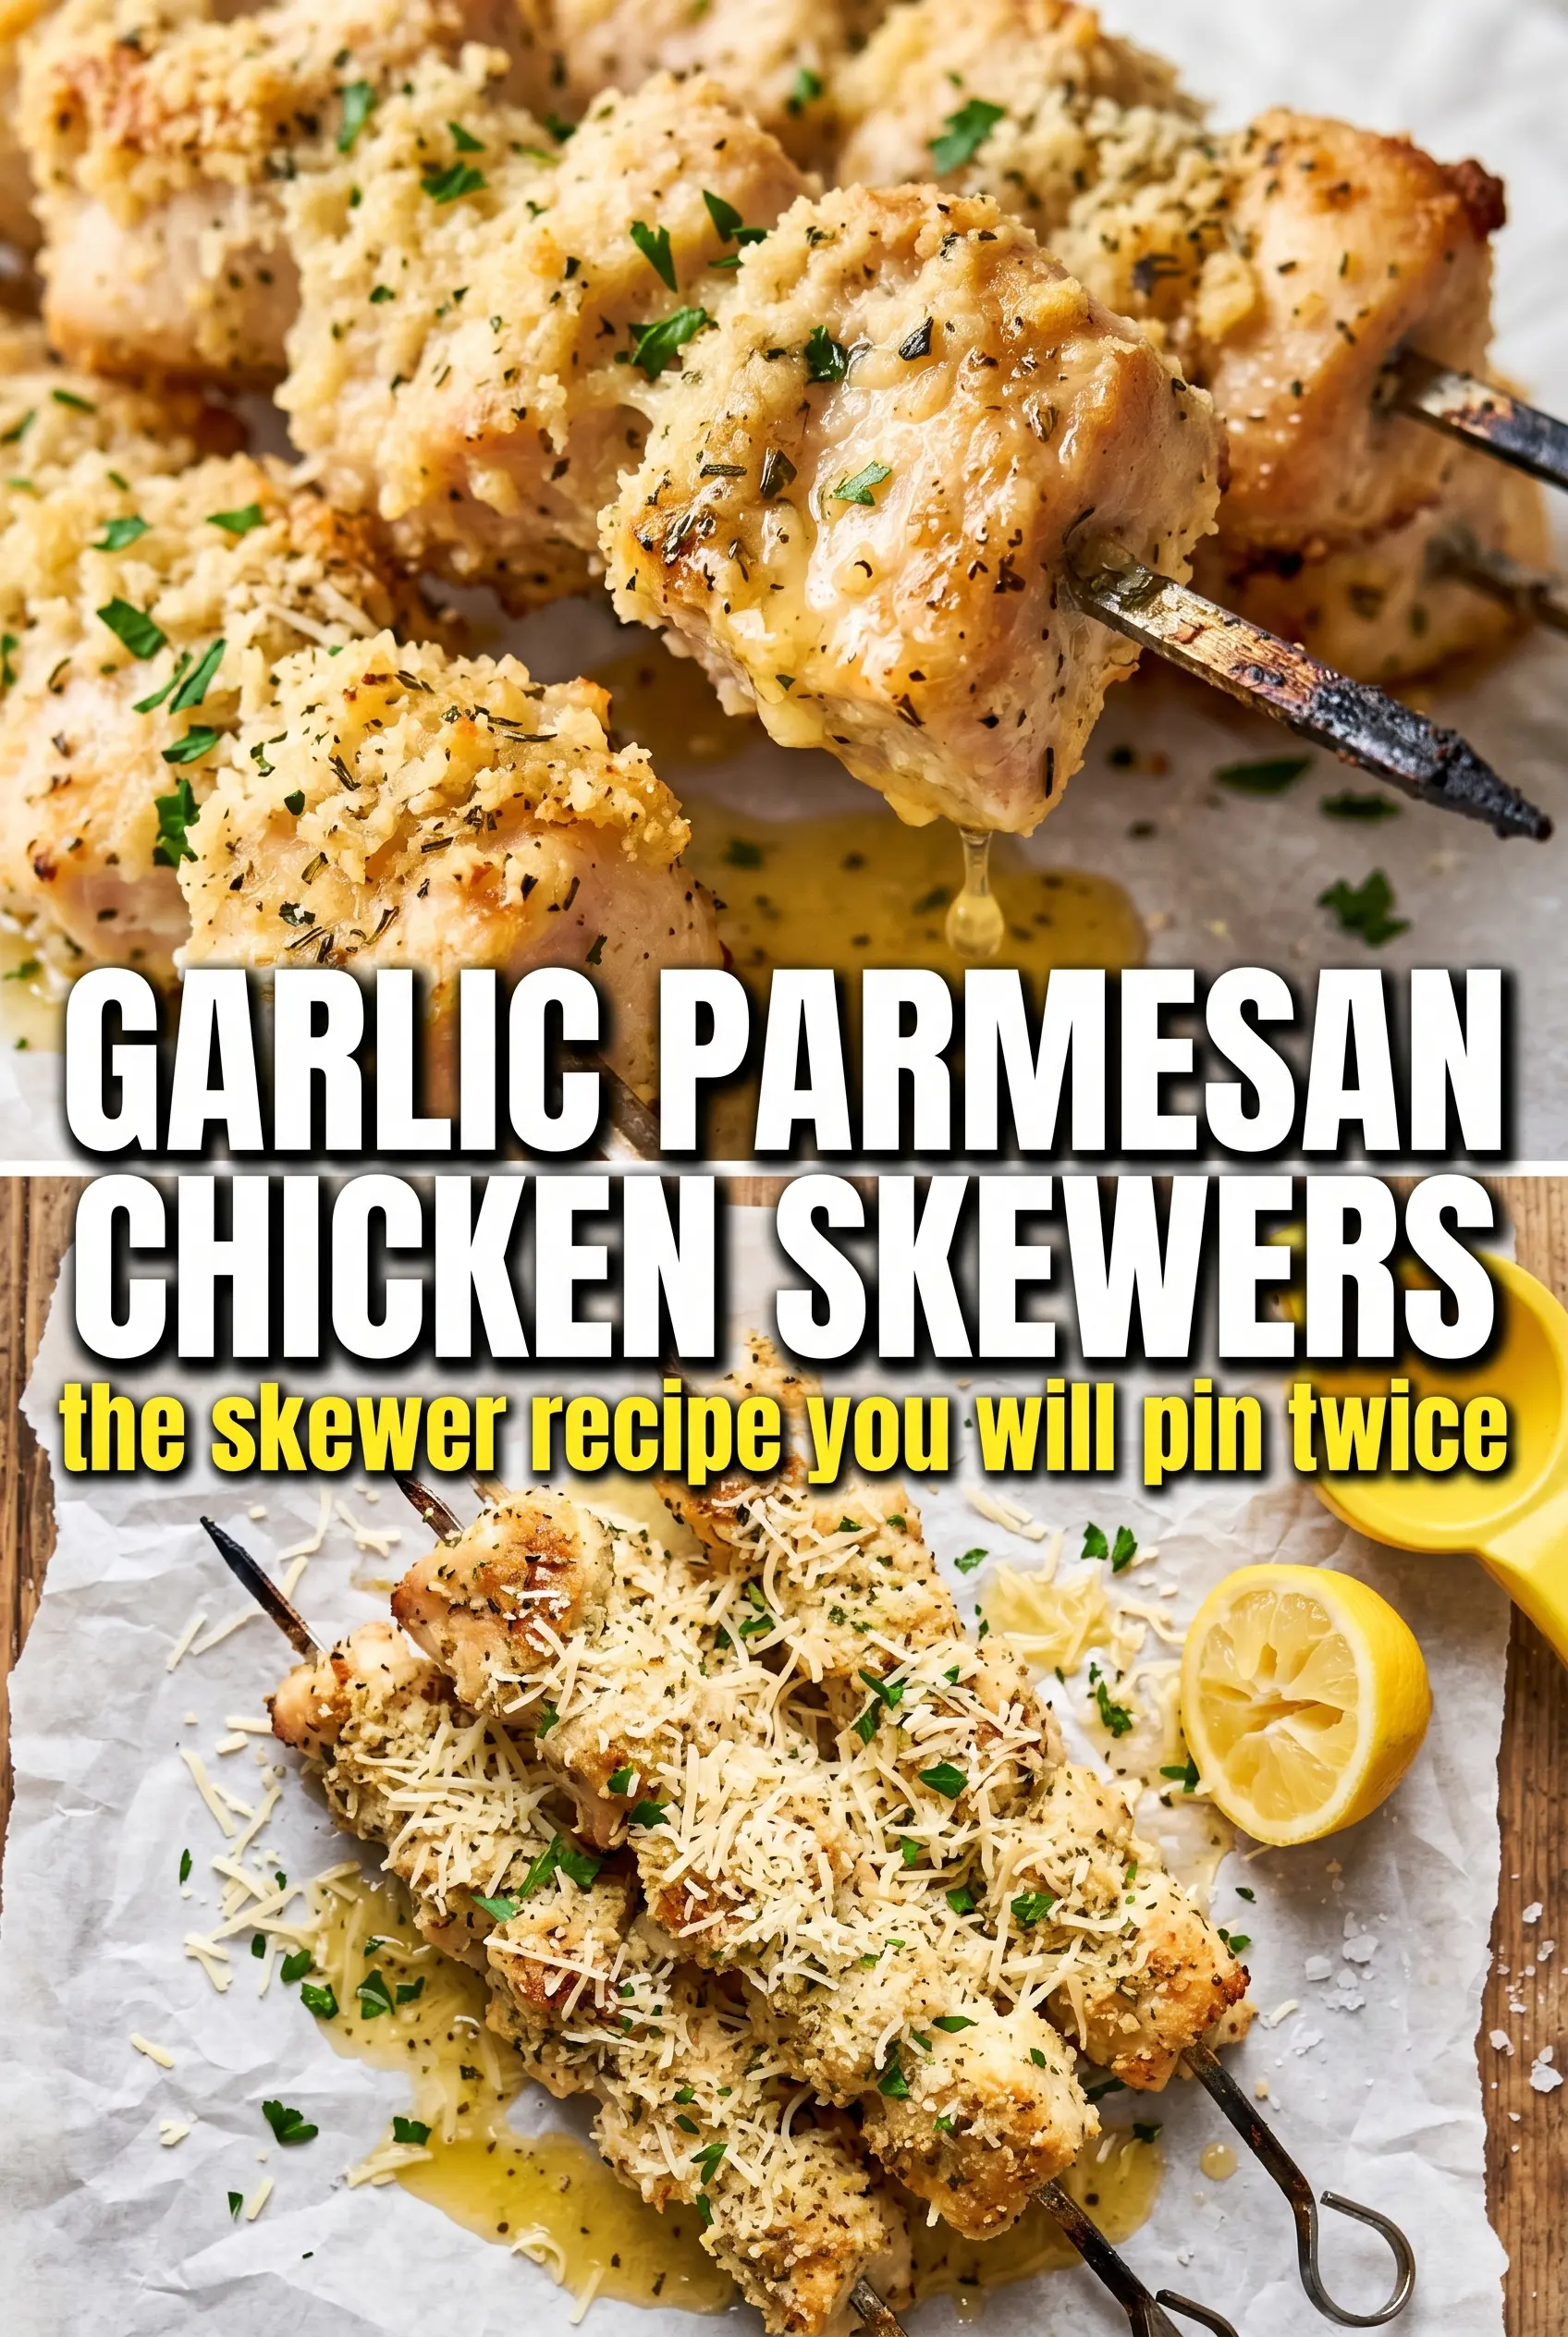
Mix the melted butter with garlic, parmesan, and parsley while the chicken finishes cooking, then brush it on immediately after the skewers come off the heat. The chicken is hot enough to soften the cheese and carry the butter across the surface, but not so hot that the parmesan burns. This is the step that gives you the glossy finish and the big salty hit at the end, so don’t wait until the skewers cool down.
How to Adapt These Skewers for the Grill Pan, the Oven, or a Dairy-Free Table
Dairy-Free Version
Swap the butter for a dairy-free butter with a clean melt and use a parmesan-style alternative or nutritional yeast in the finishing mixture. You’ll still get a savory, garlicky coating, but the finish will be a little less rich and a touch less salty, so taste it before brushing it on.
Oven-Baked Skewers
Bake the skewers on a lined sheet pan at 425°F, turning once halfway through, until the chicken reaches 165°F. You won’t get the same char you get from a grill, but you can finish under the broiler for a minute or two to bring back some color.
Extra-Garlicky Version
Add one more minced clove to the finishing butter, but keep the grill heat under control so the garlic doesn’t turn bitter. Raw garlic tastes sharper once it hits hot butter, so this version lands big on garlic without turning harsh.
Storage and Reheating
- Refrigerator: Store leftovers in an airtight container for up to 3 days. The parmesan coating softens a little, but the chicken stays flavorful.
- Freezer: The cooked chicken freezes well for up to 2 months, though the butter finish won’t stay glossy after thawing. Freeze the skewers or removed chicken pieces in a single layer first, then pack them up.
- Reheating: Warm gently in a 325°F oven or in a covered skillet over low heat. High heat dries out the chicken fast and can make the parmesan coating greasy, so reheat just until hot.
Questions I Get Asked About These Skewers
Garlic Parmesan Chicken Skewers
Ingredients
Equipment
Method
- Combine olive oil, garlic, Italian seasoning, smoked paprika, salt, and black pepper in a bowl, then add chicken cubes and toss until fully coated (visual cue: each cube looks slick and evenly speckled). Marinate for at least 30 minutes for the flavor to sink in.
- Thread marinated chicken onto skewers, leaving a small gap between each piece (visual cue: the cubes sit evenly spaced so they cook through at the same pace).
- Preheat a grill or grill pan to medium-high and cook skewers for 5–6 minutes per side until cooked through and visibly charred at the edges (visual cue: browned, blackened spots and clear juices or no pink center).
- Mix melted butter with garlic, parmesan, and parsley to make the finishing sauce (visual cue: a thick, aromatic butter-parmesan mixture with green flecks).
- Brush the warm skewers generously with garlic parmesan butter immediately after removing from the grill (visual cue: glistening surfaces and parmesan shavings clinging across the top).
- Serve with extra parmesan and fresh parsley on top (visual cue: bright green parsley scattered over the golden, charred chicken).


