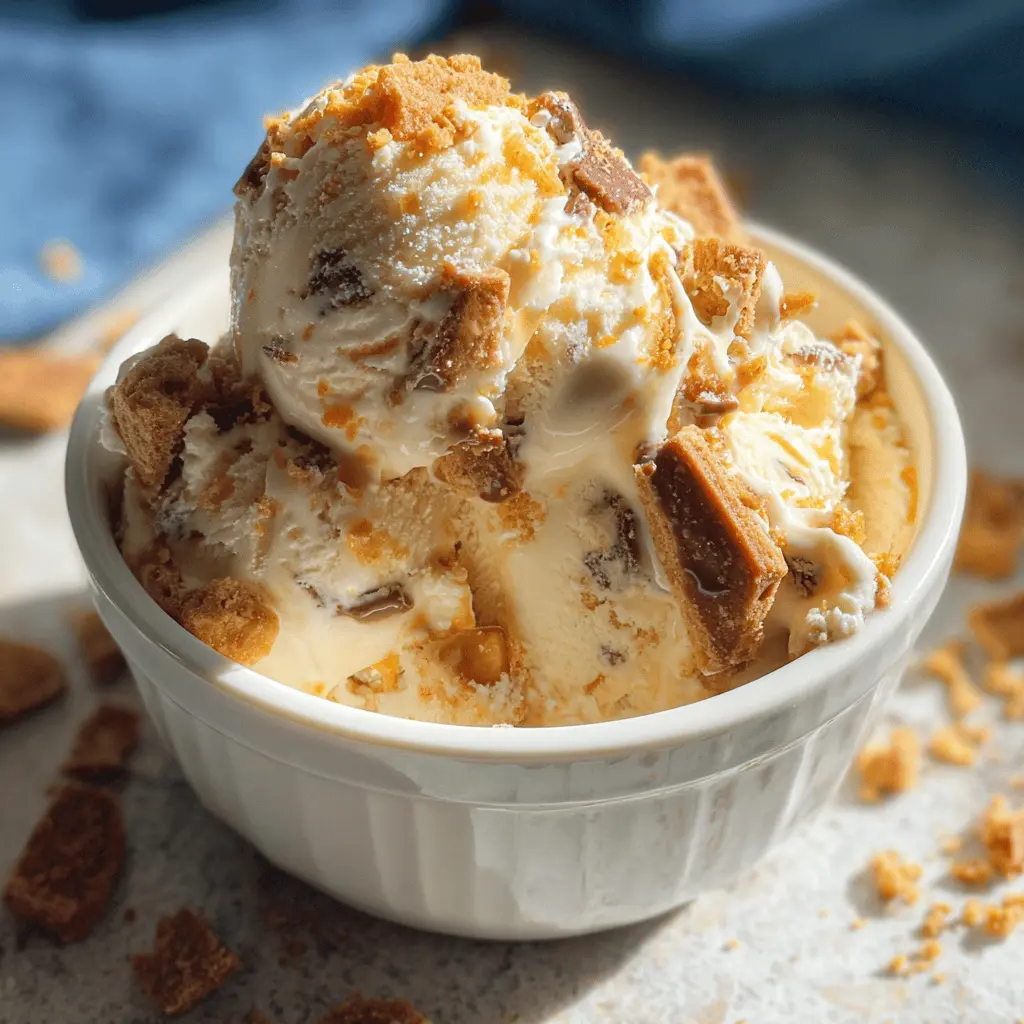
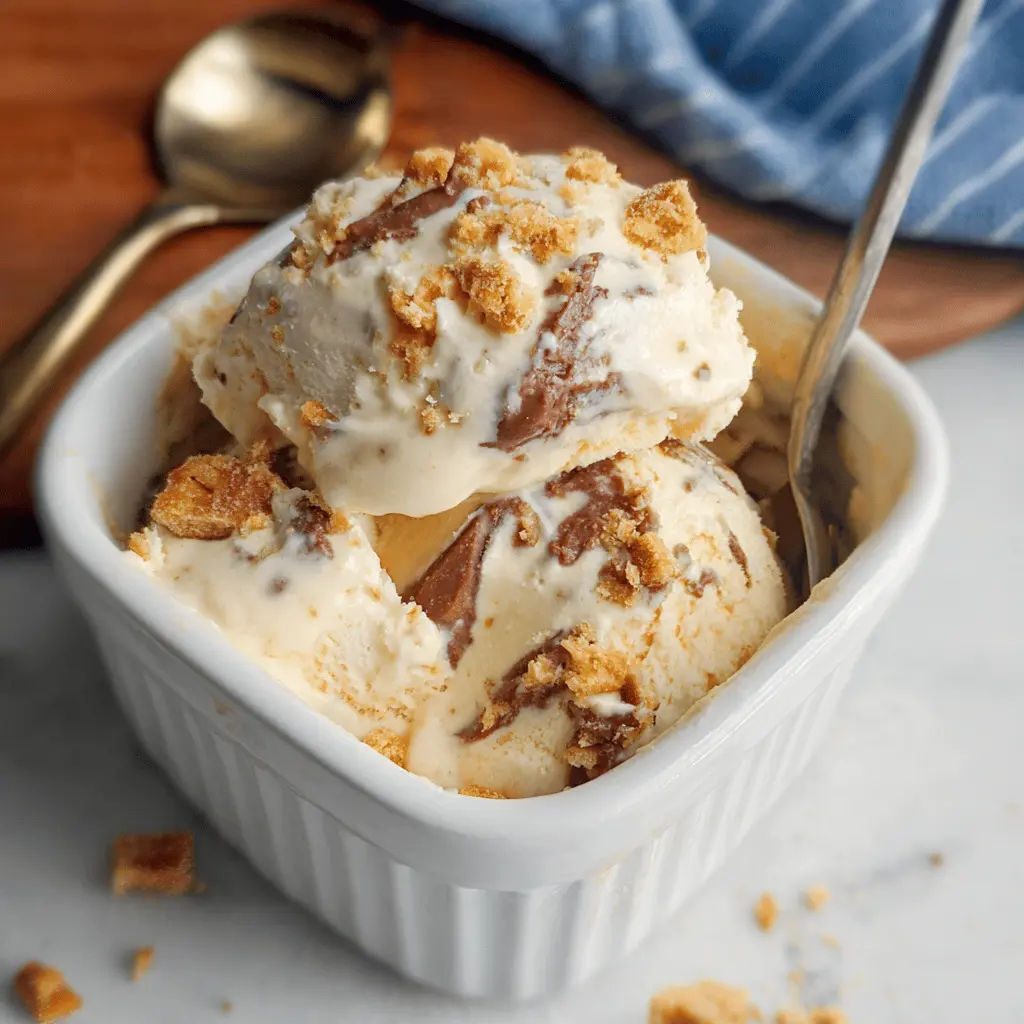
This creamy Butterfinger ice cream is a yummy treat that’s super easy to make at home! It’s packed with crunchy Butterfinger candy bits for that perfect sweet crunch.
You won’t believe how simple it is! Just mix, freeze, and scoop—no fancy equipment needed. Plus, sharing it with friends is a great reason to whip up this delightful dessert! 🍦
Key Ingredients & Substitutions
Heavy Whipping Cream: This is essential for making your ice cream creamy and fluffy. If you’re looking for a lighter option, try using whole milk instead, but it won’t be as rich.
Sweetened Condensed Milk: It adds sweetness and helps with the creamy texture. If you’re avoiding sugar, you can use a sugar-free version, but be sure to check the flavor—some can taste different.
Butterfinger Candy Bars: These provide the iconic crunch and flavor. If you can’t find Butterfinger, any chocolate-covered toffee or peanut butter candy can work as a fun substitute!
Vanilla Extract: Adds a lovely flavor. If you have vanilla bean paste, it’s even better! It gives a more intense flavor and those pretty little vanilla specks.
How Do I Whip the Cream to Stiff Peaks?
Whipping the cream properly is key to getting that perfect texture. Here’s how:
- Start with cold cream; it whips better when chilled.
- Use a clean, dry mixing bowl. A mixer is easiest, but you can whip by hand with a whisk if you prefer a workout!
- Beat on medium speed first to incorporate air, then increase to high until stiff peaks form. This means when you lift the beaters, the cream should hold its shape without drooping.
Be careful not to over-whip, or you’ll start to make butter! Aim for soft peaks at first and then watch closely as it turns into stiff peaks.
Easy Homemade Butterfinger Ice Cream
Ingredients You’ll Need:
- 2 cups heavy whipping cream
- 1 (14 oz) can sweetened condensed milk
- 1 teaspoon vanilla extract
- 3 Butterfinger candy bars (approximately 4.5 oz total), roughly chopped or crushed
How Much Time Will You Need?
This awesome Butterfinger ice cream takes about 15 minutes of prep time. After mixing everything, you need to freeze it for at least 6 hours (or overnight) to let it set perfectly. So, a little patience is key, but the result is worth the wait!
Step-by-Step Instructions:
1. Whip the Cream:
In a large mixing bowl, pour in the cold heavy whipping cream. Using an electric mixer, beat the cream on high speed until stiff peaks form. This means it should hold its shape and not fall when you lift the beaters out of the bowl—perfect for a creamy base!
2. Mix in the Condensed Milk:
Gently fold in the sweetened condensed milk and vanilla extract into the whipped cream. Use a spatula to combine them carefully; you want to keep that airy texture from the whipped cream.
3. Add the Butterfinger Crunch:
Now it’s time for the fun part! Carefully fold in the chopped Butterfinger candy bars. Make sure they are evenly distributed throughout the mixture to enjoy those delicious crunchy bits in every scoop.
4. Freeze the Mixture:
Transfer your ice cream mixture into a freezer-safe container. Use a spatula to spread it evenly and smooth out the top.
5. Cover and Freeze:
Cover the container with a lid or plastic wrap. Place it in the freezer for at least 6 hours or overnight for that perfect firmer texture—it’s hard to resist, but waiting makes it taste even better!
6. Scoop and Enjoy:
When ready to serve, scoop the ice cream into bowls or cones. Dig in and enjoy the creamy, crunchy goodness of your homemade Butterfinger delight!
This no-churn recipe is so simple and delivers rich, smooth ice cream with the delicious flavors of sweet vanilla and crunchy Butterfinger pieces. Perfect for any occasion! Enjoy your treat!
Frequently Asked Questions about Easy Homemade Butterfinger Ice Cream
Can I Use a Different Type of Candy?
Absolutely! If you’re not a fan of Butterfinger, feel free to substitute it with any chocolate-covered candy bar or your favorite toffee candy. Just make sure to chop it into small pieces for even mixing!
How Long Can I Store Leftover Ice Cream?
Your homemade Butterfinger ice cream can be stored in the freezer for up to 2 weeks. Just make sure it’s in an airtight container to keep it fresh and avoid freezer burn!
Can I Make This Ice Cream Dairy-Free?
Yes! You can make a dairy-free version by using coconut cream or another plant-based whipping cream. Substitute the sweetened condensed milk with a dairy-free version as well, and enjoy the same creamy texture.
What’s the Best Way to Scoop Hard Ice Cream?
To make scooping easier, let your ice cream sit at room temperature for about 5-10 minutes before serving. You can also run your ice cream scoop under hot water for a few seconds for an easier scoop!