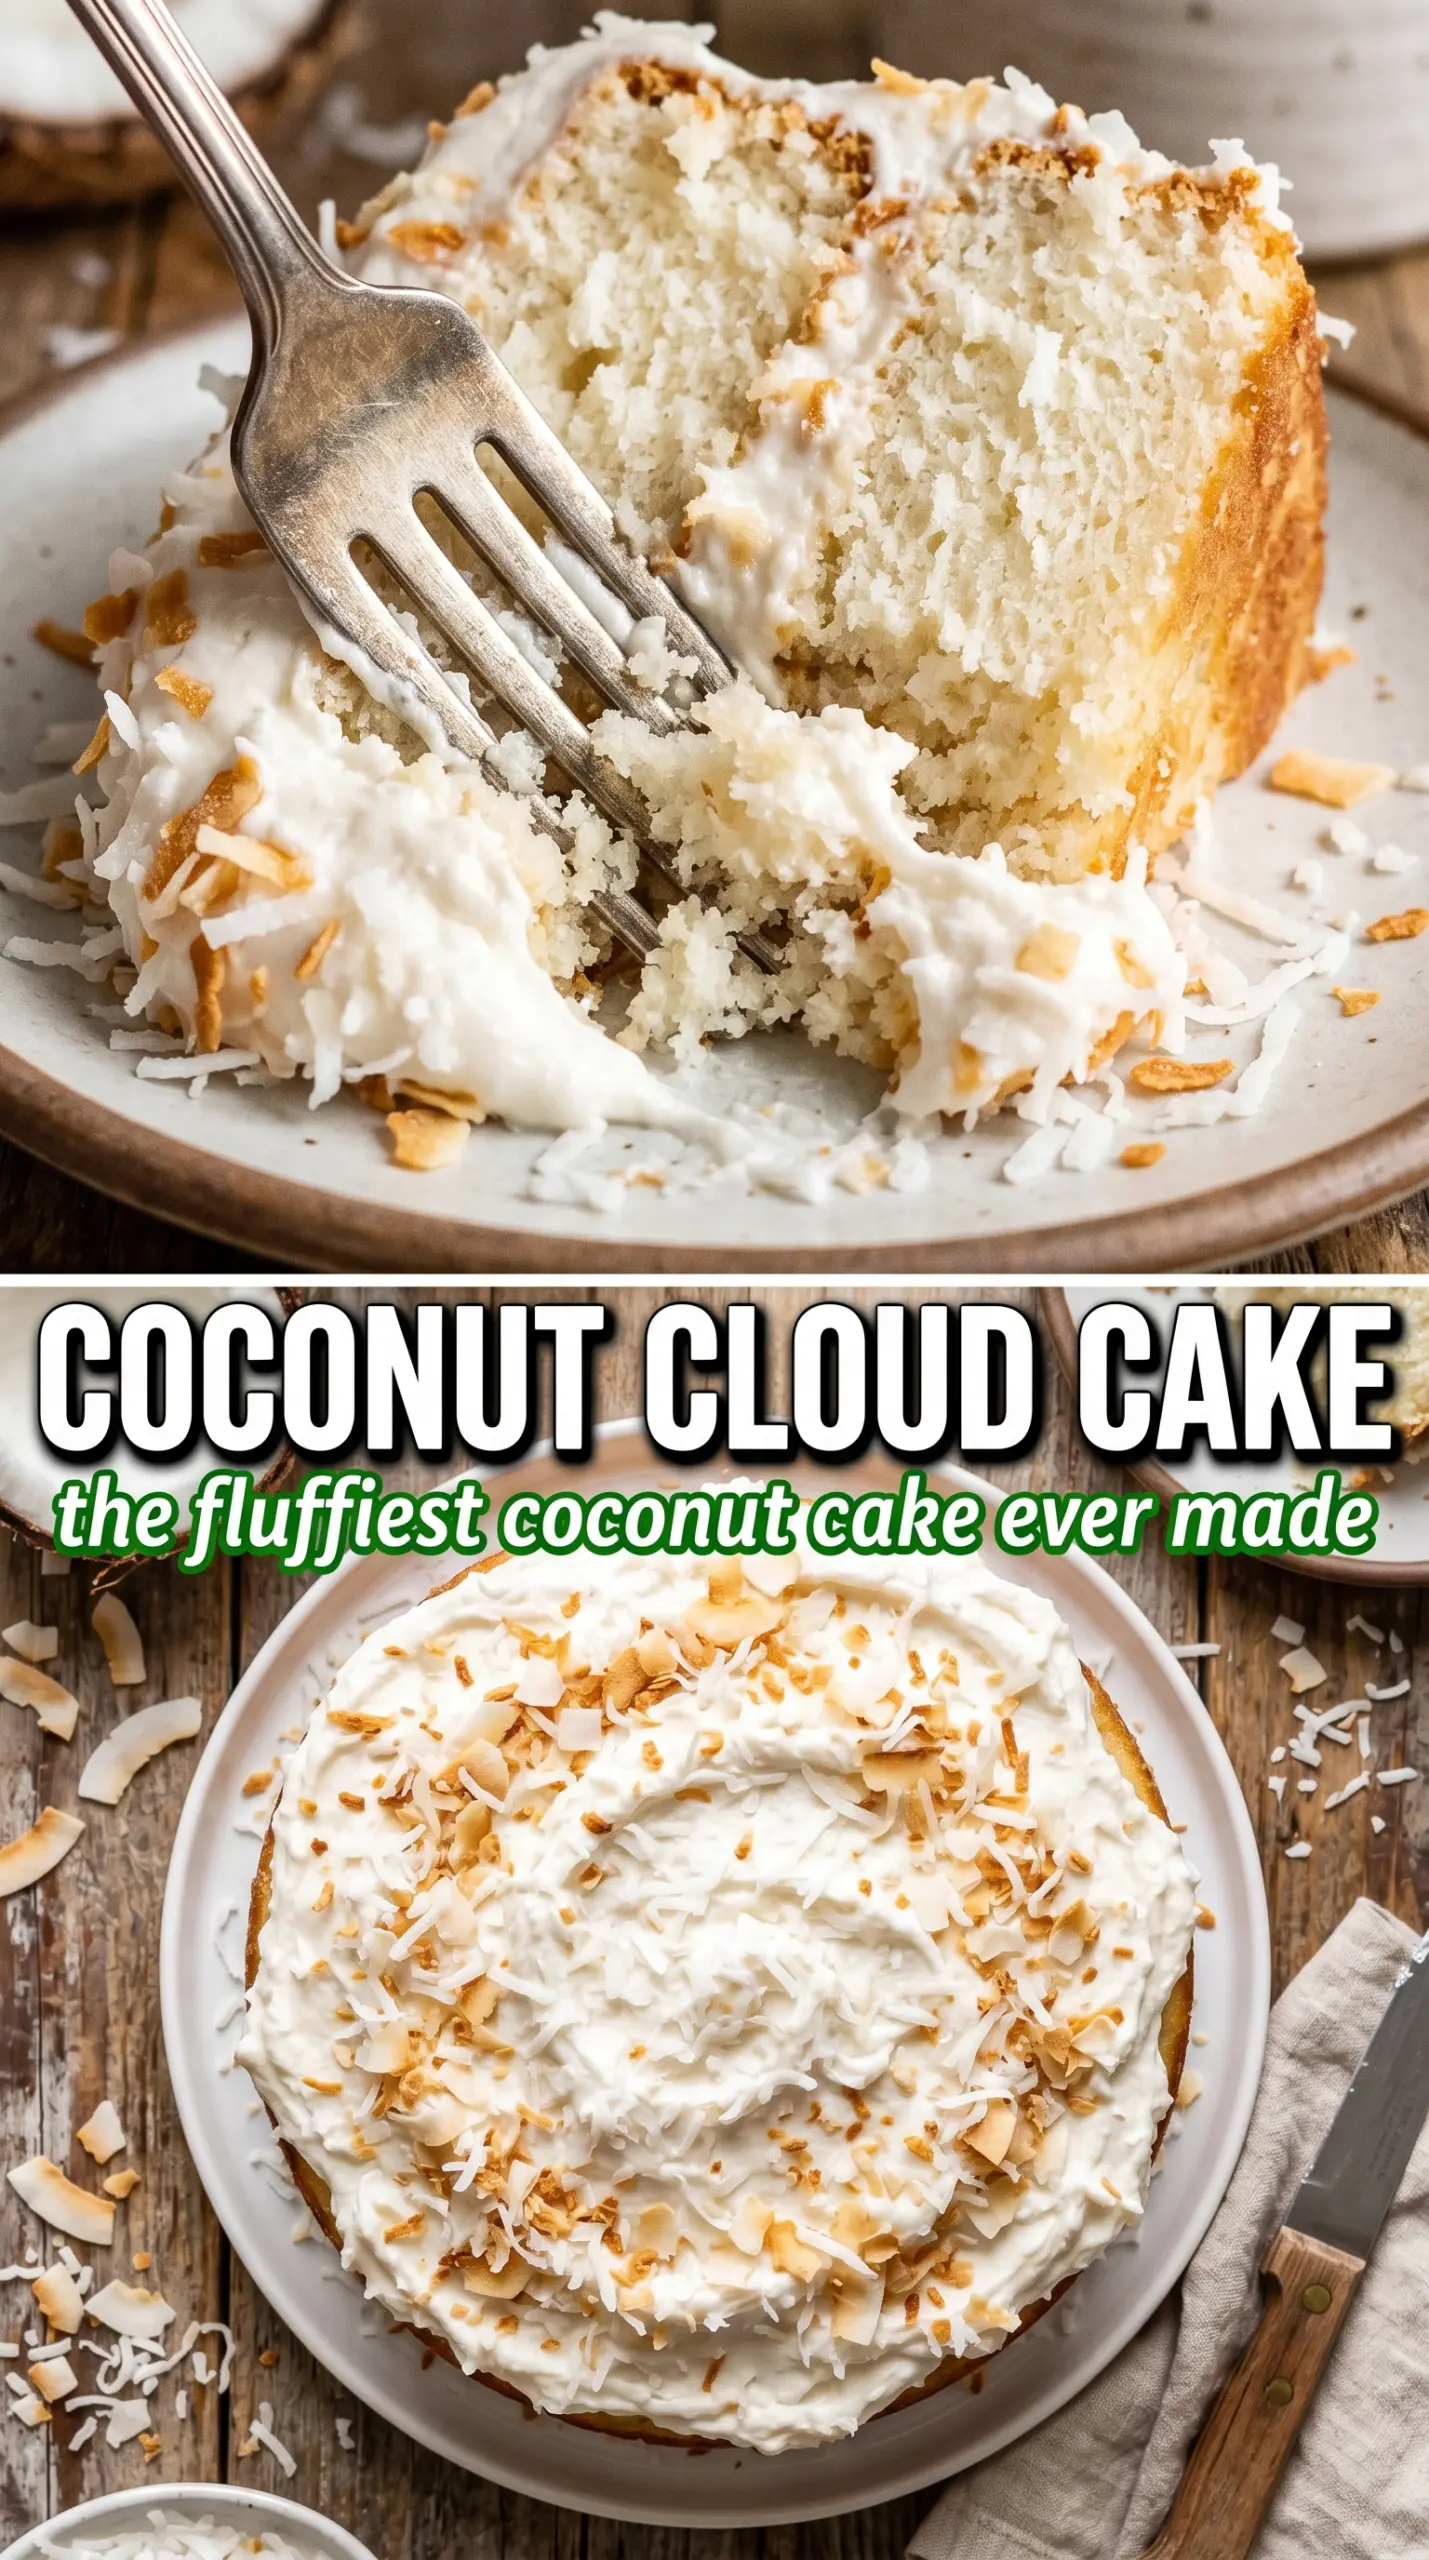
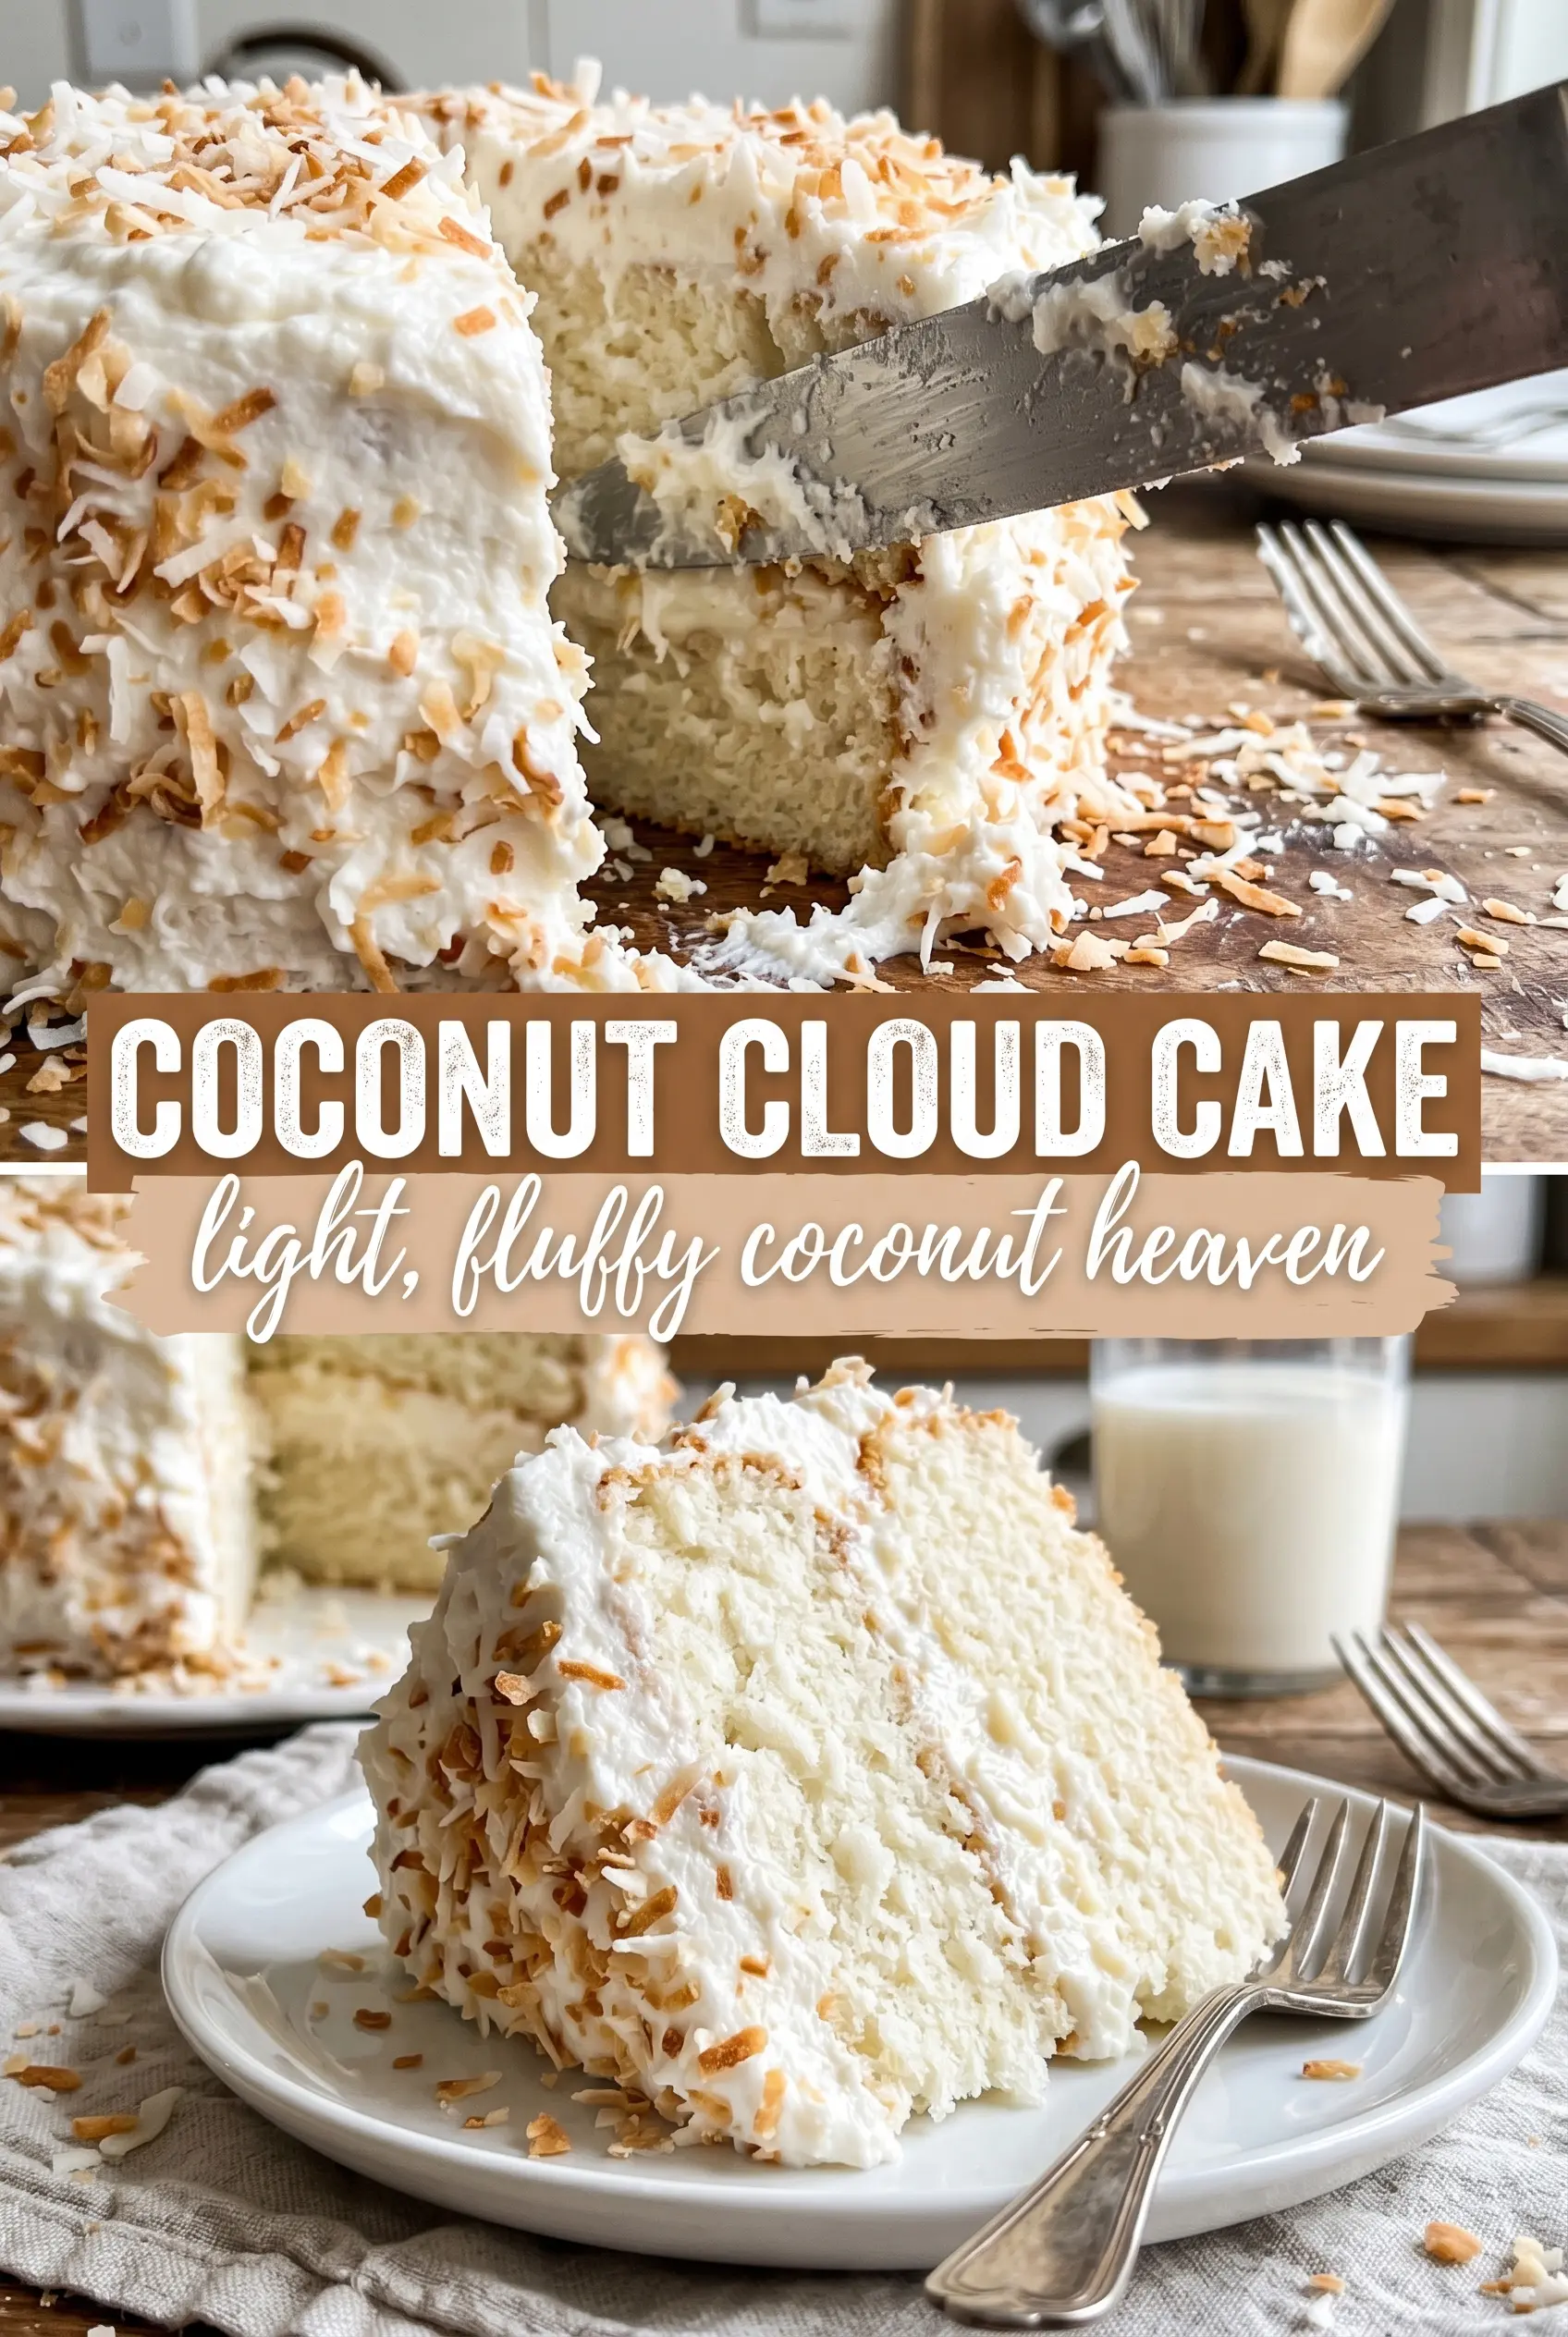
Coconut Cloud Cake earns its name the second you cut into it: the crumb stays soft and plush, the frosting lands in a thick, tangy layer, and the toasted coconut on the outside gives every slice a little crackle before it melts into creaminess. It looks dramatic on the table, but the real reason it gets made again is the balance. Sweet, yes, but not cloying. Rich, but still light enough that a second slice feels like a good idea.
The cake batter starts with butter and sugar beaten until genuinely fluffy, which gives the layers lift before the baking powder even gets a chance to do its work. Coconut milk keeps the crumb tender and adds a quiet coconut note that doesn’t disappear under the frosting. Folding shredded coconut into the batter adds a subtle chew inside, while the toasted flakes outside bring the texture that makes this cake feel finished.
Below you’ll find the one detail that keeps the frosting from sliding, the best way to press coconut onto the cake without tearing the crumb, and a few smart swaps if you need to work with what you’ve got.
The cake layers baked up tall and even, and the frosting stayed smooth enough to press the toasted coconut on without it sliding everywhere. My mom said it tasted like the coconut cake from the bakery we used to go to, which was the best compliment.
Like this coconut cloud cake? Save it to Pinterest for the next time you want a tall, fluffy layer cake with toasted coconut all over the outside.
The Trick to Keeping the Layers Tall Instead of Heavy
The biggest risk with a coconut layer cake is ending up with something dense before it ever reaches the oven. That usually happens when the butter and sugar never get enough air whipped into them, or when the flour goes in all at once and the batter turns tough. Here, the cake gets its structure from proper creaming first, then alternating the dry ingredients with the coconut milk so the batter stays smooth and light.
Folding in the shredded coconut at the end matters too. If you beat it in hard, the batter tightens up and the coconut sinks into the heaviest part of the cake. Fold just until it’s evenly distributed, then stop. The finished batter should look thick but still spoonable, not stiff like cookie dough.
What Each Coconut Ingredient Is Doing Here
- Butter — This gives the cake its rich flavor and tender crumb. Use softened butter, not melted butter, so it can trap air when beaten with the sugar. That’s what helps the layers rise with a fine, soft texture.
- Coconut milk — This is the ingredient that keeps the cake moist without making it greasy. Full-fat coconut milk gives the best texture and a fuller coconut note. Shake the can well before measuring so the cream and liquid are combined.
- Sweetened shredded coconut — Folded into the batter, it adds small pockets of chew and a little extra sweetness. For the frosting coating, toasted shredded coconut is what gives the cake its dramatic finish and nutty crunch. Don’t skip toasting; raw coconut looks pale and tastes flat.
- Cream cheese — In the frosting, it brings tang that keeps the cake from tasting one-note sweet. It also helps the frosting stay stable enough to hold the coconut coating. Let it soften fully before beating, or you’ll end up with little lumps that never smooth out.
- Coconut extract — A small amount makes the coconut flavor clear without turning the cake perfume-heavy. Use it in both the cake and frosting for a consistent finish. If you leave it out, the cake still works, but the coconut taste will be much softer.
Building the Cake So the Frosting Stays Put
Creaming the Base
Beat the butter and sugar until the mixture turns pale and looks almost fluffy enough to pipe. That step takes a few full minutes and it matters more than most people think. If the mixture still looks grainy and dense, keep going. Once the eggs go in, add them one at a time so the batter stays smooth instead of curdling around cold spots.
Bringing the Batter Together
Add the dry ingredients and coconut milk in alternating additions, beginning and ending with the flour mixture. That keeps the batter from breaking and gives you a smooth, even crumb. Mix only until the flour disappears; overmixing here makes the cake tighter than it should be. Fold in the shredded coconut by hand so it stays evenly distributed instead of clumping in one place.
Baking and Cooling Completely
The cakes are done when the tops spring back lightly and a toothpick comes out clean or with a few moist crumbs. Don’t wait for the edges to look deeply browned, because that can dry the cake before the center is set. Let the layers cool all the way before frosting. If they’re even a little warm, the cream cheese frosting softens too much and the coconut coating starts sliding off.
Frosting and Pressing on the Coconut
Beat the cream cheese and butter until completely smooth before adding the powdered sugar. If you rush this, the frosting picks up little soft lumps that are hard to fix later. Frost the cake generously, then press the toasted coconut onto the outside right away, working from the bottom up. The frosting should be tacky, not loose, so the coconut clings in a thick even layer.
How to Adapt This Coconut Cloud Cake Without Losing Its Character
Dairy-Free Version
Swap the butter for a solid plant-based baking stick and use dairy-free cream cheese in the frosting. The cake will still stay tender, though the frosting may be a little softer, so chill it briefly before pressing on the coconut. Use full-fat coconut milk as written; that’s the ingredient that keeps the dairy-free version rich.
Gluten-Free Adjustment
Use a cup-for-cup gluten-free flour blend that includes xanthan gum. The crumb will be a touch more delicate, so cool the layers completely before moving them. Don’t swap in almond flour alone; it won’t give you the same structure for a layered cake.
Less Sweet, More Coconut
If you want a cake that leans less sweet, reduce the shredded coconut in the frosting coating slightly and use unsweetened coconut if you can find it for the batter. The cake will taste a little cleaner and more bakery-style, though the outside won’t look quite as snowy. Keep the cream cheese frosting as written so the dessert still has enough richness to balance the cake.
Storage and Reheating
- Refrigerator: Store covered for up to 4 days. The cake stays moist, and the coconut coating softens slightly but still tastes great.
- Freezer: Freeze unfrosted layers wrapped tightly for up to 2 months. Frosted slices can be frozen, but the coconut coating loses some of its texture after thawing.
- Reheating: Bring chilled slices to room temperature before serving. Don’t microwave this cake to warm it through; that softens the frosting too much and makes the coconut coating soggy.
Answers to the Questions Worth Asking
Coconut Cloud Cake
Ingredients
Equipment
Method
- Preheat oven to 350°F and grease three 8-inch or two 9-inch round cake pans; line each with parchment.
- In a stand mixer, beat butter and granulated sugar until very fluffy, about 3-5 minutes, then scrape the bowl.
- Add eggs one at a time, mixing after each addition until smooth.
- Mix in vanilla extract and coconut extract until evenly combined.
- Add the flour mixture and coconut milk alternately, starting and ending with the flour mixture, mixing just until the batter is smooth.
- Fold in the sweetened shredded coconut until evenly distributed.
- Divide batter evenly among pans, then bake for 25-30 minutes, until a toothpick comes out clean.
- Cool the cakes completely, about 1 hour, before frosting.
- In a stand mixer, beat cream cheese and butter until smooth and lump-free, about 2-3 minutes.
- Add powdered sugar and coconut extract, then beat until fluffy.
- Fill and frost the cake generously with coconut cream cheese frosting.
- Immediately press toasted shredded coconut flakes firmly all over the outside and top of the cake until fully coated.