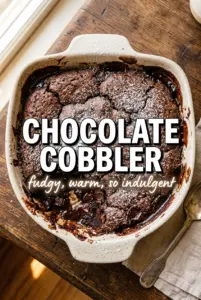
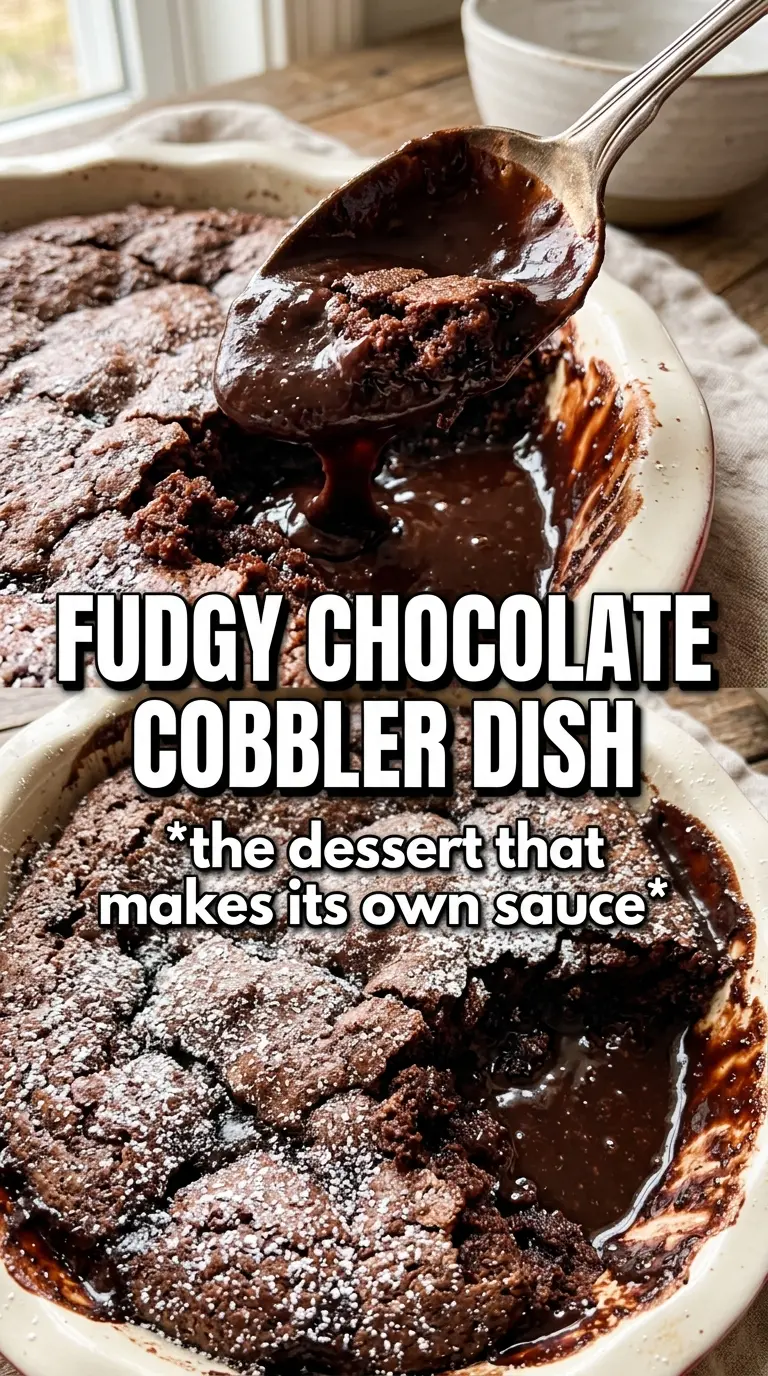
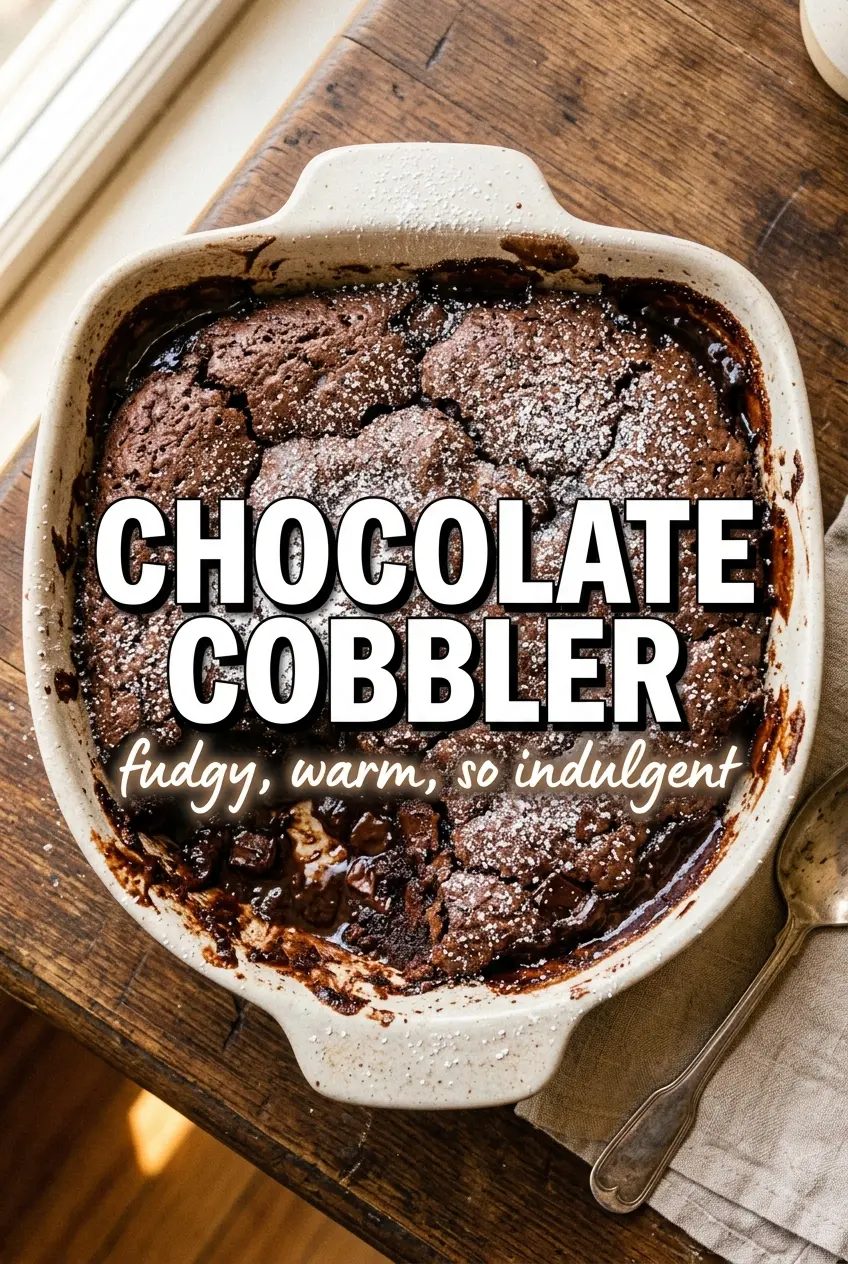
Chocolate cobbler bakes into two desserts at once: a tender cocoa cake on top and a deep, molten sauce underneath. That contrast is the whole appeal. You scoop through the set surface and hit the warm, fudgy center, then the vanilla ice cream melts into the edges and turns every bite into a sauce-and-cake spoonful that feels far more decadent than the ingredient list suggests.
The trick is in the layering. The batter goes in first, the brown sugar-cocoa topping gets sprinkled over it, and the hot water is poured on last without stirring. That sounds backwards the first time you make it, but it’s exactly what creates the self-saucing layer as the cobbler bakes. Use very hot water, not lukewarm, because it helps the sugar melt and sink into that rich chocolate pool below.
Below, I’ll walk through the part that matters most: how to keep the top cakey while the bottom stays loose and glossy. I’ve also included the substitutions that work without flattening the flavor, plus the storage note you’ll want if there are any leftovers.
The top baked up like a soft chocolate cake, and when I scooped underneath, the sauce was thick and glossy instead of watery. I served it with vanilla ice cream and the whole pan disappeared.
Love a fudgy top with a molten chocolate bottom? Save this Chocolate Cobbler for the nights when only warm cake and sauce will do.
The One Mistake That Keeps Chocolate Cobbler From Saucing Properly
Chocolate cobbler only works if the layers stay where they’re supposed to be. The batter sets on top while the liquid underneath turns into sauce, and that separation depends on how gently you handle the topping. If you stir after adding the brown sugar-cocoa mix or after pouring in the hot water, you muddy the structure and lose that clean divide between cake and sauce.
The other place people go wrong is baking it too long. You want the top to look set and slightly cracked at the edges, but the center should still have a little give when you nudge the pan. That soft center is what protects the sauce below from cooking down into a dry pudding. Pull it when the top is baked but the middle still looks glossy in spots.
What Each Ingredient Is Doing in the Pan
- All-purpose flour — Gives the top enough structure to bake into a soft cake instead of collapsing into the sauce. Cake flour is too delicate here.
- Cocoa powder — You use it twice, and that matters. It deepens the batter and also helps create the dark sauce layer underneath. Natural cocoa works well; Dutch-process gives a darker, smoother finish.
- Brown sugar — This is the backbone of the sauce. It melts into the hot water and adds a molasses note that granulated sugar can’t match.
- Whole milk — Adds tenderness and keeps the batter loose enough to spread easily. Lower-fat milk will work, but the top won’t taste as rich.
- Melted butter — Gives the cake layer flavor and helps it bake up with that soft, almost brownie-like crumb. Use real butter here; the flavor shows.
- Very hot water — This is what starts the sauce layer. It has to go in hot so it can dissolve the sugar and carry the chocolate down through the batter without stirring.
- Vanilla extract — It rounds out the cocoa and keeps the dessert from tasting flat. Even a small amount makes the chocolate taste fuller.
Building the Cake Top and Leaving the Sauce Alone
Mix the batter just until smooth
Whisk the dry ingredients first so the cocoa and baking powder are evenly distributed, then stir in the milk, melted butter, and vanilla until the batter comes together. Stop once you no longer see dry flour; overmixing makes the top tougher and reduces that soft, spoonable crumb. The batter should be thick but spreadable, like a loose brownie batter.
Layer on the brown sugar and cocoa
Spread the batter into the buttered dish, then mix the brown sugar and cocoa together before sprinkling it over the top. An even layer matters because it creates a uniform sauce underneath. Don’t press it into the batter. Let it sit on top so the water can work through it during baking.
Pour the hot water and walk away
Pour the hot water over the whole surface slowly and as evenly as you can. Do not stir. The pan will look alarming at this point, almost like nothing could possibly turn into dessert, but that’s exactly right. The water sinks through the sugar layer and builds the sauce underneath while the batter rises and bakes on top.
Bake until the top is set, not dry
Bake until the top looks baked through and the edges are a little darker, usually 35 to 40 minutes. If you overbake it, the sauce thickens too much and the top starts to turn cakey instead of tender. Let it sit for a few minutes after baking so the sauce settles slightly before you scoop.
How to Adapt Chocolate Cobbler Without Losing the Sauce
Dairy-free version
Swap the whole milk for unsweetened oat milk or almond milk and use a plant-based butter that melts cleanly. Oat milk gives the richest result because it has a little body, while almond milk keeps the flavor lighter. The texture stays close to the original as long as you keep the butter melted and the water hot.
Extra-dark chocolate cobbler
Use Dutch-process cocoa in both the batter and topping if you want a darker, smoother chocolate flavor. It won’t make the cobbler sweeter, so the chocolate tastes deeper and a little less sharp. This is the best swap when you want the sauce to taste more like fudge than cake frosting.
Gluten-free version
Replace the all-purpose flour with a good 1:1 gluten-free baking blend that includes xanthan gum. The texture will be slightly more tender and less bready, but it still bakes into a proper top. Don’t use almond flour here; it won’t set the same way and the sauce structure gets muddy.
Bigger-pan batch for a crowd
Double everything and bake it in a 9×13-inch dish when you need more servings. The bake time may edge up a few minutes, but the visual cue stays the same: set top, glossy center, saucy edges. Spread the batter evenly before adding the topping so the dessert cooks uniformly across the wider pan.
Storage and Reheating
- Refrigerator: Store covered for up to 4 days. The sauce will thicken as it chills.
- Freezer: It freezes, but the sauce loses some of its silky texture. Freeze tightly wrapped portions for up to 2 months and thaw in the refrigerator before reheating.
- Reheating: Warm individual servings in the microwave in short bursts or reheat the dish covered in a low oven. Add a small splash of milk over the portion if it looks dry; that brings the sauce back without overcooking the top.
Answers to the Questions Worth Asking
Chocolate Cobbler
Ingredients
Equipment
Method
- Preheat the oven to 350F, then butter a 9x9 or 8x8 baking dish.
- Whisk all-purpose flour, granulated sugar, cocoa powder, baking powder, and salt until evenly combined and no dry streaks remain.
- Stir in whole milk, melted unsalted butter, and vanilla extract until the batter is smooth.
- Spread the batter into the prepared baking dish in an even layer.
- Mix brown sugar and cocoa powder, then sprinkle it evenly over the batter without stirring.
- Pour very hot water over everything, do not stir, and keep the top undisturbed.
- Bake for 35-40 minutes at 350F until the top is set and looks firm while the center stays saucy.
- Serve warm straight from the dish, spooning into the self-saucing chocolate interior and topping with vanilla ice cream.