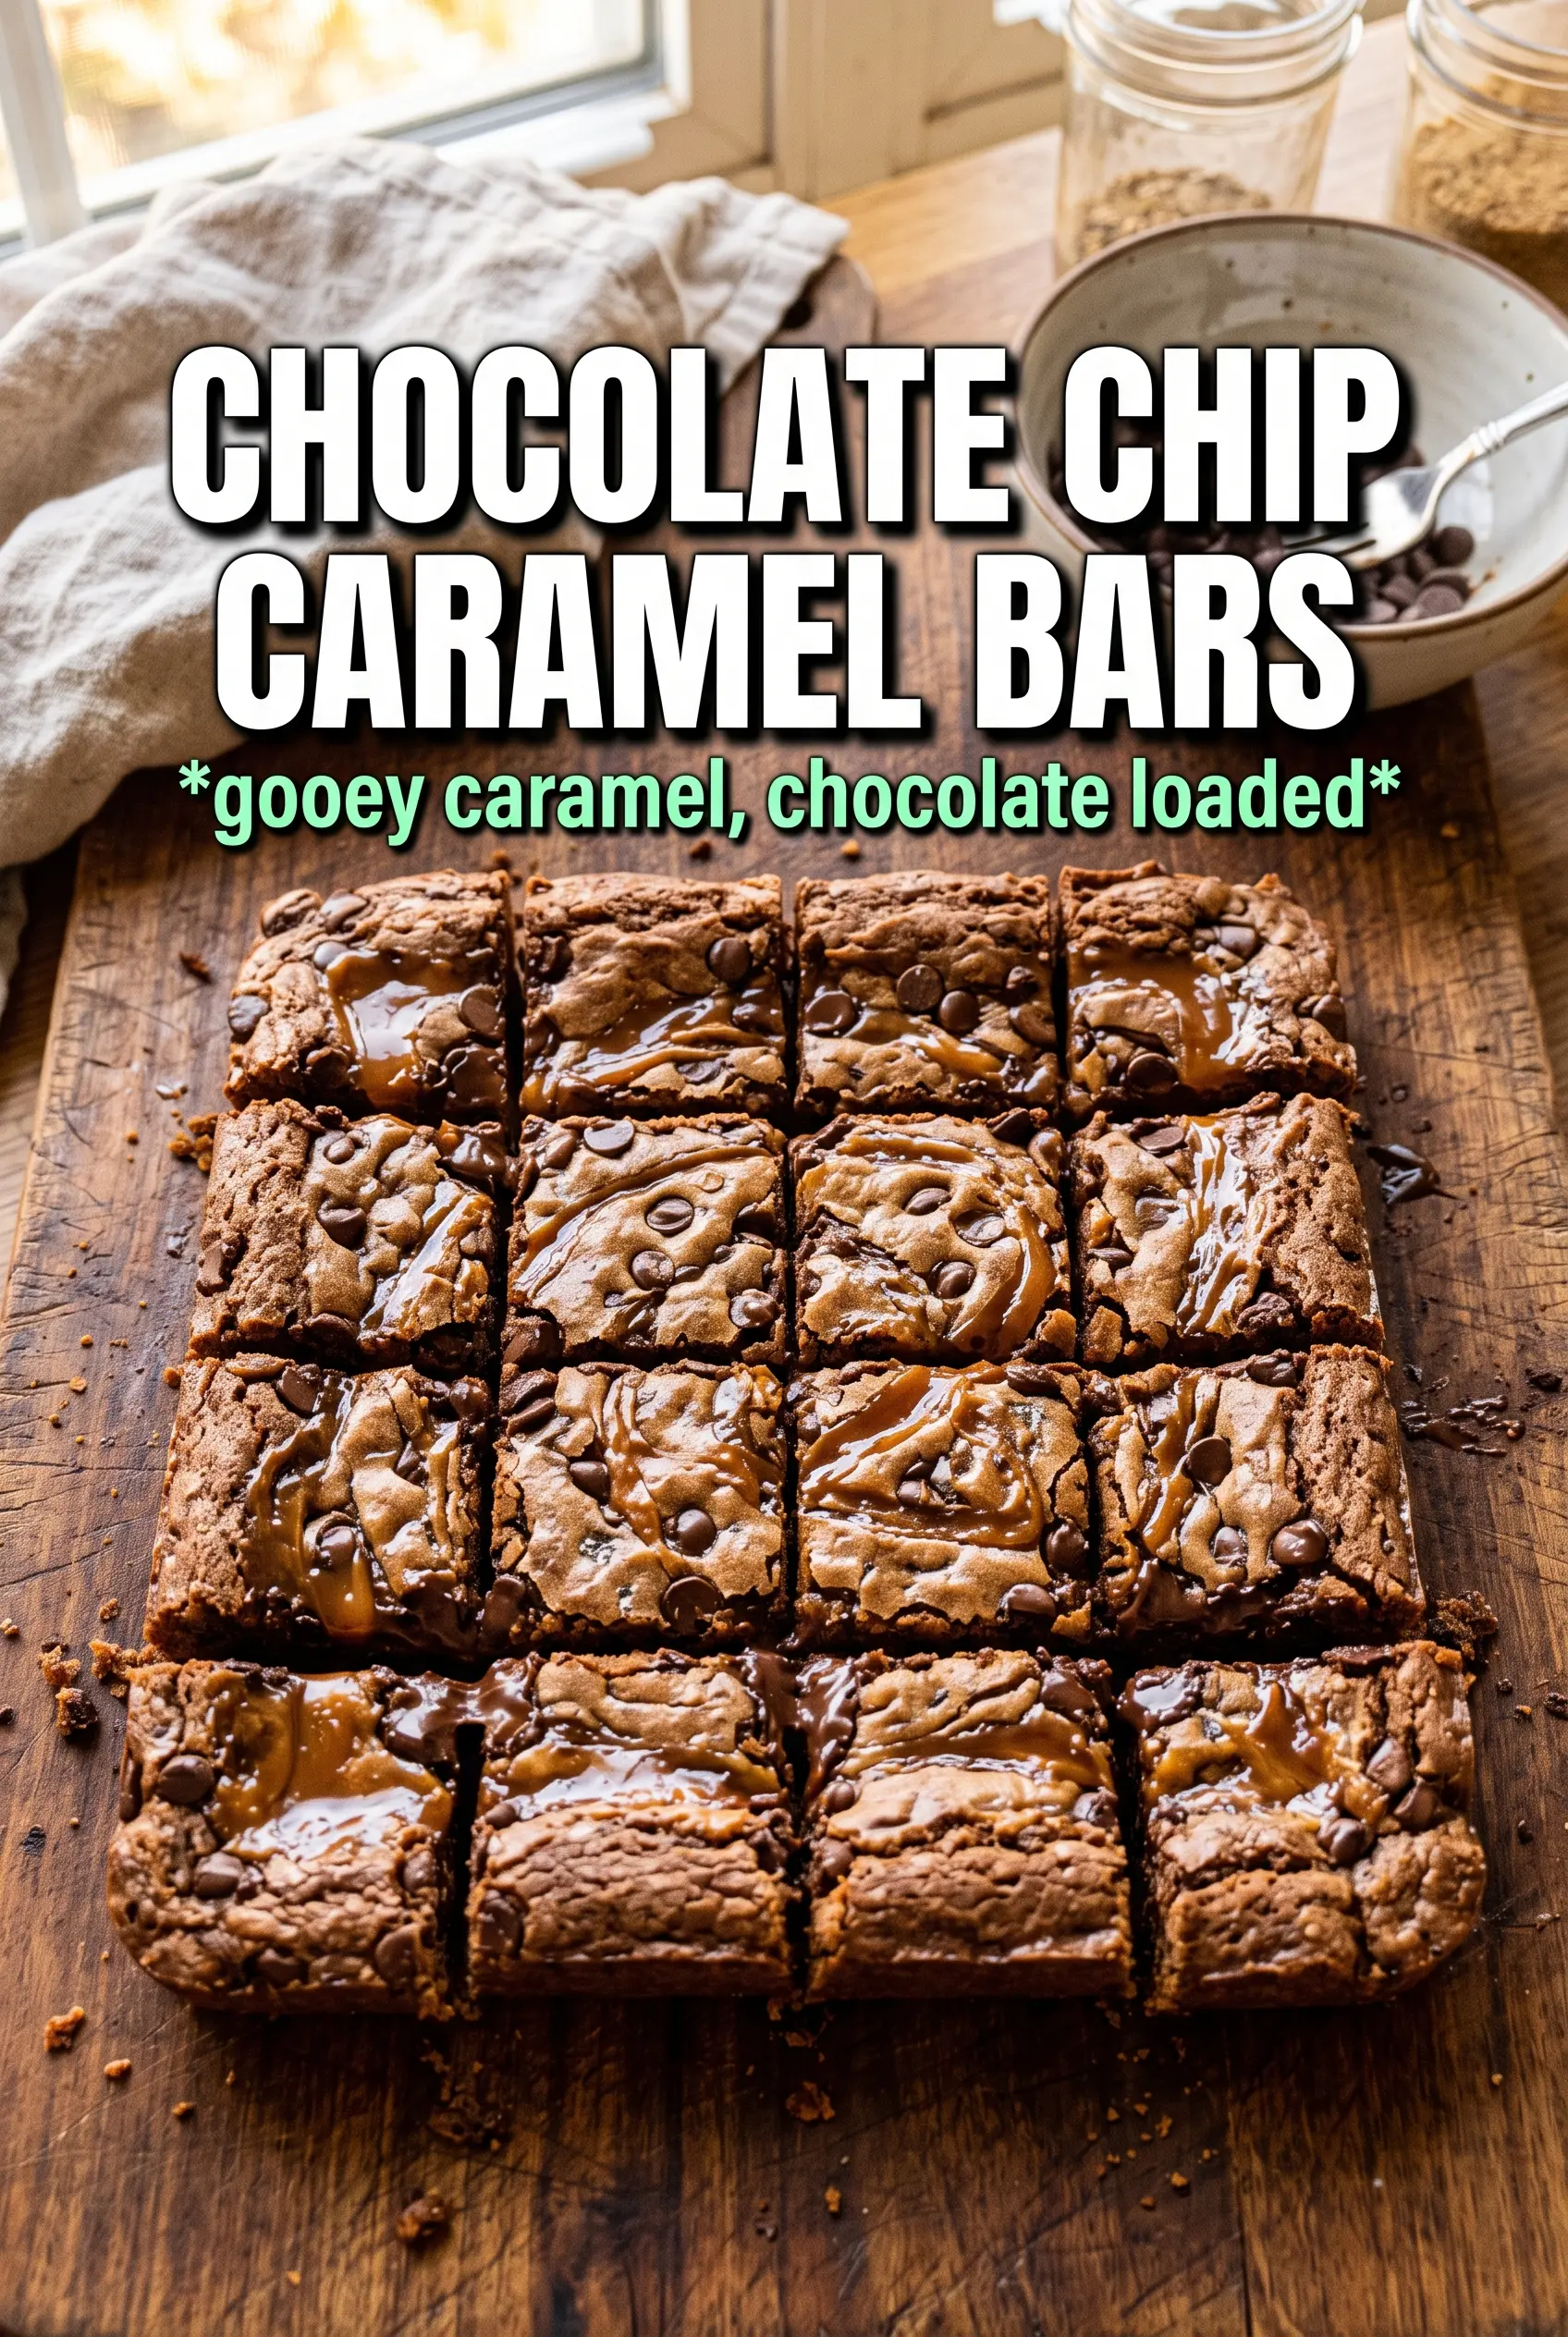
Chocolate chip caramel bars hit that sweet spot between cookie, blondie, and candy bar: buttery at the edges, chewy in the center, and layered with a thick ribbon of caramel that stays soft after baking. The oats give the base enough structure to slice cleanly, while the chocolate chips melt just enough to make each square taste richer than the ingredient list should allow.
What makes this version work is the balance between the par-baked crust and the caramel layer. Pressing most of the dough into the pan and baking it first keeps the bottom from turning soggy once the caramel goes in. A little heavy cream loosens the caramel just enough that it spreads into a smooth layer instead of setting in clumps, and the flaky salt on top keeps the bars from reading flat or overly sweet.
Below, I’ve included the small details that matter here: how firmly to pack the base, what to look for when the topping is done, and the one cooling step that keeps the caramel from oozing out when you cut the bars.
The caramel layer stayed gooey after cooling and the oat base held together perfectly. I chilled them before slicing and got clean squares with no mess.
Save these chocolate chip caramel bars for the nights when you want a chewy oat crust, a soft caramel middle, and crisp flaky salt on top.
The Trick to Keeping the Caramel Layer Soft, Not Sticky
The biggest mistake with bars like these is rushing the caramel layer. If the base goes in raw, the bottom can turn heavy and greasy before the center sets, and if the caramel is too thick, it can bake into a hard seam instead of a soft middle. A quick 10-minute par-bake gives the crust enough structure to support the filling, and the hot base helps the caramel settle into an even layer without needing extra heat.
The other thing that matters is the final bake. You want the topping golden and the center just set, not bubbling aggressively across the whole pan. If the bars bake until the middle looks dry, the caramel will cool into a firmer chew than you probably want. Pull them when the top is deeply golden and the caramel is still a little loose in the center; it will finish setting as the pan cools.
What Each Ingredient Is Doing in These Bars
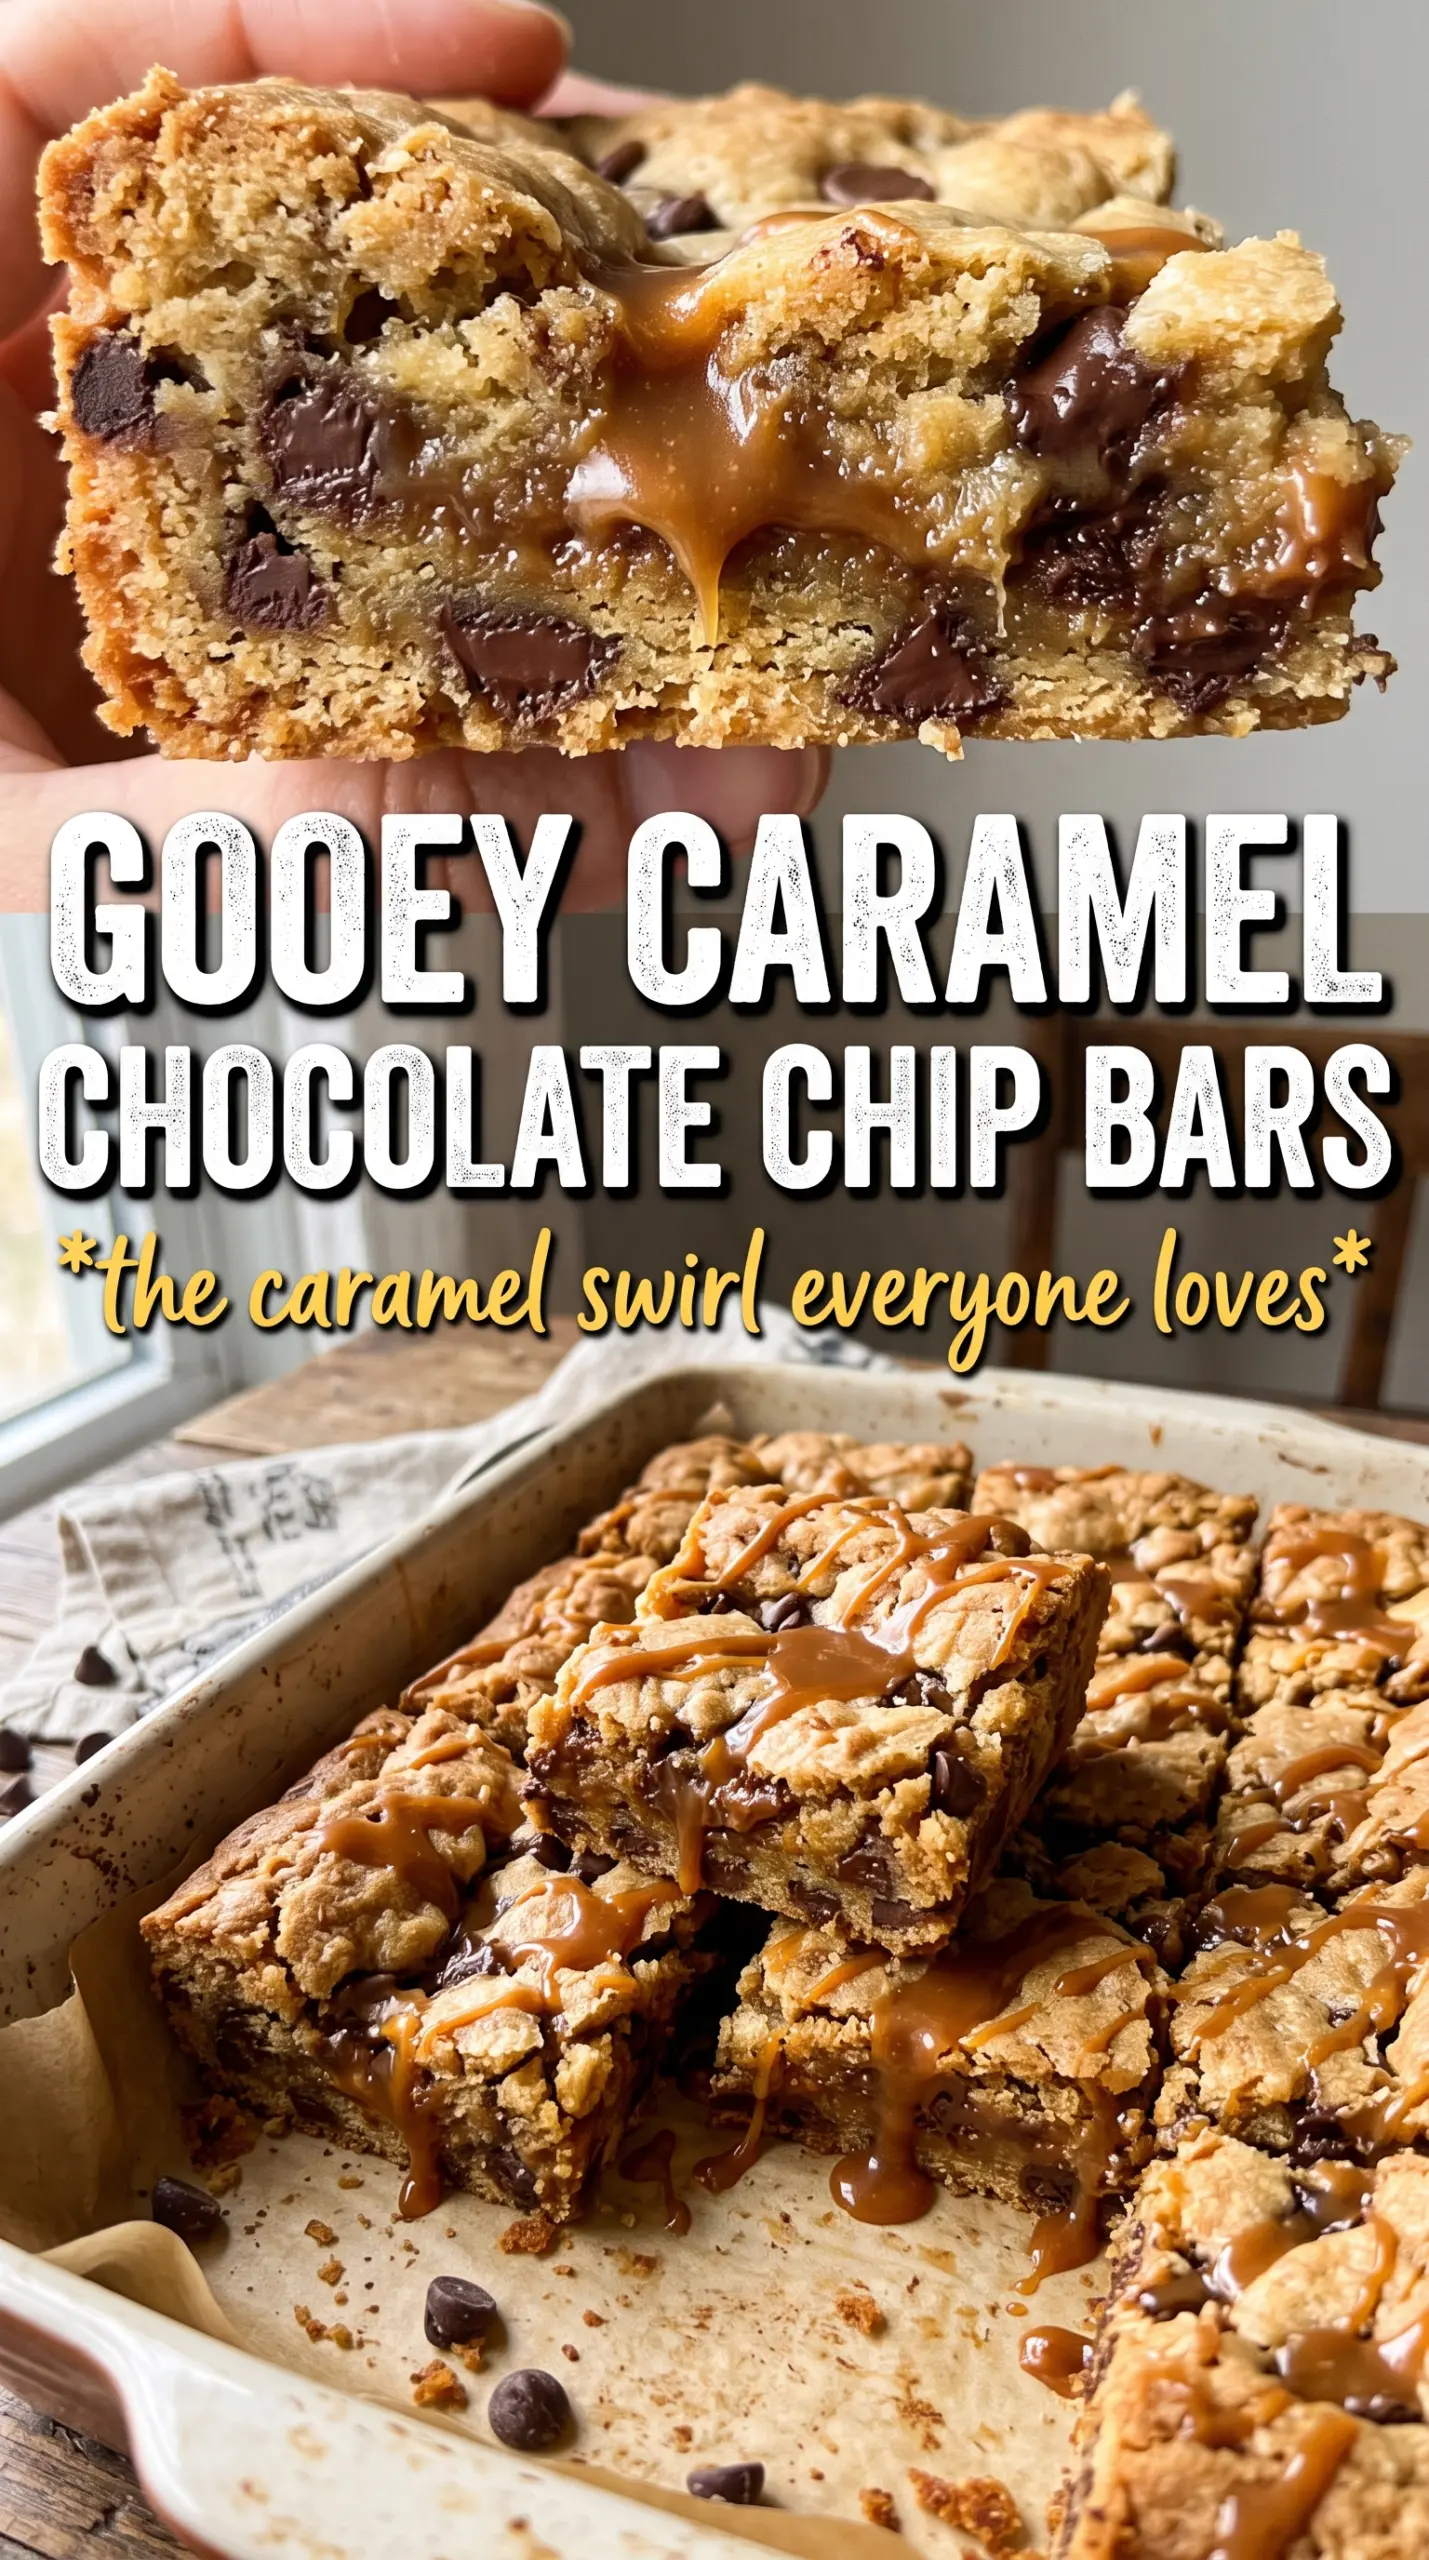
- Rolled oats — These give the bars their chewy, sturdy bite. Quick oats can work in a pinch, but the texture will be softer and a little less nubby. Old-fashioned oats hold up better against the caramel and help the bars slice cleanly.
- Brown sugar — This adds moisture and that deep, almost toffee-like note that belongs in a caramel bar. Packed brown sugar is worth using here because it keeps the base tender instead of crumbly.
- Melted butter — Melted butter is what makes this dough easy to press and crumb evenly over the top. It also coats the dry ingredients thoroughly, which helps the bars bake into a chewy layer instead of a sandy one.
- Caramel sauce — This is the center of the whole recipe, so use one that tastes good on its own. Store-bought is fine if it pours smoothly; homemade works too, as long as it’s soft enough to spread once the cream is whisked in.
- Heavy cream — A small amount keeps the caramel from setting too hard. Milk will thin it too much and can make the layer runnier than you want, so heavy cream is the swap that actually behaves the same way.
- Semi-sweet chocolate chips — Semi-sweet gives you enough chocolate to balance the caramel without turning the bars cloying. Milk chocolate makes the bars sweeter, and dark chocolate gives a sharper finish if that’s your thing.
- Flaky sea salt — Don’t skip it. The salt sharpens the caramel and chocolate and gives the bars that bakery-style finish on top. Use the flaky kind, not table salt, so you get little bursts instead of an even salty edge.
Building the Layers So the Bars Slice Cleanly
Mixing the Dough Without Overworking It
Combine the dry ingredients first, then drizzle in the melted butter and toss until every bit of oat and flour looks moistened. You’re not trying to make a smooth batter here; you want a crumbly mixture that holds together when pinched. If you stir it too much, the flour can start to clump and the finished bars get dense instead of tender.
Pressing the Base for a Strong Bottom
Use about two-thirds of the mixture for the base and press it firmly and evenly into the parchment-lined pan. Firm pressure matters because this layer has to support the caramel without collapsing when you cut the bars. If the base looks patchy or loose, the caramel can seep through and make the bottom greasy.
Spreading the Caramel and Finishing the Top
Whisk the caramel sauce with the cream until it loosens and pours like warm fudge, then spread it over the hot crust right away. Scatter the chocolate chips evenly so they melt into pockets rather than sinking in one spot, then crumble the remaining dough over the top. Bake until the crumble is golden and the caramel is peeking through in a few spots, not boiling hard across the whole surface.
Cooling Before the First Cut
Let the pan cool completely before slicing. If you cut too soon, the caramel will run and the layers won’t set into neat squares. For the cleanest edges, chill the bars after they reach room temperature, then lift them out with the parchment and slice with a sharp knife.
Three Ways to Tweak the Bars Without Losing the Texture
Make Them Gluten-Free
Use a good 1:1 gluten-free flour blend in place of the all-purpose flour, and keep the oats certified gluten-free. The bars will still be chewy and layered, but the base may be a touch more delicate when warm, so let them cool fully before moving them.
Use Dark Chocolate Instead of Semi-Sweet
Swap in dark chocolate chips if you want a less sweet finish and a little more contrast against the caramel. The texture stays the same, but the flavor reads deeper and more grown-up, especially with a generous pinch of flaky salt on top.
Add Chopped Pecans for a Crunchier Bar
Fold up to 1 cup of chopped pecans into the topping mixture or scatter them with the chocolate chips. They add a toasty crunch that plays well with the caramel, but they also make the bars a little sturdier and more textured, so expect a less soft bite.
Storage and Reheating
- Refrigerator: Store in an airtight container for up to 5 days. The caramel will firm up a bit, but the bars stay chewy.
- Freezer: These freeze well. Wrap individual bars tightly and freeze for up to 2 months, then thaw in the fridge or at room temperature.
- Reheating: If you want the caramel softer, warm a bar for 10 to 15 seconds in the microwave. Don’t heat it longer or the chocolate can melt out and the edges get greasy.