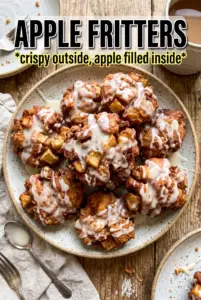
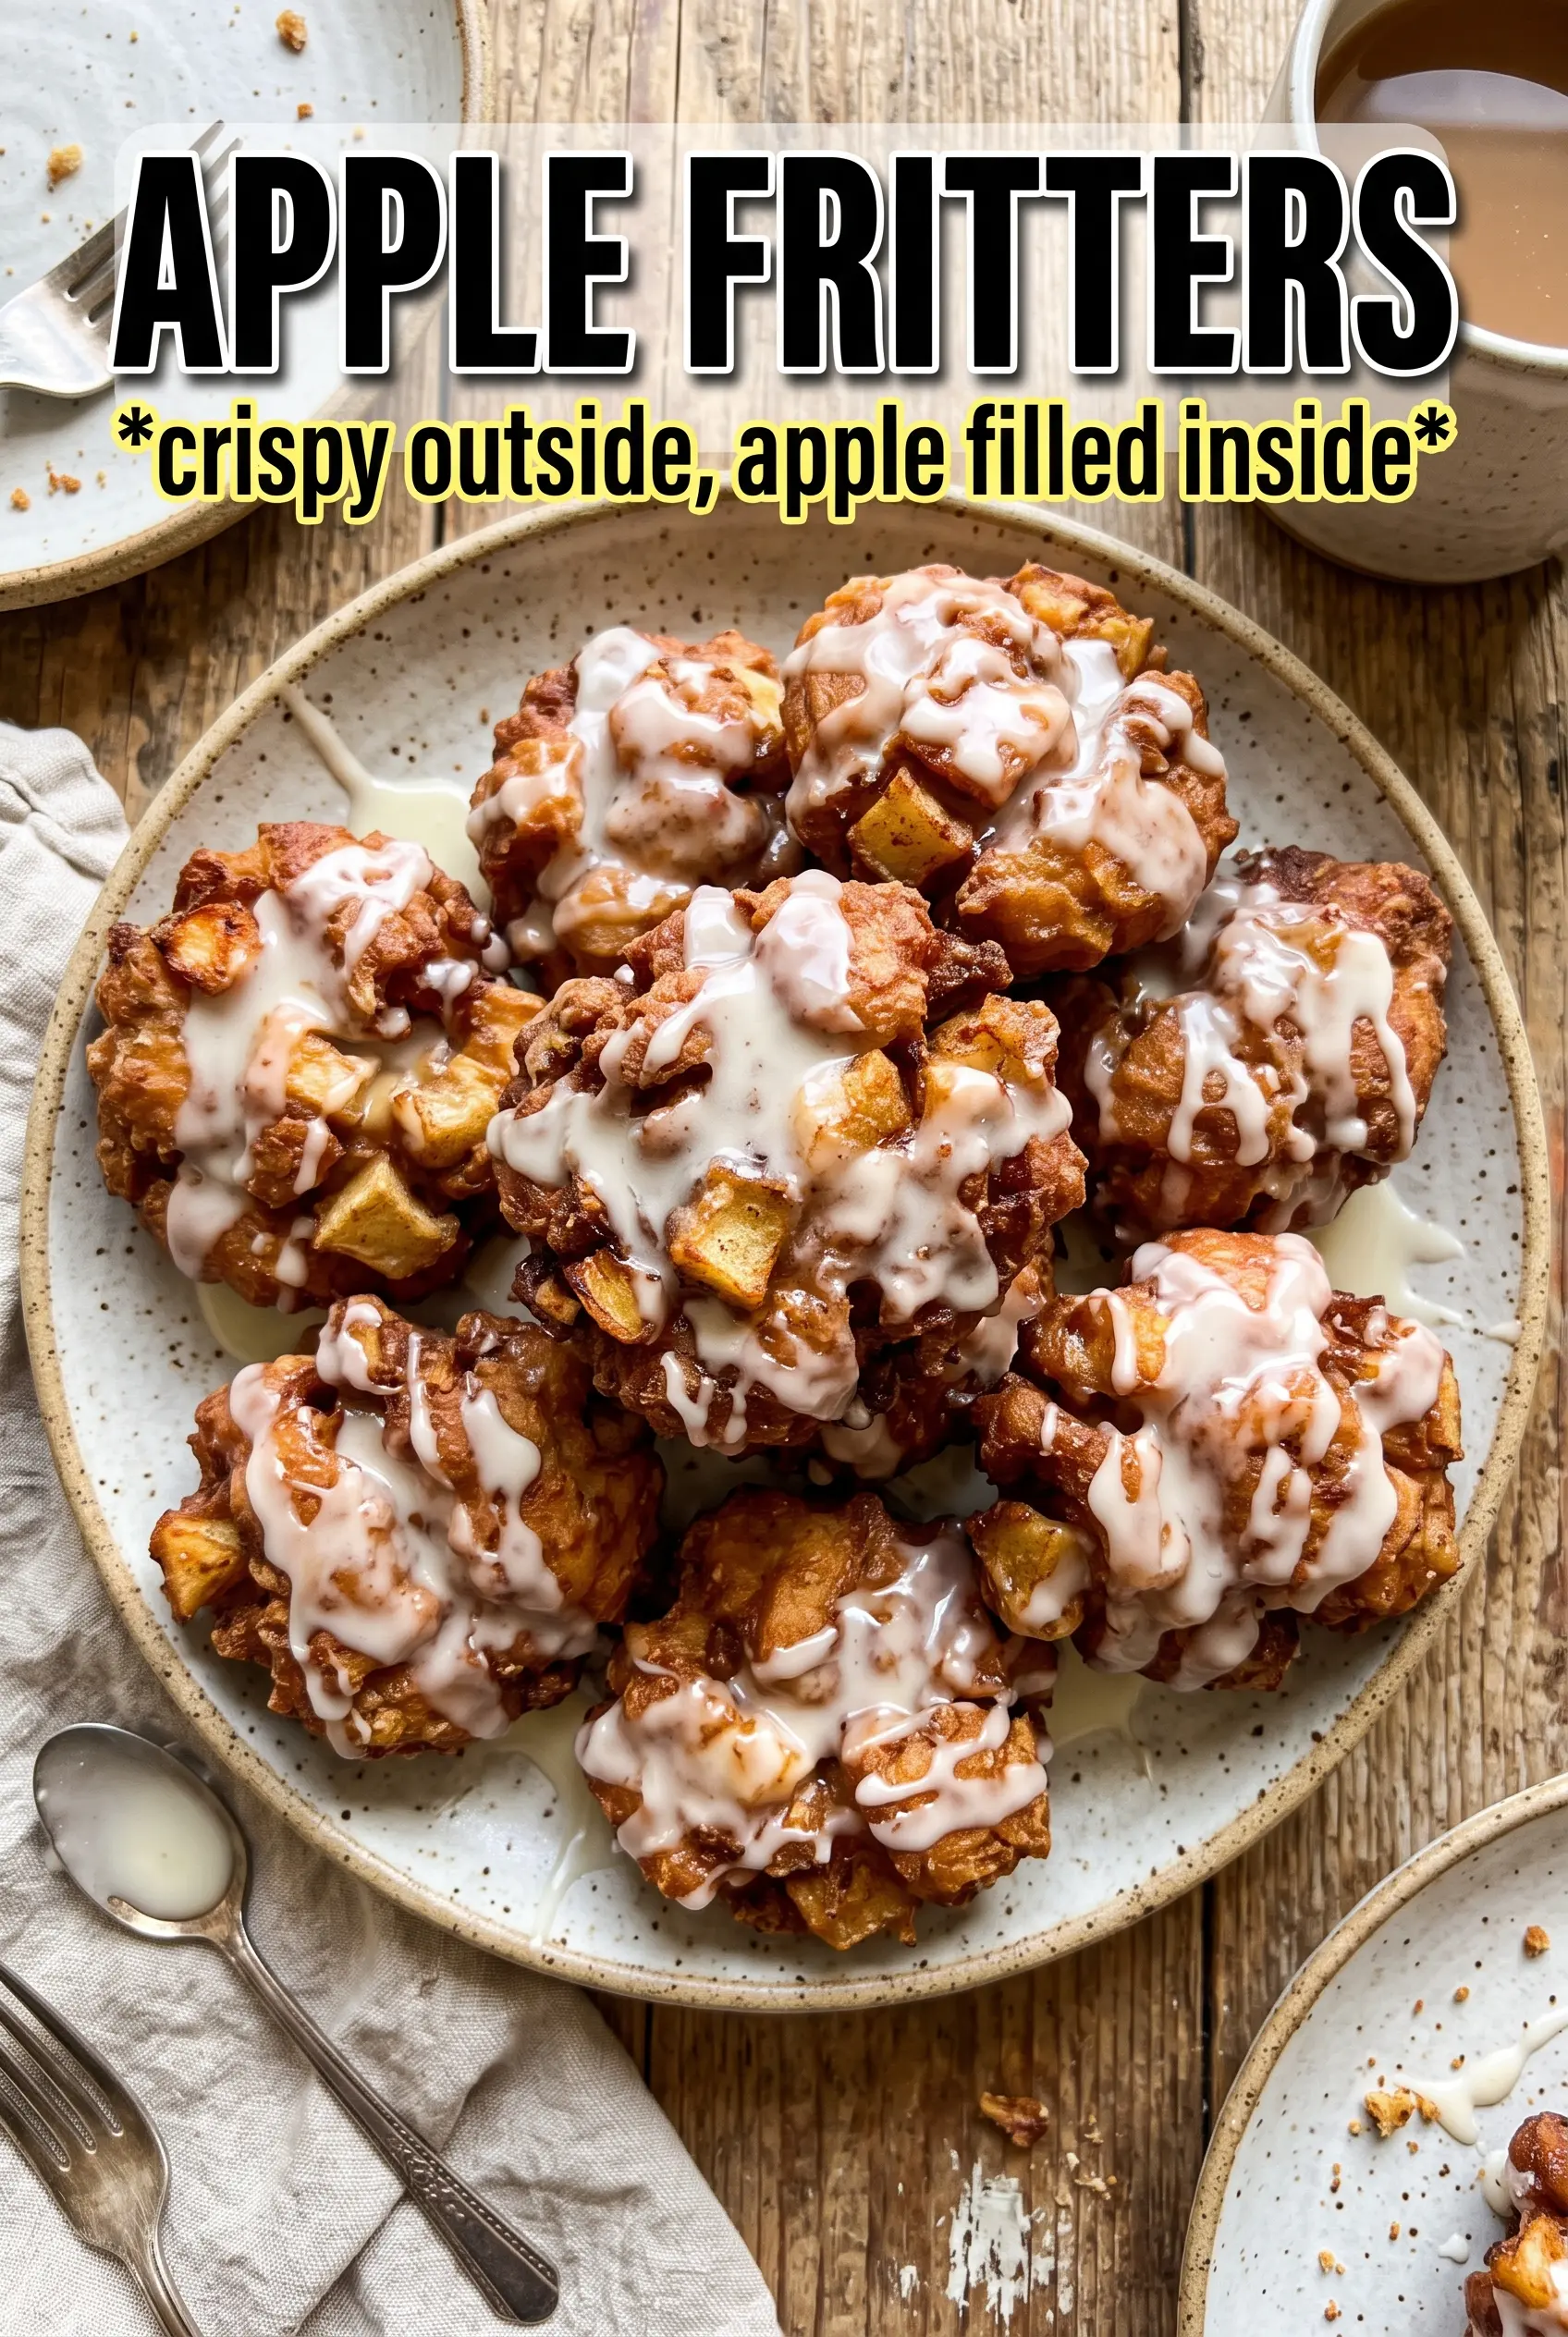
Apple fritters hit that sweet spot between tender and crisp that keeps people reaching for a second one before the glaze has even set. The edges fry up deeply golden and a little craggy, while the inside stays soft with little pockets of cinnamon-spiced apple. When they’re done right, they taste like a bakery treat made at home without any fuss.
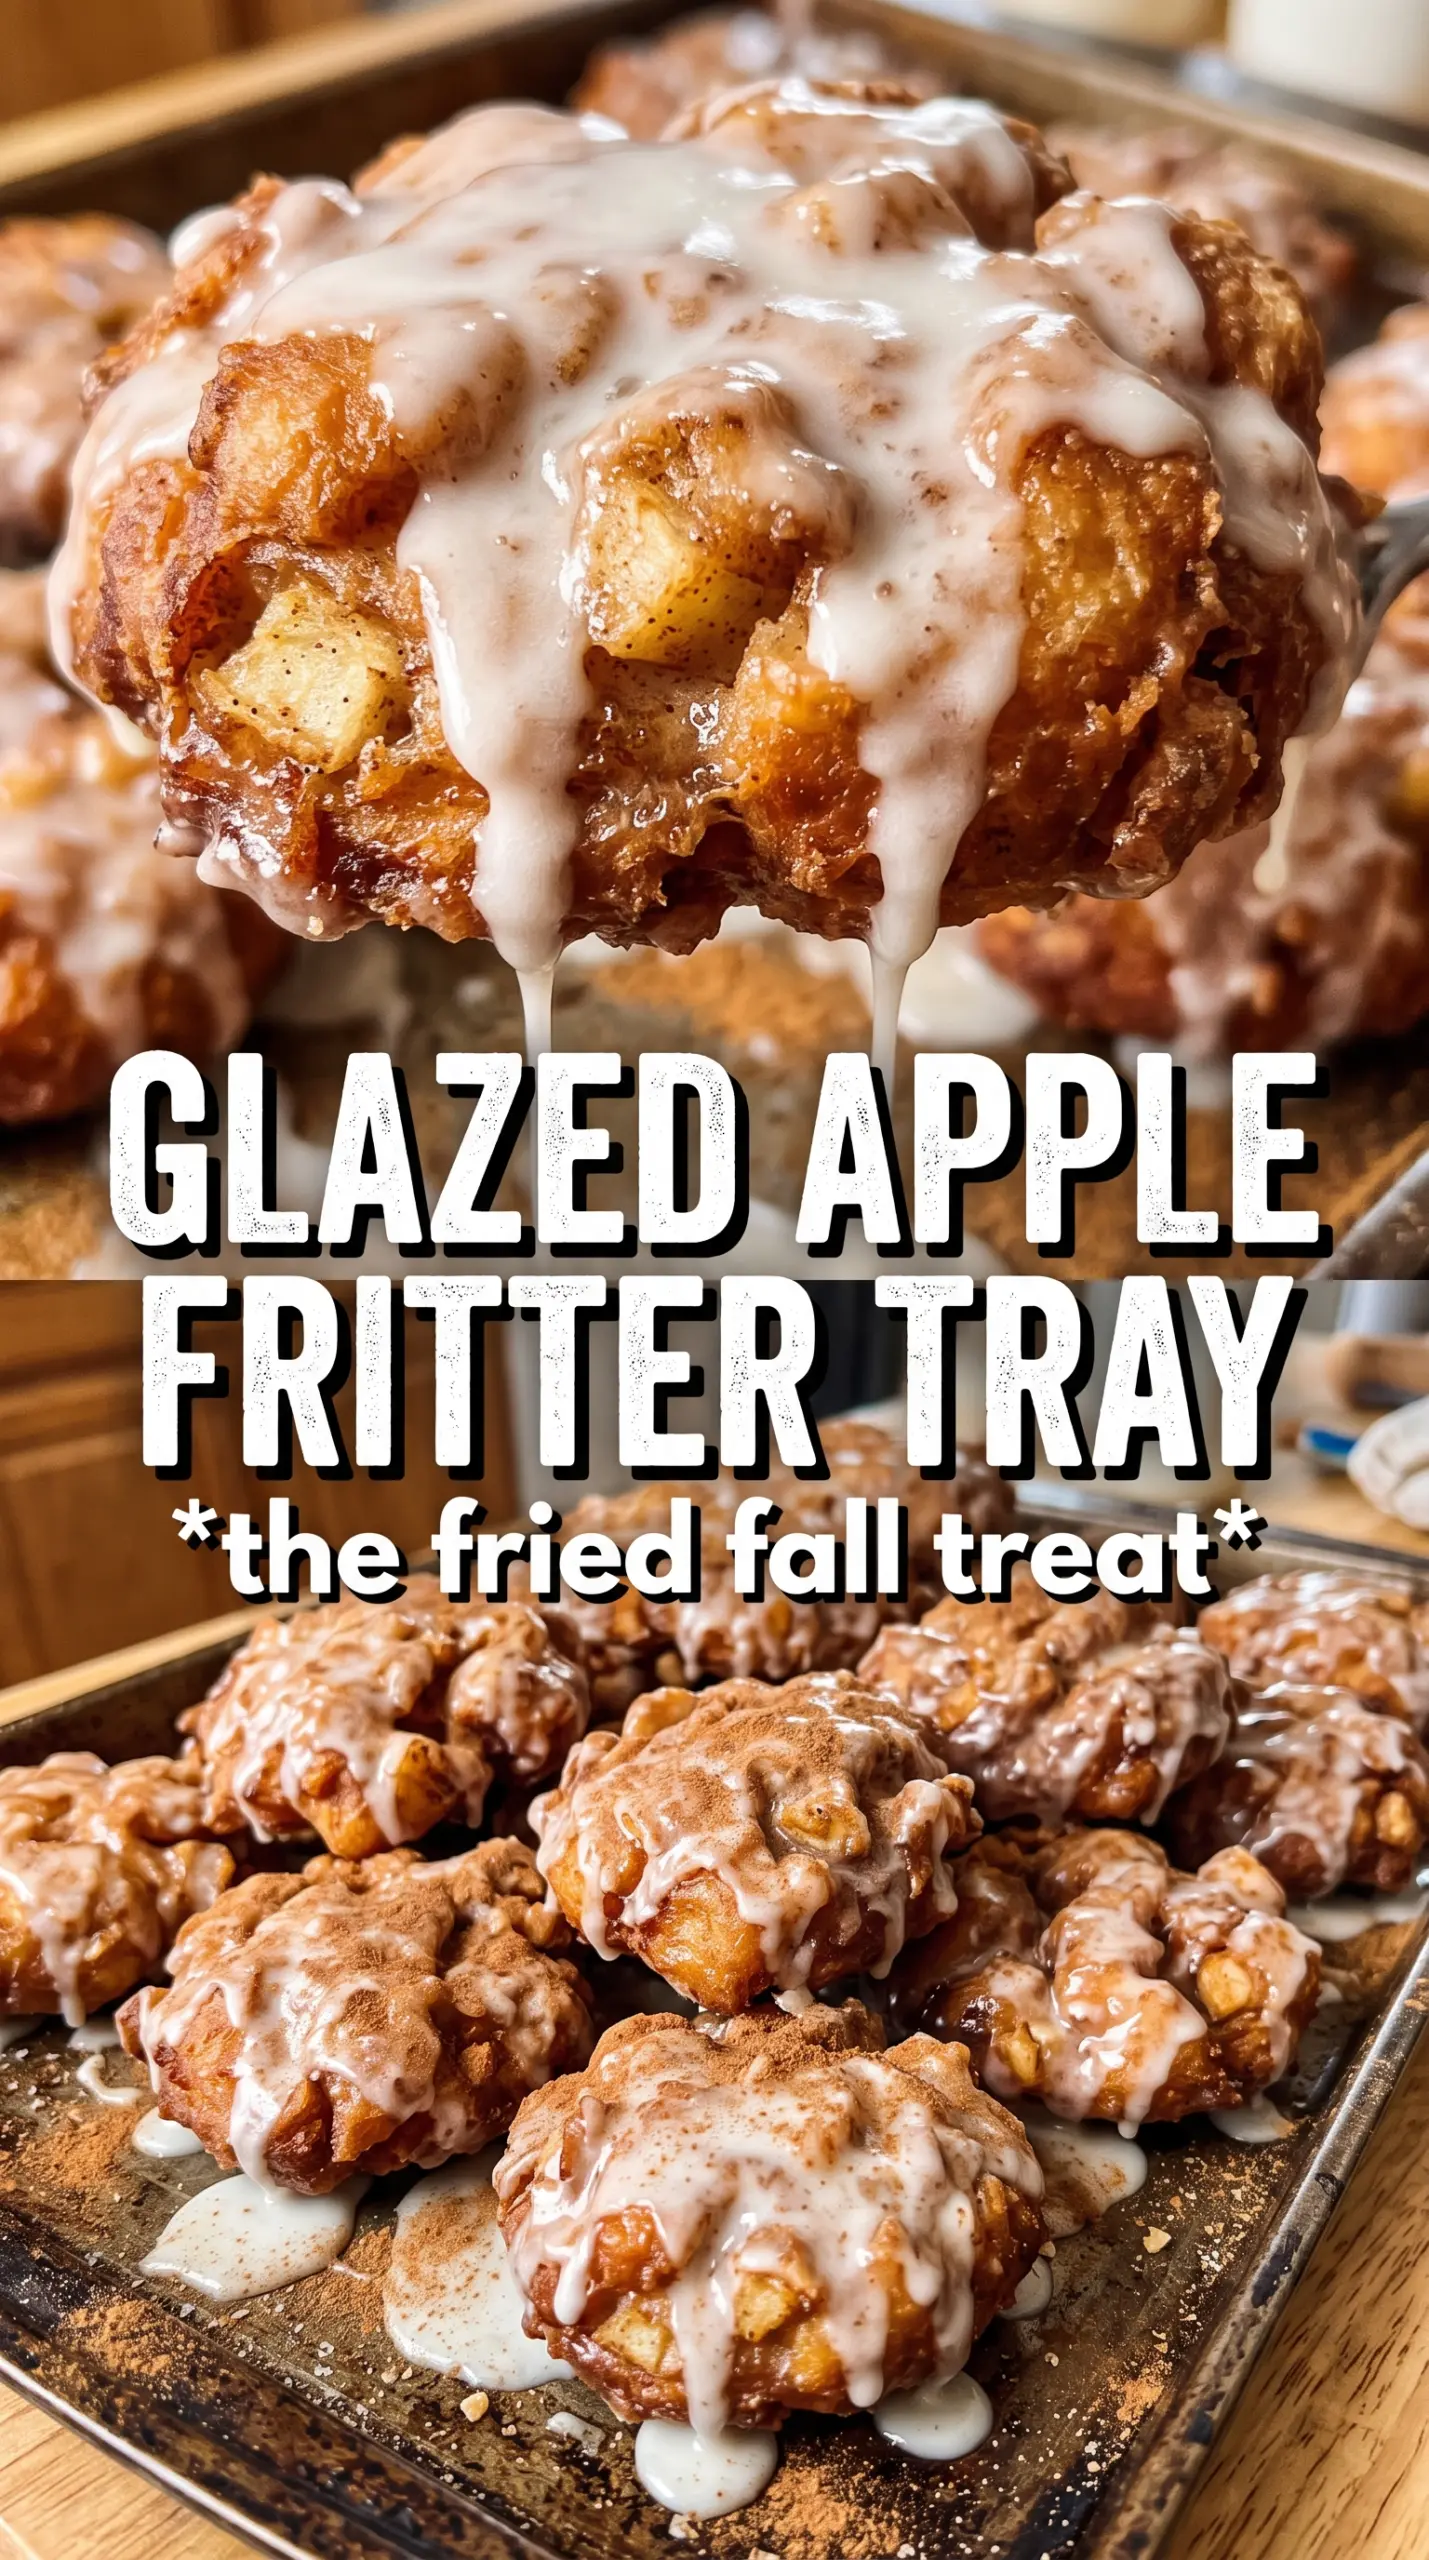
What makes this version work is the balance of a thick batter and a hot fry. The batter has just enough structure from the flour and baking powder to hold the apples in place, but it’s still loose enough to puff instead of turning dense. Diced apples give you little bursts of moisture and texture in every bite, and the glaze gets drizzled on while the fritters are still warm so it melts into the ridges instead of sitting on top like frosting.
You’ll find the little details that matter most below: how hot the oil needs to be, why the batter should look rough instead of smooth, and what to do if your glaze is too thin or too stiff. Those small choices are what turn a decent fritter into one worth making again.
The fritters came out crisp on the outside and soft inside, and the glaze sank right into the ridges while they were still warm. I followed the oil temperature exactly and they browned in about 2 minutes per side.
Love these crisp-edged apple fritters with vanilla glaze? Save them to Pinterest for the next time you want a warm breakfast treat with bakery-style texture at home.
The Part That Keeps Apple Fritters Light Instead of Doughy
The biggest mistake with apple fritters is overmixing the batter. Once the wet ingredients hit the dry, stir only until the flour disappears and the batter still looks rough. A smooth batter sounds tempting, but it develops too much gluten and gives you a tight, bready fritter instead of one with a tender center and crisp edges.
Oil temperature matters just as much as the batter. At 375°F, the outside sets fast enough to hold the shape while the inside cooks through before the crust gets too dark. If the oil runs cool, the fritters soak up grease and turn heavy. If it runs too hot, the outside browns before the middle loses its raw edge. The first fritter is your test piece; adjust the heat after that if needed.
What Each Ingredient Is Actually Doing in These Fritters
- All-purpose flour — This gives the fritters enough structure to hold the apples and survive frying. Bread flour makes them tougher, and cake flour can make them too fragile.
- Baking powder — This is the lift. It puffs the batter as soon as it hits the hot oil, which is what gives fritters that lighter, more open crumb.
- Whole milk and eggs — Together they create a batter that’s rich enough to taste like a treat but still fluid enough to scoop. Lower-fat milk works, but the fritters lose a little tenderness.
- Apples — Use a firm apple that holds its shape, like Granny Smith, Honeycrisp, or Fuji. Soft apples turn mushy and disappear into the batter instead of giving you those clean, sweet-tart bites.
- Cinnamon, nutmeg, and vanilla — These build the bakery-style flavor that makes the apples taste fuller and warmer. Don’t skip the nutmeg; you only need a little, but it rounds out the whole fritter.
- Powdered sugar glaze — The glaze should be thin enough to drizzle but thick enough to cling. If it’s too loose, add a little more powdered sugar. If it’s too thick, add milk a teaspoon at a time until it ribbons off the whisk.
Frying and Glazing the Fritters at the Right Moment
Mixing the Batter Without Toughening It
Whisk the dry ingredients first so the baking powder and spices are evenly distributed, then add the wet ingredients and stop mixing as soon as the flour disappears. A few streaks are fine. The batter should look thick and uneven, not glossy and smooth. Fold in the apples last so they stay intact and don’t break down while you stir.
Checking the Oil Before the First Batch
Heat the oil to 375°F and keep it there as best you can. If you don’t have a thermometer, drop in a tiny bit of batter; it should bubble immediately and rise without scorching. Too little heat gives you oily fritters, and too much heat leaves you with dark shells around undercooked centers. Fry in batches so the temperature doesn’t crash.
Turning Them for Even Color
Drop about 1/4 cup of batter for each fritter and don’t crowd the pan. They’ll look irregular, and that’s part of the charm. Let the first side cook until the edges are set and deep golden before turning, then cook the second side until it matches. If the fritter tears when you flip it, give it another 20 to 30 seconds; it wasn’t ready yet.
Glazing While They’re Still Warm
Drain the fritters briefly on paper towels, then glaze them while they’re still warm enough to melt the icing just a little. That’s what gives you the glossy finish that settles into the nooks instead of sitting in a thick layer on top. If you wait until they’re cool, the glaze stays pasty and doesn’t blend into the crust.
How to Adapt These Apple Fritters Without Losing the Good Part
Gluten-Free Version
Use a 1:1 gluten-free flour blend that includes xanthan gum. The batter will still need to be thick, but it may rest a little longer before frying so the flour hydrates. Expect a slightly more delicate crumb, but the fritters will still fry up well.
Dairy-Free Fritters
Swap the whole milk for an unsweetened non-dairy milk and use a plant-based butter or neutral oil in the batter. The glaze can be made with the same non-dairy milk. You’ll lose a little richness, but the apple-cinnamon flavor still comes through clearly.
Apple Choice Based on Texture
Use Granny Smith for a firmer, tarter bite or Honeycrisp for a sweeter fritter with a juicier apple piece. Softer apples can work in a pinch, but they collapse faster and make the batter wetter, which changes the fry and can make the centers a little heavy.
Storage and Reheating
- Refrigerator: Store in an airtight container for up to 2 days. The crust softens, and the glaze may soak in a bit.
- Freezer: Freeze the unglazed fritters on a sheet pan, then pack them in a freezer bag for up to 2 months. Glaze after reheating for the best texture.
- Reheating: Warm in a 350°F oven for 8 to 10 minutes or in an air fryer for a few minutes until the outside crisps back up. The microwave makes them soft and steamy, which is the fastest way to lose the fritter texture.
Questions I Get Asked About This Recipe
Apple Fritters
Ingredients
Equipment
Method
- Whisk all-purpose flour, granulated sugar, baking powder, cinnamon, nutmeg, and salt in a bowl until evenly combined with no visible spice lumps.
- Make sure the mixture looks uniform in color, with spices evenly streaked through the flour.
- Whisk eggs, whole milk, melted butter, and vanilla extract in a separate bowl until smooth and glossy.
- Fold the wet mixture into the dry ingredients just until combined, stopping as soon as no dry flour remains.
- Fold in apples, then pause to check the batter is thick and spoonable, not runny.
- Heat 2 to 3 inches of vegetable oil to 375F in a cast iron skillet until it sizzles vigorously around a test drop of batter.
- Drop 1/4 cup portions of batter into the oil and fry 2 to 3 minutes per side until deeply golden and visibly set in the center.
- Transfer fritters to a sheet pan lined with paper towels to drain, watching for bubbling to stop and the sheen to dull slightly.
- While warm, whisk powdered sugar, milk, and vanilla until smooth, then drizzle generously over the fritters so the glaze sinks into ridges.