Soft dinner rolls turn into something special when they’re enriched with browned butter and finished with sage that crackles in the pan. These bake up with a tender pull-apart crumb, a glossy golden top, and that nutty, toasty flavor that makes people reach for a second roll before they’ve finished the first. The brown butter doesn’t just add taste; it also gives the dough a deeper color and a richer aroma that plain melted butter can’t match.
The trick is in the timing and temperature. The butter for the dough needs to be browned first, then cooled enough that it won’t scramble the eggs or kill the yeast. That same patient approach makes the glaze worth the extra minute too: browning the butter again and frying the sage leaves until crisp gives you a topping that tastes layered instead of flat.
Below you’ll find the exact cues I watch for so the rolls stay light, the glaze stays fragrant, and the tops get brushed while everything is still warm enough to soak it in.
The rolls came out insanely soft, and the sage brown butter soaked into the tops without making them greasy. I loved that the sage stayed crispy, and the whole batch disappeared before dinner was over.
Save these brown butter sage dinner rolls for the meal that needs a soft, pull-apart side with a crisp sage finish.
The Reason Brown Butter Sage Rolls Stay Soft Instead of Dense
Most homemade rolls go wrong in one of two places: the butter is too hot when it hits the eggs, or the dough gets too much flour while people try to make it feel manageable. This version avoids both problems by letting the browned butter cool just enough to blend smoothly, then adding flour only until the dough is supple and slightly tacky. That’s what gives you rolls that bake up pillowy instead of tight.
The other thing that matters is the rise. These need enough time to puff properly before baking, but not so much that they lose structure and collapse in the oven. When you divide the dough, it should feel light under your hands and hold a rounded shape without tearing. If it springs back too aggressively, it needs a few more minutes.
- Browned butter adds depth, but it must cool first or it can ruin the yeast and scramble the eggs.
- Instant yeast works here because it moves quickly and evenly once it meets warm milk and sugar.
- The dough should be soft, not stiff. Extra flour is the fastest way to end up with dry rolls.
- The second rise in the baking dish is what gives the rolls their pull-apart edges and even height.
What the Butter, Sage, and Flour Are Each Doing Here
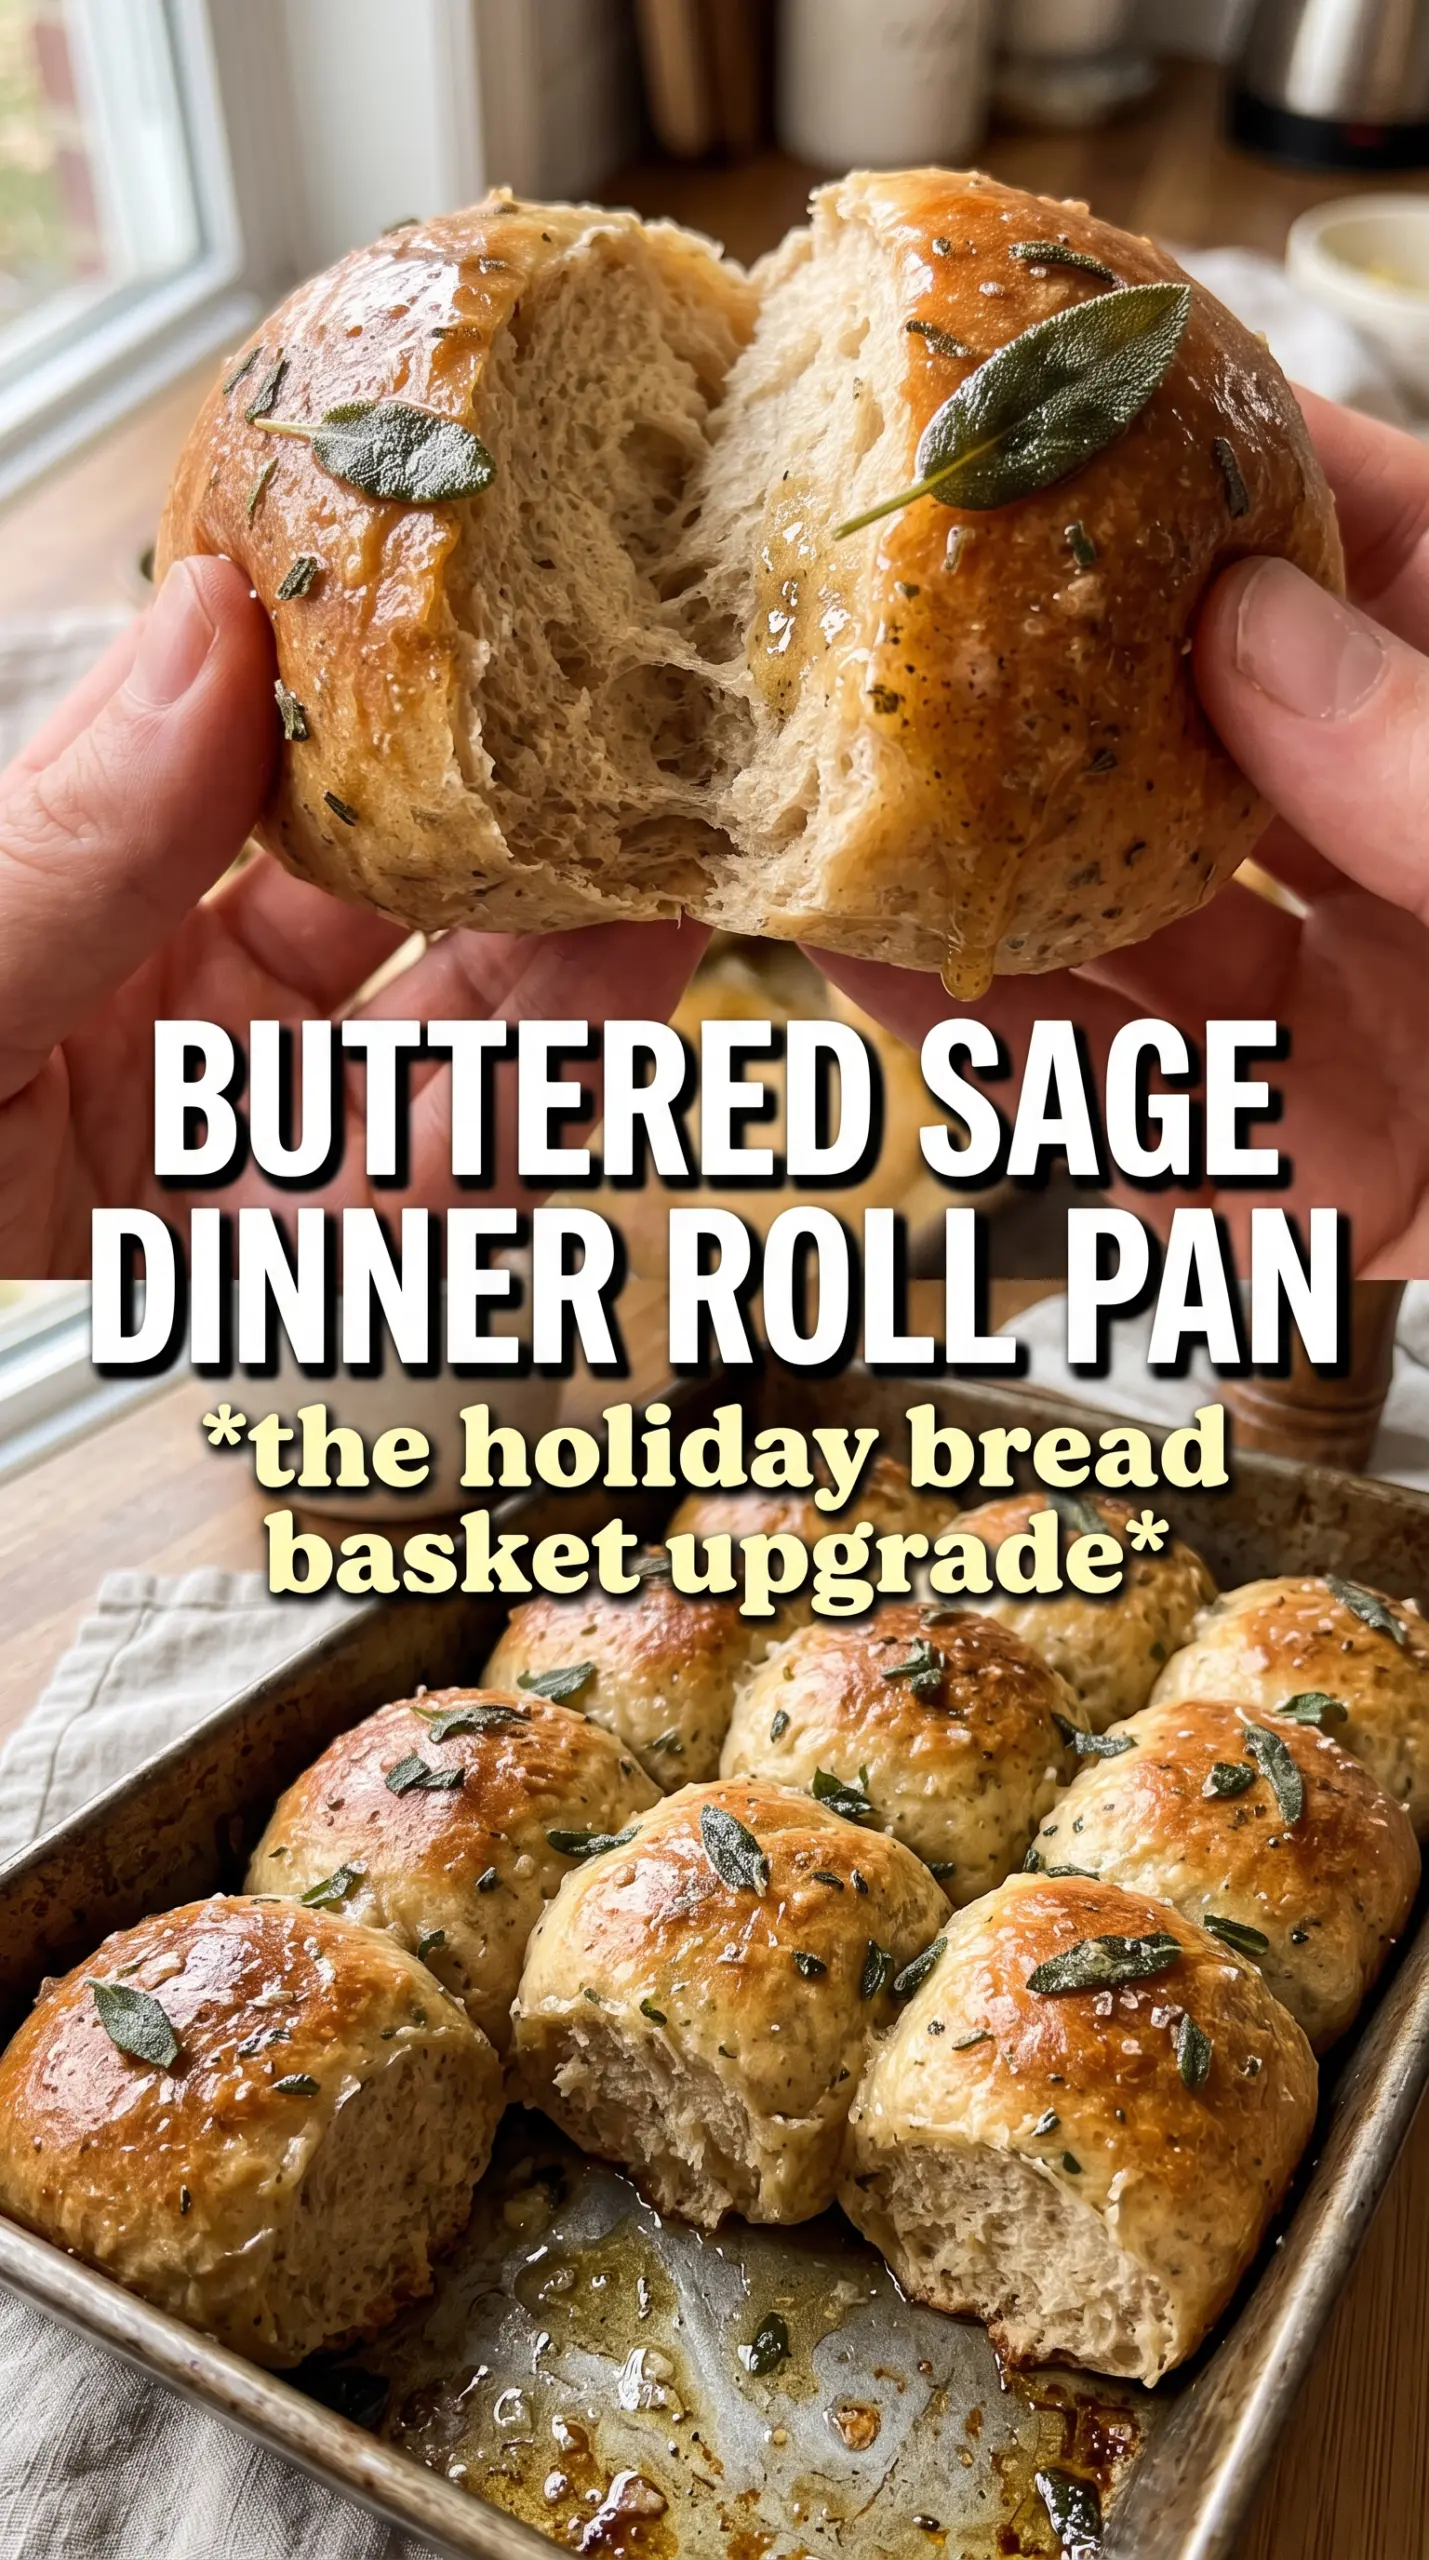
- Unsalted butter — You need unsalted butter for both the dough and the glaze so you can control the salt. Browning it is worth the extra step because that nutty flavor carries through the whole batch. Salted butter will work in a pinch, but the final rolls can taste flatter and less balanced.
- Warm whole milk — Whole milk gives the dough tenderness and a softer crumb than water or skim milk. Warm means comfortably warm to the touch, not hot; if it feels steamy, it’s too hot for the yeast.
- Instant yeast — This lets you mix straight into the dough without proofing first, which keeps the process simple and reliable. If you only have active dry yeast, dissolve it in the warm milk for a few minutes first, then continue with the recipe.
- Fresh sage — Fresh leaves are the whole point of the glaze. They fry crisp in the brown butter and bring an herbal, savory finish that dried sage can’t mimic.
- All-purpose flour — This is the right flour for a tender dinner roll. Bread flour will make the rolls chewier and a little less delicate, which changes the whole texture of the recipe.
Building the Dough and Finishing the Tops at the Right Moment
Brown the Butter Without Letting It Burn
Set the butter over medium heat and let it melt, foam, and then turn from pale yellow to amber with little brown specks at the bottom. That nutty smell is your cue to take it off the heat before it goes too far. If it smells sharp or looks nearly black, it will taste bitter in the rolls. Pour it into a heatproof bowl and let it cool until warm, not hot.
Mix the Dough Until It Turns Smooth
Stir the milk, yeast, sugar, browned butter, eggs, and salt together, then add the flour and knead until the dough becomes elastic and soft. After about 8 minutes, it should feel smooth and spring back when pressed lightly with a fingertip. If it clings badly to the bowl, dust in a little more flour, but stop as soon as it becomes workable. A stiff dough bakes up dry.
Let the First Rise Build the Structure
Cover the dough and let it rise until doubled, about an hour. The dough should look puffy and feel lighter when you lift it, not dense like it did when you started. If your kitchen is cool, the rise may take longer; what matters is volume, not the clock. Rush this stage and the rolls will bake up compact instead of airy.
Shape, Proof, and Bake Until the Centers Are Set
Divide the dough into 12 equal pieces, roll them into tight balls, and place them snugly in a greased 9×13 dish. After the second rise, the rolls should look puffed and touching slightly at the edges. Bake until the tops are golden and the centers are cooked through, about 18 to 22 minutes. If the tops brown too fast, the oven is running hot, so tent loosely with foil for the last few minutes.
Brush the Sage Butter on While the Rolls Are Hot
Brown the remaining butter, fry the sage leaves until crisp, then stir in the garlic and flaky salt off the heat. Brush the glaze over the rolls the second they come out of the oven so it sinks into the crust instead of sitting on top. Press a fried sage leaf onto each roll while the butter is still glossy. That final step gives you the texture contrast that makes these stand out.
How to Adapt These Rolls for Different Tables and Schedules
Make-Ahead Overnight Rolls
Shape the rolls, cover the pan tightly, and refrigerate overnight after the first rise and shaping. The next day, let them sit at room temperature until visibly puffed before baking. This slows the yeast down, but it doesn’t hurt the texture. The rolls often taste even better because the dough has had more time to develop.
Dairy-Free Version
Use a full-fat unsweetened plant milk and a good dairy-free butter that browns well. The rolls will still be tender, though the glaze won’t have quite the same nutty depth as real butter. Choose a plant butter with a higher fat content or the dough can bake up a little less rich.
Extra-Savory Finish
Add a little grated Parmesan to the top right after brushing on the sage butter. It melts lightly into the surface and gives the rolls a sharper, saltier edge. Keep the amount modest or it will overpower the sage.
Storage and Reheating
- Refrigerator: Store in an airtight container for up to 3 days. The tops soften a little, but the rolls stay tender.
- Freezer: These freeze well. Wrap tightly and freeze for up to 2 months, then thaw at room temperature before reheating.
- Reheating: Warm in a 300°F oven for 8 to 10 minutes, covered loosely with foil if needed. Microwaving makes the crumb gummy and takes away the crisp edge from the sage.
Answers to the Questions Worth Asking
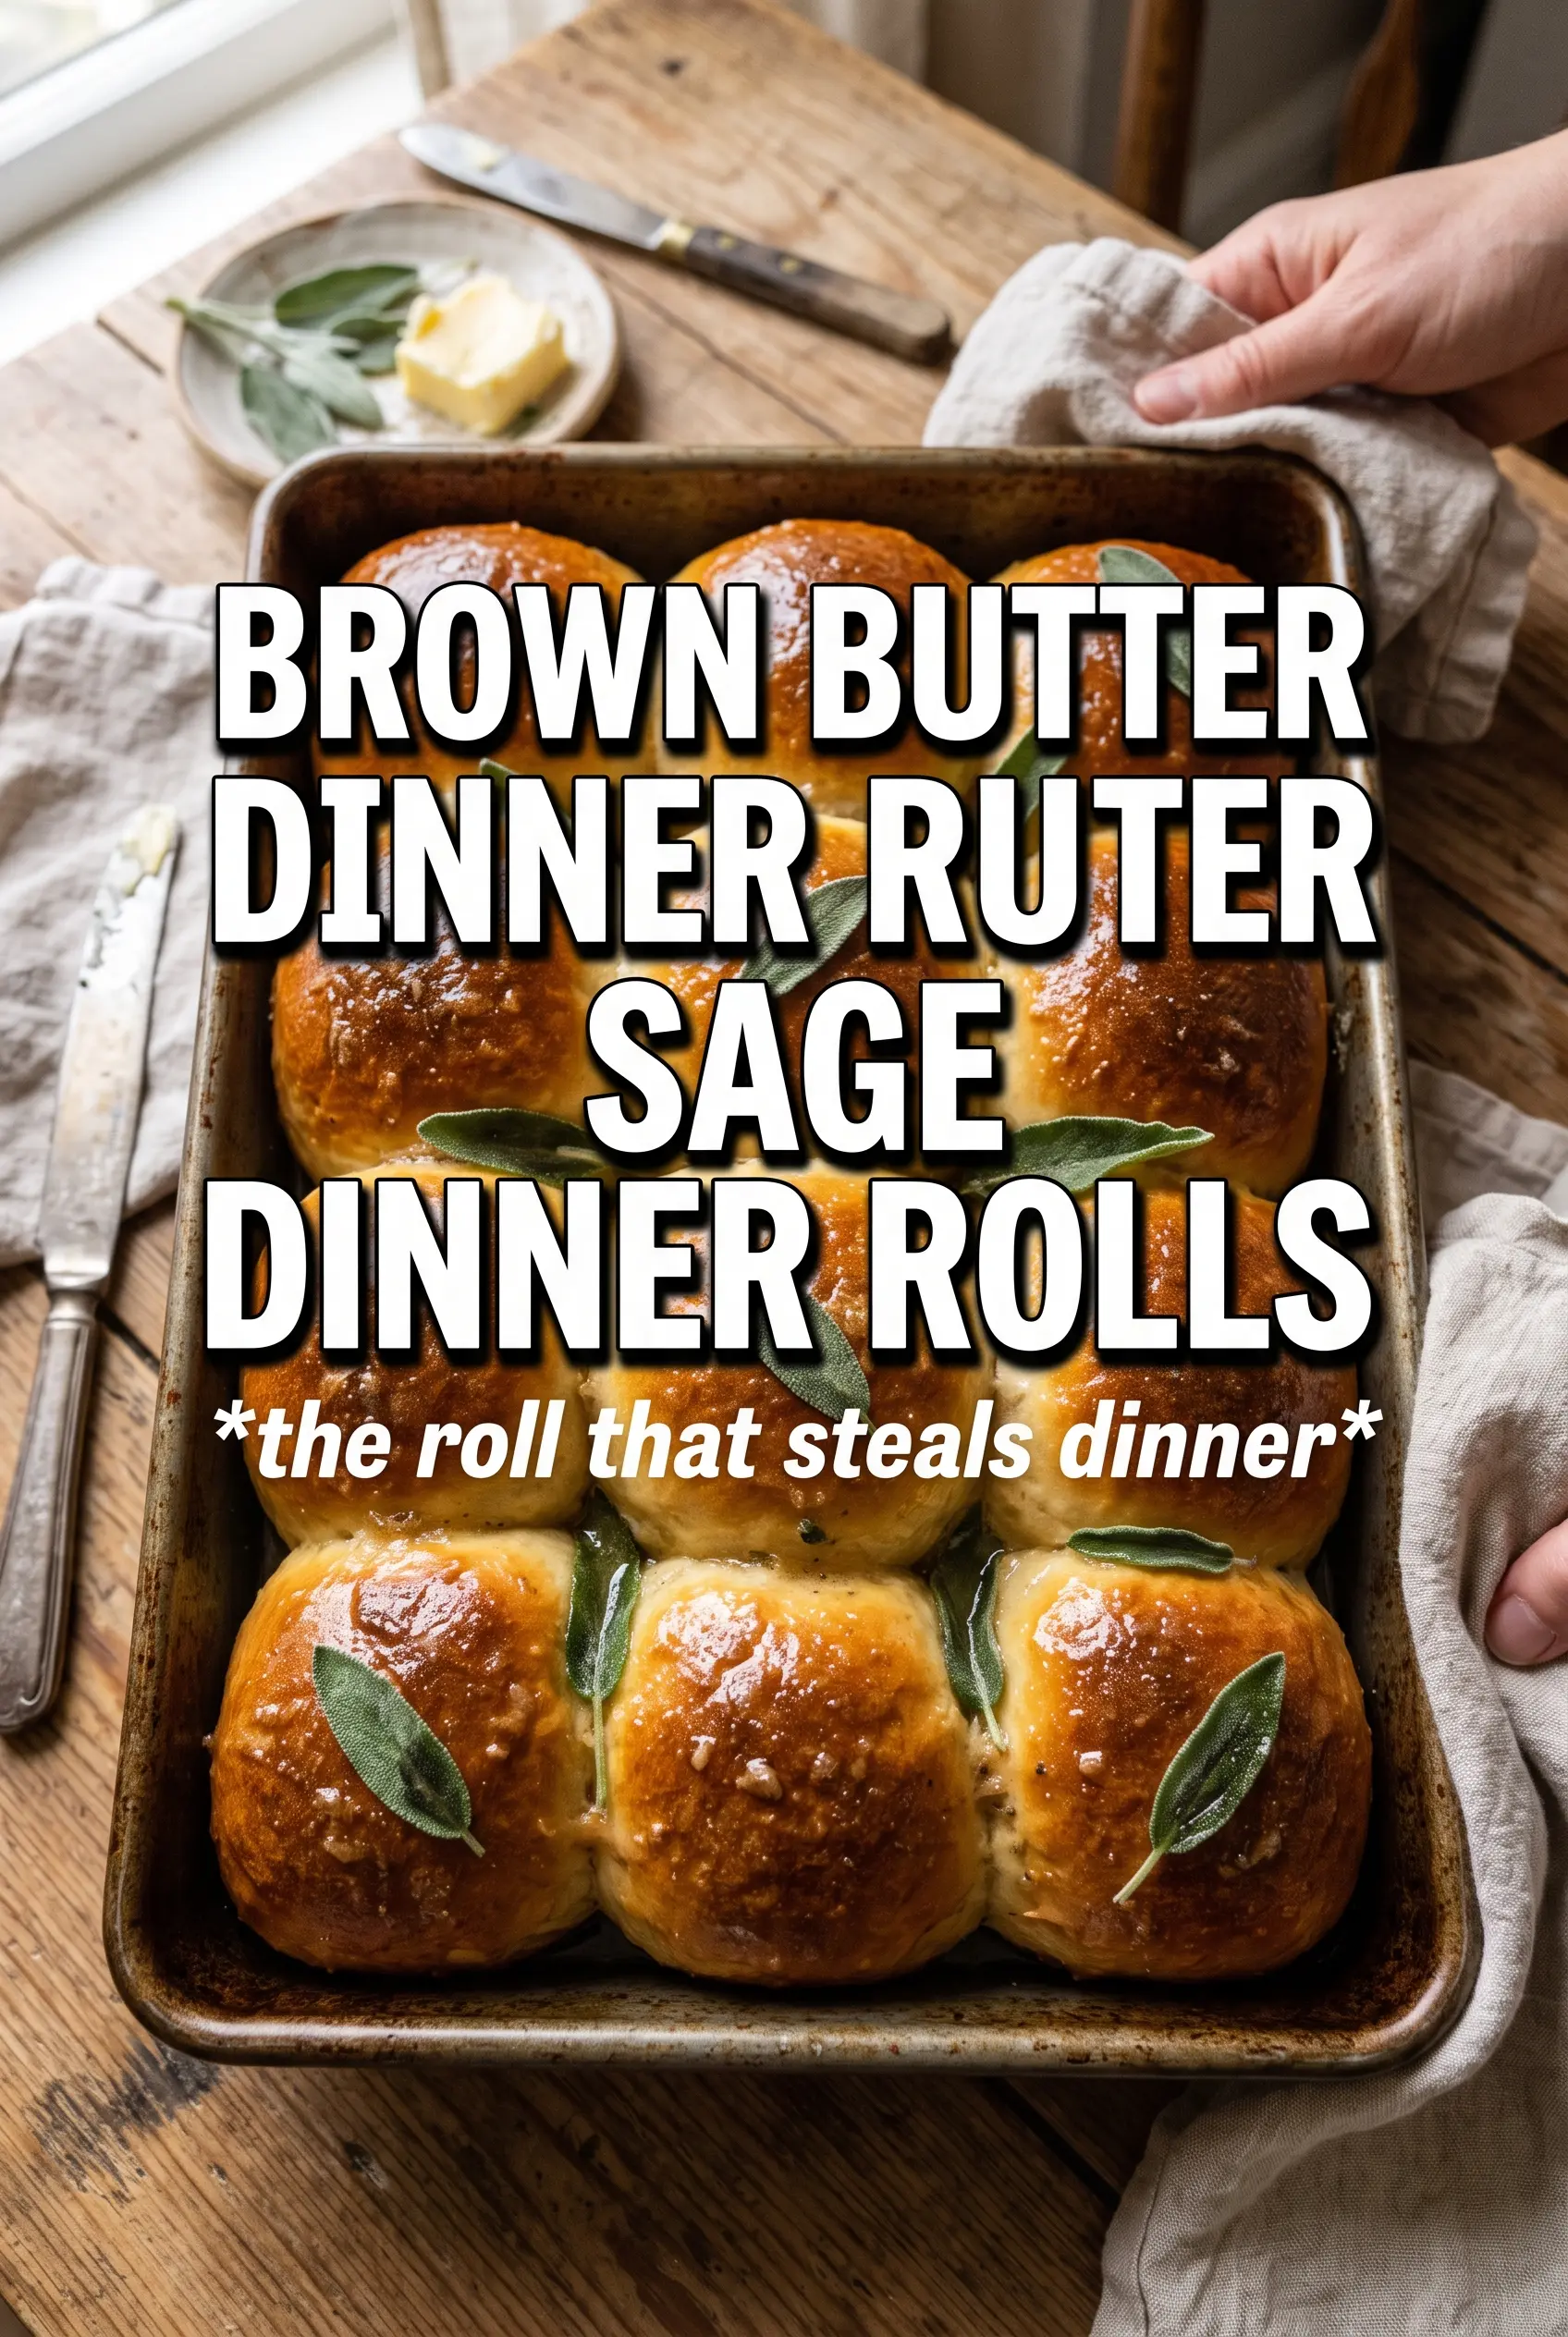
Brown Butter Sage Dinner Rolls
Ingredients
Equipment
Method
- Brown 1/2 cup butter in a pan, then cool slightly so it’s warm but not hot.
- In a bowl, combine warm whole milk, instant yeast, sugar, browned butter, and eggs; let sit 5 minutes until foamy.
- Add all-purpose flour and salt to the yeast mixture and mix until a shaggy dough forms.
- Knead the dough for 8 minutes until smooth and elastic.
- Grease a 9x13 dish, divide dough into 12 balls, and place them in the dish with space between.
- Cover and rise for 1 hour at room temperature until puffy and increased in size.
- After shaping, rise for 30-40 minutes while preheating the oven to 375F.
- Bake for 18-22 minutes at 375F until the tops are deep golden.
- Brown the remaining butter until nutty, then fry fresh sage leaves in the butter until crispy.
- Stir in minced garlic and flaky sea salt to the sage brown butter for 30 seconds, then brush generously over the warm rolls.
- Press the crispy sage leaves onto each roll immediately so they adhere and stay crisp.