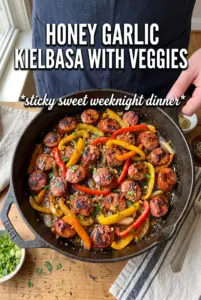
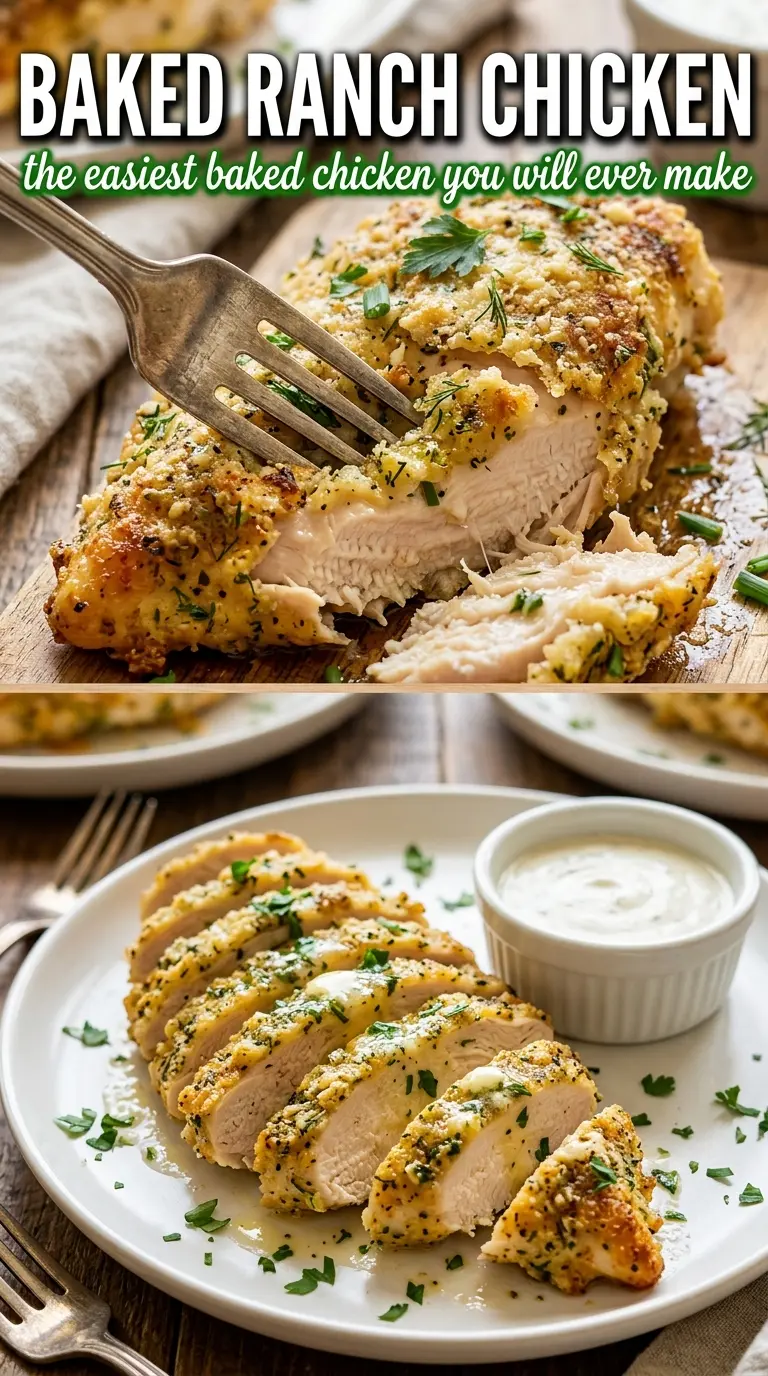
Golden, crackly baked ranch chicken earns its place in the dinner rotation because it gives you a crisp, deeply seasoned crust without frying a thing. The top bakes into a bronzed layer that stays put on the chicken, and the meat underneath stays juicy if you pull it at the right moment. It’s the kind of meal that looks like you worked harder than you did.
The trick is the mayonnaise layer. It isn’t there to make the chicken taste like mayo; it acts as the glue and helps the ranch seasoning, Parmesan, and panko brown evenly instead of sliding off or drying out. Freshly grated Parmesan matters here because it melts and crisps better than the shelf-stable kind, and panko gives the crust a lighter crunch than regular breadcrumbs.
Below, I’ve laid out the small details that keep the topping crisp, plus a few swaps that still give you a good result when you need to work with what’s in the kitchen.
The crust came out crunchy and stayed on the chicken instead of sliding off, and the ranch flavor was spot on without being too salty. I baked it for 24 minutes and the breasts stayed juicy.
Like this baked ranch chicken? Save it for the nights when you want a crispy Parmesan crust and juicy chicken without a long cleanup.
The Mayonnaise Layer That Keeps the Crust Crisp Instead of Soggy
Most baked chicken crusts fail for one of two reasons: the topping goes on too thin and dries out, or it goes on too wet and turns heavy. The mayo layer solves both problems. It gives the ranch seasoning something to cling to and helps the Parmesan and panko toast into a crust instead of soaking into the chicken.
The other thing that matters is thickness. If the chicken breasts are wildly uneven, the thin ends will dry before the thickest part reaches 165°F. A quick pound to even them out gives you a better bake and keeps the crust from overbrowning while you wait for the center to finish.
- Chicken breasts — Use boneless, skinless breasts of similar size so they finish together. If one side is much thicker, pound it lightly between sheets of parchment to keep the meat juicy and the crust from burning.
- Mayonnaise — This is the binder that makes the crust stay in place. Sour cream works in a pinch, but it bakes up a little less stable and a bit tangier.
- Ranch seasoning mix — The packet brings salt, herbs, and garlic in one shot, which is why this tastes fully seasoned without needing a long ingredient list. Homemade ranch seasoning works too, as long as it’s finely mixed and not overly salty.
- Parmesan and panko — Freshly grated Parmesan melts and browns better than the pre-shredded stuff. Panko gives the top that crisp, shattery texture; regular breadcrumbs will work, but the crust will be denser.
What Each Ingredient Is Actually Doing in This Recipe
- Primary ingredient (the star) — This carries the main flavor and defines the dish. Quality matters here.
- Base sauce or cooking medium (the carrier) — This brings all flavors together and keeps the dish from being dry.
- Aromatics (onion, garlic, ginger) — These add depth and complexity. They mellow and become sweet when cooked.
- Seasonings (salt, spices, herbs) — These define the personality and prevent the dish from tasting one-dimensional.
- Vegetables (nutrition and texture) — These add freshness and color. Cut to size so they cook evenly.
- Acid (lemon, vinegar, tomato, wine) — This brightens the dish and prevents it from tasting heavy or flat.
- Fat (oil, butter, cream) — This carries flavors and creates a satisfying mouthfeel. Don’t skip it.
- Proper technique (heat, time, temperature) — The right method turns good ingredients into great food. Follow the instructions carefully.
Pressing the Crust on So It Bakes, Not Slides
Building the Base
Heat the oven first and grease the baking dish so the crust starts setting as soon as the chicken goes in. Season the chicken lightly before adding the topping; that small layer of salt helps the meat taste seasoned all the way through, not just on the surface. Place the breasts with a little space between them so the tops can brown instead of steaming against each other.
Mixing and Spreading the Ranch Topping
Stir the mayonnaise and ranch seasoning until the mixture is smooth and even, then spread it generously over the chicken. The layer should cover the top edge to edge without being so thick it drips down the sides. If the mayo mixture looks streaky or clumpy, it won’t brown evenly, so keep mixing until the seasoning is fully distributed.
Making the Crunchy Top
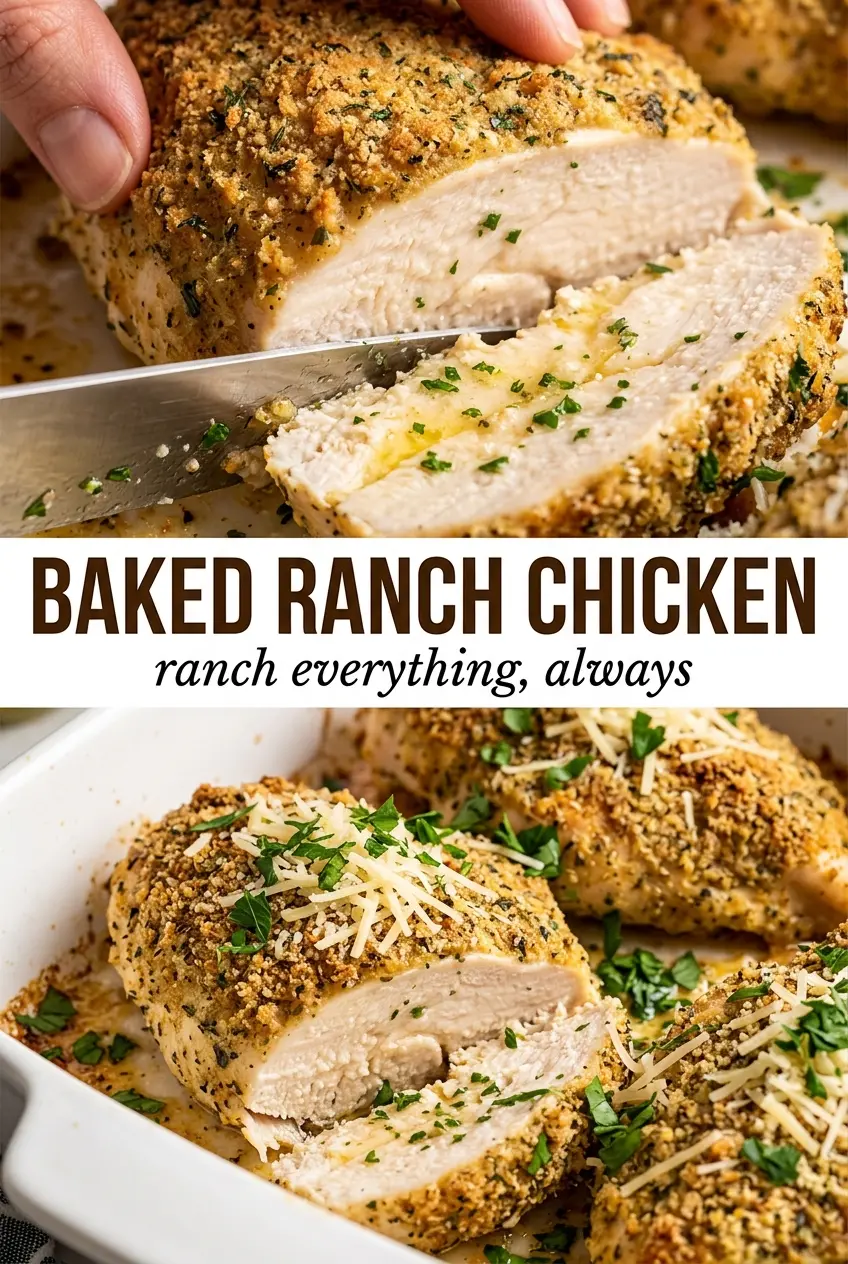
Combine the Parmesan, panko, garlic powder, and smoked paprika in a separate bowl, then press it onto the mayo layer with your fingers. Pressing matters here; scattering the topping on top leaves bare spots, but a firm press helps it fuse into a crust. The surface should look fully coated, with no wet patches peeking through.
Baking to the Right Temperature
Bake at 400°F until the crust is golden and the thickest part of the chicken reaches 165°F, usually 22 to 25 minutes. If the top is browning too fast before the chicken is done, move the pan to a lower rack for the last few minutes. Pull it as soon as it hits temperature; overbaked chicken breasts turn dry fast, and the carryover heat will finish the job.
How to Adapt This for Different Kitchens and Different Dinners
Dairy-Free Version With the Same Crunch
Use a dairy-free mayo and swap the Parmesan for a finely grated dairy-free alternative that melts well. The flavor will be a little less sharp and nutty, but the crust still crisps if you keep the topping layer thin and press it on firmly.
Gluten-Free Crunch
Swap the panko for gluten-free breadcrumbs or crushed gluten-free cornflakes. Cornflakes bring extra crunch, while gluten-free breadcrumbs give a more familiar crust; both work as long as the crumbs are fine enough to stick well.
Chicken Thighs Instead of Breasts
Boneless thighs stay juicier and handle a little extra baking time, which is handy if your oven runs hot. They need a few more minutes than breasts, and the topping may brown faster, so check the internal temperature and tent loosely with foil only if the crust is getting too dark.
Storage and Reheating
- Refrigerator: Store leftovers in an airtight container for up to 3 days. The crust softens a bit, but the flavor holds up well.
- Freezer: It freezes, though the topping won’t stay as crisp. Wrap tightly and freeze for up to 2 months, then thaw in the fridge before reheating.
- Reheating: Warm in a 375°F oven or air fryer until heated through. The microwave will make the crust soggy, which is the one mistake that steals what makes this dish good.
Answers to the Questions Worth Asking
Baked Ranch Chicken
Ingredients
Equipment
Method
- Preheat the oven to 400°F and grease a baking dish so the chicken releases easily after baking.
- Season the chicken breasts lightly with salt and pepper, then place them in the prepared baking dish in a single layer.
- Mix the mayonnaise with the ranch seasoning mix until combined, then spread generously over the top of each chicken breast.
- Combine the Parmesan, panko, garlic powder, and smoked paprika, then press the mixture over the mayonnaise-coated chicken so the crumbs adhere.
- Bake at 400°F for 22-25 minutes, until the crust is golden and the internal temperature reaches 165°F.
- Garnish with fresh chives or parsley and serve immediately for the crispiest, crackled topping.