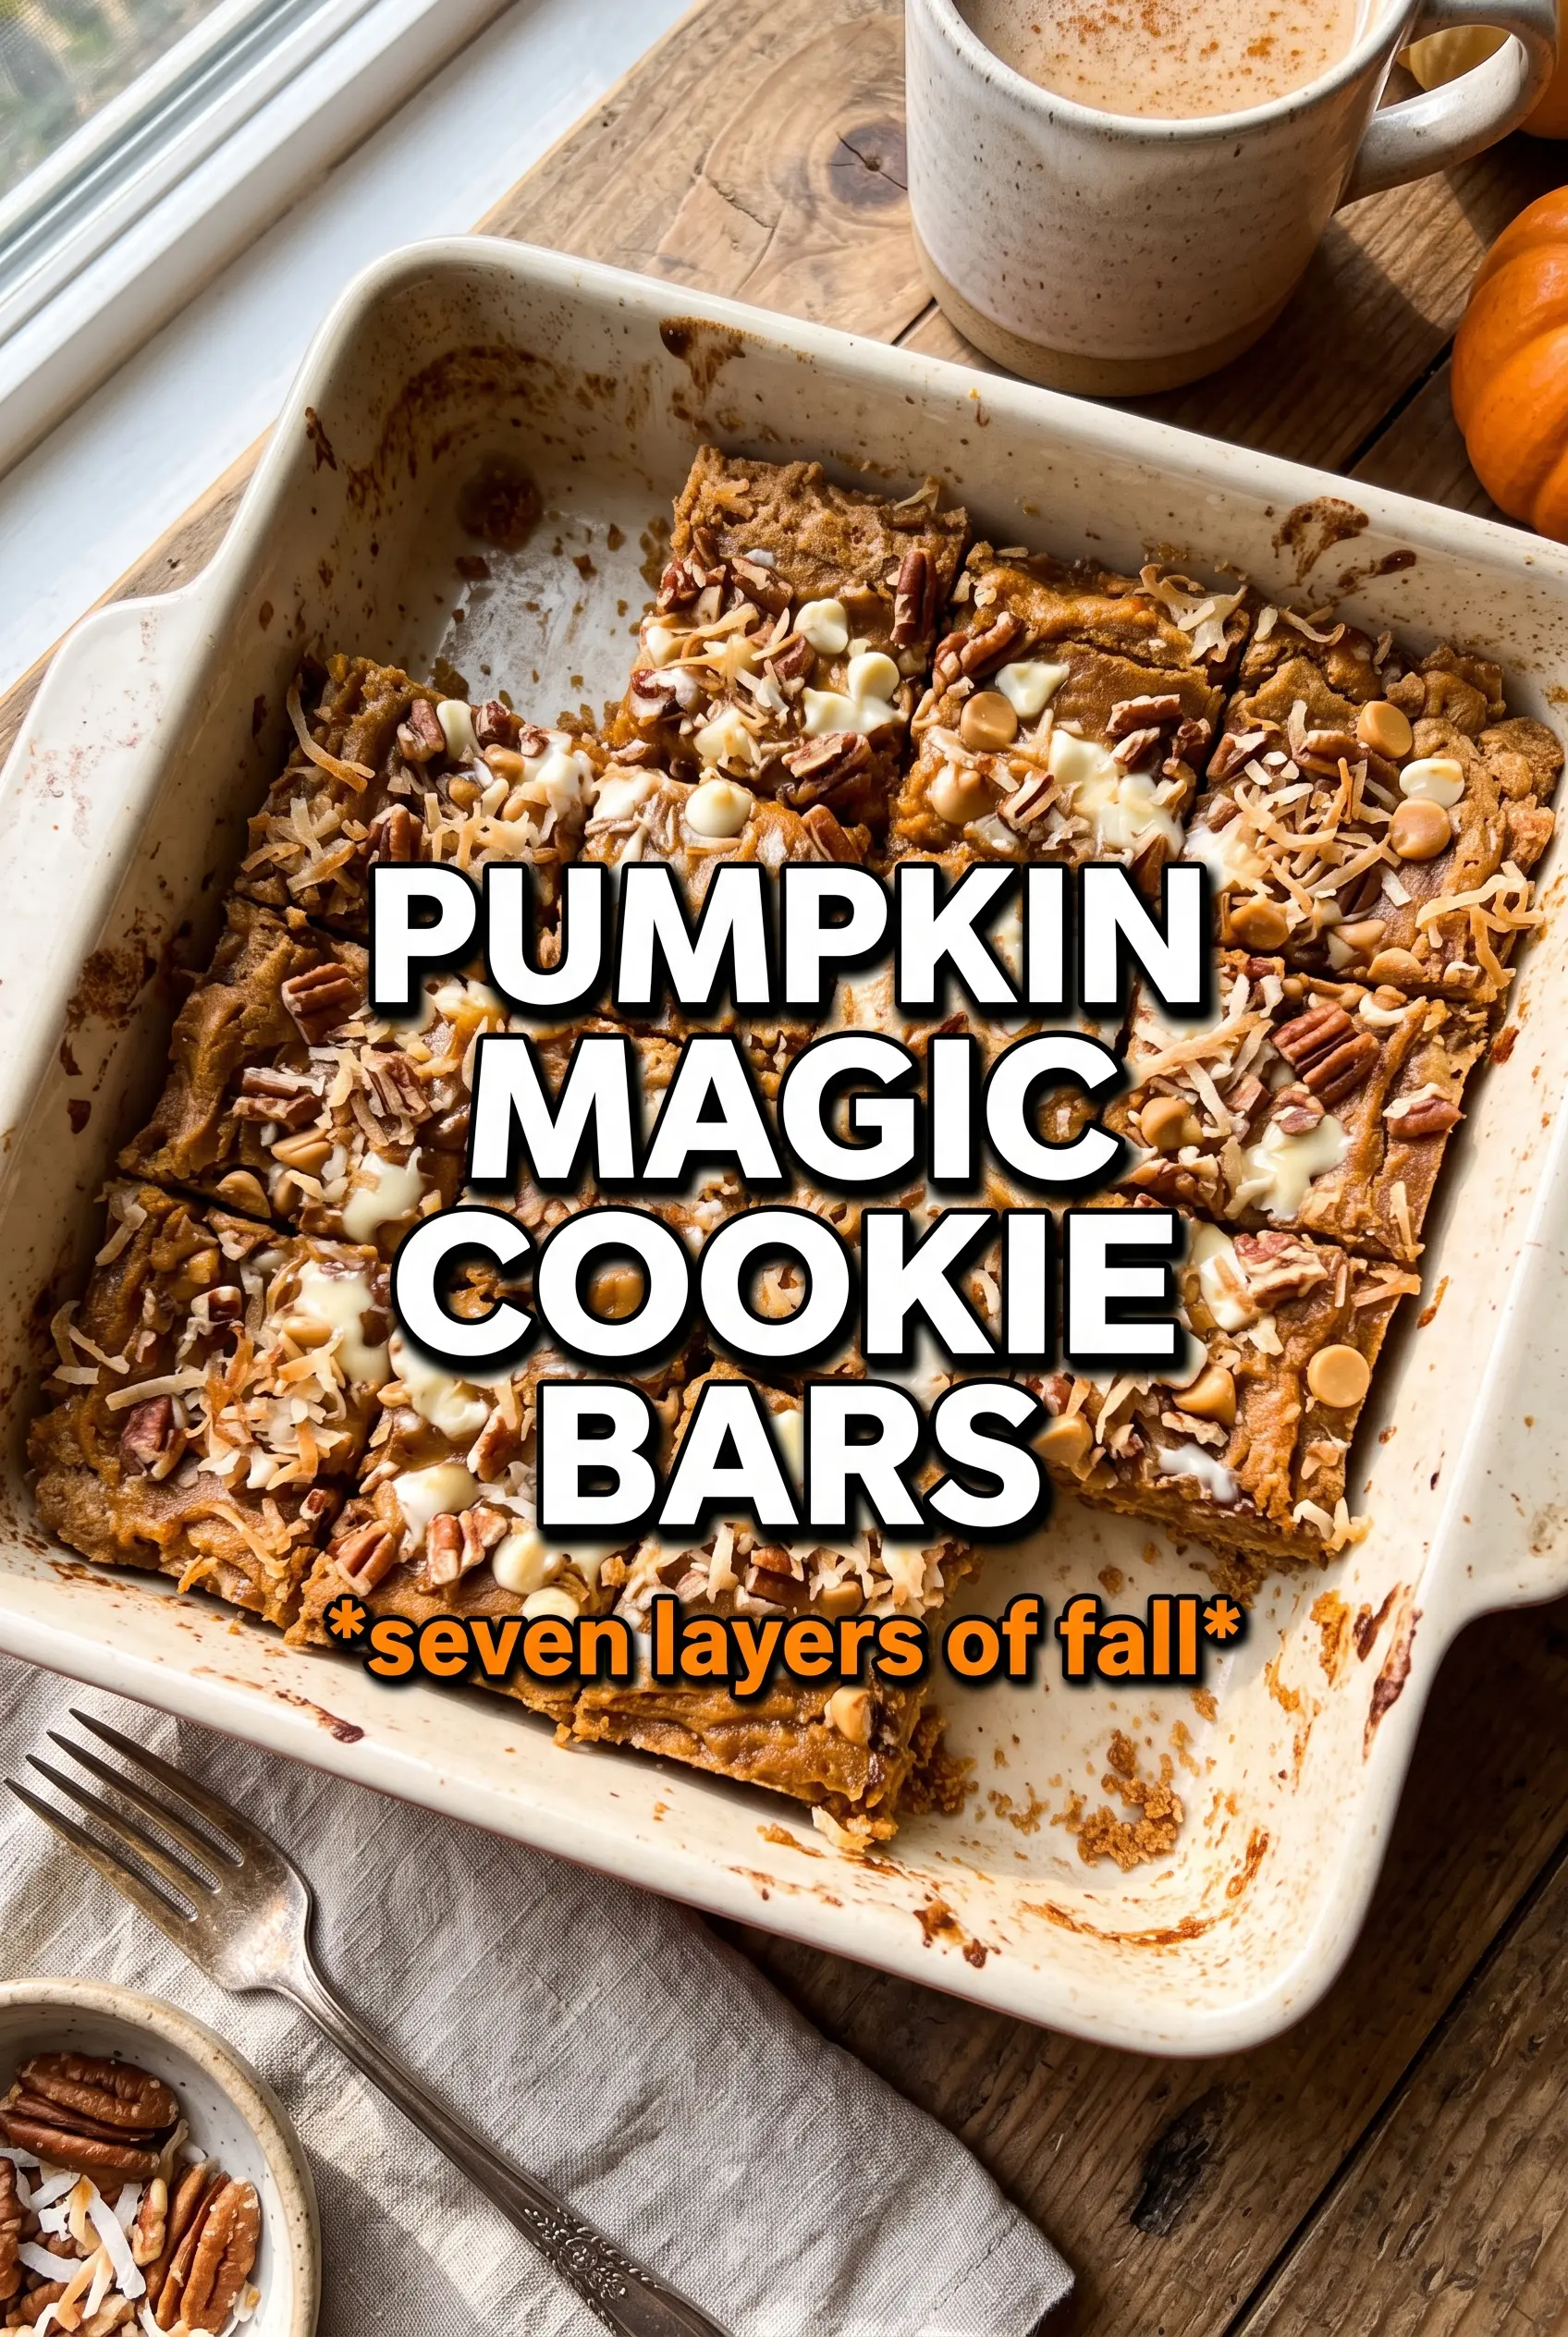
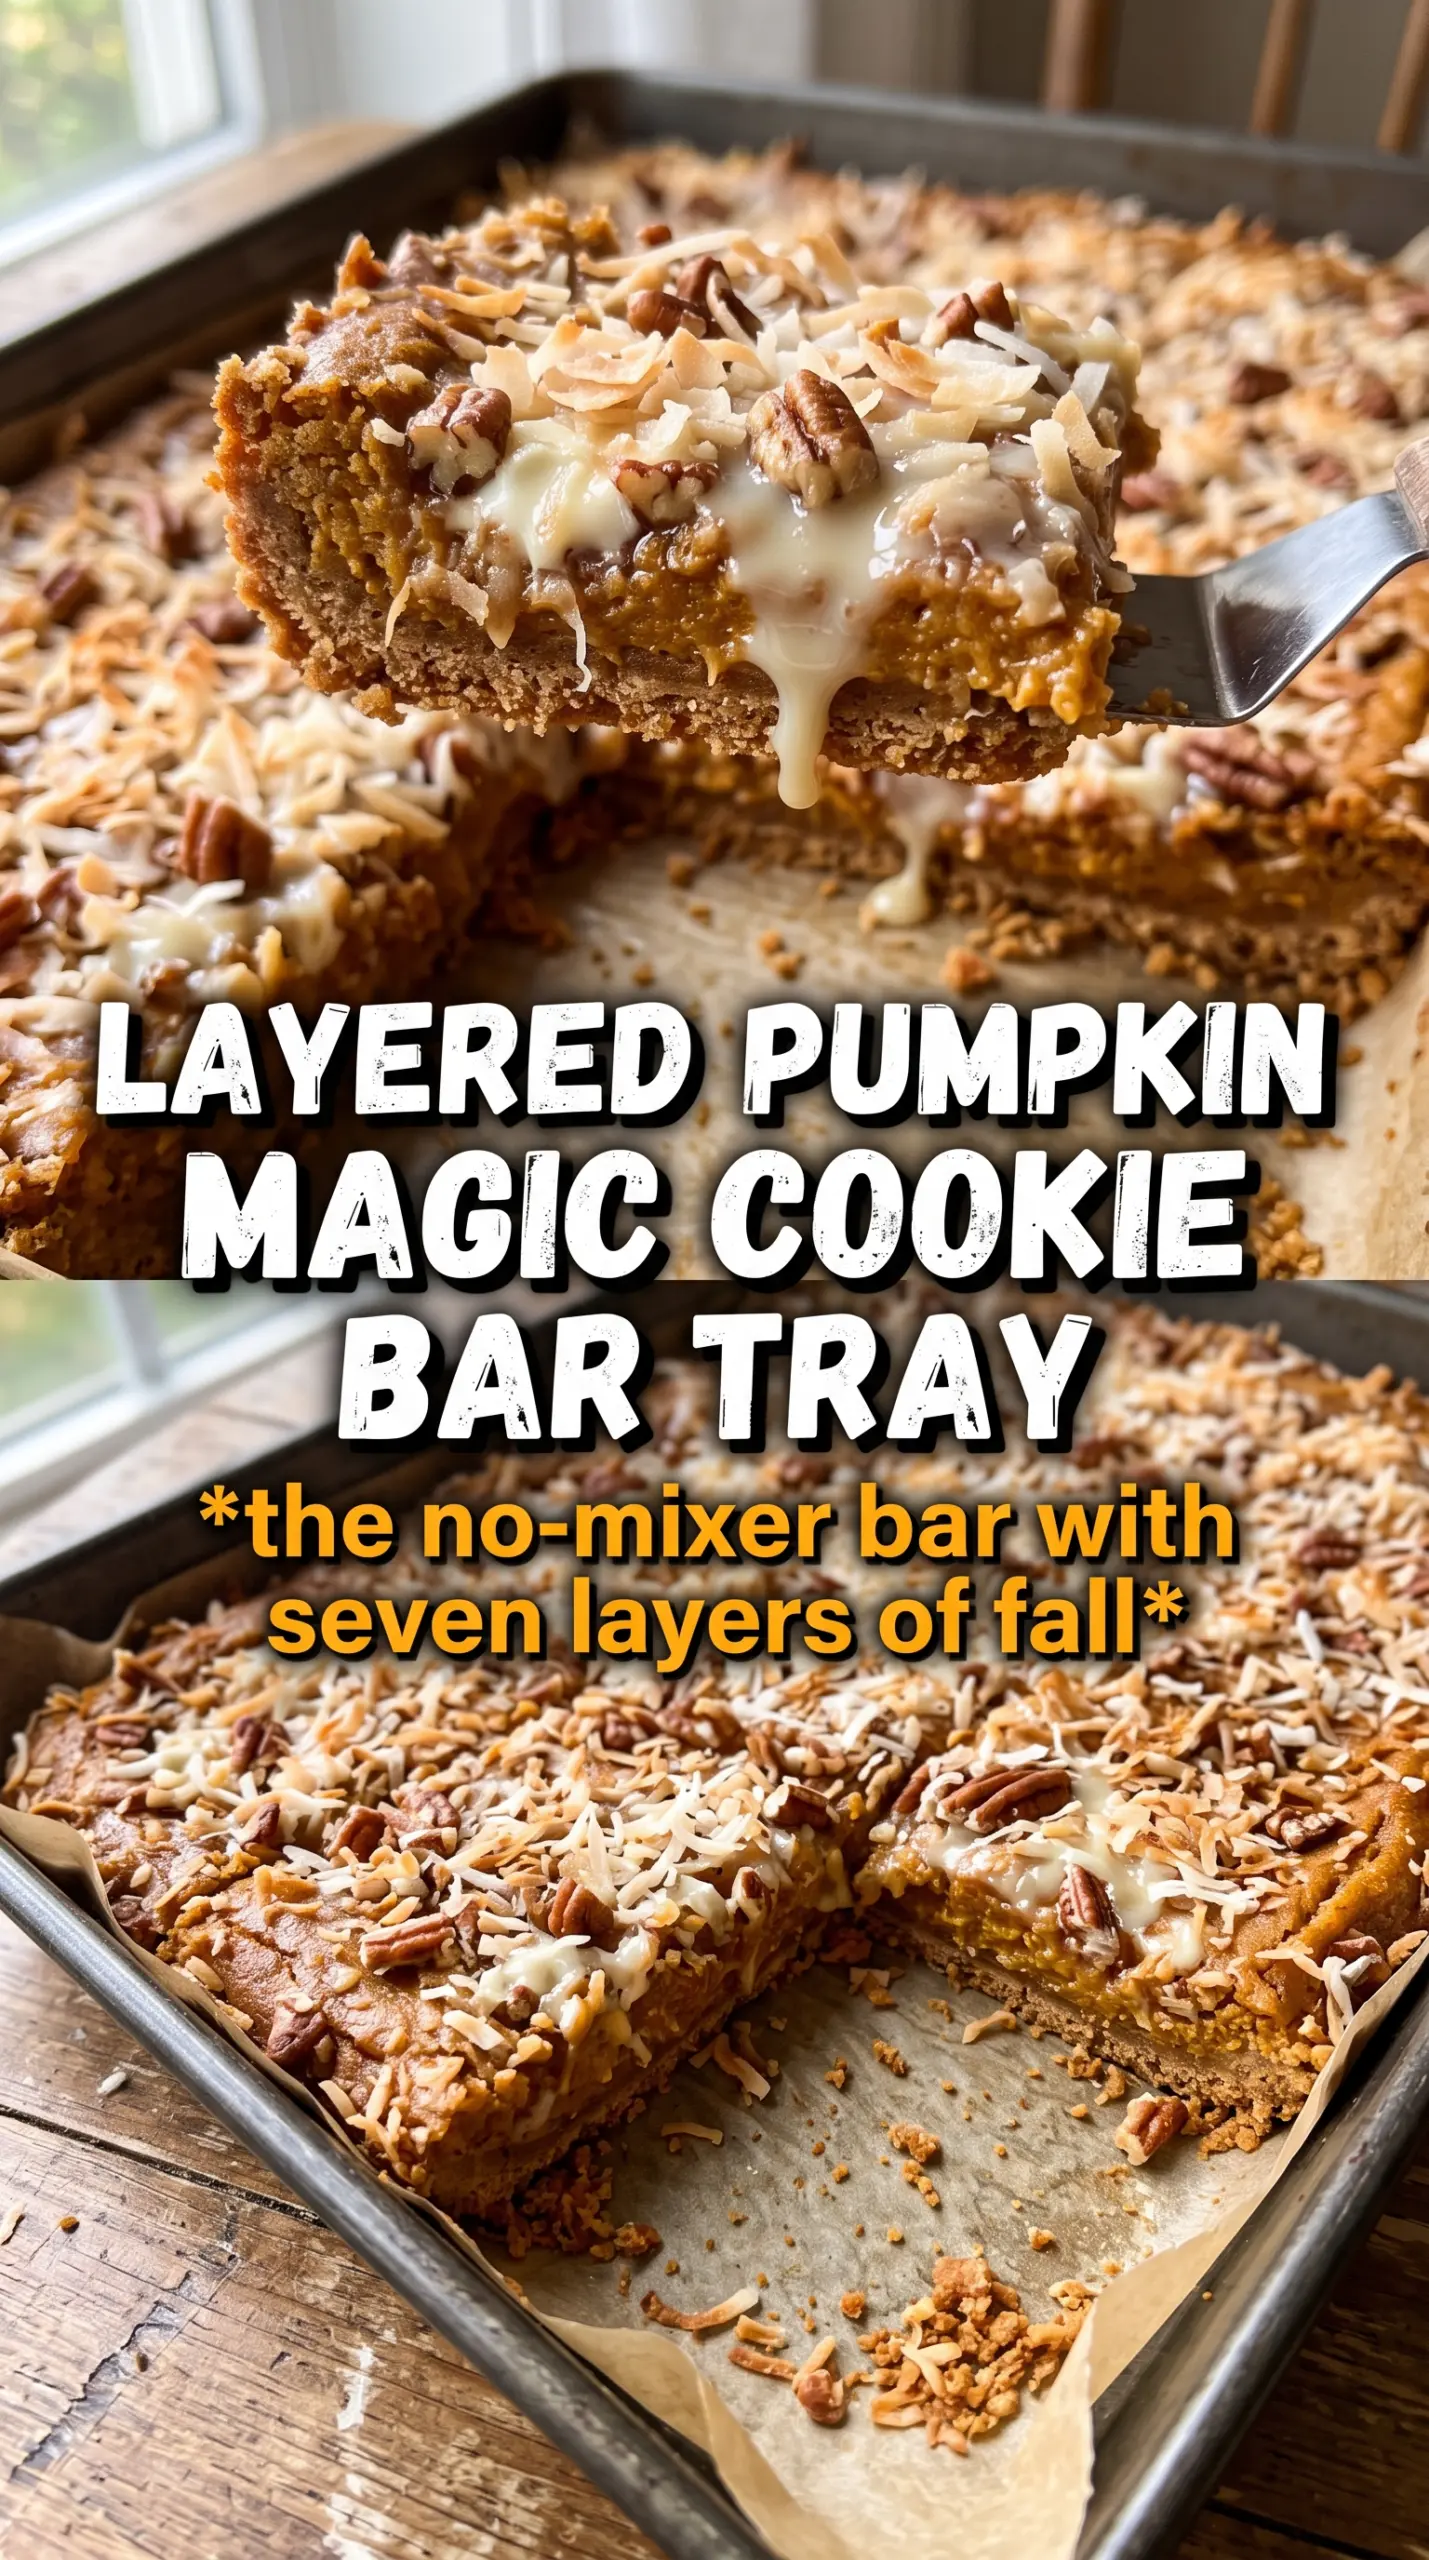
These pumpkin spice magic cookie bars come out with the kind of gooey, layered center that makes people reach for a second square before they’ve finished the first one. You get the warm spice of pumpkin pie filling, the crunch of gingersnap crumbs, toasted coconut, and the buttery snap of white chocolate and toffee bits all in one bite. The edges bake into a chewy caramelized border while the middle stays soft and rich, which is exactly what makes this style of bar so hard to stop eating.
The trick is keeping the layers distinct enough to hold their texture while still letting the sweetened condensed milk do its job. I like using gingersnap crumbs when I want a deeper spice note, but graham cracker crumbs work if that’s what you’ve got. The pumpkin puree gets whisked right into the condensed milk so it spreads evenly without turning the bars watery, and the gentle press on top helps the coconut, chips, and pecans settle into the filling instead of skating around.
Below you’ll find the small details that matter most, including the best way to tell when these bars are set, plus a few swaps that still keep the layers rich and chewy.
The bars set up beautifully and the bottom stayed crisp instead of soggy. I used gingersnaps like suggested, and the pumpkin-cinnamon layer tasted like fall without being too sweet.
Pumpkin spice magic cookie bars layer up fast, with gooey pumpkin filling, chewy coconut, and that crunchy toffee finish.
The Layer That Keeps These Bars From Going Soggy
The biggest mistake with magic cookie bars is treating the pumpkin layer like a pie filling. It isn’t. Pumpkin puree adds flavor and moisture, but it doesn’t set on its own the way custard does, so the condensed milk has to stay in the mix to carry the structure. If you pour in too much pumpkin or skip the long enough bake, the center stays soft in the wrong way and the bottom never gets that clean, chewy bite.
The gingersnap crumb base helps here because it brings more flavor and a drier, sturdier crumble than plain graham crackers. That extra spice also stands up to the white chocolate and butterscotch instead of getting buried. Bake until the edges are deep golden and the center no longer looks glossy in the middle; that’s the point where the filling has set enough to slice after cooling.
- Gingersnap or graham crumbs — Gingersnaps give you a deeper spice note and a firmer crust. Graham crackers work fine, but the bars will taste milder and a little more classic.
- Sweetened condensed milk — This is the glue. There isn’t a true substitute that behaves the same way, because it thickens and bakes into the layers instead of drying them out.
- Pumpkin puree — Use pure pumpkin, not pumpkin pie filling. Pie filling already has sugar and spices added, which throws off the balance and can make the bars overly sweet and loose.
- Pecans and toffee bits — These add the crunch that keeps each bite from feeling one-note. Chop the pecans roughly so they settle into the top in uneven pieces and toast lightly as they bake.
What Each Ingredient Is Actually Doing in This Recipe
- Primary ingredient (the star) — Quality matters most. Choose the best you can find.
- Cooking medium (oil, butter, or broth) — This carries flavors and prevents dryness.
- Seasonings (salt, pepper, spices, herbs) — Layer flavors so nothing overpowers. Build depth gradually.
- Aromatics (garlic, onion, herbs) — Cook with fat to bloom flavors. Become the foundation.
- Supporting ingredients — Complement the main ingredient without overpowering it.
- Sauce or liquid (if applicable) — Brings flavors together. Balance richness with acid.
- Acid (lemon, vinegar, wine, or other) — Brightens and prevents flat-tasting results.
- Final finish (garnish, glaze, or sauce) — Prevents one-dimensional taste and adds visual appeal.
Building the Bars So the Layers Stay Chewy and Distinct
Start With the Buttered Pan and Crumb Base
Pour the melted butter directly into the 9×13 pan, then scatter the crumbs evenly over it. That first layer tastes better when every crumb gets touched by butter, and the pan will help the crust brown from the bottom up. If you dump the crumbs into dry corners, those spots stay dusty and fall apart when you cut the bars.
Whisk the Pumpkin Layer Until It Looks Smooth
Whisk the condensed milk, pumpkin puree, pumpkin pie spice, and cinnamon until the mixture is completely even and glossy. You don’t want streaks of pumpkin or spice sitting in one place, because that creates dense pockets that bake up unevenly. Pour it slowly over the crust and tip the pan if needed so it reaches the edges instead of pooling in the middle.
Layer the Toppings Without Pressing Them Into the Filling
Sprinkle on the coconut, white chocolate chips, butterscotch chips, pecans, and toffee bits in an even layer. A gentle press with your hands helps them adhere, but don’t push hard enough to sink them through the pumpkin layer. If the toppings disappear into the filling, the top loses its texture and the bars cut up less cleanly.
Bake Until the Center Loses Its Shine
Bake for 30 to 35 minutes, watching for golden edges and a center that looks set instead of wet. The middle may still jiggle a little, but it shouldn’t slosh when you move the pan. Pulling them at the right moment matters more than getting a deep brown top, because overbaking dries out the condensed milk and turns the bars crumbly.
How to Adapt the Bars Without Losing the Gooey Center
Gluten-Free Version With the Same Crunch
Use certified gluten-free graham-style crumbs or gluten-free gingersnap crumbs. The texture stays close to the original as long as the crumbs are fine and evenly coated with butter, but very coarse crumbs can make the base fall apart when sliced.
Dairy-Free Swap That Still Sets
Use dairy-free butter and a sweetened condensed coconut milk product made for baking. The flavor will lean a little more coconut-forward, and the bars may bake up slightly softer, but they still hold together well once fully cooled.
Nut-Free Bars With More Chew
Leave out the pecans and add an extra 1/2 cup of coconut or a handful of pumpkin seeds. You lose the buttery crunch from the nuts, but the bars still have enough texture from the coconut and toffee bits to feel layered instead of heavy.
Storage and Reheating
- Refrigerator: Store in an airtight container for up to 5 days. The bars firm up in the fridge, which makes them easy to cut cleanly, but the coconut loses a little softness.
- Freezer: Freeze tightly wrapped squares for up to 2 months. Separate layers with parchment so the topping doesn’t stick together, and thaw in the fridge before serving.
- Reheating: These are best served at room temperature. If you want them slightly soft, warm a square for 8 to 10 seconds in the microwave, just enough to loosen the chocolate without melting the topping into a puddle.