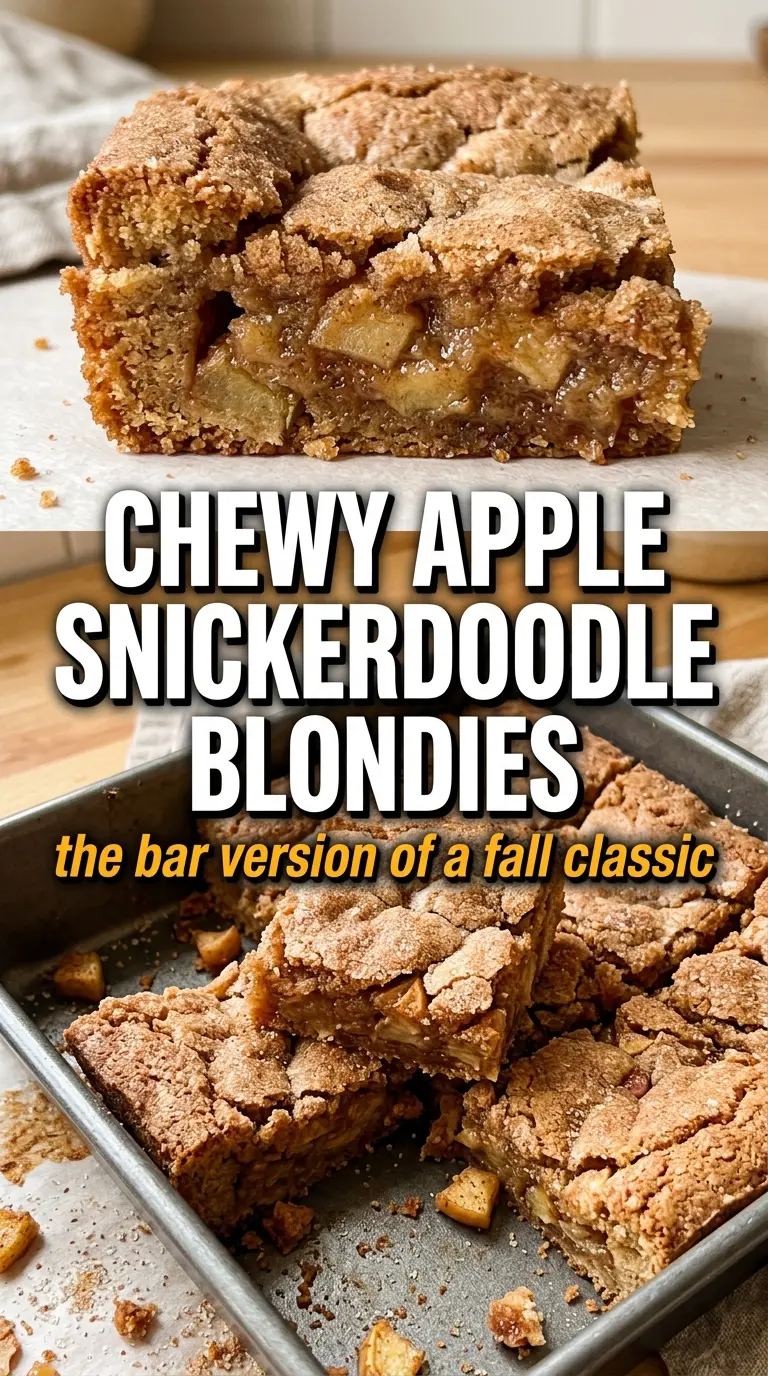
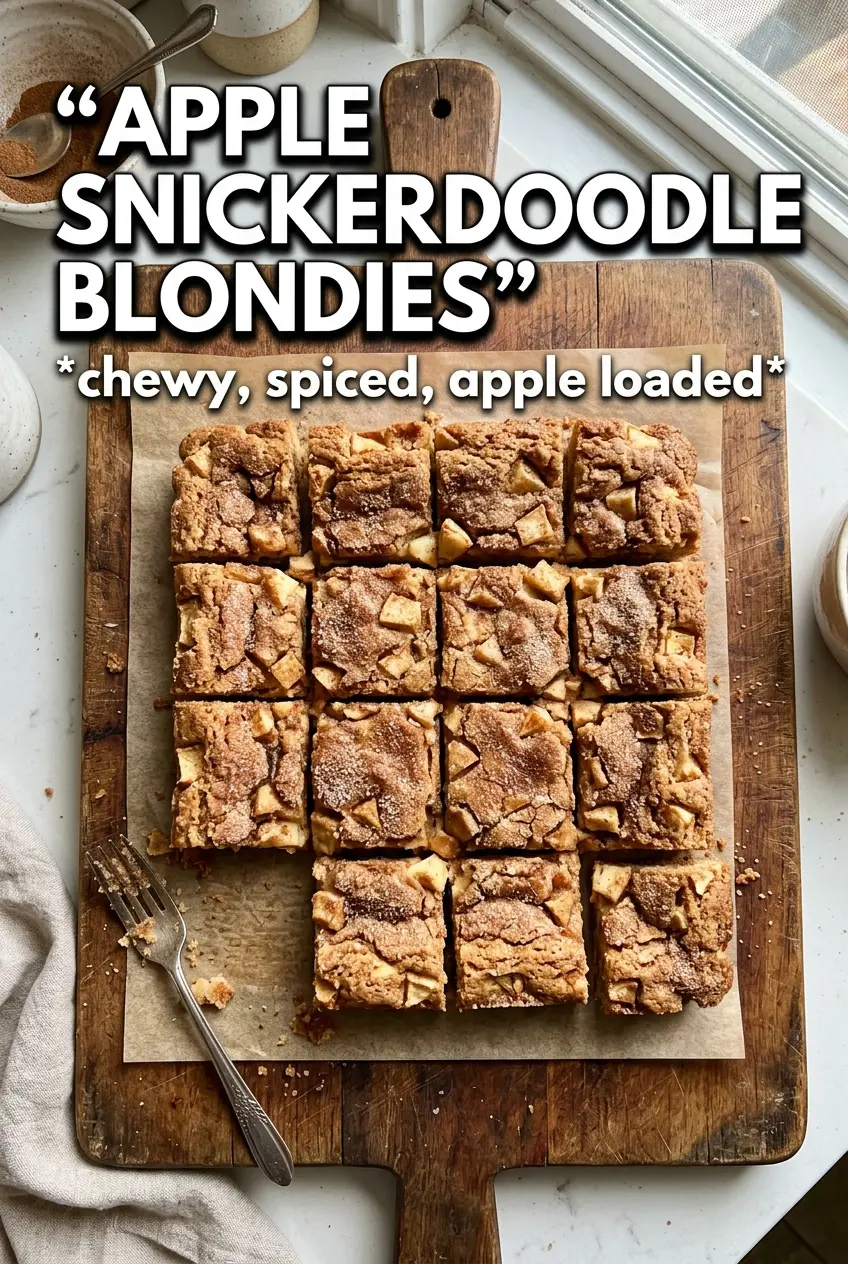
Apple snickerdoodle blondies bake up with the best kind of contrast: a chewy, buttery center, crisp cinnamon-sugar top, and little bites of tender apple tucked through every square. The browned butter gives them a deeper, almost toffee-like base, while the cream of tartar keeps the crumb tasting unmistakably snickerdoodle instead of just another blondie. Add a caramel drizzle and they land somewhere between bakery bar and fall dessert you meant to bring to a party but kept cutting “just one more” square from at home.
What makes this version work is the balance. The apples are diced fine enough to soften into the bars without turning the batter wet, and the browned butter has time to cool before it meets the eggs so the batter stays smooth instead of greasy. The cinnamon sugar on top is more than decoration; it bakes into a crackly crust that gives each bite a little snap before the chewy middle takes over.
Below, I’ve added the one step that keeps these bars from turning dense, plus a few swaps and storage notes that actually matter once you start baking them.
The browned butter made these taste almost caramelized, and the apples stayed tender without making the bars soggy. I baked them for 28 minutes and the cinnamon-sugar top came out crackly with chewy centers just like the picture.
Save these apple snickerdoodle blondies for the caramel-drizzled bars with chewy centers and that crackly cinnamon-sugar top.
The Reason These Blondies Stay Chewy Instead of Cakey
The biggest mistake with blondies is treating them like cake batter. Once the flour goes in, the batter only needs a few folds. Overmixing wakes up the gluten and turns a dense bar into something bready, which is the opposite of what you want here. The apples also matter more than most people think: if they’re cut too large, they leak juice into the pan before the center sets, and you end up with wet pockets instead of tender bites.
Browning the butter changes the whole bar. It adds a toasted, nutty note that plays beautifully with cinnamon and apples, but it also means the butter needs a short cool-down before the eggs go in. Hot butter can scramble the eggs or make the batter look oily and split. Cool it just enough that the bowl feels warm instead of hot, then keep the rest of the mixing quick and calm.
- Browned butter — This is the flavor backbone. It gives the bars depth that plain melted butter just can’t match.
- Cream of tartar — It’s what nudges these toward snickerdoodle territory and helps the crumb stay a little softer and more tender.
- Finely diced apples — Small pieces melt into the bars without watering them down. Larger chunks need longer baking and can leave the center underdone around the fruit.
- Cinnamon sugar top — This bakes into a thin crust that contrasts with the chewy middle. Don’t bury it under the batter; let it sit on top where the heat can caramelize it.
What Each Ingredient Is Actually Doing Here
- All-purpose flour — The structure. Use the spoon-and-level method if you can, because packed flour makes these dry fast.
- Brown sugar — It keeps the bars moist and gives that deep molasses note that pairs with the browned butter.
- Eggs — They bind the batter and help the center set. Room temperature eggs mix in more smoothly, but cold eggs will still work if the butter has cooled enough.
- Vanilla — It rounds out the cinnamon and apple. The bars taste flatter without it.
- Apples — A firm baking apple or a crisp sweet-tart apple works best. Avoid anything mealy, because soft apples disappear into the batter instead of giving you those little juicy bites.
- Caramel sauce — This is the finish that makes the bars feel dessert-worthy. A thick store-bought sauce works fine, but warm it slightly so it drizzles instead of clumping.
Mixing the Batter Without Losing the Chew
Brown the butter first
Set the butter over medium heat and cook it until the milk solids turn golden and smell nutty, not burnt. You’ll see foamy bubbles at first, then little amber flecks at the bottom. Pull it off the heat as soon as it turns fragrant, because the line between browned and scorched is short. Let it cool for about 10 minutes so it’s warm, not hot.
Build the base smoothly
Whisk the brown sugar into the butter until it looks glossy, then add the eggs and vanilla. The mixture should look thick and smooth, not grainy. If it looks separated, the butter was still too hot or the eggs were too cold; keep whisking and it usually comes together once everything settles to the same temperature.
Fold, don’t beat
Add the dry ingredients and stir just until you stop seeing streaks of flour. Then fold in the diced apples with a spatula. The batter will be thick, and that’s what you want. Spread it into the pan with a light hand, sprinkle the cinnamon sugar evenly over the top, and bake until the edges are set and the center has just a few moist crumbs on a toothpick.
Finish after the cool-down
Let the bars cool completely before slicing. If you cut them while they’re warm, the middle will drag and the squares won’t hold their shape. Drizzle with caramel after they’ve cooled so the topping stays distinct and the bars keep that clean, chewy edge.
Three Ways to Work Around the Ingredients You Have
Gluten-Free Version
Swap in a 1:1 gluten-free flour blend that includes xanthan gum. The bars will be a little more delicate and may need the full bake time, but the chewy center and cinnamon top still hold up well if you don’t overmix the batter.
Dairy-Free Bars
Use a plant-based butter that browns if you want to keep the nutty note, though it won’t be as deep as real browned butter. If your substitute doesn’t brown well, melt it and lean a little harder on the cinnamon and caramel for flavor.
Extra Apple, Less Sweet
If you want more fruit and a slightly less candy-like bar, add up to 2 cups of finely diced apples and reduce the caramel drizzle. The bars will still bake up chewy, but the texture gets a little juicier and the apple comes forward more.
Storage and Reheating
- Refrigerator: Store in an airtight container for up to 4 days. The bars firm up a bit when chilled, which actually makes them easy to pack or stack.
- Freezer: These freeze well. Wrap individual bars tightly and freeze for up to 2 months, then thaw at room temperature.
- Reheating: Warm a bar for 10 to 15 seconds in the microwave if you want the center soft again. Don’t overheat it or the apples turn mushy and the blondie dries out fast.
Answers to the Questions Worth Asking
Apple Snickerdoodle Blondies
Ingredients
Equipment
Method
- Brown butter until golden and nutty, then cool for 10 minutes so it won’t scramble the eggs.
- Preheat the oven to 350F and grease a 9x13 pan.
- Whisk the all-purpose flour, baking powder, cinnamon, cream of tartar, nutmeg, and salt until evenly combined.
- Whisk the browned butter and packed brown sugar until smooth, then whisk in the eggs and vanilla extract until glossy.
- Fold in the flour mixture just until no dry streaks remain.
- Fold in the finely diced apples until they’re evenly distributed throughout the thick batter.
- Spread the batter into the prepared pan, smoothing the top into an even layer.
- Mix the cinnamon sugar and sprinkle generously over the top so you see a speckled coating.
- Bake for 25-30 minutes, until a toothpick comes out with just a few crumbs clinging to it.
- Drizzle with caramel while the bars are still intact, then cool completely before slicing so the squares hold their shape.