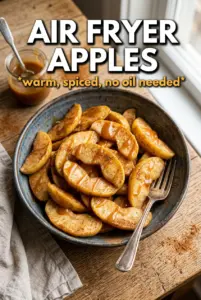
Warm air fryer apples turn tender in the middle, with caramelized edges and a cinnamon-sugar coating that clings to every wedge. They taste like baked apple filling, only faster, and the air fryer gives you those browned, slightly crisp bits without turning the fruit into mush.
The trick is keeping the slices in a single layer so they can caramelize instead of steam. A little melted butter helps the sugar melt into a glossy coating, while brown sugar brings deeper caramel notes and granulated sugar helps the edges crisp up. Cinnamon and nutmeg do the heavy lifting on aroma, and just a touch of vanilla rounds everything out without making the apples taste like dessert syrup.
Below, I’ve included the small details that matter most: which apples hold their shape best, how to keep the coating from sliding off, and the best way to serve them if you want that hot-and-cold contrast with ice cream.
The apples came out tender with those caramelized edges I was hoping for, and the cinnamon sugar coating stayed on instead of pooling in the basket. We ate the whole batch straight from the air fryer.
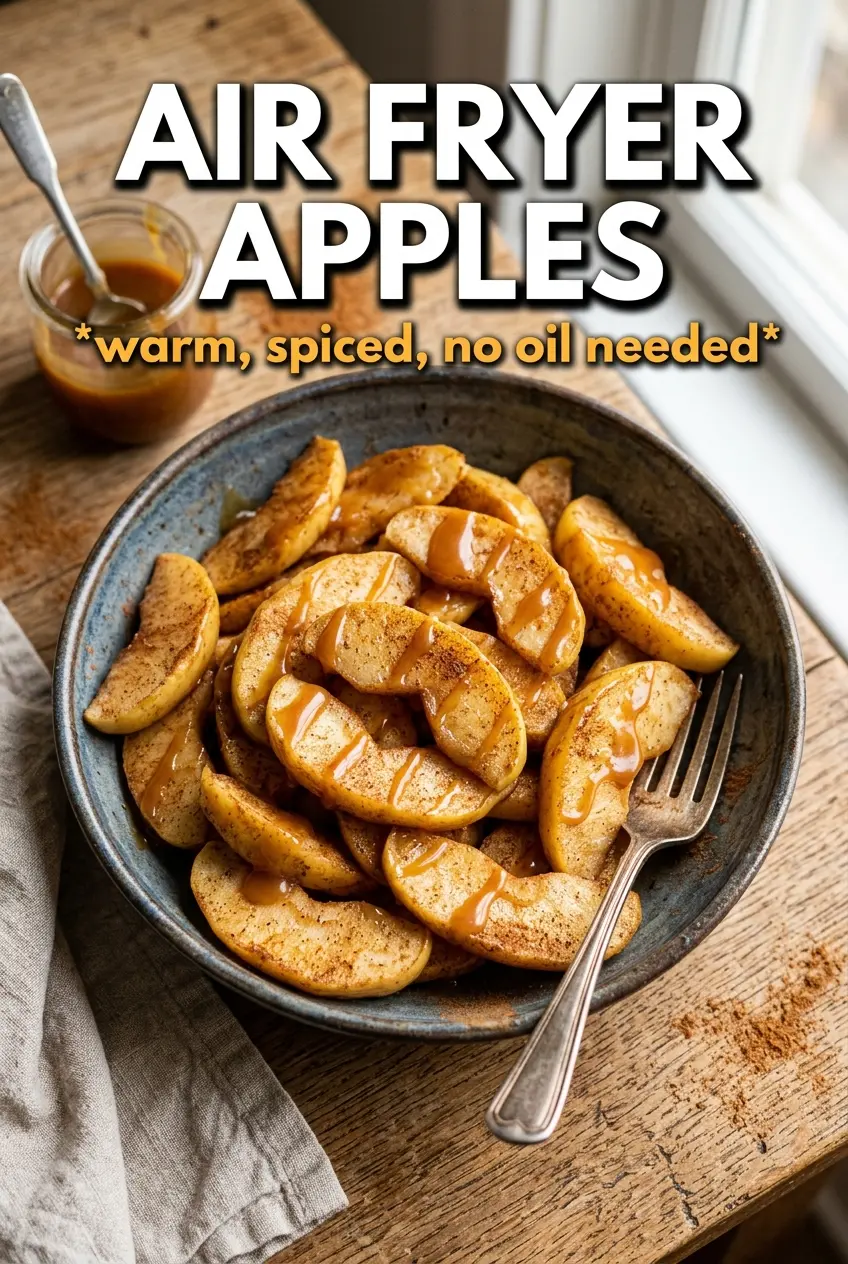
Air Fryer Apples with caramelized edges and warm cinnamon sugar are perfect for spooning over ice cream on a night when you want dessert fast.
The Secret to Caramelized Apples Without a Soggy Basket
The biggest mistake with air fryer apples is crowding the basket. When the wedges sit on top of one another, the moisture has nowhere to go, and you end up with soft apples sitting in their own steam instead of browned fruit with crisped edges. A single layer gives the sugar and butter room to cook onto the surface of the apples, which is what creates that sticky, almost candied finish.
Peeling the apples matters here more than it would in a pie or crisp. The peel can stay chewy in the air fryer, especially around the edges where it dries out before the fruit turns tender. Once peeled, the slices cook more evenly and pick up the cinnamon sugar all over instead of leaving you with patchy coating.
If your apples seem dry or the sugar isn’t sticking, the wedges were probably patted too dry after peeling or the butter cooled before you tossed everything together. Work quickly, and don’t let the melted butter sit long enough to start firming up.
What Each Ingredient Is Doing in the Basket
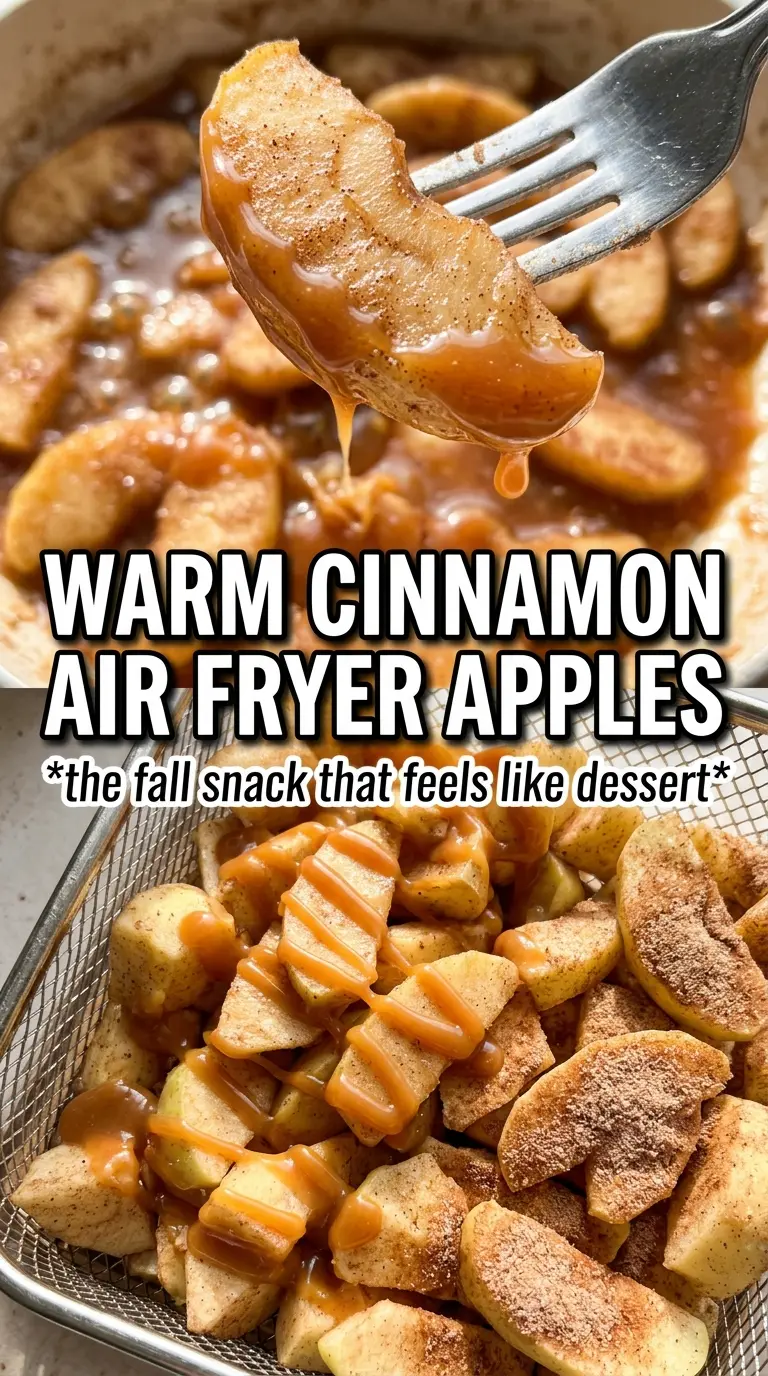
- Apples — Use a firm, baking-friendly apple if you want wedges that keep their shape. Granny Smith gives you a sharper contrast against the sugar, while Honeycrisp or Pink Lady lean sweeter and stay pleasantly firm. Softer apples cook faster but collapse more easily, so they’re better for a saucy spoon-over-ice-cream texture than for tidy wedges.
- Butter — Melted butter helps the sugar melt into a coating and gives the apples that glossy, caramelized look. There isn’t a perfect substitute if you want the same richness, but coconut oil works in a dairy-free version; it brings a slight coconut note and won’t taste quite as round.
- Brown sugar and granulated sugar — Brown sugar gives you that deeper caramel flavor, while granulated sugar helps the edges dry out just enough to pick up a little crispness. You need both for the best balance. If you only use brown sugar, the coating can turn a little wet and syrupy.
- Cinnamon and nutmeg — Cinnamon is the main spice, but nutmeg keeps the flavor from tasting flat. Freshly grated nutmeg is stronger, so use a light hand if yours is very fresh.
- Vanilla extract — Vanilla doesn’t make these taste like custard; it softens the spice and makes the apples taste more dessert-like. Add it to the butter mixture before tossing so it disperses evenly.
How to Get Soft Centers and Browning at the Same Time
Coating the Apple Wedges
Toss the apples while the butter is still warm so the sugar dissolves slightly and clings to the fruit. You want every wedge lightly coated, not drowned, because too much liquid collects in the basket and keeps the apples from browning. If there’s a pool of melted butter in the bottom of the bowl, the apples were overcoated; keep tossing until the mixture looks glossy and evenly distributed.
Preheating the Air Fryer
Preheat to 375F before the apples go in. A hot basket starts the browning immediately, which is what keeps the fruit from releasing too much juice before the surface sets. If you skip the preheat, the apples will soften before they caramelize and you lose the crisp edges that make this recipe worth making.
Cooking in a Single Layer
Arrange the wedges with a little space between them and cook for 10 to 12 minutes, shaking halfway through. The apples should look softened, with browned edges and a syrupy coating that has thickened slightly on the surface. If they’re still pale after 12 minutes, leave them in another minute or two, but stop before they collapse into apple sauce.
Serving While They’re Hot
Serve the apples right away over vanilla ice cream with caramel sauce. That hot-and-cold contrast is part of the payoff, and the apples will keep softening as they sit. If you want them for later, rewarm them briefly before serving so the sugar loosens back up and the edges taste fresh again.
Use Pears Instead of Apples
Firm pears work well if you want a softer, more floral dessert. They cook a little faster than apples and can turn mushy if you leave them too long, so start checking at 8 minutes. Bartlett pears are sweeter and more delicate; Bosc hold their shape better.
Make It Dairy-Free
Swap the butter for melted coconut oil or a plant-based butter. Coconut oil gives the best browning, but it adds a faint coconut note. Plant-based butter keeps the flavor closer to the original, though it can brown a little less deeply.
Serve It Over Oatmeal or Yogurt
Skip the ice cream and spoon the warm apples over oatmeal, Greek yogurt, or pancakes. The apples add their own syrup, so you don’t need much extra sweetener. This turns the recipe into breakfast or brunch without changing the cooking method.
Storage and Reheating
- Refrigerator: Store in an airtight container for up to 4 days. The apples soften a little more as they sit, but the flavor stays good.
- Freezer: I don’t recommend freezing these. The texture turns watery after thawing and the apples lose the tender-caramelized contrast.
- Reheating: Warm in the air fryer at 320F for 2 to 3 minutes or in a skillet over low heat. Don’t microwave them for too long or the coating breaks down and the slices get limp.
Questions I Get Asked About This Recipe
Air Fryer Apples
Ingredients
Equipment
Method
- Toss the apple wedges with melted unsalted butter, brown sugar, granulated sugar, cinnamon, nutmeg, and vanilla extract until evenly coated and glossy.
- Preheat the air fryer to 375°F.
- Arrange the coated apple slices in a single layer in the basket.
- Air-fry at 375°F for 10-12 minutes, shaking halfway, until caramelized, browned at the edges, and tender when pierced.
- Work in batches if needed so the apples stay in a single layer and caramelize instead of steaming.
- Serve the air fryer apples warm over vanilla ice cream with a drizzle of caramel sauce.