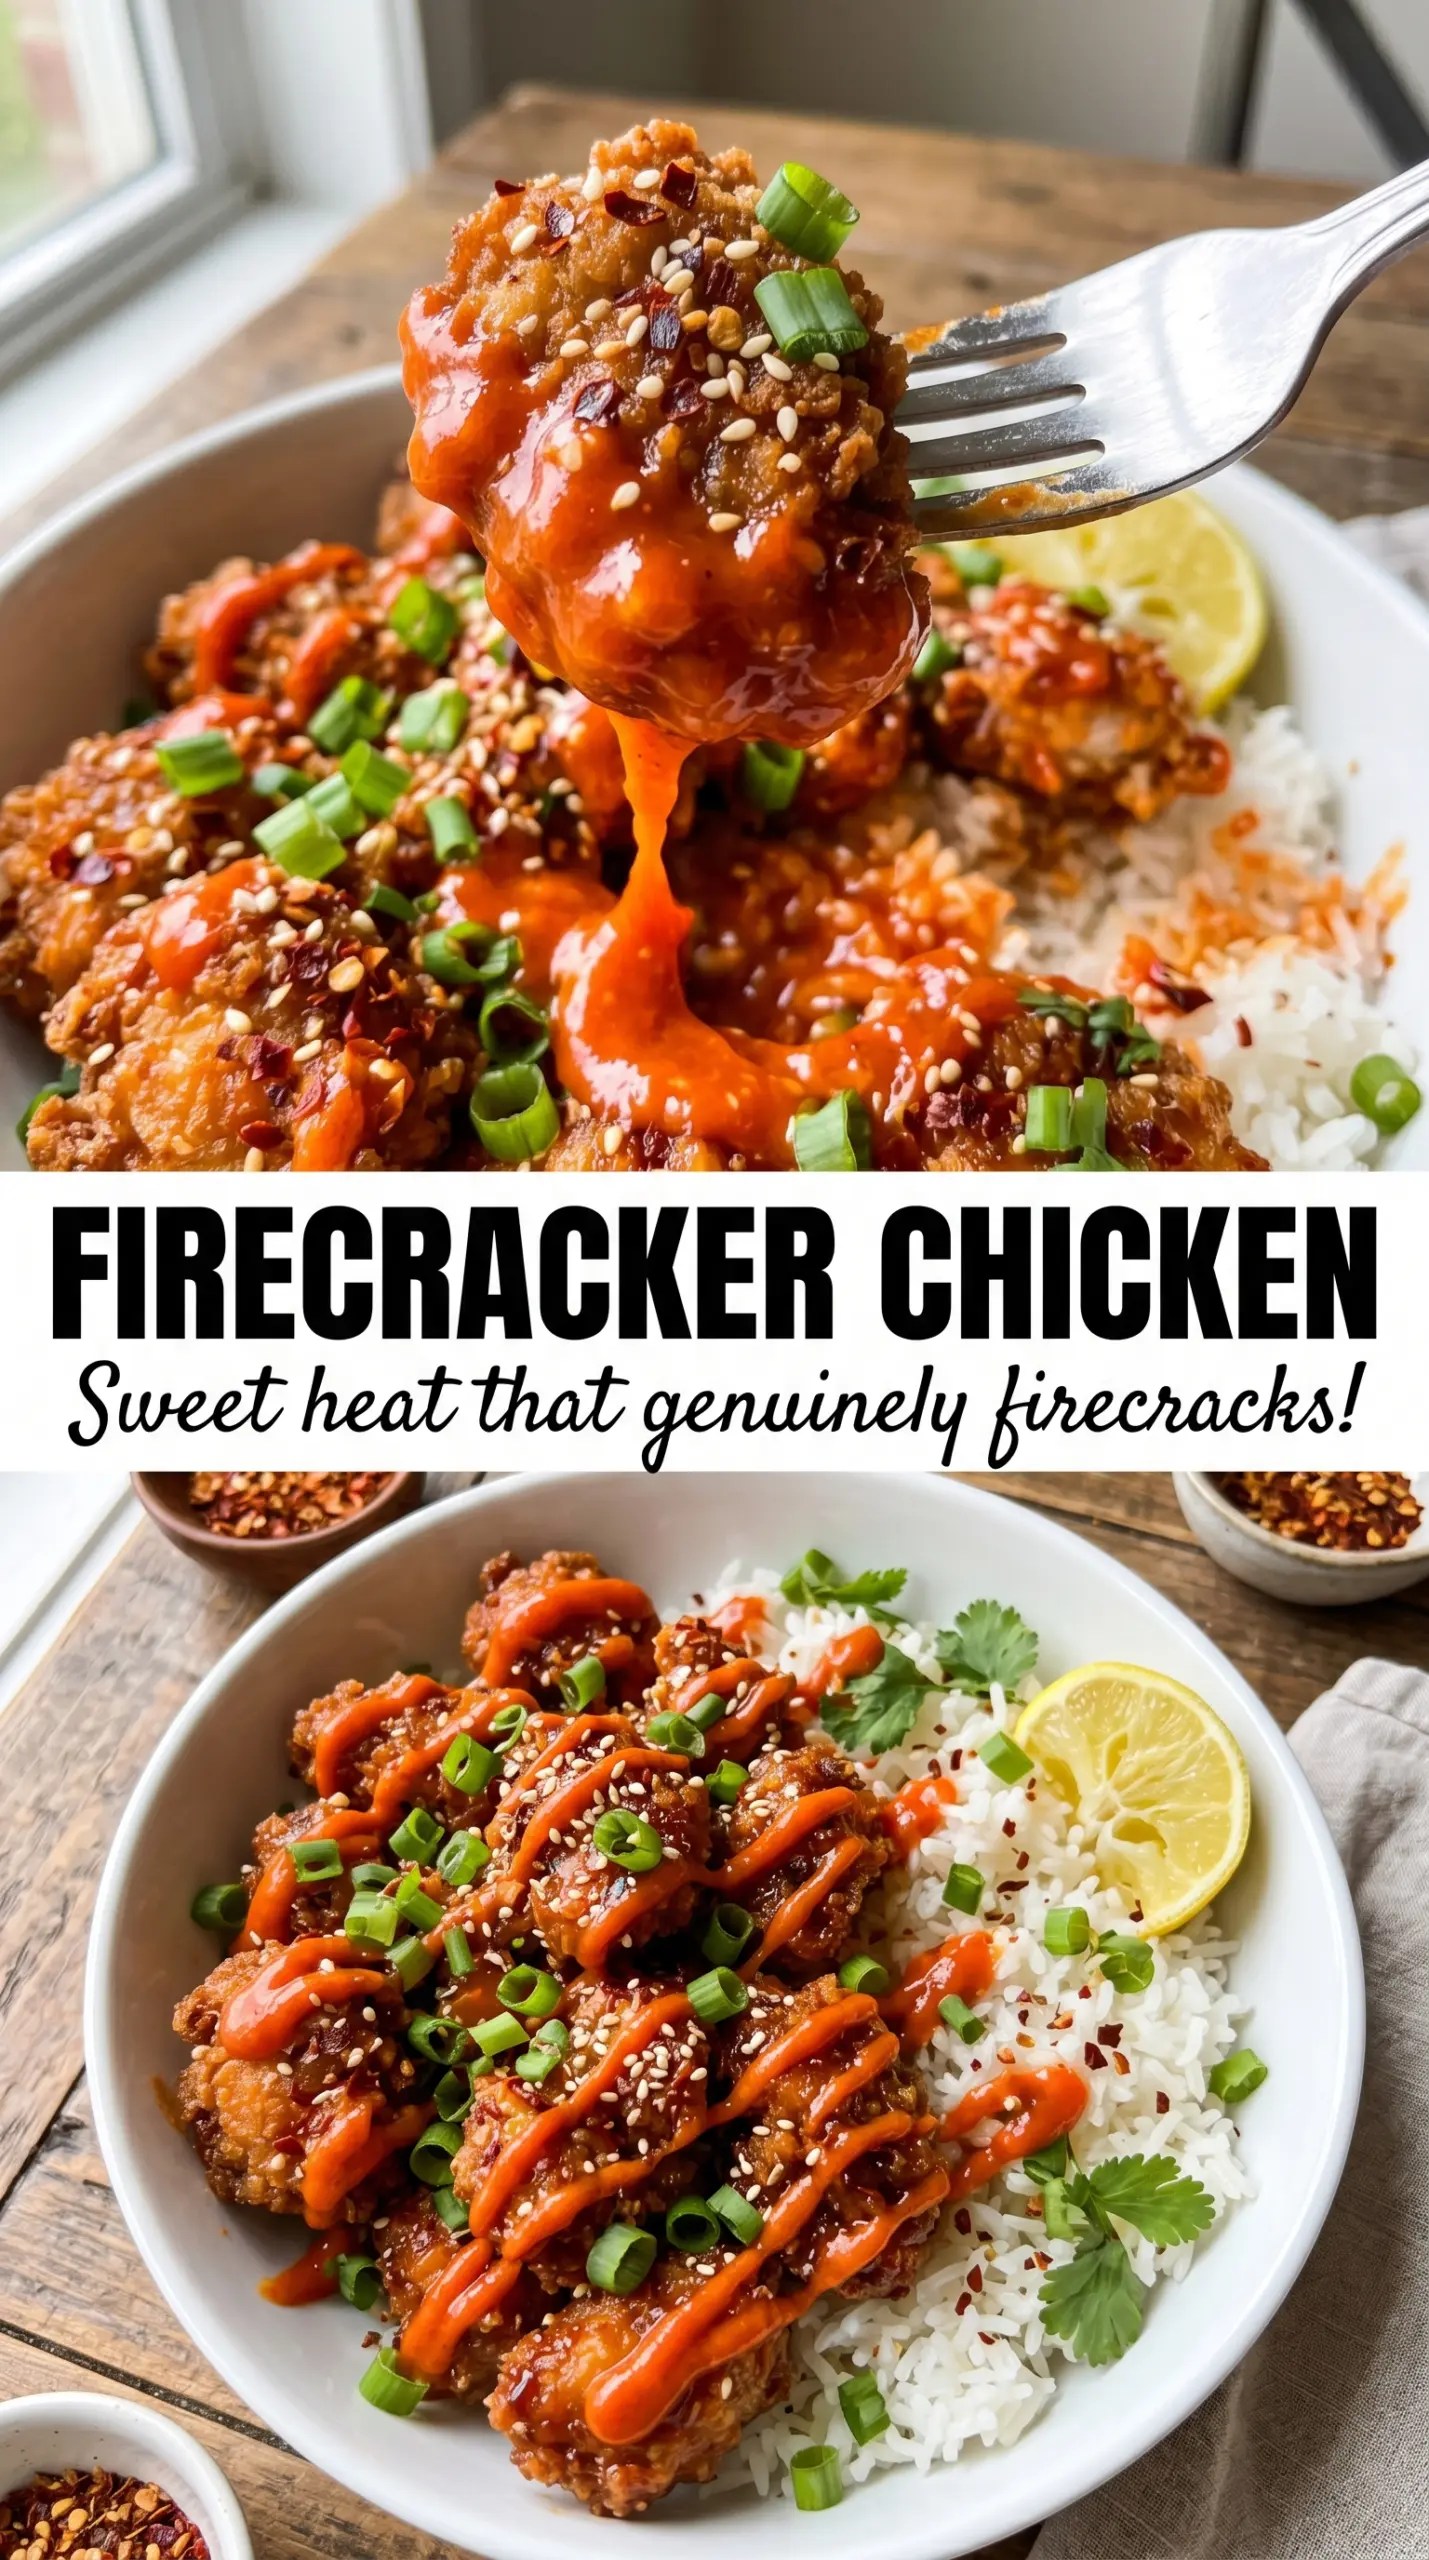
Firecracker chicken lands in that sweet spot between takeout-crisp and sticky-saucy, with a coating that stays craggy under a glossy red-orange glaze. The chicken bites get fried first, so the sauce clings instead of soaking in, and every piece keeps its crunch long enough to reach the table. That balance is what makes this version worth keeping in rotation.
The sauce matters here. Brown sugar gives it the lacquered finish, hot sauce brings the sharp heat, and butter smooths the edges so it tastes rounded instead of harsh. A little vinegar keeps the sweetness from taking over, and the final minute back in the pan helps the glaze tighten onto the chicken instead of sliding off. That extra step is the difference between saucy and sticky in the right way.
Below, you’ll find the exact timing that keeps the chicken crisp, plus the one heat adjustment that lets you control how aggressive the sauce turns out. If you’ve had firecracker chicken turn soft or watery before, this version fixes the two places that usually go wrong.
The sauce thickened up fast and coated every piece without making the chicken soggy. I used the full amount of red pepper flakes and it had the perfect sweet heat with rice.
Like this crispy firecracker chicken? Save it to Pinterest for the nights when you want sticky sweet heat, fast frying, and a sauce that clings to every bite.
The Crispy Coating Has to Happen Before the Sauce Gets a Chance
The biggest mistake with firecracker chicken is trying to build the glaze and the crunch at the same time. Once the sauce hits the pan, the clock starts ticking. If the chicken isn’t already deeply golden, it will go soft before the coating has a chance to set.
Cornstarch and flour work together here for a reason. Cornstarch helps create that shattery edge, while flour gives the coating enough structure to brown in the oil without flaking off in the first toss. The chicken also needs to be dry before dredging; excess moisture turns the coating gummy and keeps it from crisping evenly.
- Chicken breasts — Bite-sized pieces cook fast and stay tender if you don’t crowd the pan. Thighs work too, but they’ll cook a little longer and give you a richer, juicier bite.
- Cornstarch — This is what gives the coating its crisp snap. Don’t skip it unless you want a softer, more floury crust.
- Flour — Adds enough body to help the breading cling through frying and saucing. All-purpose flour is the right choice here; a gluten-free blend can work, but the crust won’t brown quite the same way.
- Hot sauce, brown sugar, butter, vinegar, and soy sauce — This is the balance point of the dish. The hot sauce brings heat, sugar builds the sticky glaze, butter smooths it, vinegar sharpens it, and soy sauce adds depth so the sauce doesn’t taste one-note.
- Red pepper flakes — These give the sauce its visible firecracker look and a slow-building heat. Start with less if you’re serving kids or anyone sensitive to spice, then add more at the end if the sauce needs more punch.
What Each Ingredient Is Actually Doing in This Chicken
- Chicken breasts (the protein) — Let them sit at room temperature 15 minutes before cooking. This helps them cook evenly without drying.
- Oil or butter (the cooking medium) — This prevents the chicken from drying out and carries herb and spice flavors throughout.
- Garlic (the aromatic foundation) — Fresh minced garlic mellows and becomes sweet when cooked. Don’t brown it or it turns bitter.
- Cream or sauce (the moisture keeper) — This prevents the chicken from drying out during cooking. Balance richness with acid.
- Lemon, wine, or acid (the brightness) — This prevents heavy cream sauces from tasting flat. Add at the end to preserve freshness.
- Fresh herbs (basil, thyme, parsley) — Add some during cooking and some after so you get both cooked and fresh flavors.
- Cheese or toppings (optional richness) — These add creaminess and depth. Don’t overdo it or the dish becomes heavy.
- Proper oven temperature (375-400°F) or pan heat — This cooks chicken through without drying the edges. Use a thermometer for 165°F.
The Two Minutes That Turn Sauce into Glaze
Coating the Chicken Evenly
Toss the chicken until every surface looks dusty and fully covered, with no wet patches clinging to the meat. If you see clumps of flour, shake them off before frying because those heavy spots turn pasty instead of crisp. The coating should look dry enough to hold its shape but not so thick that it forms a doughy shell.
Frying to a Deep Golden Finish
Heat the oil to 375°F and keep the batch size small. If the oil drops too far, the coating absorbs fat and comes out greasy instead of crisp. The chicken is ready when it turns a deep golden color and the pieces feel firm when nudged with tongs; if the outside is pale, don’t rush it just because the timer says a few minutes have passed.
Building the Firecracker Sauce
Combine the sauce ingredients over medium heat and stir until the butter melts and the mixture looks smooth and glossy. The sugar should dissolve into the hot sauce, not sit in grains at the bottom of the pan. If the sauce starts to bubble hard, lower the heat; violent boiling makes it taste sharp and can overcook the butter.
Coating and Caramelizing
Add the fried chicken to the sauce and toss fast so every piece gets lacquered before the crust softens. Then let it sit in the pan for a minute or two so the sauce tightens and clings. This is where the glaze turns from thin and runny to sticky enough to coat the back of a spoon.
Make It Less Spicy Without Losing the Firecracker Flavor
Cut the red pepper flakes in half and use the lower end of the hot sauce amount. You still get the sweet heat and glossy color, but the burn backs off enough for a wider crowd. The vinegar and butter keep the sauce balanced, so it won’t taste flat just because the heat is lower.
Make It Gluten-Free
Use a certified gluten-free all-purpose flour blend and swap in tamari for the soy sauce. The crust will still crisp up, though it may brown a little differently depending on the blend. The texture stays close enough that this is a practical swap, not a compromise.
Use Chicken Thighs Instead of Breasts
Boneless skinless thighs give you a juicier center and a little more forgiveness if you cook them a minute longer. They don’t dry out as easily, but they’ll also feel slightly richer under the sauce. Keep the pieces even so the batch finishes at the same time.
Storage and Reheating
- Refrigerator: Store leftovers in an airtight container for up to 3 days. The coating softens as it sits, but the flavor holds well.
- Freezer: It freezes, but the crust won’t stay crisp. Freeze the cooked chicken and sauce separately if you want the best result after thawing.
- Reheating: Warm in a skillet over medium-low heat with a splash of water to loosen the sauce, or use the oven at 375°F until hot. The common mistake is blasting it in the microwave, which turns the coating limp and makes the sauce separate at the edges.
Questions I Get Asked About This Recipe
Firecracker Chicken
Ingredients
Equipment
Method
- Toss boneless skinless chicken breasts with cornstarch, all-purpose flour, salt, pepper, and garlic powder until every piece is coated.
- Transfer coated chicken to a container and let it rest for 20 minutes in the refrigerator so the coating clings before frying.
- Heat vegetable oil in a cast iron skillet to 375°F and fry the chicken in about 1/2 inch of oil for 3-4 minutes per side until deep golden and cooked through, flipping once for even browning.
- Drain the fried chicken on a rack or paper towel briefly while you make the sauce.
- In a saucepan over medium heat, combine hot sauce (Frank's RedHot), brown sugar, butter, apple cider vinegar, soy sauce, garlic powder, and red pepper flakes, stirring until the butter melts and the sauce turns smooth and glossy, about 2-3 minutes.
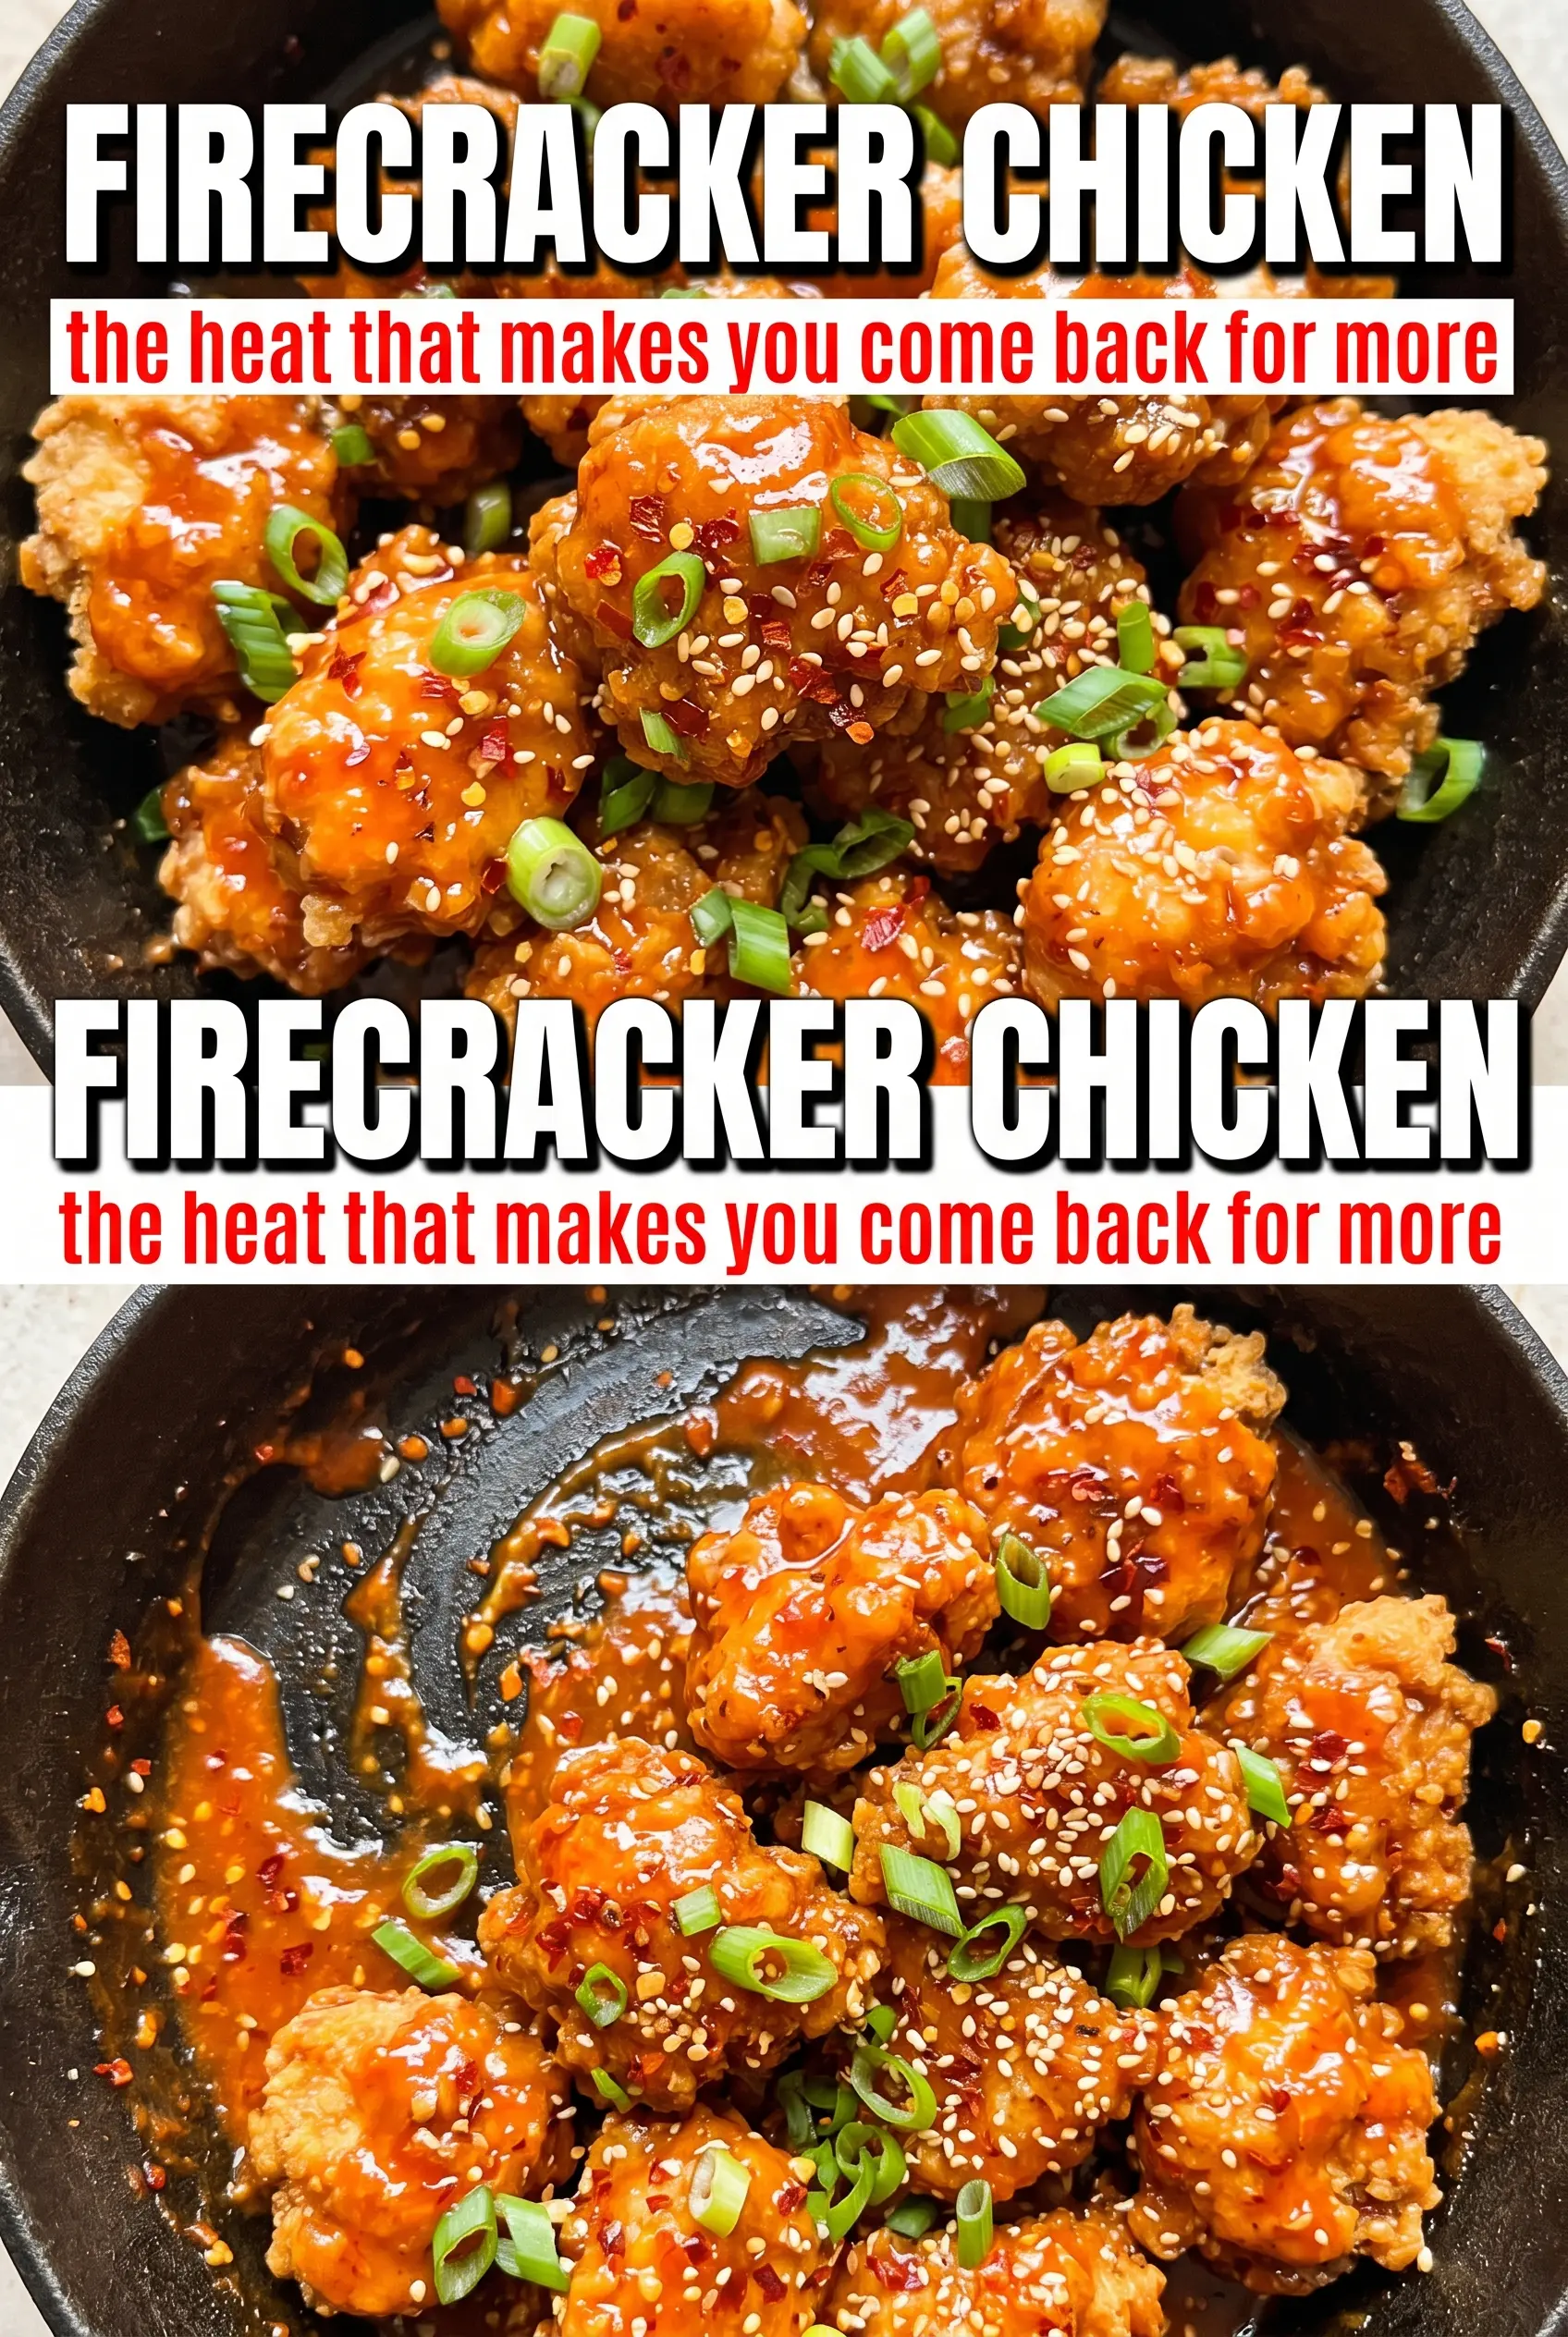
- Toss the crispy chicken in the firecracker sauce until fully coated, then return to the pan for 1-2 minutes to caramelize and set the sticky glaze.
- Serve over steamed rice and top with sesame seeds and sliced green onions.