Caramelized chicken breasts coated in glossy honey butter sauce hit that sweet-savory line in the best way: sticky at the edges, juicy in the middle, and rich enough to feel like more than a weeknight shortcut. The sauce clings instead of running off the pan, and every bite gets that little burst of garlic and browned butter underneath the honey.
What makes this version work is the balance. Honey brings the shine and sweetness, but soy sauce and apple cider vinegar keep it from turning flat or cloying. The chicken gets seared first so it carries its own flavor into the sauce, and the sauce builds in the same skillet, which picks up all those browned bits from the pan instead of leaving them behind.
Below, I’ve laid out the small details that matter most, including the heat level that keeps the butter from scorching and the point where the sauce turns glossy instead of grainy. If you’ve ever had honey sauces slide off the chicken, this is the part worth paying attention to.
The sauce thickened up into the prettiest glaze, and the chicken stayed juicy even after I basted it for a couple minutes. My husband kept sneaking pieces from the skillet before I could plate it.
Save this honey butter chicken for the nights when you want a glossy skillet glaze, tender chicken, and almost no cleanup.
The Part Where Most Honey Chicken Turns Watery
The failure point here is heat. If the pan is too hot when the honey goes in, the butter can separate and the sugars can harden before they ever coat the chicken. If the heat is too low, the sauce stays thin and slides right off. The middle ground is a gentle simmer in the same skillet you used for searing, where the browned bits melt into the sauce and thicken it as it reduces.
The other thing that matters is when the chicken goes back in. You’re not cooking it from scratch the second time. You’re finishing it in the glaze, basting as the sauce tightens around the surface. That short finish gives you lacquered chicken instead of boiled chicken with sweet sauce pooled underneath.
What Each Ingredient Is Actually Doing in the Pan
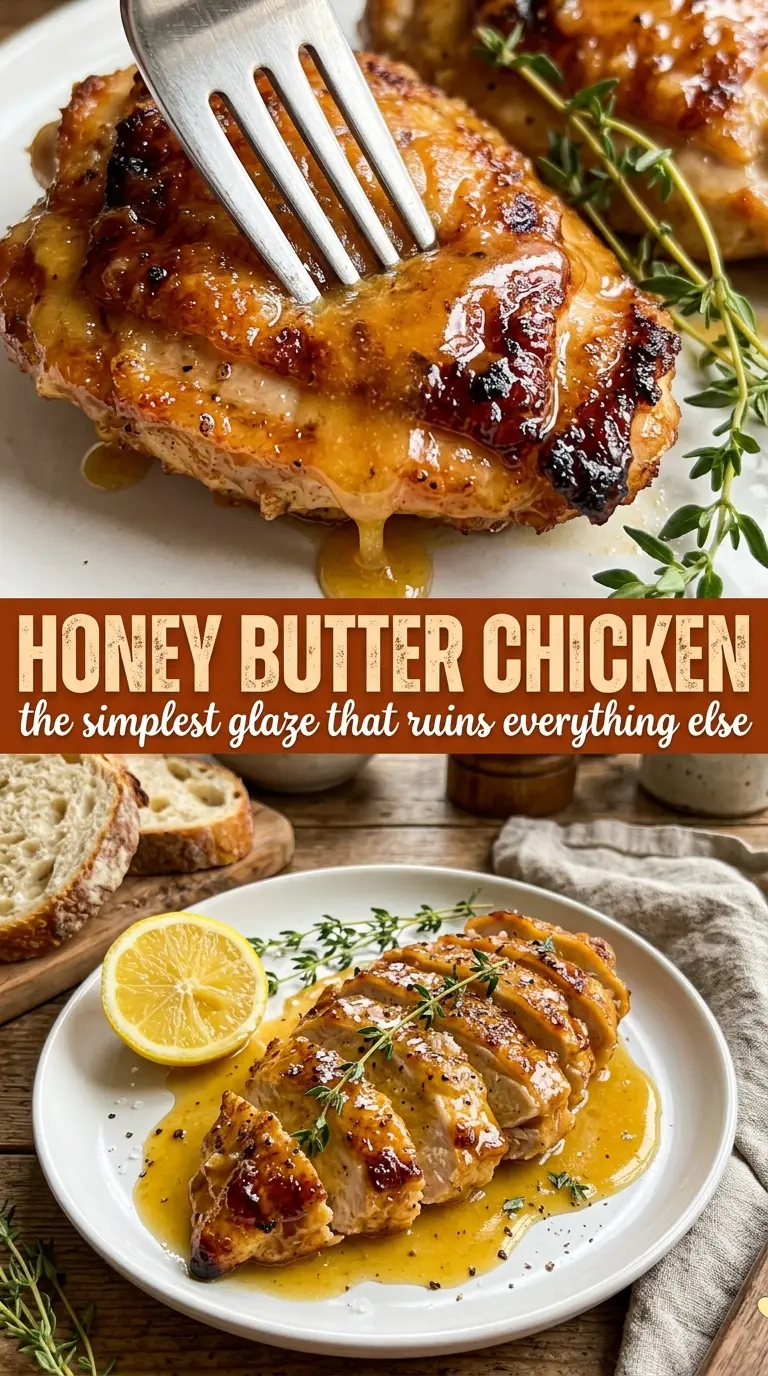
- Chicken breasts — Boneless, skinless breasts give you a quick cook and a clean canvas for the glaze. If yours are thick on one end, pound them to even thickness so the thinner side doesn’t dry out before the center reaches temperature.
- Butter — This is the body of the sauce, not just the fat. Good butter matters because the flavor is front and center here, but any standard unsalted butter works fine as long as you watch the heat and don’t let it brown too far before the garlic goes in.
- Honey — Honey is what gives the sauce that amber shine and sticky finish. Don’t swap in maple syrup and expect the same result; maple tastes good, but it lacks the same floral sweetness and sets up differently in the pan.
- Soy sauce and apple cider vinegar — These keep the glaze from tasting one-note. Soy sauce adds salt and depth, while vinegar sharpens the sweetness so the finished sauce tastes balanced instead of candy-like.
- Smoked paprika and garlic powder — These season the chicken before it ever hits the skillet, so the meat tastes good on its own under the glaze. If you skip them, the dish gets sweeter and loses a layer of savoriness that makes the sauce taste bigger.
- Fresh thyme — This is the finishing touch that cuts through the richness. If you don’t have it, a little chopped parsley works for freshness, but thyme gives the chicken a more savory, polished finish.
Building the Glaze So It Sticks to the Chicken
Seasoning and Searing First
Pat the chicken dry, season it well, and lay it into a hot skillet with olive oil. You want a steady sizzle the second it hits the pan, then leave it alone long enough to develop a deep golden crust before turning it. If the chicken sticks, it’s not ready yet. Once it releases cleanly and reaches 165°F in the thickest part, move it out of the pan so it doesn’t overcook while the sauce comes together.
Softening the Garlic Without Burning It
When the butter melts, the garlic only needs about a minute. You’re looking for fragrant and softened, not brown. Burnt garlic turns bitter fast, and that bitterness shows up in the final sauce because there isn’t much else to hide behind. Keep the heat at medium and stir constantly so the garlic gets perfumed by the butter instead of toasted in it.
Letting the Sauce Reduce to a Gloss
Stir in the honey, soy sauce, and vinegar, then bring the pan to a gentle simmer. The sauce should look loose at first, then turn shinier and a little thicker as it bubbles. Add the chicken back in and turn it through the glaze, spooning sauce over the top until the surface looks lacquered. If the sauce gets too sticky too fast, pull the pan off the heat for a moment and add a teaspoon of water to loosen it.
Finishing for the Best Bite
Plate the chicken and spoon every last bit of sauce over the top. Fresh thyme and flaky sea salt at the end make the whole dish taste brighter and less heavy. The salt matters because it wakes up the honey, and the thyme keeps the glaze tasting savory instead of flatly sweet.
Ways to Adjust the Skillet Without Losing the Point
Make it dairy-free
Use a plant-based butter with decent fat content instead of dairy butter. The sauce will still glaze and cling, but it may taste a little less rich and a touch more neutral, so lean on the thyme and flaky salt at the end.
Swap in chicken thighs
Boneless skinless thighs work well here and stay juicier if you’re nervous about overcooking. They need a little more time in the skillet, and the finished dish will taste richer and a bit more savory than the breast version.
Make it gluten-free
Use a certified gluten-free soy sauce or tamari. The rest of the recipe already fits naturally, and the sauce still reduces the same way.
Add a little heat
A pinch of red pepper flakes or a small splash of hot sauce can sharpen the sweetness without changing the structure of the glaze. Add it with the honey so it disperses evenly.
Storage and Reheating
- Refrigerator: Store leftovers in an airtight container for up to 3 days. The sauce will tighten as it chills.
- Freezer: It freezes, but the glaze can separate a little after thawing. If you freeze it, wrap the chicken well and thaw it in the refrigerator before reheating.
- Reheating: Warm it gently in a covered skillet over low heat with a splash of water to loosen the sauce. High heat can make the glaze seize and dry out the chicken before the center is hot.
Answers to the Questions Worth Asking
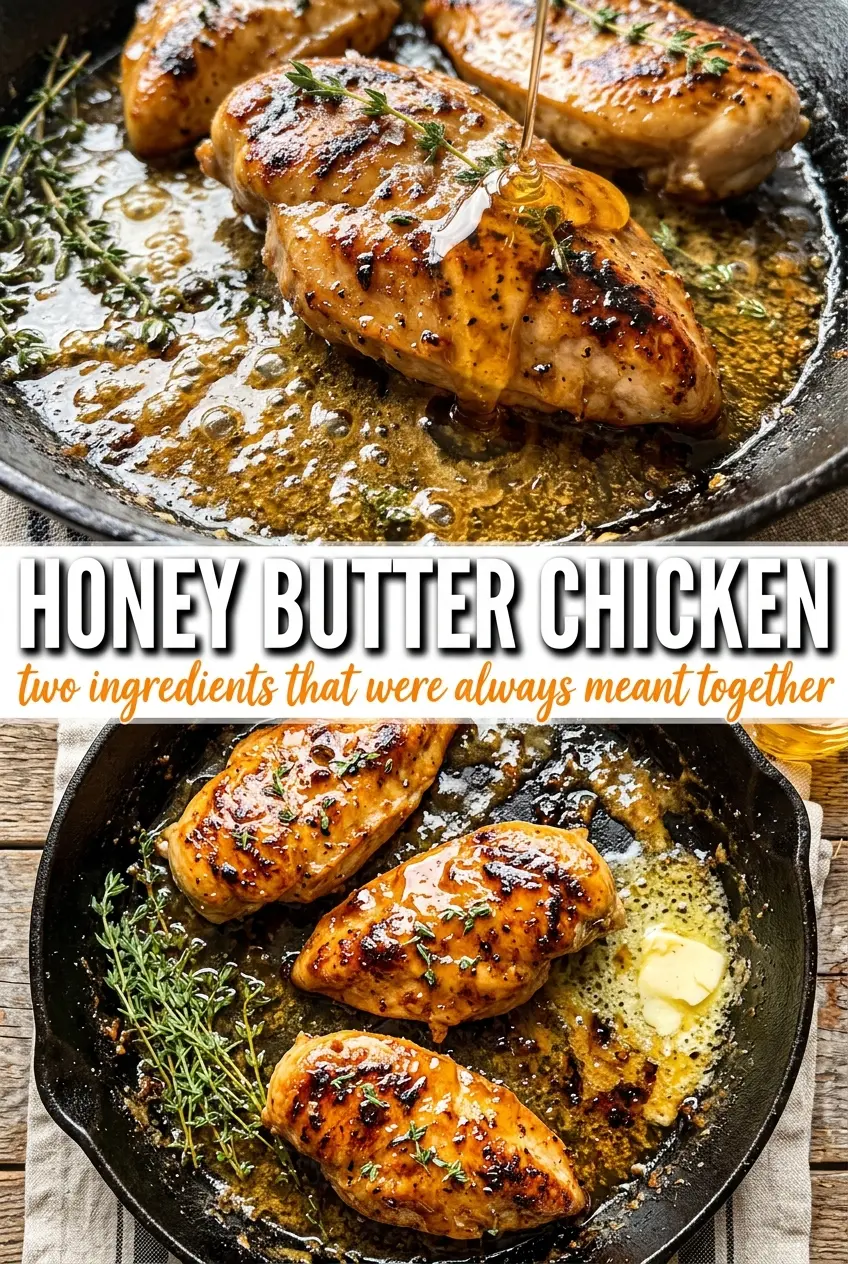
Honey Butter Chicken
Ingredients
Equipment
Method
- Season the chicken breasts with salt, pepper, garlic powder, and smoked paprika to taste. Heat olive oil in a large skillet over medium-high until hot, then sear the chicken for 5-6 minutes per side until deeply golden and the internal temperature reaches 165°F; remove to a plate.
- Melt the butter in the same pan over medium heat, then add the minced garlic and cook for 1 minute until fragrant and lightly golden.
- Stir in the honey, soy sauce, and apple cider vinegar, then bring the mixture to a simmer.
- Return the chicken to the pan and cook 2-3 minutes, turning and basting with the sauce until caramelized and coated. Plate the chicken and drizzle with any remaining sauce.
- Finish with fresh thyme leaves and flaky sea salt for garnish, then serve while the glaze is glossy.