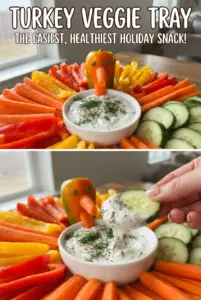
Colorful, crisp, and built to disappear fast, this turkey veggie tray turns a basic vegetable platter into the first thing people head for at the table. The fun part is that it doesn’t rely on novelty alone. The arrangement actually makes the vegetables look fuller and more abundant, so the platter feels festive before anyone even dips a carrot.
The real trick is balancing shape and color. A pear or yellow bell pepper gives you a sturdy turkey body, while curved rows of vegetables create the tail feathers without a lot of fuss. Keeping the dip bowl anchored in the center helps the whole tray stay neat, and using sturdy vegetables like carrots, broccoli, snap peas, and bell peppers means the display holds up well while it sits out.
Below, you’ll find the simple setup that keeps the tray looking polished, plus a few smart swaps if you want to use what’s already in the fridge.
The vegetables stayed crisp for the whole party, and the pear body made the turkey look adorable without any extra work. I loved how the ranch bowl kept everything centered.
Save this Turkey Veggie Tray for a bright, easy appetizer that looks playful and stays crisp on the platter.
The Trick to Making a Veggie Turkey Look Full, Not Fussy
The difference between a cute tray and a crowded one comes down to layering. If you scatter the vegetables evenly, the platter looks flat and busy. When you fan them in curved rows that overlap slightly, the tray starts to read like tail feathers, and the whole thing looks intentional instead of improvised.
The other thing that matters is using vegetables with enough structure to hold their place. Soft vegetables slide around and leave gaps. Crisp, cut-to-size pieces stay put, which is why carrots, cucumber, bell peppers, broccoli, and snap peas work so well here. The dip bowl also acts like an anchor, so the body has a fixed point and the rest of the arrangement can build outward from it.
What the Vegetables Are Doing in This Tray
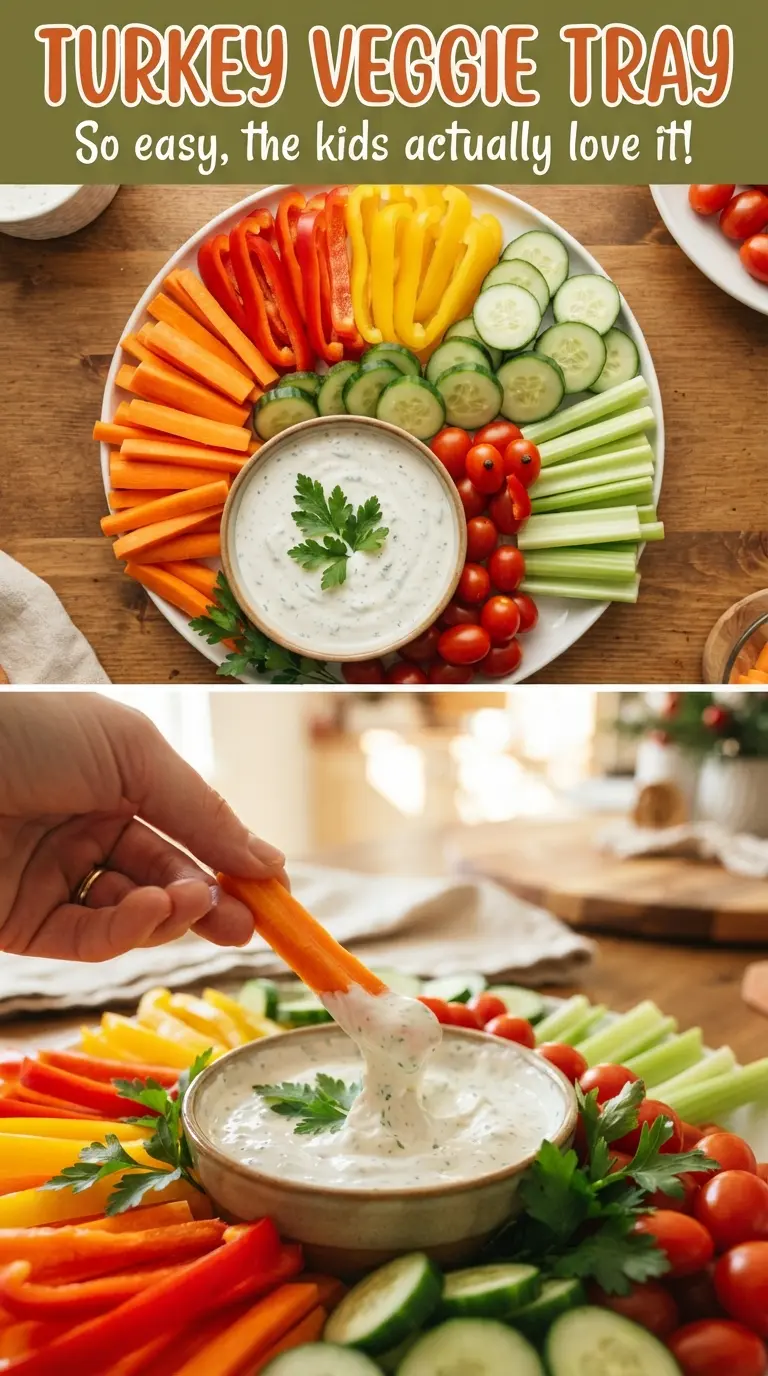
- Pear or yellow bell pepper — This is the turkey body, so it needs to stand upright and look distinct from the surrounding vegetables. A pear gives a softer, more whimsical look, while a yellow bell pepper is sturdier and easier to slice into a stable shape if you need the body to sit still.
- Baby carrots, cherry tomatoes, cucumber, bell peppers, broccoli, and snap peas — These give you the color contrast and the feathered look. The best versions are the ones with clear color separation, because muted vegetables blend together and the tray loses its shape. If you need a swap, use radishes, cauliflower florets, celery, or sugar snap peas, but keep the pieces similarly sized so the rows don’t collapse.
- Ranch dip — This does more than add flavor. It gives the tray a center point and helps secure the turkey body. A thicker ranch holds the arrangement better than a thin, pourable dip, so if yours is loose, chill it first or use a spoon to mound it slightly in the bowl.
- Toothpicks or a dab of dip — These are what keep the face in place. Toothpicks are sturdier, but a little dip works if you’re serving the tray quickly and want to avoid poking through the fruit or pepper body too much.
How to Build the Turkey Without Losing the Shape
Set the Center First
Place the bowl of ranch at the bottom center of a large round platter, then position the pear or yellow pepper just above it. That fixed center gives the whole tray balance. If the body slides, the tail ends up crooked, so start by making sure both pieces sit flat and steady before you add anything else.
Give the Face a Few Minutes of Attention
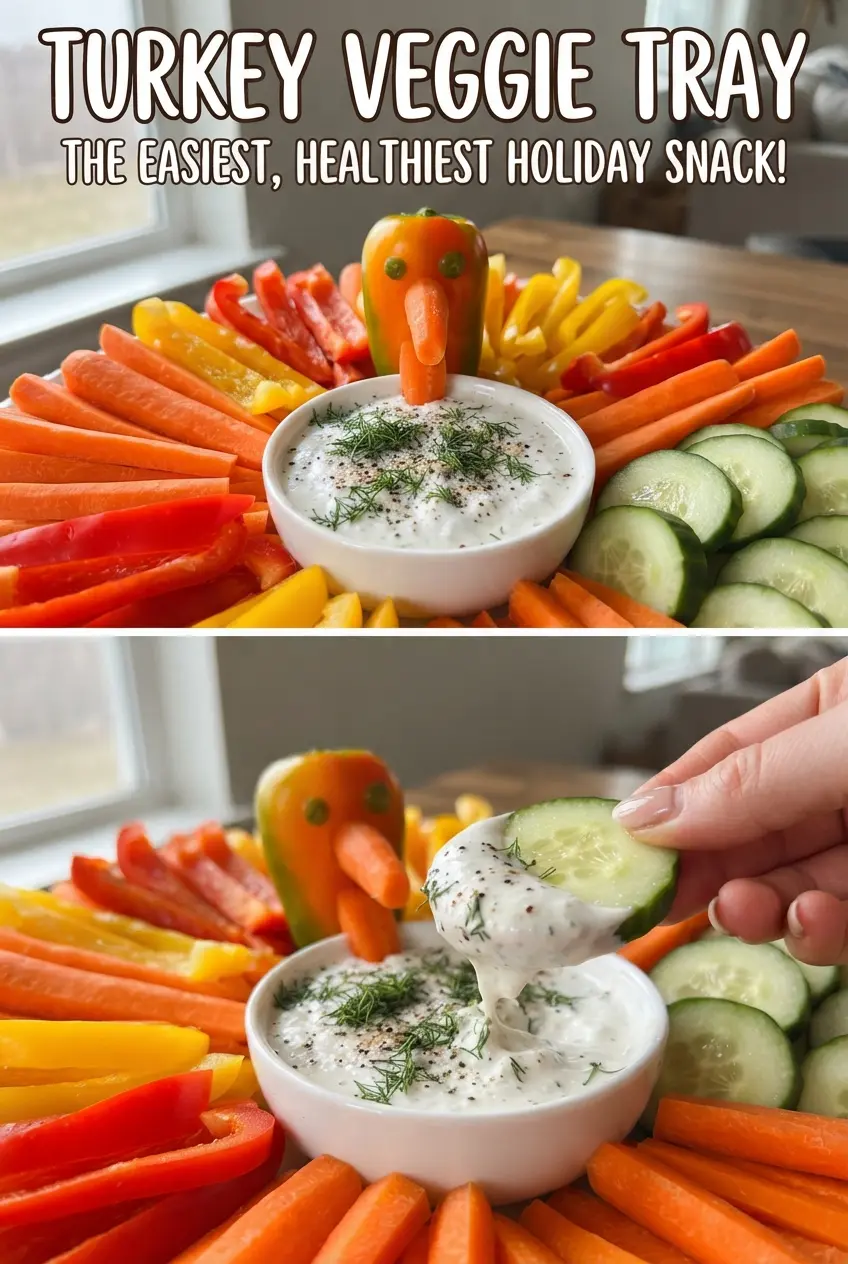
Attach the eyes, beak, and wattle with toothpicks or a tiny dab of dip. This part is easiest before the platter gets crowded, and it’s the detail that makes the tray read as a turkey instead of just a vegetable assortment. If the eyes won’t stay put, dry the surface of the pear or pepper first; moisture is what makes them slip.
Fan the Vegetables in Curved Rows
Arrange the vegetables behind the body in overlapping arcs, working from the outside toward the center. Alternate colors as you go so the tail looks bright and layered. If you leave too much space between the rows, the display looks sparse, so tuck the pieces close enough that they support each other without burying the front row.
Fill the Gaps Last
Use broccoli florets and snap peas to close any empty spots around the edges. These smaller pieces act like trim on a wreath, smoothing the outline and making the platter look full. Cover and chill it until serving time, but don’t leave cut cucumbers or tomatoes sitting uncovered for too long or they’ll start to look dry and dull.
How to Adapt the Tray for Different Crowds
Make it dairy-free by swapping the dip
Use a dairy-free ranch or a herb dip made with cashew or coconut yogurt. The vegetables stay exactly the same, but the flavor gets a little tangier and lighter. Choose a thicker dip if you want the body to stay anchored cleanly in the center.
Lean into whatever vegetables you already have
This tray works with almost any crisp vegetable as long as it can fan out or fill in a row. Radishes, celery sticks, cauliflower, jicama sticks, and sugar snap peas all hold their shape well. The tradeoff is visual: the more colors you keep, the more the turkey tail looks like a real feather fan.
Use a pepper body if you want a sturdier display
A yellow bell pepper is easier to balance than a pear, especially if the tray will sit out for a while. The shape looks a little less whimsical, but it gives you a firmer base for the face and keeps the design from tipping if the platter gets bumped.
Storage and Reheating
- Refrigerator: Store the cut vegetables and dip separately, covered, for up to 3 days. Once assembled, the tray is best the same day because the vegetables slowly lose their crisp edges.
- Freezer: Don’t freeze this tray. The vegetables will turn watery and soft after thawing, and the dip won’t keep its texture.
- Reheating: No reheating needed. For the best texture, assemble the platter cold and serve it straight from the fridge, then replace any vegetables that start to look dry if it’s been out for a long stretch.
Answers to the Questions Worth Asking
Turkey Veggie Tray
Ingredients
Method
- Place a bowl of ranch dip at the bottom center of a large round platter as the turkey’s centerpiece.
- Set the pear or yellow bell pepper just above the dip as the turkey body.
- Attach eyes, a carrot beak, and a red pepper wattle with toothpicks or a dab of dip, positioning them so they face outward from the tray.
- Fan vegetables behind the body in curved rows of alternating colors to form tail feathers, using baby carrots, cherry tomatoes, cucumber slices, and bell pepper strips.
- Fill any gaps with broccoli florets and snap peas so the back rows look full and continuous.
- Cover and chill until serving to let the arrangement set, about 2 hours in the refrigerator.