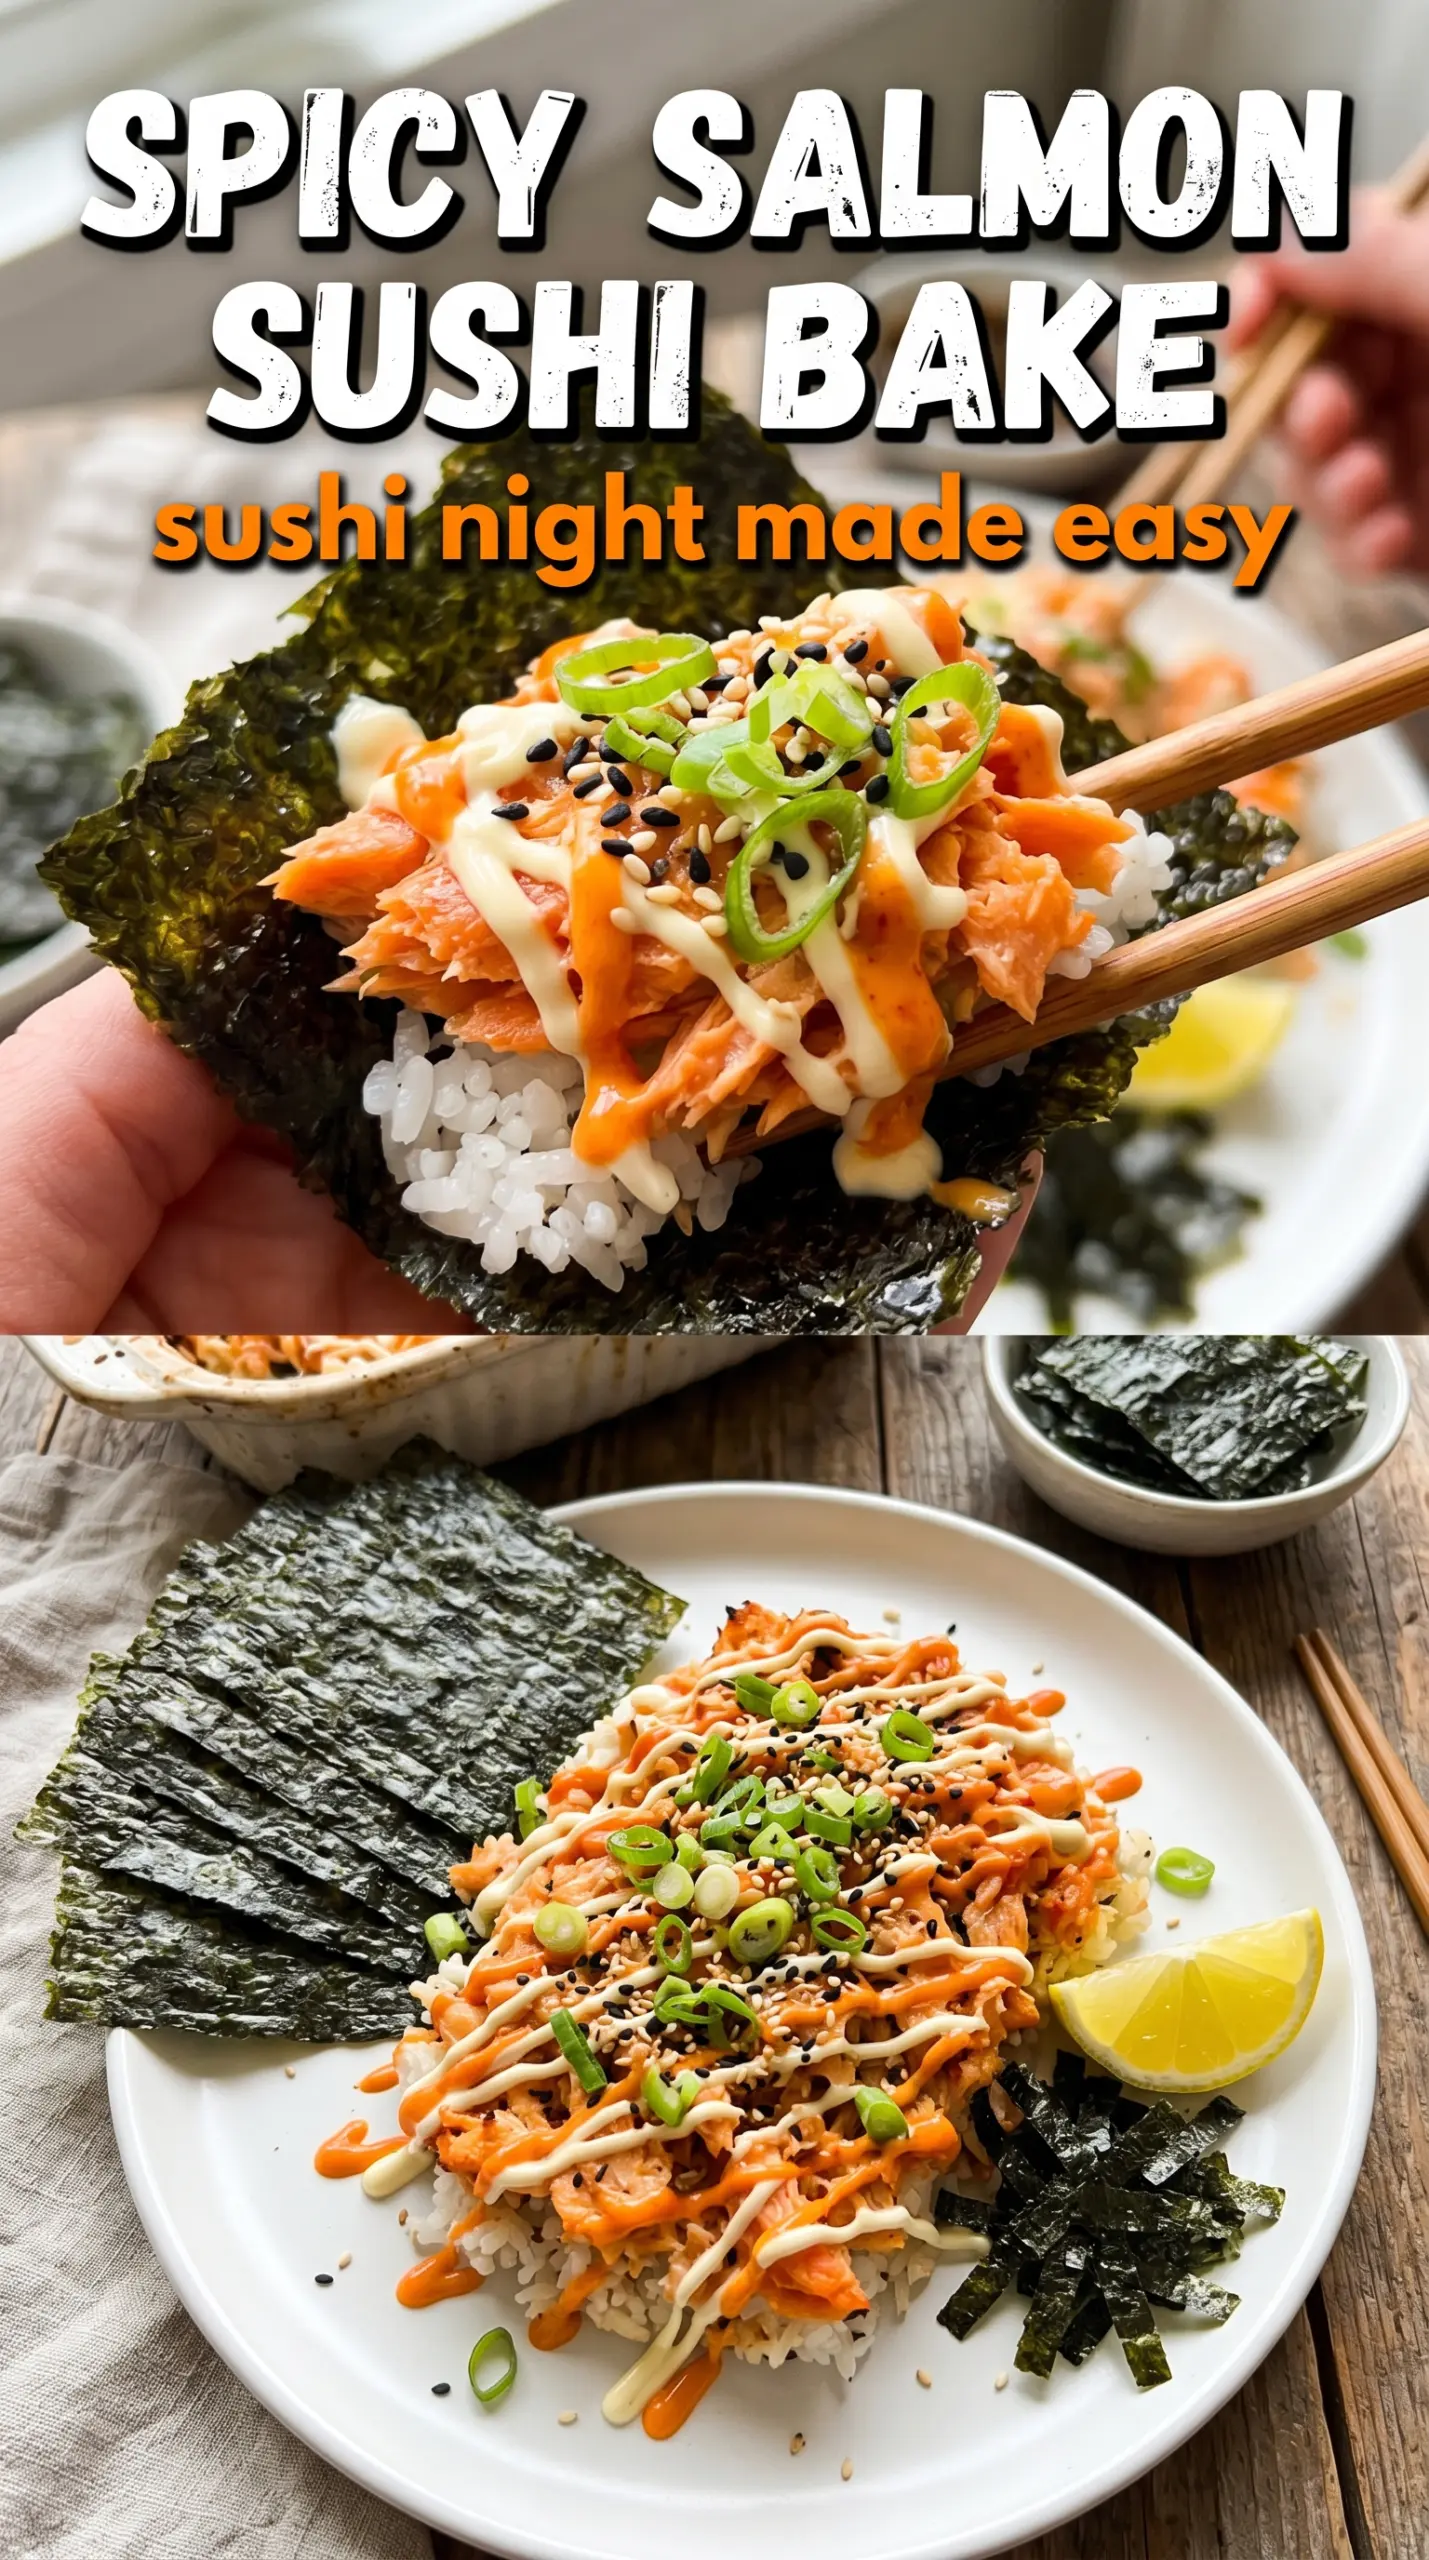
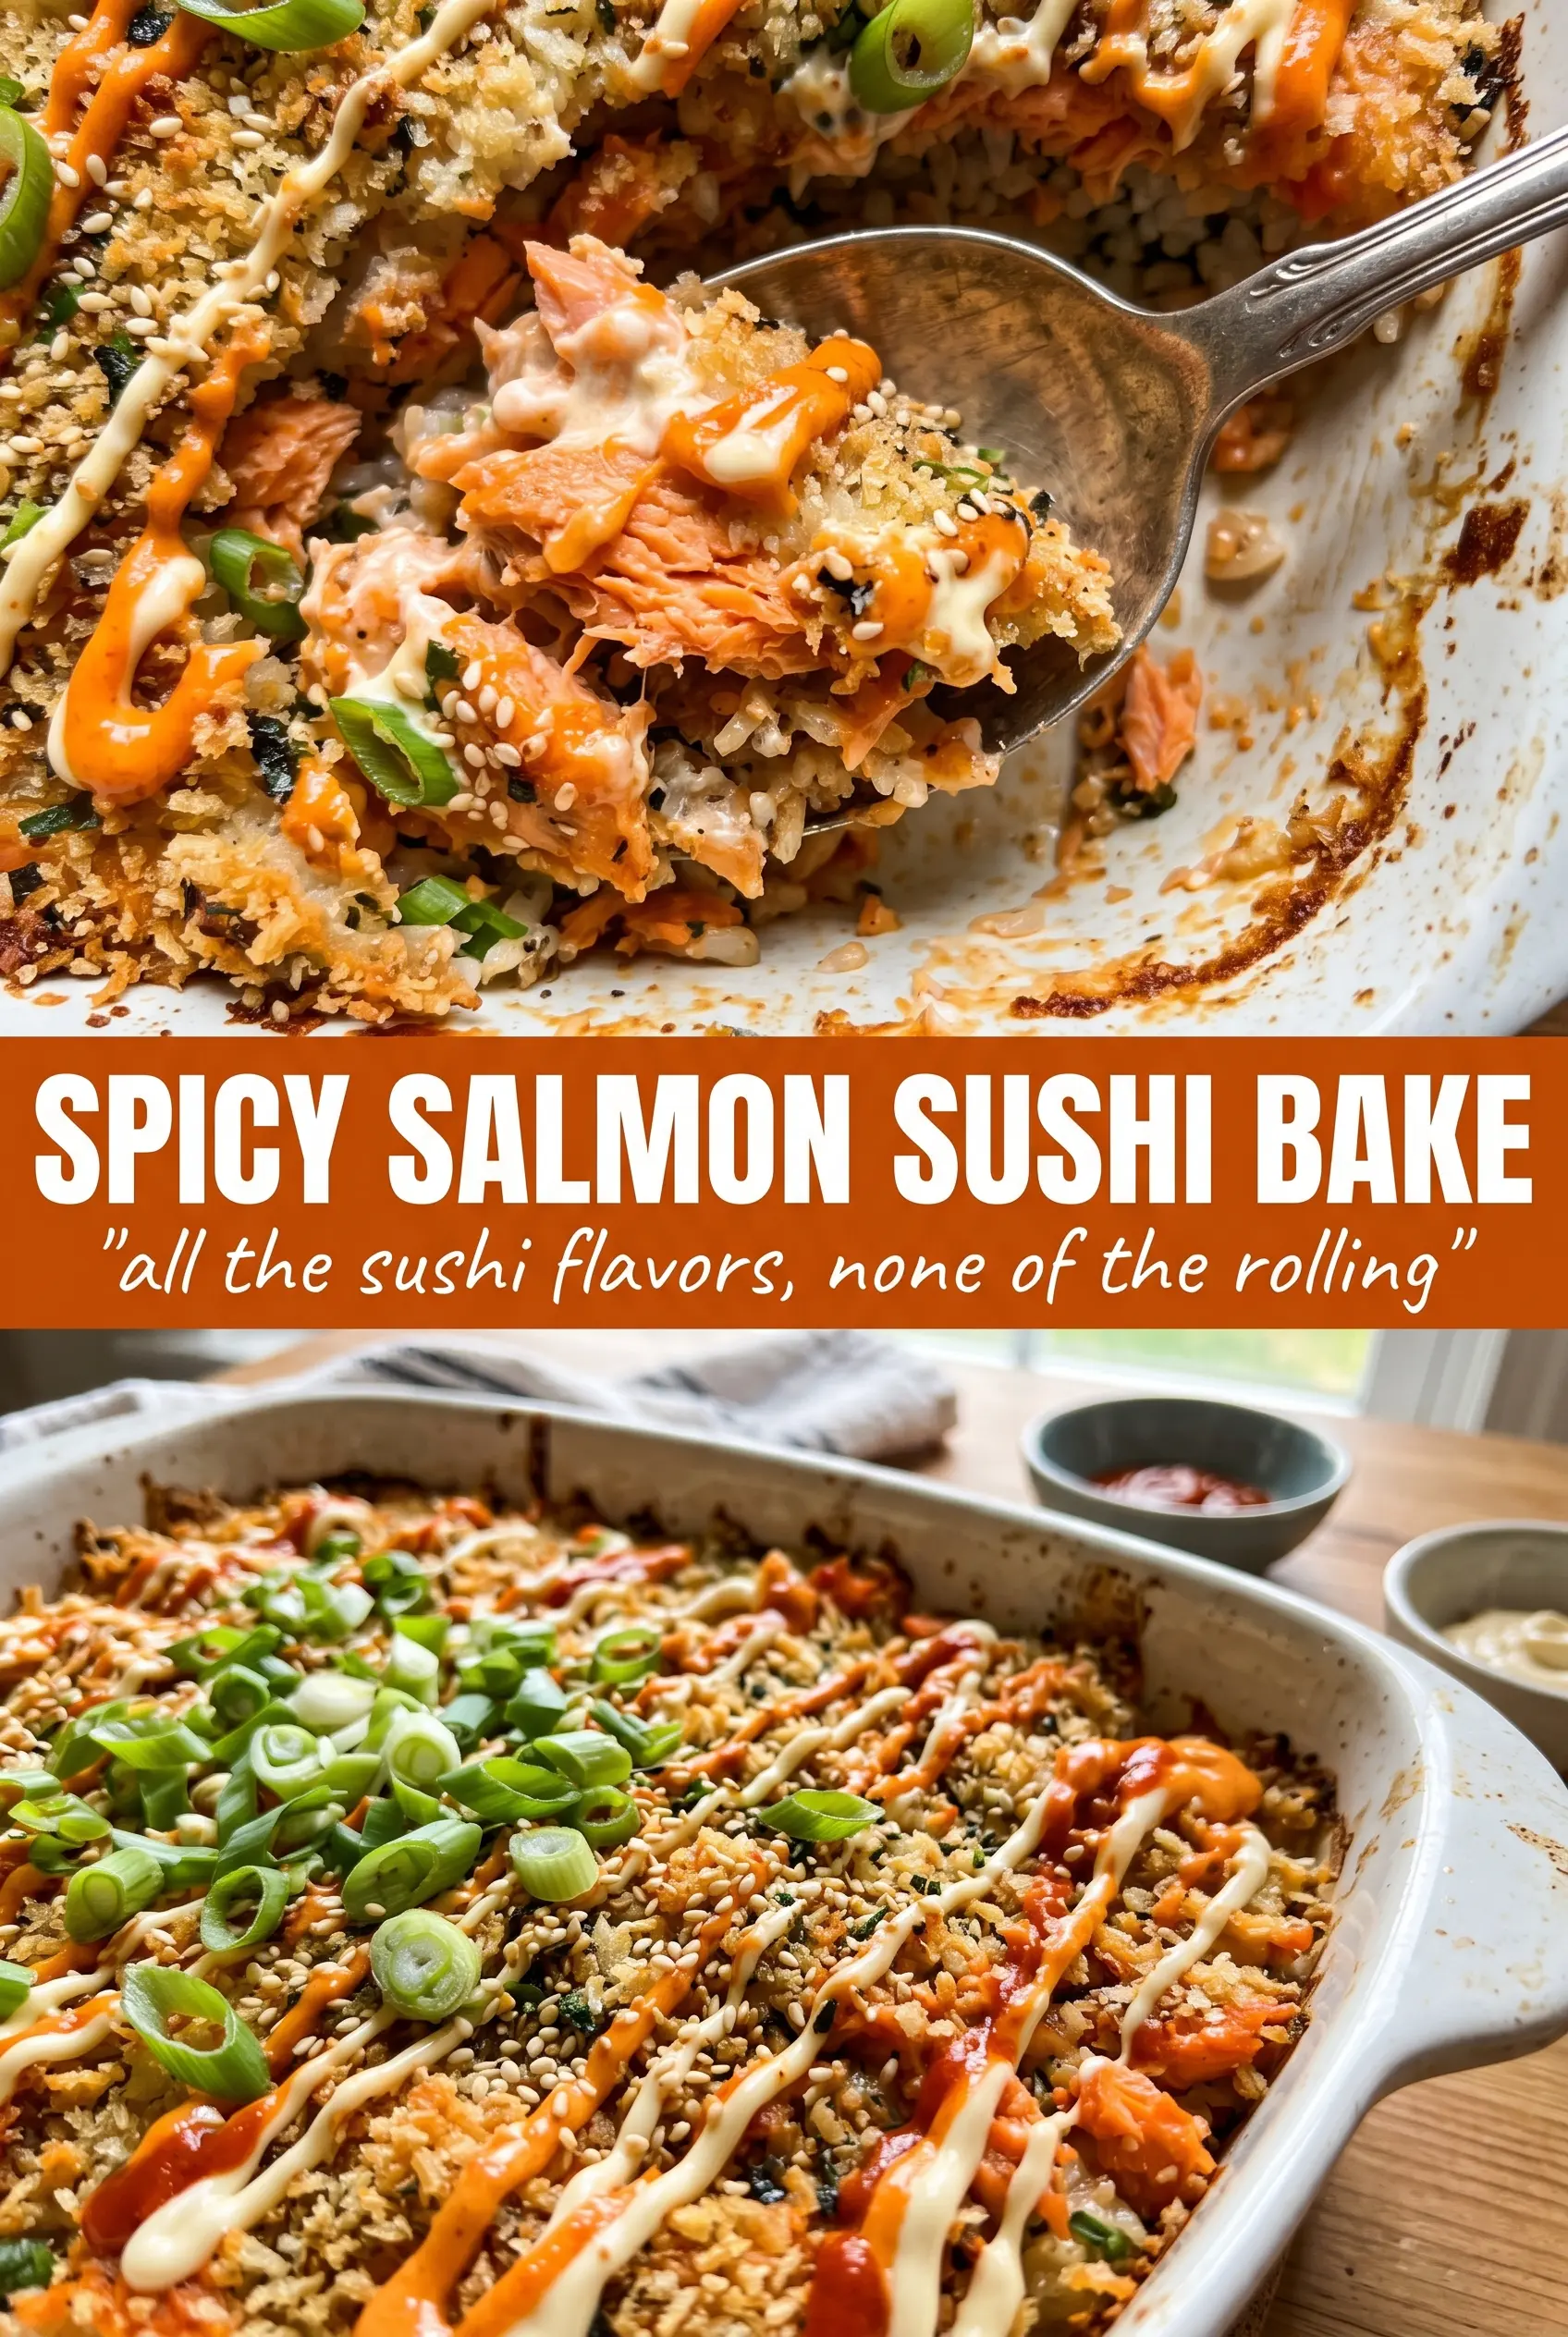
Golden, bubbling spicy salmon sushi bake is the kind of pan dinner that disappears fast because every bite hits the right mix of creamy, savory, tangy, and just enough heat. The sushi rice stays tender underneath the rich salmon topping, and the edges turn a little crisp where the heat catches the pan. Served with nori sheets for scooping, it eats like deconstructed sushi without any rolling.
What makes this version work is the balance in the rice and the topping. The rice gets seasoned while it’s still warm, so the vinegar mixture soaks in evenly instead of sitting on the surface. The salmon layer bakes with cream cheese and Japanese mayo, which keeps it plush while the sriracha and soy sauce give it that familiar spicy-salty finish. Furikake on top adds the last hit of texture and seaweed flavor, which is what keeps each scoop from tasting flat.
Below, I’ve included the small details that matter most: how to keep the rice from getting mushy, why the topping should be spread in an even layer, and a few smart swaps if you need to work with what’s in your kitchen.
The rice seasoned up perfectly and the salmon layer stayed creamy instead of drying out. I broiled it for the last minute and the top got those little golden spots that made it taste like takeout, only better.
Save this spicy salmon sushi bake for a creamy, bubbling dinner that scoops perfectly with nori every time.
The Rice Layer Needs to Be Seasoned While It’s Still Warm
The mistake that ruins a lot of sushi bake recipes is dumping the vinegar mixture onto cold rice and hoping it distributes itself. It doesn’t. Warm rice absorbs the rice vinegar, sugar, and salt evenly, which gives you that bright sushi rice flavor all the way through instead of a damp layer on top. Spread it into the pan after seasoning, then press it down gently so it bakes into a clean base that holds the salmon layer.
The other thing worth paying attention to is moisture. If your rice is too wet before it goes into the dish, the bottom turns heavy instead of fluffy and the top never gets that contrast you want. Use fully cooked rice that’s been fluffed, not wet or newly overcooked rice, and keep the layer even so the bake heats at the same pace from edge to center.
What the Cream Cheese and Kewpie Mayo Are Doing Here
- Salmon — Cook it first, then flake it into bite-size pieces so it spreads evenly through the topping. Fresh salmon gives the best texture, but leftover cooked salmon works well here as long as it isn’t heavily seasoned already.
- Cream cheese — This is what gives the topping its rich, stable body. It softens the salmon mixture and helps it bake into a creamy layer instead of drying into crumbs. Let it come fully to room temperature or it’ll stay lumpy no matter how much you stir.
- Japanese mayonnaise — Kewpie brings a deeper, rounder richness than regular mayo and it browns a little better in the oven. If you need to swap, use regular mayo plus a tiny splash of rice vinegar, but the flavor won’t be quite as full.
- Sriracha — This gives the salmon layer heat and the little bit of acidity that keeps it from tasting heavy. Adjust it to your heat level, but don’t cut it entirely or the topping loses its bite.
- Furikake — This is the seasoning that keeps the dish from tasting one-note. It adds sesame, seaweed, and salt in one move, which is hard to duplicate with a single substitute. If you can’t find it, use toasted sesame seeds and finely crumbled nori, but expect a milder finish.
Getting the Layers Hot Without Drying Out the Salmon
Seasoning the Rice Base
Mix the rice vinegar, sugar, and salt into warm cooked rice until every grain looks glossy and lightly seasoned. The rice should taste bright and balanced before it ever goes into the oven, because the salmon topping won’t fix bland rice later. Spread it in a greased 9×13 dish and press it into an even layer without packing it down hard. If you smash it too tightly, it turns dense instead of tender.
Mixing the Salmon Topping
Stir the flaked salmon with softened cream cheese, Japanese mayo, sriracha, and soy sauce until the mixture is smooth and spreadable. You want a thick, creamy texture that holds together but still moves easily across the rice. If the cream cheese is cold, you’ll get streaks and pockets that don’t melt well in the oven, so let it soften first. Spread the topping all the way to the edges so the corner pieces get some of that browned surface too.
Baking Until Bubbling at the Edges
Bake at 400°F until the top looks lightly golden and the edges are bubbling, about 15 to 20 minutes. That bubbling matters more than the clock, because it tells you the center is hot and the topping has melded together. If you leave it in too long, the salmon dries out and the cream cheese can turn oily instead of creamy. Pull it as soon as the surface looks set with a little color.
Finishing for the Best Scooping Texture
Drizzle on extra sriracha mayo, then top with green onions and a final dusting of furikake right before serving. The garnish should go on after baking so it stays fresh and sharp against the rich filling. Serve it immediately with nori sheets, because the contrast between warm rice, creamy salmon, and crisp seaweed is what makes each bite work.
How to Adapt This for Different Tables and Pantry Situations
Make It Dairy-Free
Use a dairy-free cream cheese that melts smoothly, then taste the filling before baking. Some brands are saltier or tangier than others, so you may need a touch more mayo or a little less soy sauce to keep the balance right. The texture stays creamy, but the finish is a little less rich than the original.
Swap the Salmon for Crab or Tuna
Imitation crab, canned tuna, or cooked lump crab all work in place of salmon if that’s what you have. Crab gives the closest sushi-shop feel, while tuna makes the dish a little firmer and saltier. Keep the creamy binder the same so the topping still spreads easily over the rice.
Turn the Heat Down
Cut the sriracha by half and lean on extra Japanese mayo for a milder bake. You’ll keep the creamy, savory profile without the sharper burn, which is a better move if you’re serving kids or anyone who doesn’t like much spice. Add the extra sriracha only at the table so everyone can choose their own heat level.
Storage and Reheating
- Refrigerator: Store covered for up to 3 days. The rice firms up as it chills, but the flavor stays good.
- Freezer: It freezes, though the rice texture softens a bit after thawing. Freeze in portions, wrap tightly, and thaw in the fridge before reheating.
- Reheating: Reheat in a 325°F oven, covered loosely with foil, until warmed through. Microwaving works in a pinch, but it can make the rice rubbery and the topping unevenly hot.
Answers to the Questions Worth Asking
Spicy Salmon Sushi Bake
Ingredients
Equipment
Method
- Season the cooked sushi rice with rice vinegar, sugar, and salt, then spread it evenly in a greased 9x13 baking dish.
- Sprinkle 1 tablespoon furikake evenly over the rice layer.
- Mix the flaked salmon with softened cream cheese, Japanese mayonnaise, sriracha, and soy sauce until combined, then spread it evenly over the rice.
- Sprinkle the remaining furikake over the top.
- Bake at 400°F for 15–20 minutes, until the top is golden and the edges are bubbling.
- Drizzle with extra sriracha mayo, then top with green onions and serve immediately with nori sheets for scooping.


