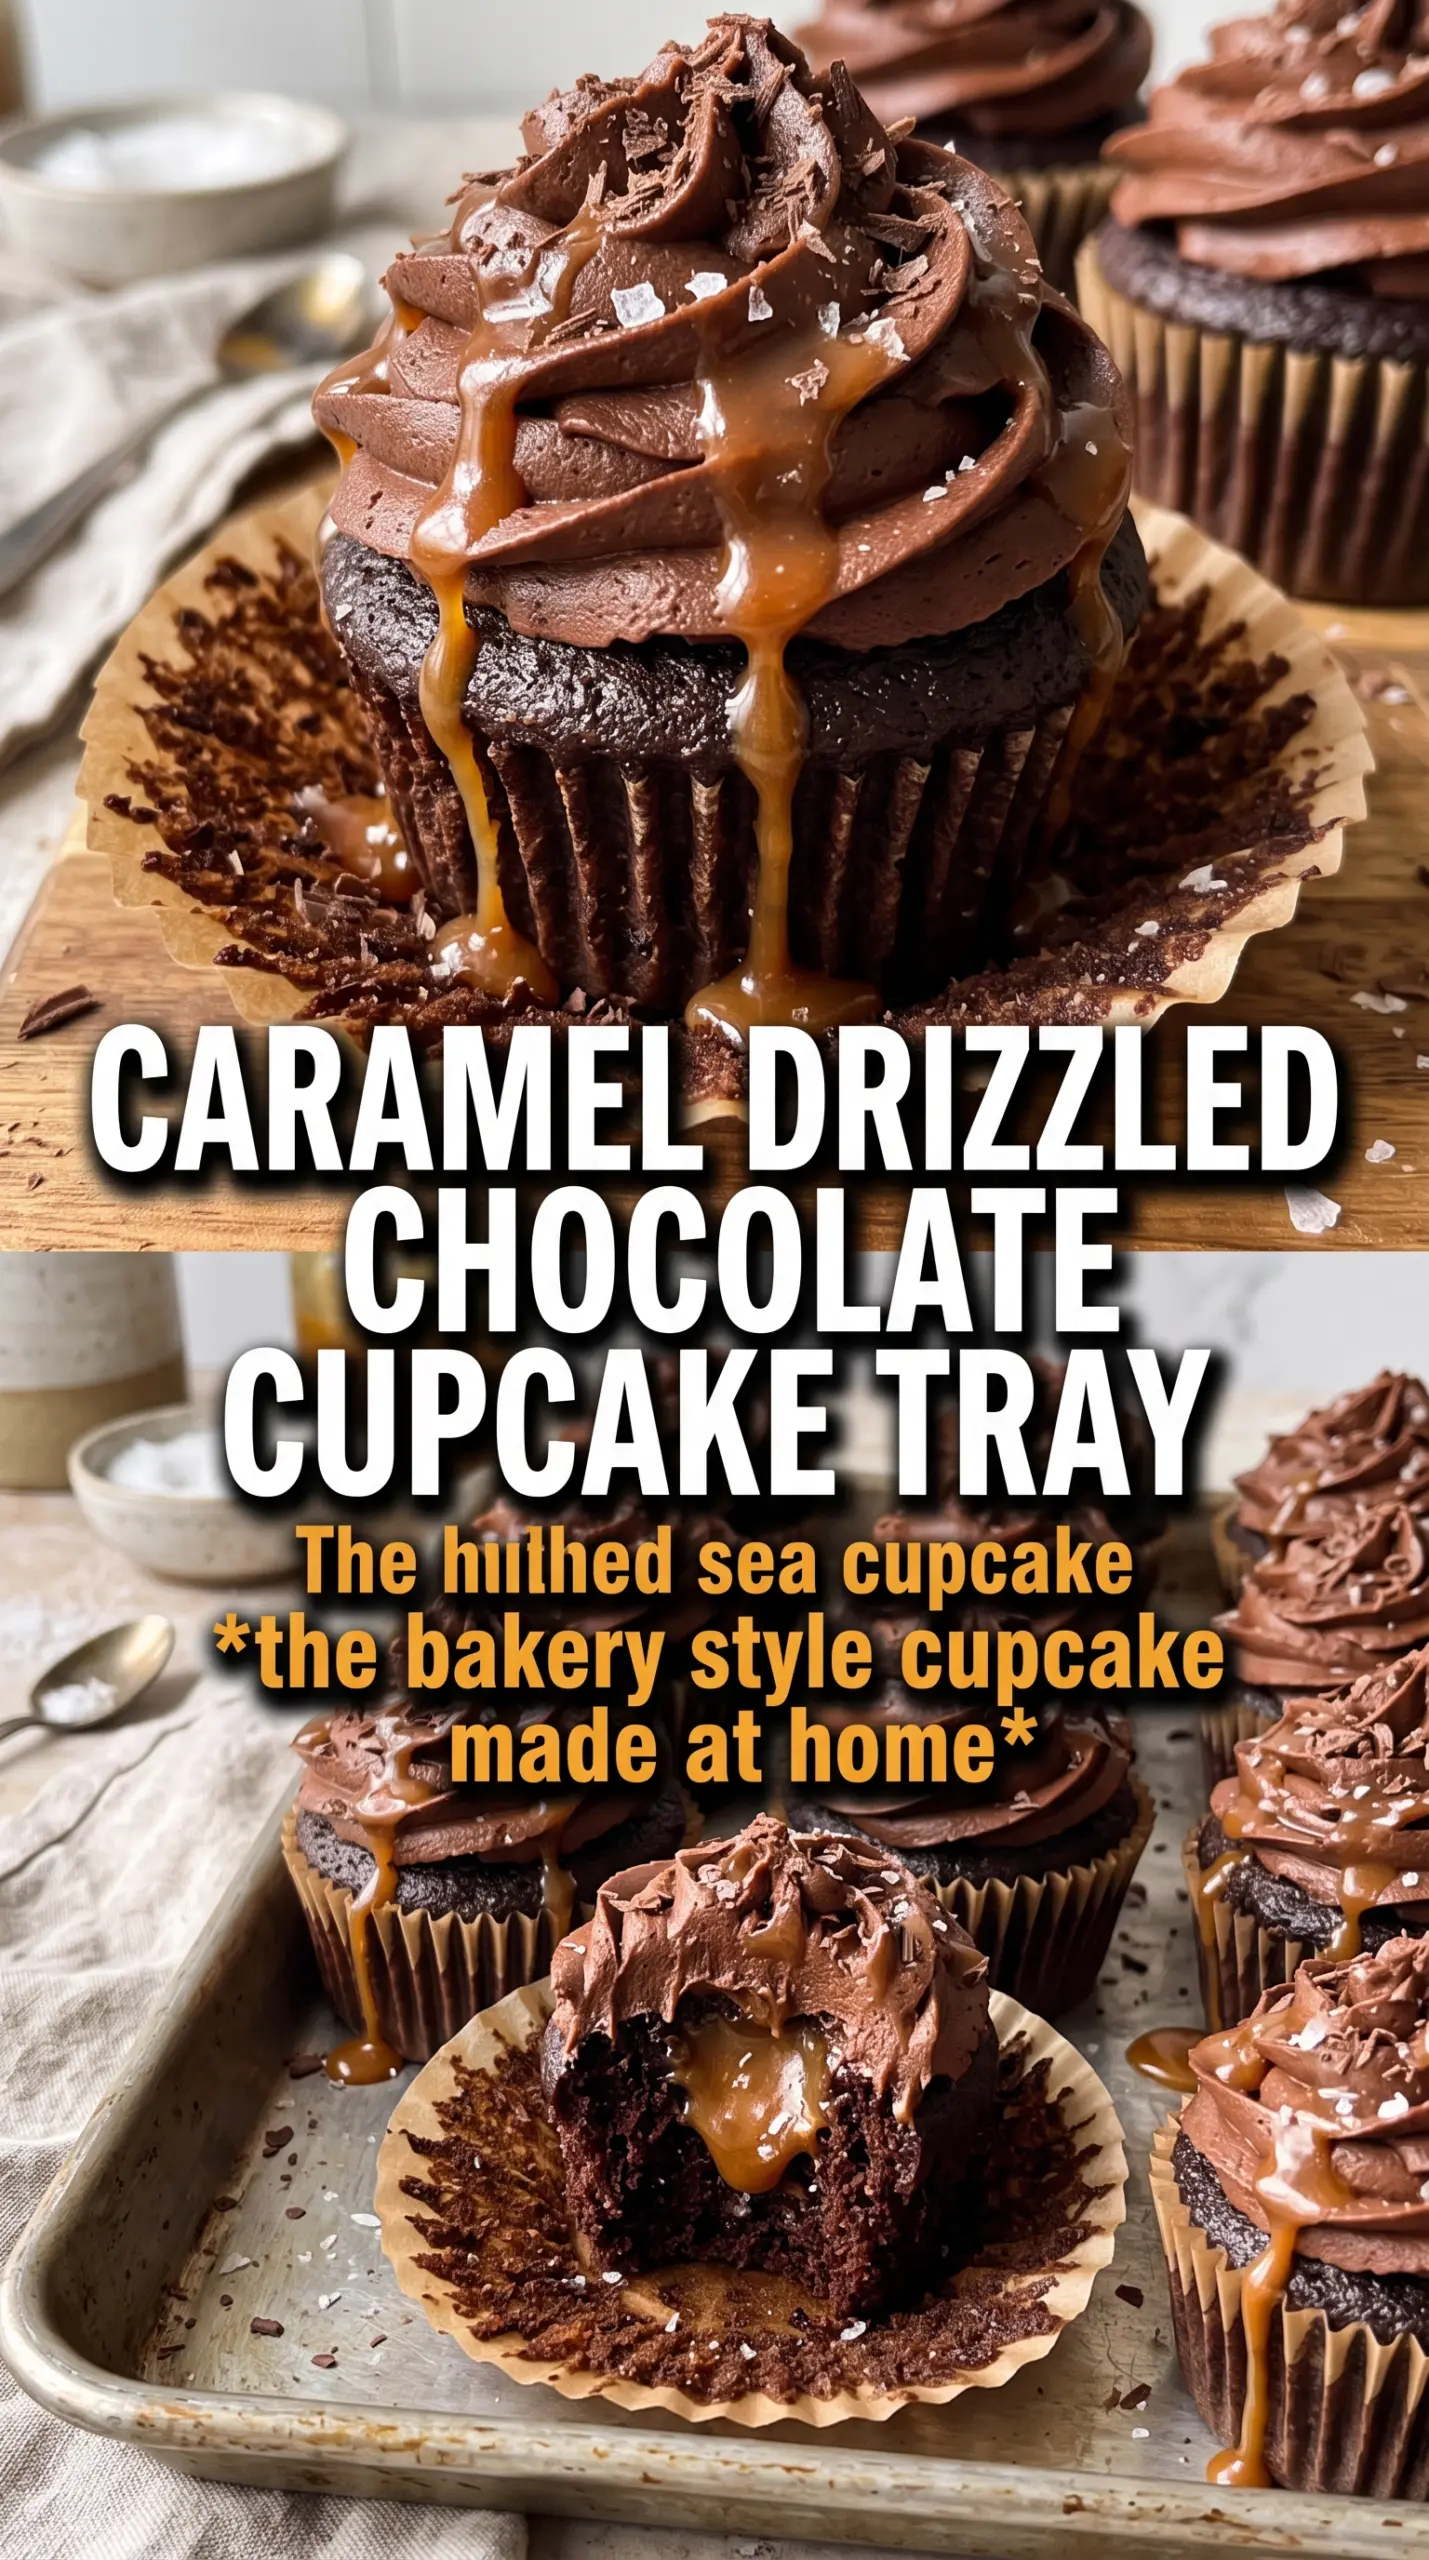
Salted caramel chocolate cupcakes deliver the kind of bite people remember: a soft, dark chocolate crumb, a pocket of thick caramel in the center, and a frosting that tastes like fudge with a little burnished sweetness underneath. The flaky salt on top keeps the whole thing from tipping into candy-bar territory, which is exactly why this version gets made again and again.
The cupcakes stay tender because the batter uses both butter for richness and buttermilk for a little tang and lift. Cocoa alone can bake up dry if it’s overmixed or overbaked, so the batter is handled gently and pulled from the oven as soon as the centers spring back. The caramel goes into fully cooled cupcakes, which matters more than people think; warm cake turns the filling thin and messy instead of giving you that clean, gooey middle.
Below you’ll find the little details that make these cupcakes work every time, from getting the frosting smooth enough to pipe to keeping the caramel filling neatly inside the cake instead of sliding out the side.
The cupcakes came out super moist and the caramel center stayed put instead of soaking into the cake. I loved the salty finish on the frosting — it kept the whole thing from being too sweet.
Save these salted caramel chocolate cupcakes for when you want a dark chocolate cake with a gooey caramel center and a salty-sweet finish.
The Part That Keeps the Filling From Disappearing
What ruins filled cupcakes most often is timing. If the cake is even a little warm, the caramel softens and starts sinking into the crumb instead of staying in the center, and you lose that clean, surprising middle. These need to cool all the way down before you core them, and the caramel should be thick enough to sit in the hole without running straight through.
Another mistake is baking them too long because chocolate batter is hard to read in the oven. Pull them when the tops spring back lightly and a toothpick comes out with a few moist crumbs, not wet batter. Dry cupcakes can hide the filling, but they can’t hide a dry crumb once you take a bite.
- Core, don’t dig. Use a small paring knife or cupcake corer to remove the center cleanly. A narrow tunnel holds the caramel better than a ragged hole.
- Thick caramel matters. Thin ice cream topping will leak. Use a caramel sauce that’s spoonable and glossy, not watery.
- Cool completely. Even a hint of warmth will melt the filling and soften the frosting base.
- Don’t overfill. About a teaspoon or two in each cupcake is enough. Too much and it spills when you pipe the frosting on top.
What Each Ingredient Is Actually Doing in the Batter and Frosting
- Cocoa powder — This gives the cupcakes their deep chocolate base. Use a good unsweetened cocoa; Dutch-process will taste a little smoother and darker, while natural cocoa keeps the chocolate flavor a bit sharper.
- Buttermilk — It keeps the crumb tender and helps the baking soda do its job. If you don’t have it, stir 1 tablespoon lemon juice or vinegar into 1 cup milk and let it sit for 5 minutes.
- Butter — Softened butter in both the cake and frosting gives richness and structure. In the frosting, it needs to be beaten long enough to turn pale before the powdered sugar goes in or it can taste dense instead of fluffy.
- Thick caramel sauce — This is the center of the cupcake and also the flavor note in the frosting. A homemade caramel or a jarred sauce labeled thick or dessert topping works best because it stays put when piped.
- Flaky salt — Use the flaky kind for the top. Fine salt disappears too fast and can make the frosting taste harsh instead of balanced.
Building the Chocolate Base, Filling, and Frosting in the Right Order
Mix the Dry Ingredients First
Whisk the flour, cocoa, baking powder, baking soda, and salt together until the cocoa is fully broken up and no dark clumps remain. That step matters because cocoa likes to hide in pockets, and those pockets bake up as bitter streaks. The dry mixture should look even and slightly fluffy before you move on.
Beat the Butter and Sugar Until the Color Lightens
Beat the softened butter and granulated sugar until the mixture looks pale and airy, not just combined. That’s where the cupcake gets some of its lift, so stop early and the crumb turns tight. Add the eggs one at a time, then the vanilla, and scrape down the bowl so the batter stays smooth.
Alternate the Flour and Buttermilk
Add the flour mixture and buttermilk in alternating additions, beginning and ending with flour. This keeps the batter from turning overworked, which is how you end up with a tough cupcake. Mix only until the last streaks disappear; a few tiny flour traces are better than beating the batter into a paste.
Bake Until the Centers Spring Back
Fill each liner about two-thirds full and bake at 350°F until the tops are set and a gentle press springs back. If the tops still look wet in the center, they need a minute or two more, but don’t wait for deep cracking or the crumb will dry out. Cool them in the pan briefly, then move them to a rack so steam doesn’t collect underneath.
Fill and Frost After Full Cooling
Core the center of each cupcake once they’re completely cool, then spoon in the caramel. Beat the frosting until smooth and pipeable, starting on low so the powdered sugar doesn’t fly everywhere, then increasing speed for body. Finish with a drizzle of caramel and a small pinch of flaky salt so every bite gets the sweet-salty contrast.
Three Ways to Work These Cupcakes Around Your Pantry
Dairy-Free Version
Use plant-based butter in the cake and frosting, and swap the buttermilk for dairy-free milk mixed with 1 tablespoon lemon juice or vinegar. The cupcakes will still bake up tender, though the frosting may need an extra spoonful of cream alternative to pipe smoothly. Choose a dairy-free caramel that’s thick enough to hold its shape.
Gluten-Free Swap
Replace the all-purpose flour with a 1:1 gluten-free baking blend that includes xanthan gum. The texture will be a little more delicate, but the cocoa and caramel still carry the flavor beautifully. Let the cupcakes cool fully before handling because gluten-free cakes can be more fragile while warm.
Make Them Less Sweet
Use a darker cocoa if you have it and keep the caramel drizzle light on top. You can also reduce the frosting batch slightly if you prefer a thinner layer, which lets the chocolate cupcake and salted filling do more of the work. The salt is what keeps this version balanced, so don’t skip the pinch on top.
Storage and Reheating
- Refrigerator: Store in an airtight container for up to 4 days. The frosting firms up in the fridge, but the cake stays moist.
- Freezer: Freeze unfrosted cupcakes for up to 2 months. Wrap them well and thaw at room temperature before filling and frosting for the best texture.
- Reheating: These are best served at room temperature, not warm. If you want the caramel a little softer, let a refrigerated cupcake sit out for 20 to 30 minutes instead of microwaving it, which can make the frosting greasy.
Answers to the Questions Worth Asking
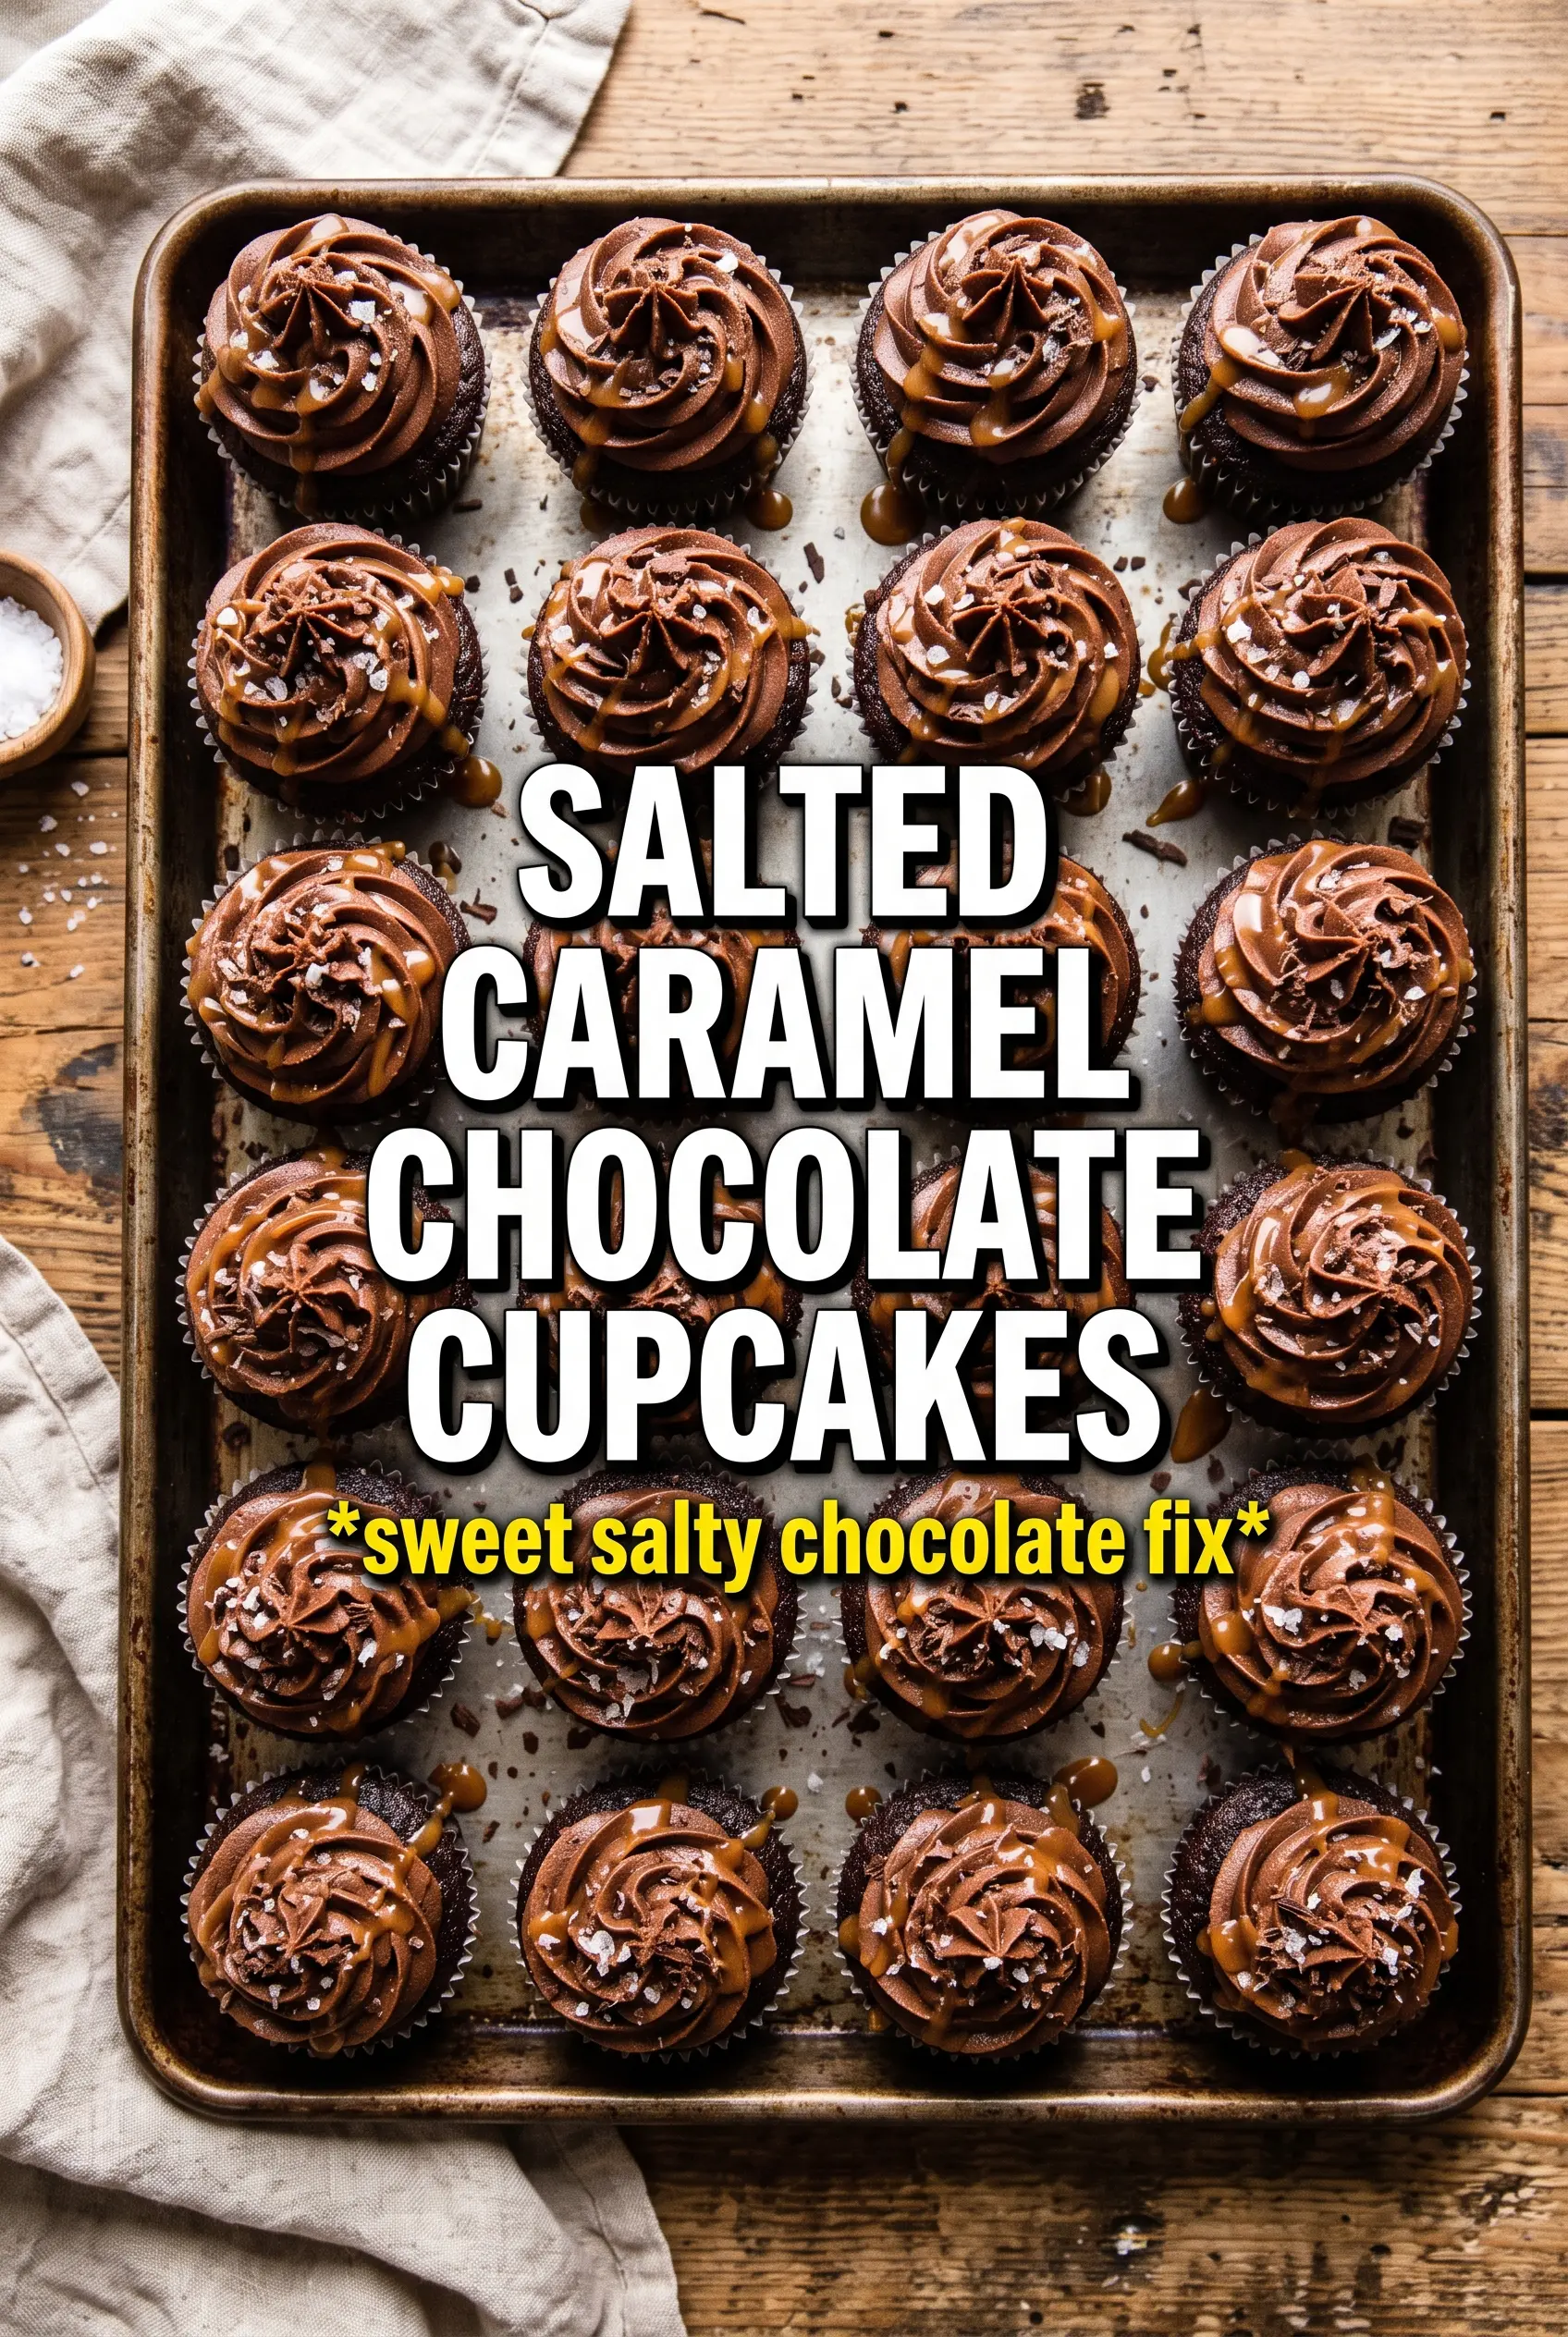
Salted Caramel Chocolate Cupcakes
Ingredients
Equipment
Method
- Preheat the oven to 350F, then line cupcake tins with paper liners.
- Whisk together all-purpose flour, cocoa powder, baking powder, baking soda, and salt.
- Beat butter and granulated sugar until fluffy, then add the eggs and vanilla and beat until combined.
- Alternate adding the flour mixture and buttermilk, mixing just until the batter is smooth.
- Fill the liners about 2/3 full, then bake 18-20 minutes until a toothpick comes out mostly clean.
- Cool the cupcakes completely before filling.
- Core each cupcake, then fill the center with thick caramel sauce.
- Beat the frosting ingredients until smooth, then pipe it onto each cupcake.
- Drizzle each cupcake with caramel sauce and sprinkle flaky salt on top.