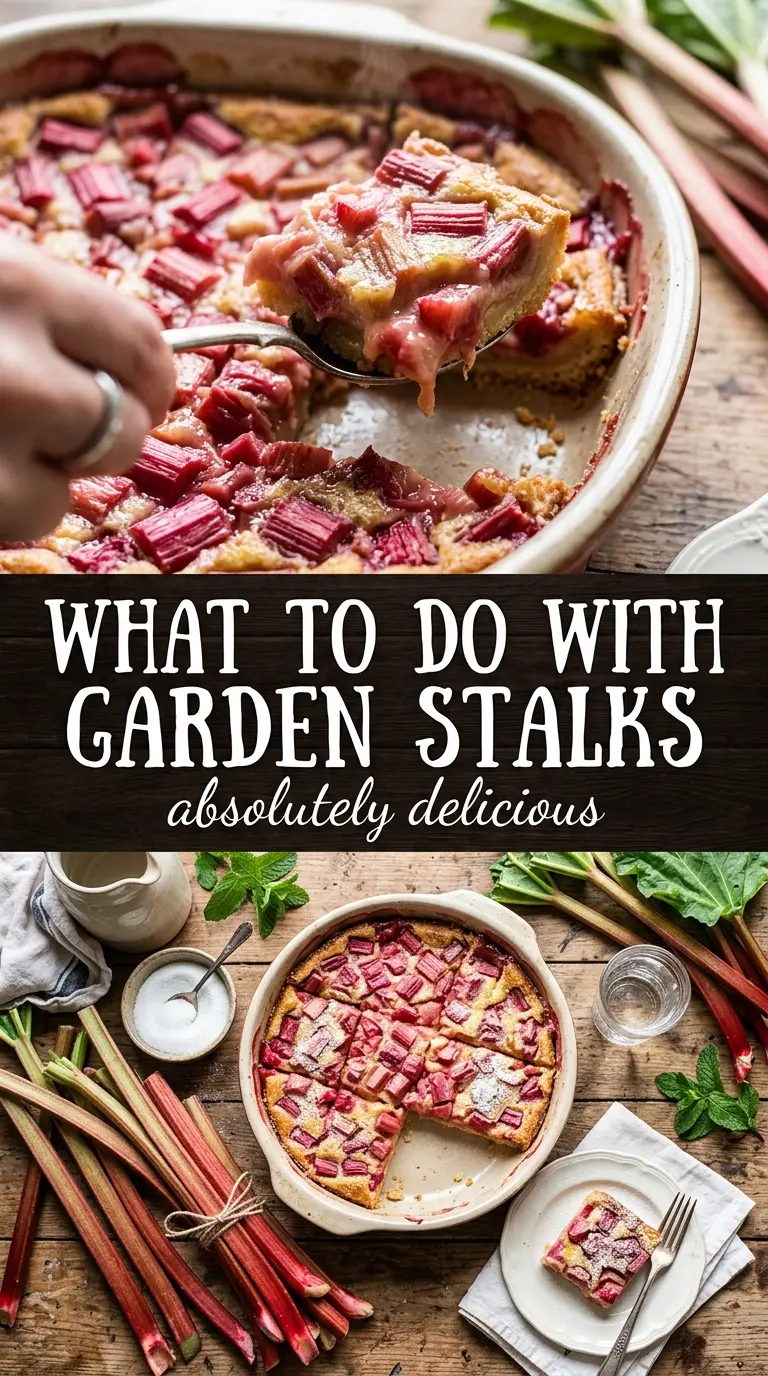
Rhubarb Dream Bars set up into clean, creamy squares with a buttery shortbread base and bright pink rhubarb tucked through every bite. The crust stays tender and sandy, the filling bakes into something close to a custard, and the tart fruit keeps the whole pan from feeling heavy. When they’re chilled and sliced, you get clear layers instead of a soft crumble, which is exactly why this dessert keeps disappearing fast.
The trick is starting with a cold-butter crust and baking it just long enough to firm up before the filling goes in. That head start keeps the bottom from turning soggy while the rhubarb mixture sets on top. The filling itself is simple, but the flour and eggs need to be whisked smooth before the fruit is folded in, or you’ll get uneven pockets and a loose center.
Below you’ll find the small details that matter here: how to keep the layers distinct, what to expect from the texture after chilling, and a few smart swaps if your rhubarb is extra tart or you want to plan ahead.
The crust held its shape perfectly and the filling set into neat, creamy squares after chilling. I loved that the rhubarb stayed bright and a little tart instead of turning mushy.
Love these rhubarb dream bars? Save them to Pinterest for the buttery crust, creamy custard layer, and bright pink rhubarb filling.
The Part Most People Get Wrong: Keeping the Bottom Crust Crisp
This dessert lives or dies by the crust. If the base is underbaked, the rhubarb filling bleeds into it and you lose that shortbread layer entirely. Prebaking the crust until it’s just turning pale gold gives you a barrier that can handle the juicy fruit without going past the line into dry or hard.
The other thing to watch is the filling thickness. Rhubarb throws off moisture as it bakes, and the flour in the custard mixture is there to catch some of that liquid and help the bars slice cleanly once chilled. If you rush the cooling time, even a perfectly baked pan will seem loose, so the rest period isn’t optional here.
What Each Ingredient Is Doing in These Bars
- Cold butter — This is what gives the crust its sandy, tender texture. Cold cubes cut into the flour and powdered sugar create little pockets that bake into a shortbread base instead of a dense cookie layer.
- Powdered sugar — It melts smoothly into the crust and keeps the base delicate. Granulated sugar will work in a pinch, but the texture gets a little rougher and less melt-in-your-mouth.
- Fresh rhubarb — Fresh is worth using here because the pieces stay bright and distinct after baking. Dice it evenly so the bars set more predictably and you don’t get one wet corner and one dry one.
- Eggs — They build the custard-like filling and hold everything together. Whisk them until completely blended before adding the fruit so the filling bakes evenly.
- Flour in the filling — This is the quiet stabilizer. It thickens the juices from the rhubarb and keeps the center from collapsing when you cut the bars.
- Vanilla — It softens rhubarb’s sharp edge and rounds out the sweetness. Don’t skip it unless you want the bars to taste flatter and more one-note.
Building the Layers So the Bars Slice Cleanly
Pressing and Prebaking the Crust
Mix the flour and powdered sugar first, then cut in the cold butter until the mixture looks like coarse crumbs that hold together when pinched. Press it into an even layer in the parchment-lined pan, paying attention to the corners so the bars bake at the same rate all the way across. After 15 minutes, the crust should look set with just a little color at the edges. If it’s still pale and loose, it’s not ready for the filling.
Whisking the Custard Base
Combine the sugar, eggs, flour, vanilla, and salt until the mixture is smooth and glossy. You’re looking for no streaks of flour and no stringy egg whites hanging around the bowl. If the flour isn’t fully dispersed, the bars can bake up with little gummy pockets. Fold in the diced rhubarb gently so the pieces stay evenly distributed instead of sinking into one layer.
Baking Until the Center Just Sets
Pour the filling over the hot crust and slide the pan back into the oven right away. Bake until the edges are golden and the center no longer sloshes when you nudge the pan, but still has the slightest jiggle in the middle. That small wobble finishes setting as the bars cool. If you wait until the center is fully firm in the oven, the edges usually overbake before the middle catches up.
Cooling Before You Cut
Let the pan cool completely at room temperature before it goes into the fridge. The bars need that full chill to firm into neat squares, and cutting too early turns the custard layer soft and messy. After at least 2 hours in the refrigerator, use a sharp knife wiped clean between cuts for the tidiest edges.
Three Ways to Work With the Rhubarb You Have
Frozen rhubarb from the freezer
Use it straight from frozen if that’s what you have, but don’t thaw it first. Thawed rhubarb dumps extra liquid into the filling and can make the center slack. Expect a slightly softer set and add a few extra minutes of baking if the pan still looks loose in the middle.
A gluten-free version
Swap the all-purpose flour in both the crust and filling for a 1:1 gluten-free baking blend that contains xanthan gum. The crust may crumble a touch more at the edges, but the bars still slice well once fully chilled. If your blend is very fine, the texture stays close to the original.
A little less tart and a little more dessert-like
If your rhubarb is especially sharp, toss it with a few tablespoons of sugar before folding it into the filling, then reduce the filling sugar slightly only if you know you like a more tart bar. The goal is balance, not burying the rhubarb. Too much sugar and the bars lose the bright edge that makes them interesting.
Storing the bars for later
- Refrigerator: Keep covered for up to 5 days. The crust stays best in the first 2 to 3 days before it starts softening slightly under the filling.
- Freezer: These freeze well. Cut into bars, wrap individually, and store in an airtight container for up to 2 months. Thaw in the refrigerator so the filling doesn’t weep.
- Reheating: These are meant to be served chilled or at cool room temperature, not warmed. Heating softens the custard layer and makes the bars harder to slice cleanly.
Questions I Get Asked About These Bars

Rhubarb Dream Bars
Ingredients
Equipment
Method
- Preheat oven to 350°F and line a 9x13-inch pan with parchment paper.
- Mix all-purpose flour and powdered sugar, then cut in cold butter until crumbly.
- Press the crumb mixture into the bottom of the prepared pan in an even layer.
- Bake crust for 15 minutes at 350°F until lightly golden, then remove from oven.
- Whisk together sugar, eggs, all-purpose flour, vanilla extract, and salt until smooth.
- Fold diced rhubarb into the custard mixture until evenly combined.
- Pour the rhubarb mixture over the hot crust and spread into an even layer.
- Bake for 35-40 minutes at 350°F until the filling is set and the edges are golden.
- Cool the bars completely in the pan at room temperature so the custard can finish setting.
- Refrigerate for at least 2 hours before cutting into bars for clean, distinct layers.


