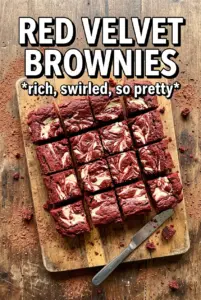
These red velvet brownies bake up thick, fudgy, and deeply chocolatey with a tangy cream cheese swirl running through the middle. The crumb stays dense and soft instead of cakey, and the red color gives every square that classic red velvet look without tasting like a novelty dessert. They slice cleanly once cooled, which makes them the kind of pan dessert people keep sneaking back to after the first piece.
The trick is keeping the batter simple and not overworking it once the flour goes in. Melted butter gives the brownies that dense, glossy texture, while a little vinegar sharpens the cocoa and keeps the flavor true to red velvet. The cream cheese layer is beaten smooth before it’s dolloped on top, so it swirls instead of sinking into the batter or turning lumpy in the oven.
Below, I’ve included the small details that matter most: how to get the swirl to show up cleanly, when the brownies are actually done, and a few smart swaps if you need to adjust the recipe for what’s in your kitchen.
The brownies turned out fudgy in the center with that perfect cream cheese ripple on top, and they cooled enough to slice cleanly after about an hour. My sister asked for the recipe before dinner was even over.
Save these fudgy red velvet brownies with cream cheese swirl for the days when you want a pan dessert that cuts neatly and tastes even better the next day.
The Reason Red Velvet Brownies Stay Fudgy Instead of Turning Cake-Like
Brownies drift toward cake when they get too much structure, too much air, or too much mixing after the flour goes in. This version avoids all three. Melted butter keeps the base dense, the sugar gives the top a slight sheen, and the batter only needs enough stirring to bring everything together. Once the flour and cocoa are incorporated, stop. Overmixing develops gluten, and that’s how a brownie starts losing its rich, compact bite.
The other thing that matters here is the balance between cocoa and vinegar. Red velvet should taste like a soft chocolate dessert with a little tang, not like sweet dye in brownie form. The vinegar sharpens the cocoa and helps the color read brighter in the oven, which is why the finished bars look dramatic instead of muddy.
- Melted butter creates a denser crumb than softened butter, which is exactly what you want in a fudgy brownie.
- Cocoa powder gives the chocolate backbone, but it’s the vinegar that keeps the flavor from tasting flat.
- The cream cheese swirl adds contrast, but it also protects the top from drying out as the brownies bake.
- Pull them when the center is set but still looks slightly soft; they finish setting as they cool.
What Each Ingredient Is Actually Doing in the Pan
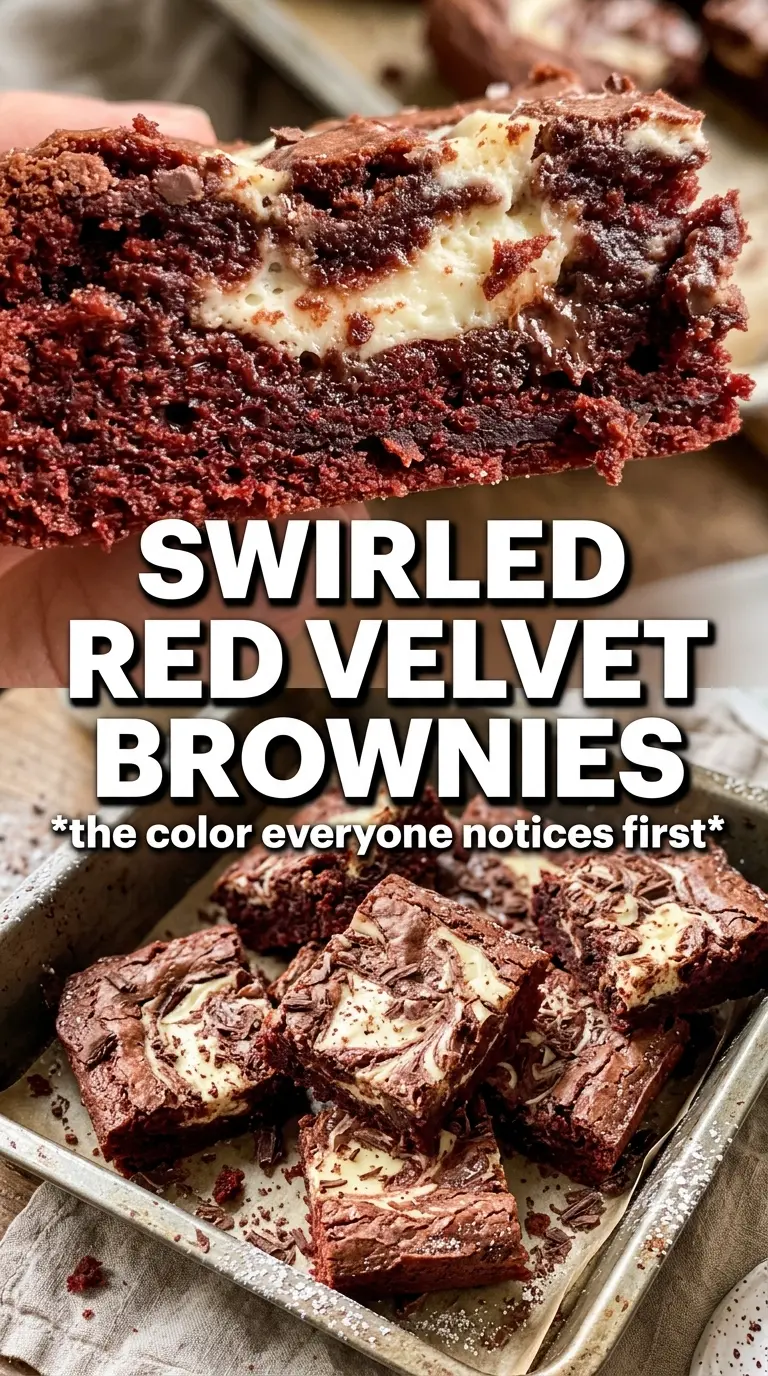
- Unsalted butter — Melted butter gives these brownies their dense, glossy texture. Salted butter works in a pinch, but unsalted keeps the flavor easier to control.
- Granulated sugar — It sweetens the batter and helps that thin crackly top form as the brownies bake. Don’t cut it much or the texture gets less fudgy and less shiny.
- Eggs — These set the structure without making the brownies dry. Room temperature eggs blend in faster and keep the batter smoother.
- Red food coloring — This is what gives the brownies their signature color. Gel coloring works well if that’s what you have; start with a little and add until the batter looks vividly red.
- Cocoa powder — Use unsweetened cocoa powder for the right balance of chocolate and tang. Natural cocoa is the easiest swap here and keeps the flavor classic.
- White vinegar — This is the quiet ingredient that makes red velvet taste like red velvet. Apple cider vinegar can work, but white vinegar keeps the flavor cleaner.
- Cream cheese — Full-fat cream cheese gives the swirl the best texture and the richest tang. Lower-fat versions can turn looser and don’t bake up as cleanly.
Building the Swirl Without Losing the Brownie Batter
Mix the Base Until It Just Comes Together
Whisk the melted butter and sugar first so the mixture looks thick and glossy, then add the eggs, vanilla, and food coloring. The batter should turn a strong red before the dry ingredients go in. Once you fold in the flour, cocoa, vinegar, and salt, stop as soon as the streaks disappear. If you keep stirring, the brownies bake up tighter and less fudgy.
Make the Cream Cheese Layer Smooth and Spoonable
Beat the cream cheese, sugar, egg, and vanilla until the mixture is completely smooth and creamy. Any lumps will stay visible after baking, so scrape the bowl once or twice and keep mixing until it looks silky. Dollop it over the brownie batter in uneven spoonfuls rather than spreading it flat. That leaves room for the swirl to show through instead of disappearing into one pale layer.
Swirl, Bake, and Stop at the Right Moment
Use a knife or skewer to make broad figure-eight swirls. Don’t chase every line, or the layers blend into each other and lose the marbled look. Bake just until the center is set and no longer looks wet in the middle, usually 25 to 30 minutes. If you wait until the pan looks fully firm, the brownies will be overdone by the time they cool.
Cool All the Way Before Cutting
These cut best after they’ve cooled completely. Warm brownies look tempting, but the cream cheese layer needs time to set or the squares will drag and smear. If you want extra-clean edges, chill the pan briefly before slicing with a sharp knife wiped clean between cuts.
How to Adjust These Brownies for Different Kitchens and Cravings
Dairy-Free Brownies Without the Swirl
Swap the butter for a neutral dairy-free butter alternative and skip the cream cheese layer entirely. The brownie base still bakes up rich and fudgy, but you lose the tangy contrast on top. If you want a similar effect, dust the cooled brownies with a little powdered sugar and cocoa instead.
More Chocolate, Less Red Velvet
If you want these closer to classic brownies, reduce the food coloring and add 1 to 2 extra tablespoons of cocoa. The bars will taste more chocolate-forward and less tangy, with a darker, less dramatic color. The texture stays the same.
Gluten-Free Version
Use a cup-for-cup gluten-free flour blend in place of the all-purpose flour. Pick one with xanthan gum already included so the brownies hold together when sliced. The texture will be slightly more delicate, but the fudgy center still comes through.
Storage and Reheating
- Refrigerator: Store covered for up to 5 days. The cream cheese swirl firms up in the fridge, so the brownies taste even denser and cleaner when chilled.
- Freezer: They freeze well. Wrap individual squares tightly and freeze for up to 2 months; thaw overnight in the refrigerator for the best texture.
- Reheating: Eat them at room temperature for the best fudgy texture. If you want a warmer square, microwave one piece for 8 to 10 seconds. Longer than that makes the swirl soften and the brownie edges turn dry.
Answers to the Questions Worth Asking
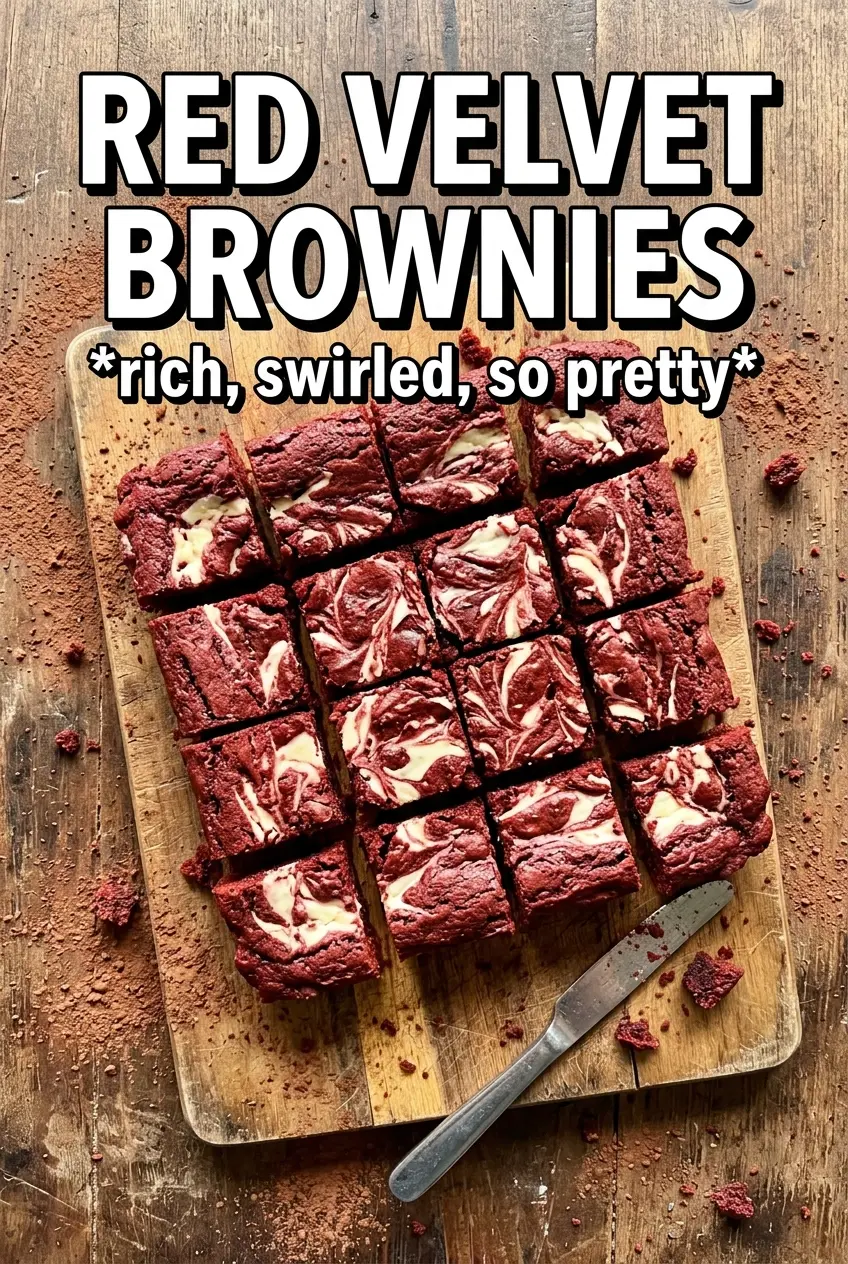
Red Velvet Brownies
Ingredients
Equipment
Method
- Preheat the oven to 350F and line a 9x13 pan with parchment so the brownies lift out cleanly.
- Whisk the melted unsalted butter and granulated sugar until glossy and smooth, then whisk in the eggs, vanilla, and red food coloring.
- Fold in the all-purpose flour, cocoa powder, white vinegar, and salt until no dry streaks remain and the batter looks thick.
- Spread the batter evenly in the lined pan.
- Beat the cream cheese swirl ingredients—cream cheese, sugar, egg, and vanilla—until smooth.
- Dollop the cream cheese swirl over the brownie batter and swirl lightly with a knife tip for ribbons.
- Bake at 350F for 25-30 minutes until the center looks set but still fudgy and not wet.
- Cool the brownies completely before cutting so the red crumb and swirl hold their shape.