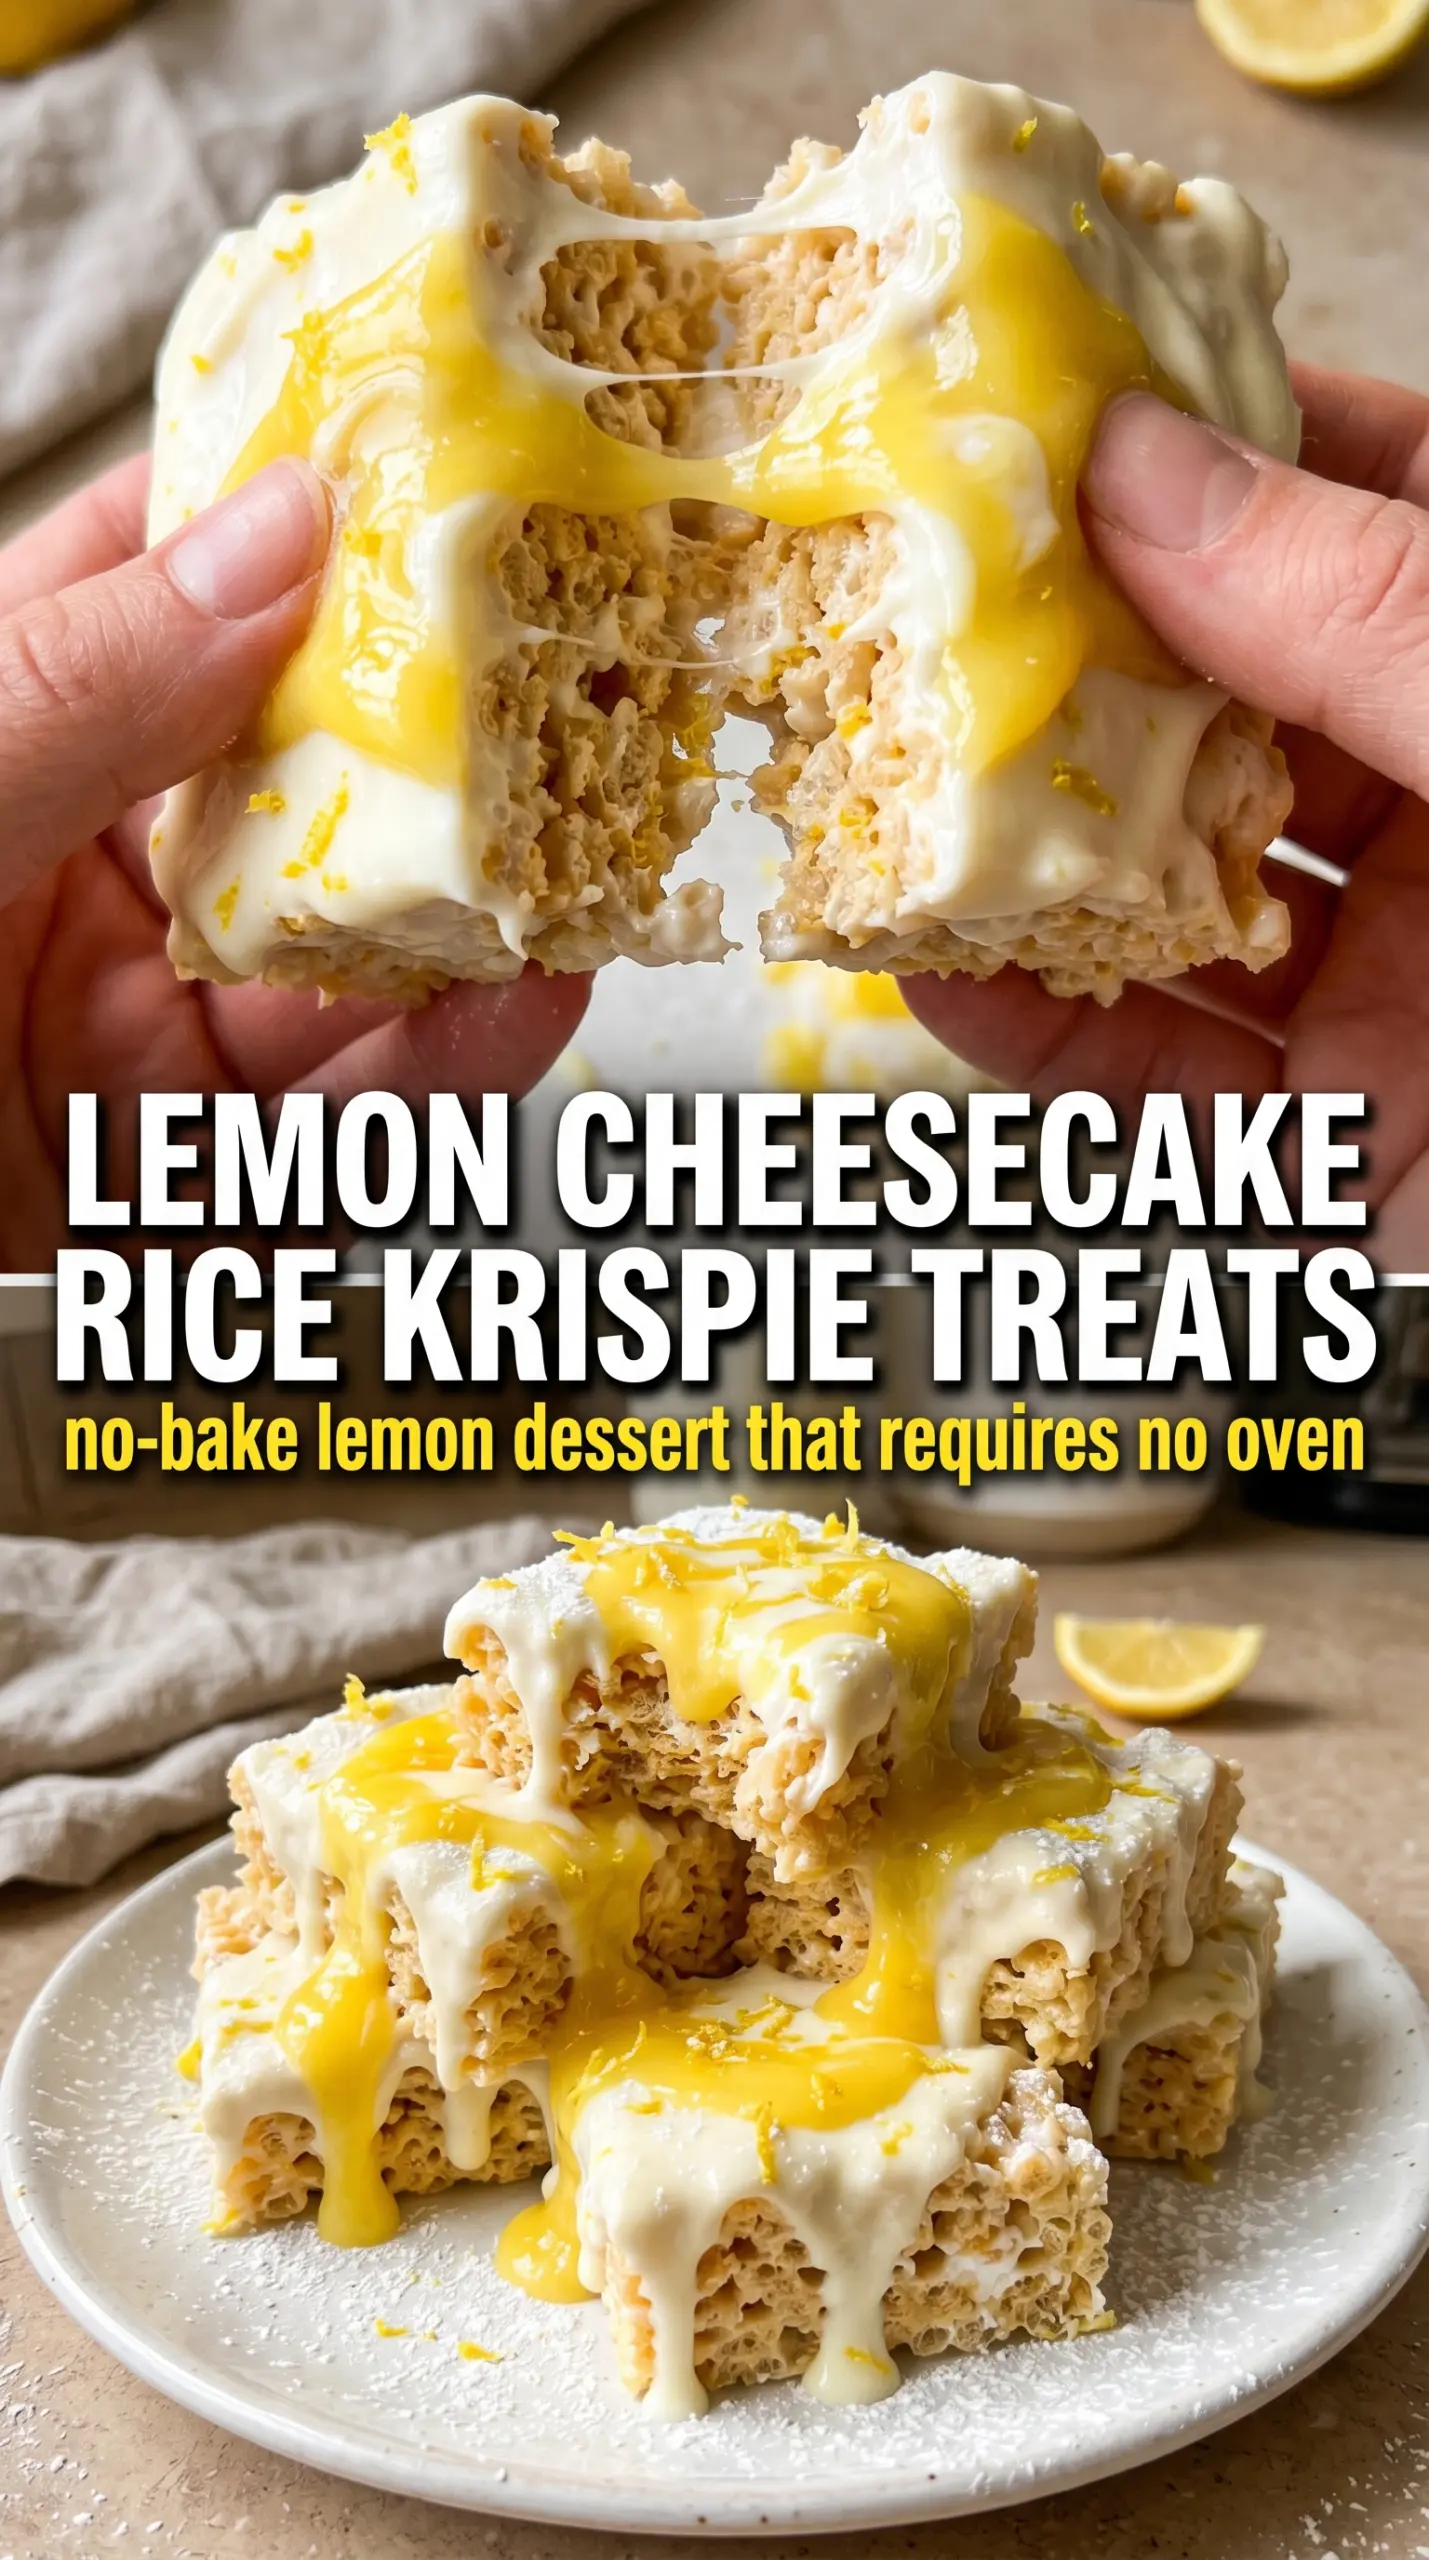
Thick, chewy Rice Krispie bars with a cool lemon cheesecake layer on top hit that sweet spot between playful and bakery-worthy. The base stays crisp enough to hold a clean square, but the marshmallow chew is still there under the creamy topping, and that mix of textures is what keeps these from tasting like just another cereal bar.
The lemon shows up in layers instead of all at once. Zest goes into the marshmallow mixture so the base tastes bright, not flat, and the cheesecake layer gets both juice and zest for a sharper citrus edge. A little white chocolate over the top gives the bars a finished look and adds sweetness without burying the lemon. Chilling matters here, because the topping needs time to firm up before you cut it or the squares will slump.
Below, I’ll walk you through the one part that matters most: keeping the base firmly pressed without compacting it into a brick. I’ve also included the swaps that work best if you want a lighter topping or need a gluten-free version.
The lemon zest in the marshmallow layer made these taste fresh, and the cheesecake topping set up perfectly after an hour in the fridge. I cut them while they were cold and got neat squares instead of a sticky mess.
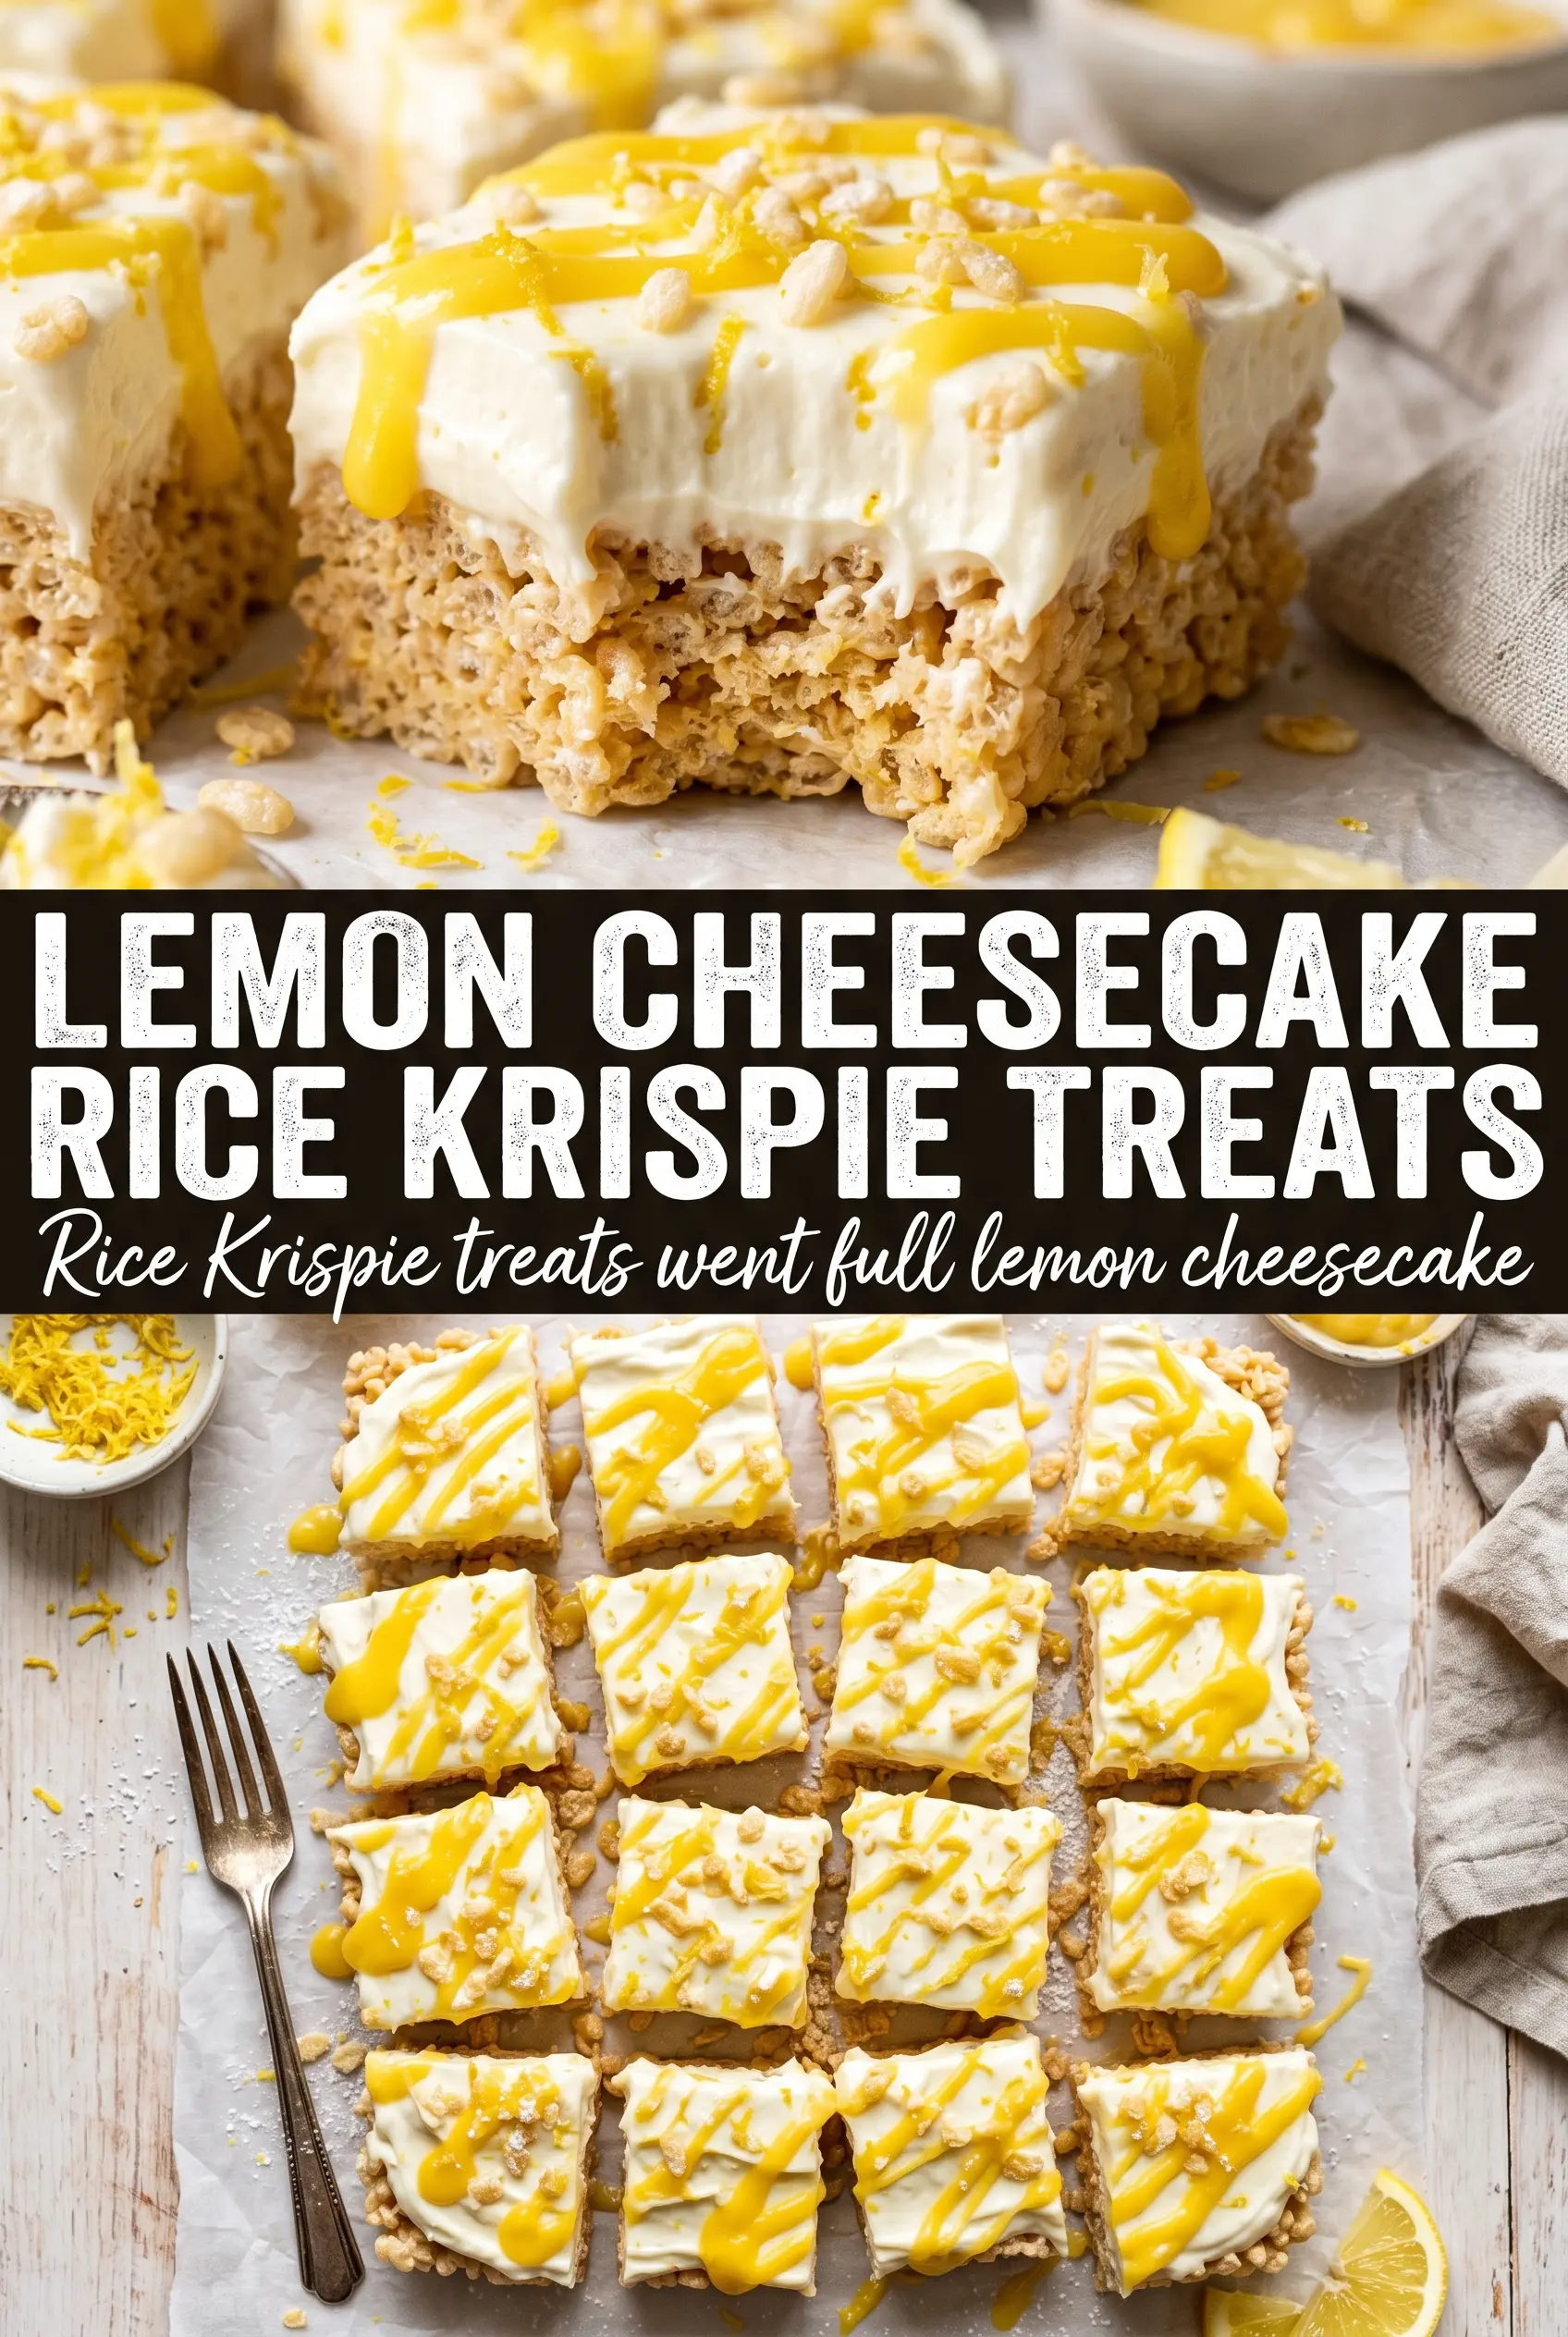
These lemon cheesecake Rice Krispie bars chill into neat, creamy squares with a bright citrus finish.
The Trick to Keeping the Cheesecake Layer From Sliding Off
The base has to be cool before the topping goes on. Warm cereal bars soften the cheesecake mixture and turn the whole pan slippery, which is how you end up with layers that shift when you cut them. Let the Krispie layer sit until it feels set and no longer gives off heat when you hover your hand over it.
Pressing the base matters, but pressing it too hard makes the bars dense instead of chewy. Use lightly greased hands or a piece of parchment to smooth it into the pan with even pressure. The goal is a compact surface, not a packed-down slab. That balance is what keeps each square sturdy without turning tough.
What Each Ingredient Is Actually Doing in This Dish
- Mini marshmallows — These melt into the glue that holds the base together. Fresh marshmallows melt smoother than an old bag that’s been hanging around, so use the softest ones you’ve got if you want a clean, even texture.
- Lemon zest — Zest carries the lemon flavor without adding extra liquid. That matters in both layers, because juice alone gives tang but not much fragrance. Use a fine grater and stop before you hit the white pith, which turns bitter.
- Cream cheese — This is what makes the topping taste like cheesecake instead of sweet whipped frosting. Full-fat cream cheese gives the richest, most stable layer. Neufchâtel works if you want it a little lighter, but the filling will be softer.
- Whipped topping — Folding it in keeps the cheesecake layer airy enough to spread without tearing the cereal base. If you swap in homemade whipped cream, use it only when it’s whipped to medium peaks and expect a softer set.
- White chocolate chips — The drizzle adds sweetness and gives the bars that finished bakery look. If you skip it, the bars still work, but you lose a little contrast against the tart lemon.
Building the Bars Without Deflating the Base
Melting the Marshmallows Gently
Melt the butter over medium-low heat, then add the marshmallows and stir until they’re glossy and fully melted. If the heat is too high, the sugar tightens up and the mixture turns stiff before you’ve had a chance to mix in the cereal. Pull the pot off the burner as soon as the marshmallows are smooth, then stir in the lemon zest while the mixture is still warm enough to release its oils.
Pressing in the Cereal
Add the Rice Krispies and fold fast so every piece gets coated before the mixture cools. Transfer it to the pan and press it into an even layer with lightly greased hands or a greased spatula. If you see big gaps or craggy mounds, the bars will cut unevenly; if you smash it flat, they’ll lose that soft chew. Aim for a firm top with a little bounce when you touch it.
Mixing the Cheesecake Layer Smoothly
Beat the cream cheese first until it’s completely smooth, then add the powdered sugar, lemon juice, zest, and vanilla. If the cream cheese starts out lumpy, those lumps stay there, no matter how long you mix later. Fold in the whipped topping at the end so you keep the filling light instead of thin and runny.
Finishing and Chilling
Spread the cheesecake layer over the cooled base in an even coat, right to the edges. Drizzle on the melted white chocolate in a zigzag and finish with extra lemon zest while the chocolate is still soft enough to catch it. Chill the pan for at least an hour before cutting; if you rush this part, the topping smears and the bars lose their shape.
How to Adapt These for Different Kitchens and Different Needs
Gluten-Free Bars That Still Hold Together
Use a certified gluten-free crispy rice cereal. The texture stays nearly the same, but you’ll want to check the marshmallows and white chocolate label too, since some brands include trace ingredients that matter for strict gluten-free baking.
A Slightly Lighter Cheesecake Topping
Swap the cream cheese for Neufchâtel and use light whipped topping if that’s what you have. The bars will still slice neatly, but the topping won’t taste quite as rich or set quite as firmly as the full-fat version.
Extra Tangy Lemon Bars
Add another teaspoon of lemon juice to the cheesecake layer and a little more zest over the top. The flavor gets sharper and more citrus-forward, but too much juice will loosen the filling, so stop there unless you’re willing to chill the bars longer.
Storage and Reheating
- Refrigerator: Store in an airtight container for up to 4 days. The cereal base softens a little under the cheesecake layer, but the bars still cut well when cold.
- Freezer: These freeze, but the cheesecake layer changes texture a bit after thawing. Wrap individual bars tightly and freeze for up to 1 month for the best result.
- Reheating: Don’t reheat these. Serve them chilled straight from the fridge, and use a sharp knife wiped clean between cuts for the neatest squares.
Answers to the Questions Worth Asking
No-Bake Lemon Cheesecake Rice Krispie Treats
Ingredients
Equipment
Method
- Line a 9x13 pan with parchment paper and spray lightly so the bars lift out cleanly after chilling.
- Melt butter in a large pot over medium-low heat; add mini marshmallows and stir until fully melted, about 3–5 minutes, with a glossy melted look.
- Remove from heat and stir in lemon zest until evenly distributed.
- Fold in Rice Krispies cereal, then press firmly into the prepared pan to form a thick, even base; cool until set.
- Beat cream cheese, powdered sugar, fresh lemon juice, lemon zest, and vanilla extract until smooth, with no visible lumps.
- Fold in whipped topping just until combined, keeping the mixture fluffy.
- Spread the lemon cheesecake layer evenly over the cooled Krispie base using an offset spatula or the back of a spoon for an even top.
- Drizzle melted white chocolate in a zigzag pattern over the top, with thin lines that catch the light.
- Scatter extra lemon zest for garnish all over the surface.
- Refrigerate for 1 hour before cutting into 16 bars; chill until firm enough for clean squares.