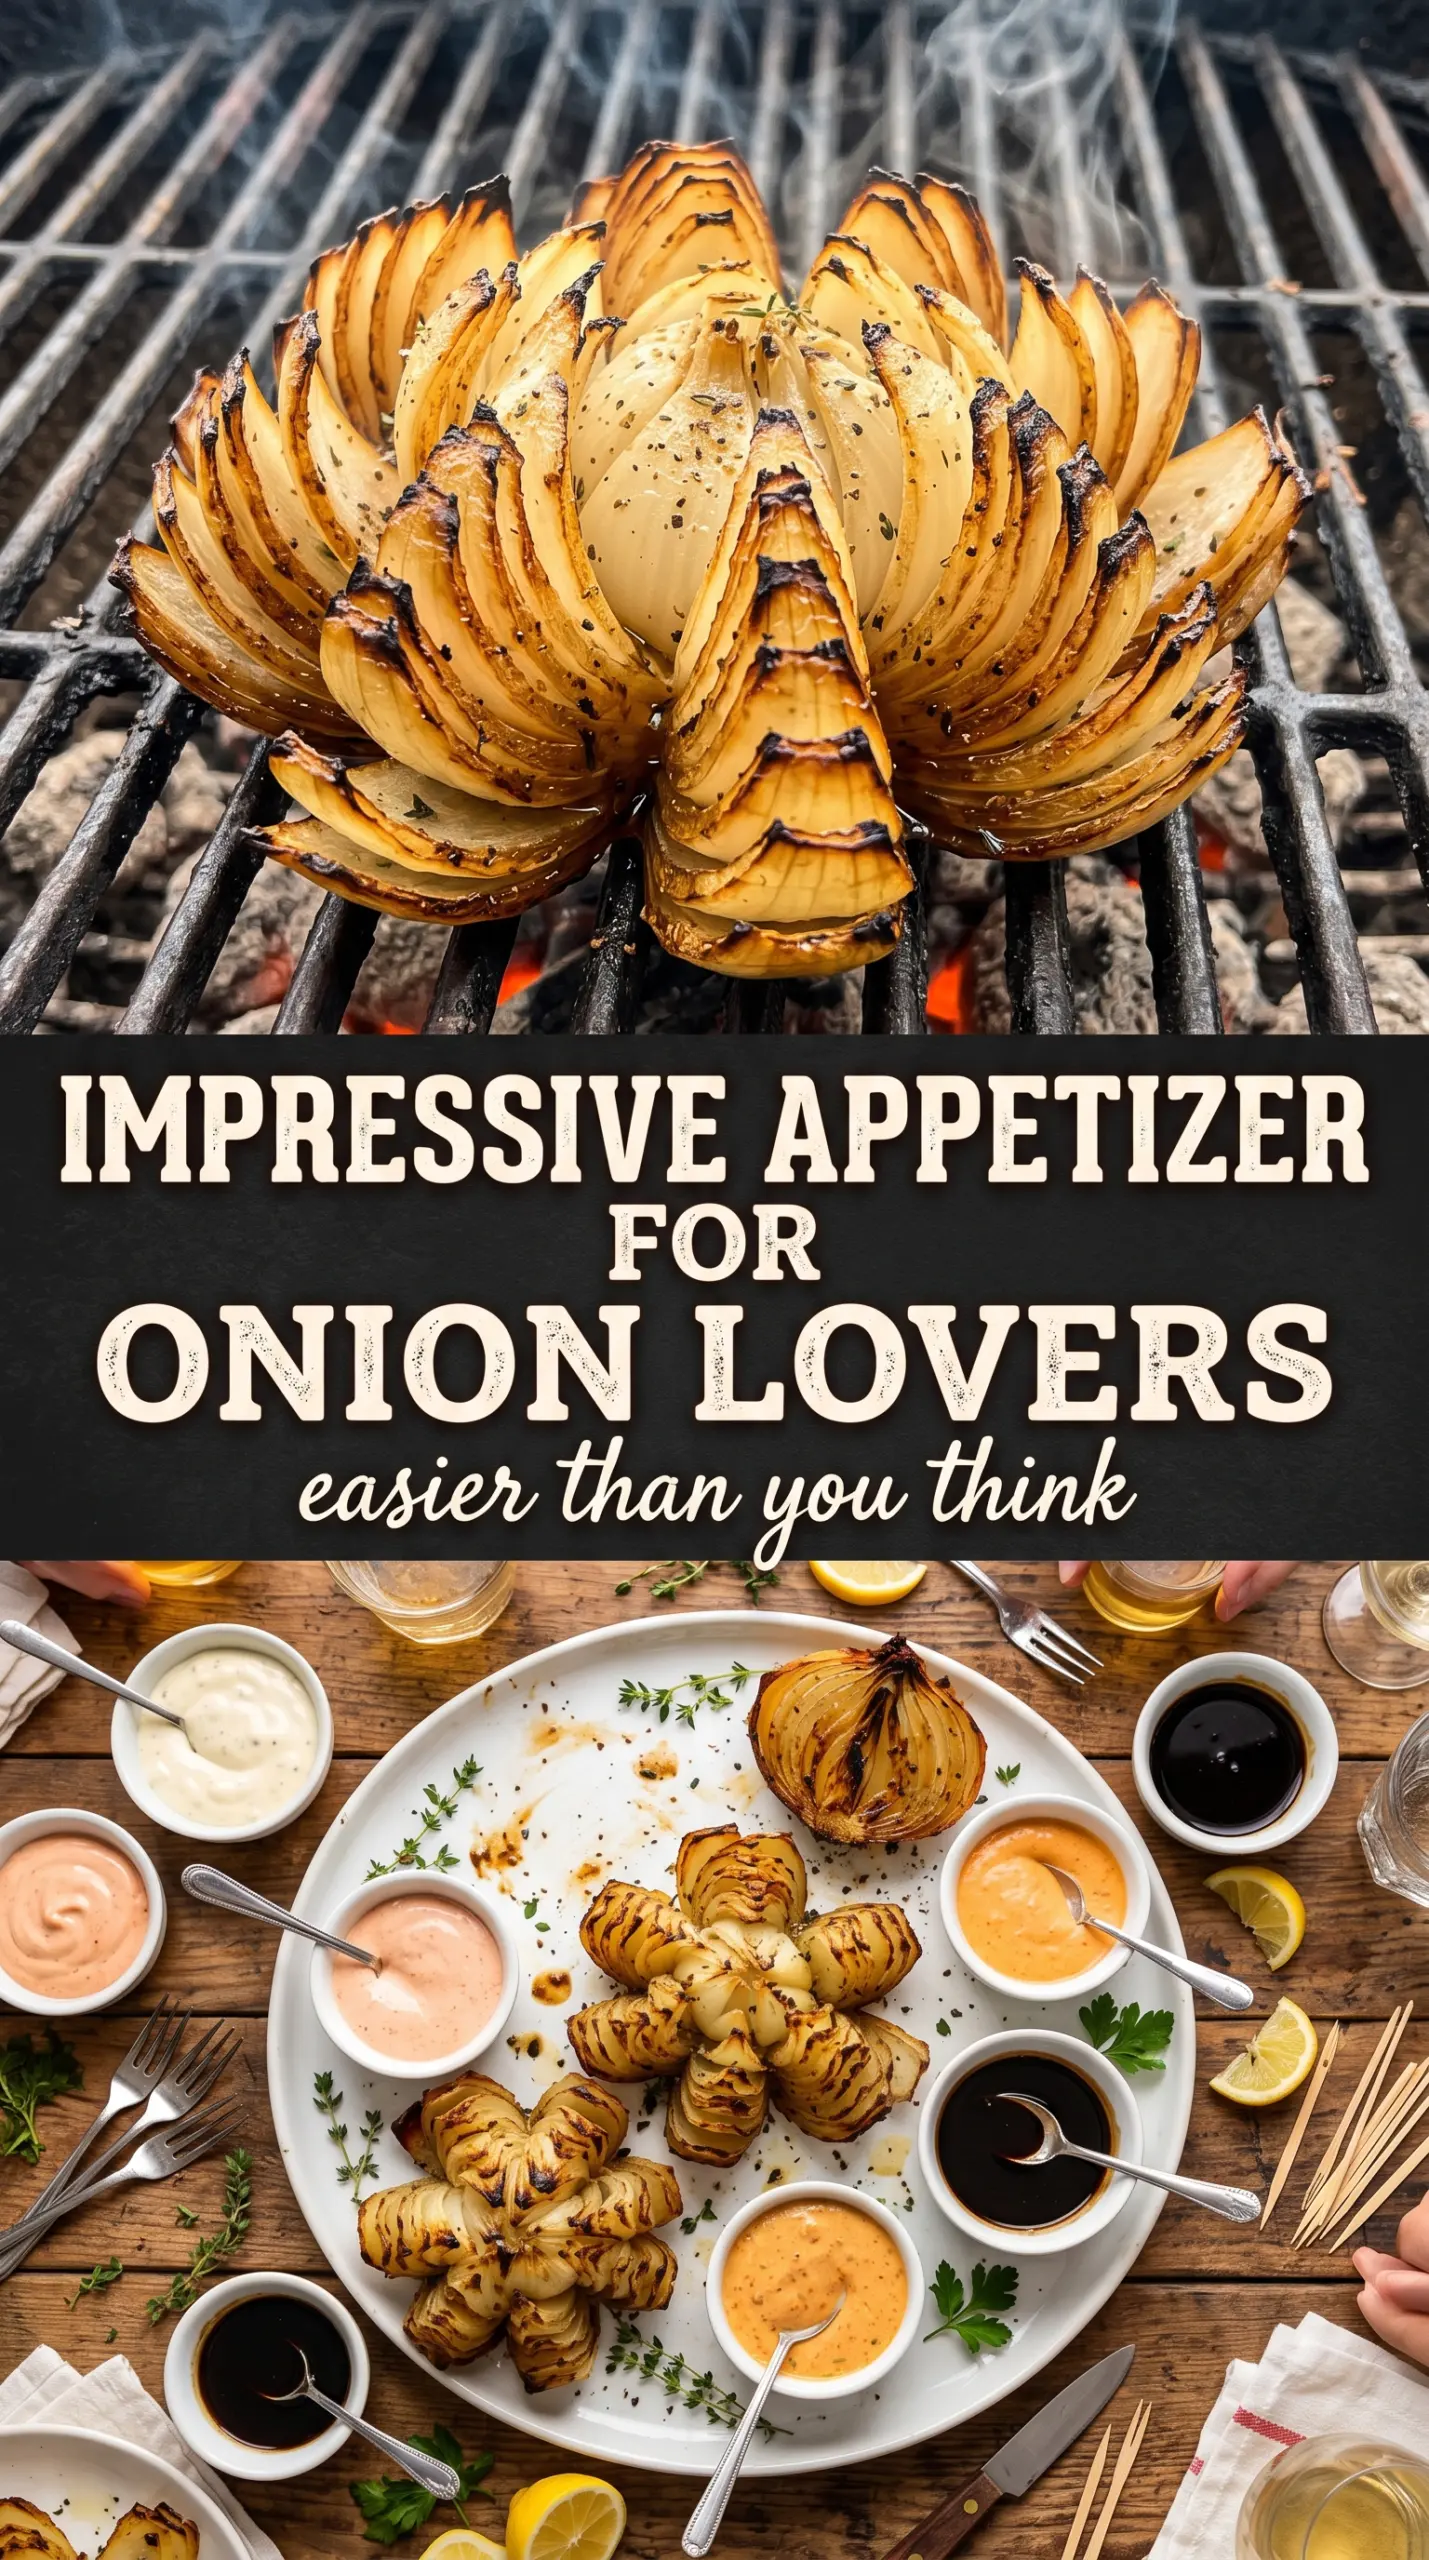
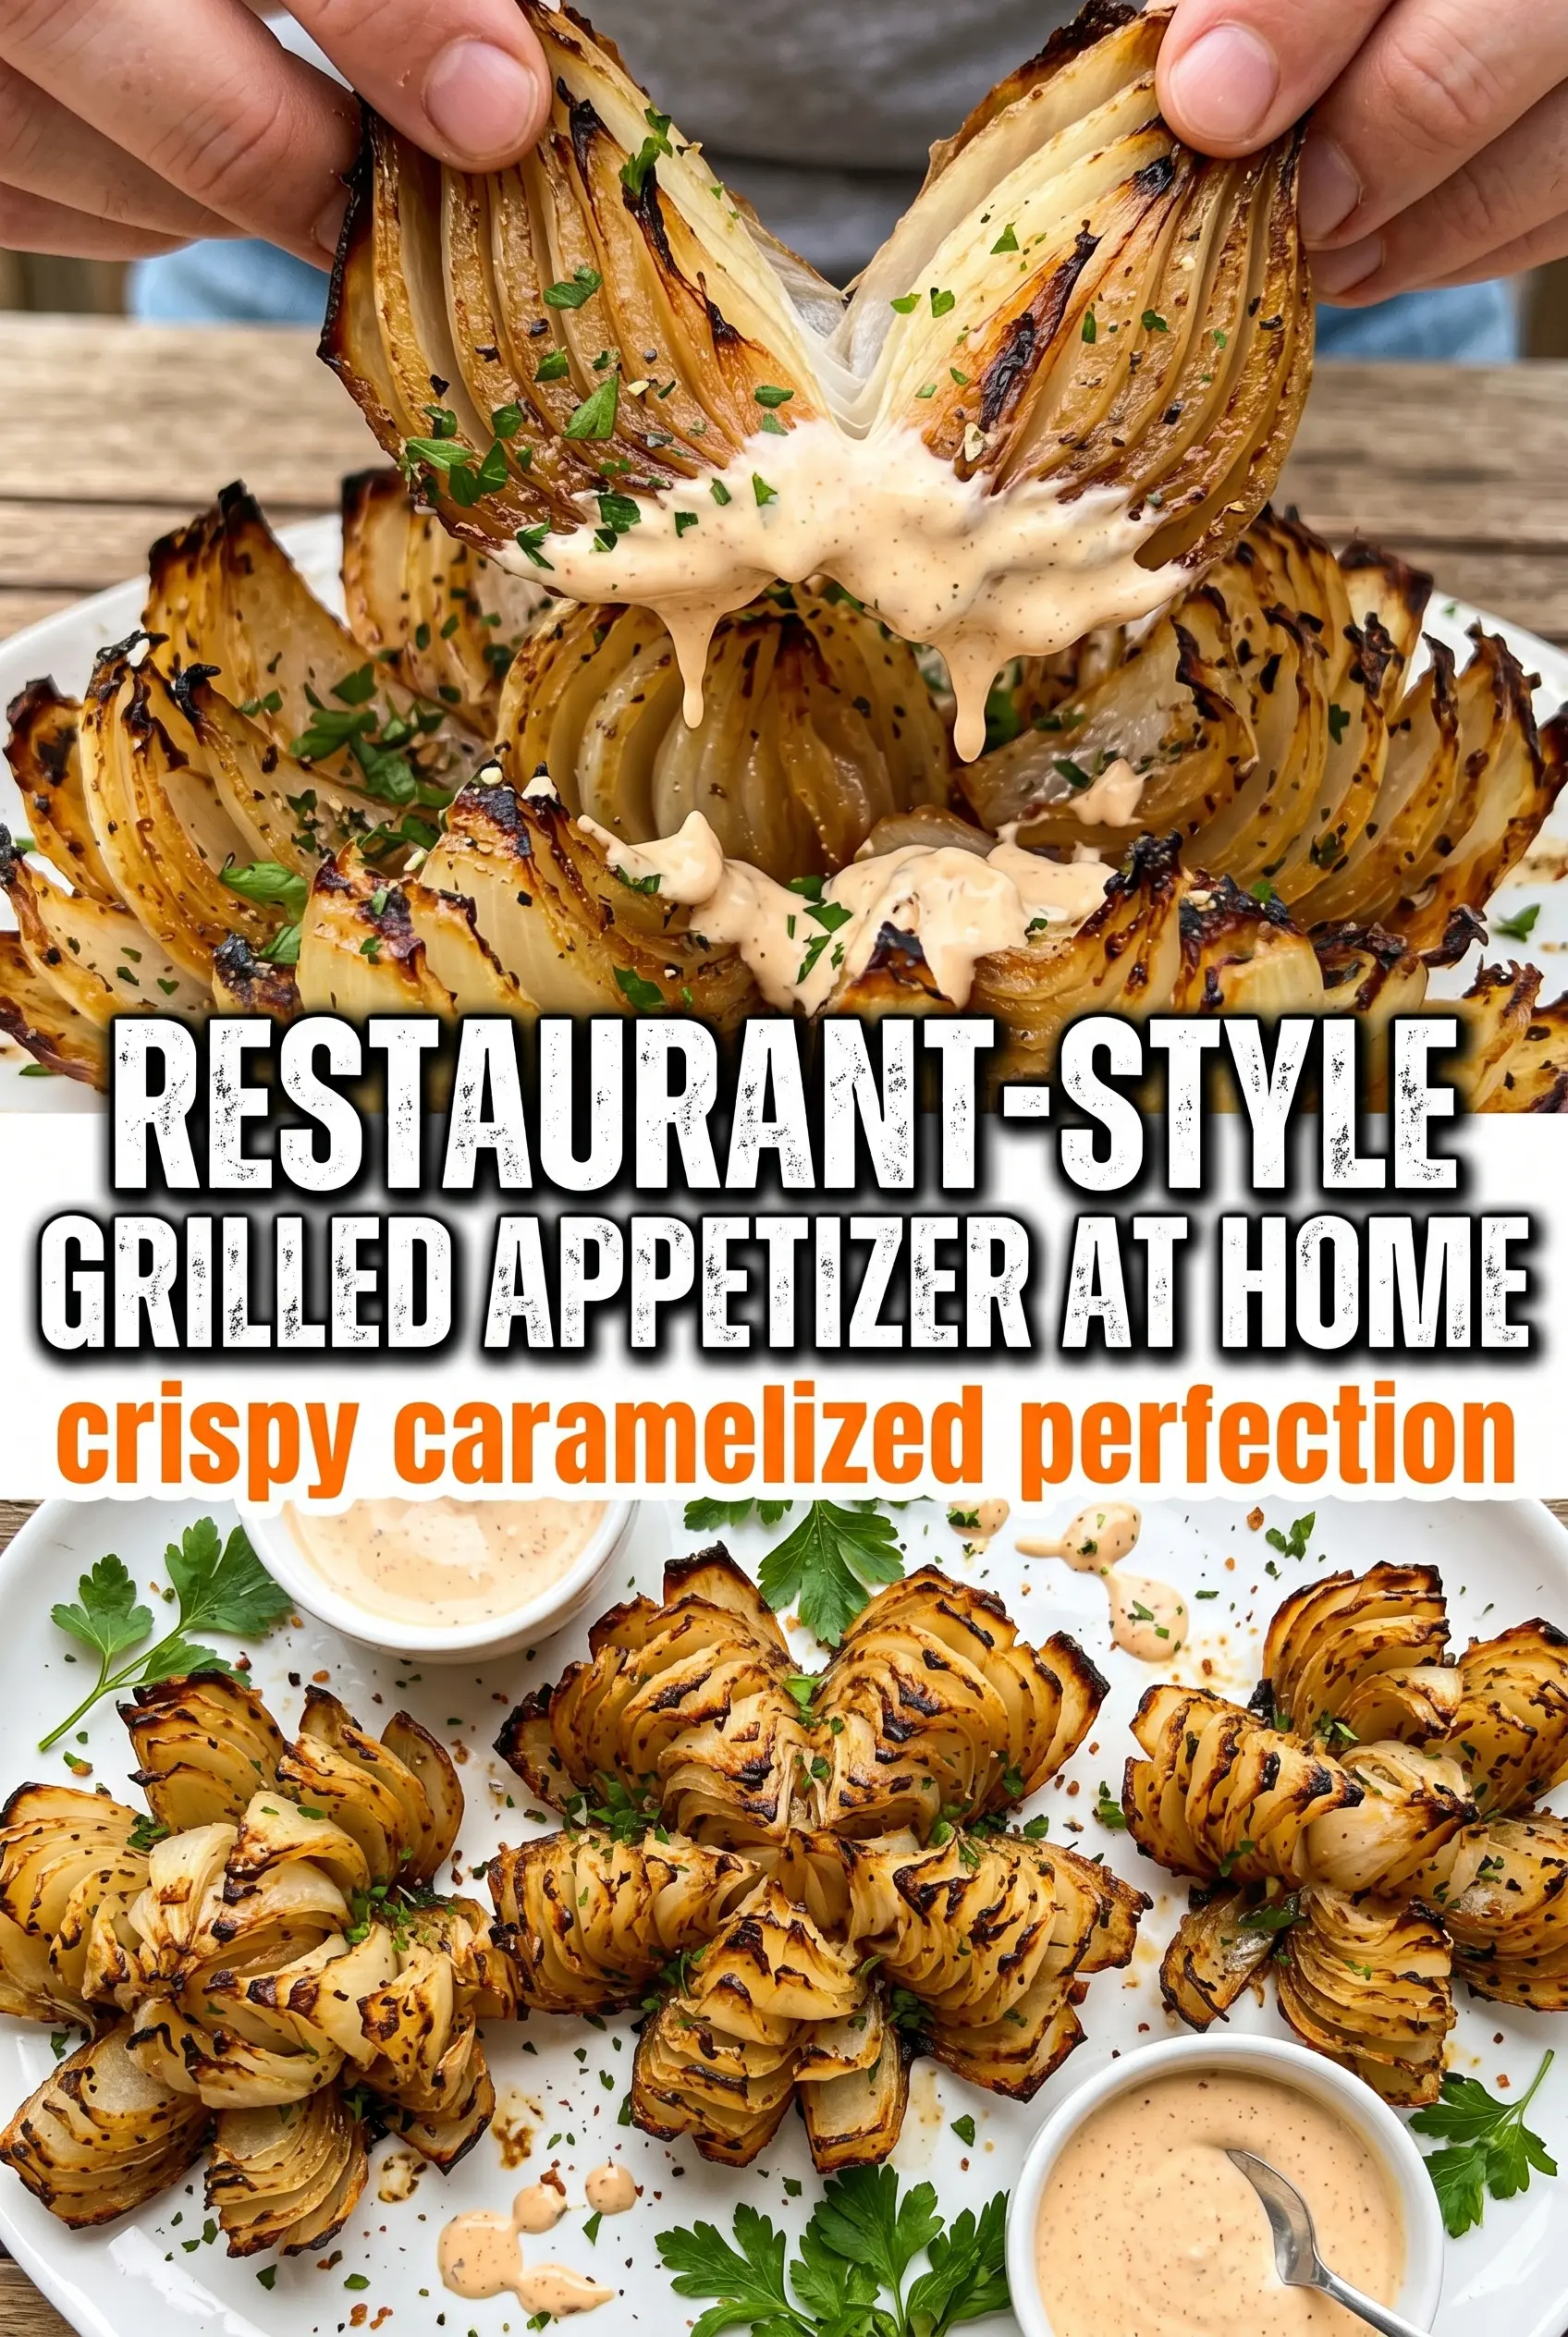
Grilled onion blossoms come off the grill tender in the center, lightly charred at the edges, and just messy enough to feel like a proper appetizer. The onion opens into a flower as it cooks, and the layers pick up smoke, paprika, and a little sweetness from the heat. What you get is part side dish, part dip vehicle, and all-around good grilling food.
The trick is keeping the root intact so the onion holds together while the wedges fan out. Foil helps the onion steam until it’s tender, but the real payoff comes from unwrapping it at the end and letting the outside catch a little direct heat. That’s when the edges darken, the spices bloom, and the onion tastes carved from a backyard cookout instead of a saucepan.
Below, I’ll show you how to cut the blossom without losing the shape, how to season it so the flavor gets between the layers, and how to adjust the heat if you want more bite or a softer, sweeter finish.
The onions turned tender all the way through, and the paprika-garlic seasoning got into every layer. I served them with ranch and they disappeared before the burgers were even off the grill.
Save these grilled onion blossoms for your next BBQ when you want a smoky appetizer that opens up beautifully on the grill.
The Cut That Keeps the Onion Blossoming on the Grill
The root is the whole game here. Leave it intact and the onion stays in one piece while the wedges fan outward as it cooks. Cut too deep and the blossom falls apart before it ever hits the heat. Cut too shallow and the seasoning never gets down into the center layers, which is where the flavor payoff lives.
Sweet onions work best because they soften and caramelize without turning harsh. Yellow onions can work in a pinch, but they bring a sharper edge and less natural sweetness. The grill does the rest by gently steaming the onion inside the foil first, then letting the exposed layers pick up char at the end.
What Each Seasoning Is Doing in the Blossom
- Sweet onions — These are worth buying for this recipe. They soften into silky layers and bring the mild sweetness that makes the char taste balanced instead of bitter.
- Olive oil — This carries the spices and helps them cling to the onion. You can use another neutral oil, but olive oil adds a little richness and better browning on the outer layers.
- Paprika, garlic powder, and onion powder — This is the backbone of the seasoning. Paprika adds color and a mellow smokiness, while the powders season the layers without leaving gritty bits behind.
- Cayenne — This is your heat dial. Use the full amount for a little kick, or cut it back if you want the onion to stay all about smoke and sweetness.
- Ranch or comeback sauce — A creamy dip cools the heat and catches the caramelized onion layers. Any thick dipping sauce works, but something tangy gives the best contrast.
How to Grill the Onion So It Opens Up Instead of Collapsing
Creating the Blossom
Trim the top, peel off the papery skin, and keep the root end on the onion. Make your cuts from the top down in wedges, stopping before the root so the onion stays connected. Then gently work your fingers between the layers to open it up; if you force it, the inner wedges can snap off and the finished onion won’t hold its shape.
Seasoning Between the Layers
Brush the onion all over with oil, then get the seasoning into the spaces between the wedges as best you can. That’s what keeps the flavor from sitting only on the outside. Foil wraps matter here because they trap steam and help the onion soften without drying out before the center is tender.
Finishing on the Grill
Grill the wrapped onions over medium heat until they’re tender all the way through, then unwrap them for the last few minutes. That final open-grill time is when the edges take on color and the spices toast. If the outside is browning too fast before the center is soft, the heat is too high; move them to a cooler part of the grill and let them finish more slowly.
Make It Smokier on a Charcoal Grill
If you want a deeper grill flavor, cook the wrapped onions over indirect heat and finish them directly over the coals after unwrapping. That gives you more smoke and a better char on the edges without scorching the outer layer before the inside softens.
Dairy-Free Dipping Sauce
Use a dairy-free ranch or a simple mayo-based comeback sauce with pickle brine and a little hot sauce. You still get the creamy contrast the onion needs, but the dip stays fully dairy-free.
Milder Version for Kids or Heat-Sensitive Guests
Skip the cayenne and lean a little heavier on paprika and garlic powder. You lose the sharp finish, but the onions still come off the grill savory, sweet, and deeply seasoned.
Storing Leftovers and Reheating
- Refrigerator: Store leftover grilled onion blossoms in an airtight container for up to 3 days. The texture softens a bit more as it sits, which is normal.
- Freezer: I don’t recommend freezing these. The onion turns watery after thawing and loses the layered texture that makes the blossom worth making.
- Reheating: Warm in a 350°F oven or back on the grill, uncovered, until heated through. Don’t microwave it if you want the edges to stay intact; that tends to make the onion collapse and go mushy.
Answers to the Questions Worth Asking
Grilled Onion Blossoms
Ingredients
Equipment
Method
- Cut off the top of each onion and peel away the papery skin, leaving the root intact.
- Make vertical cuts from the top down, stopping before the root, creating 8-12 wedges that remain attached.
- Gently separate the wedges to create a blossom shape.
- Brush the onions with olive oil and sprinkle with paprika, garlic powder, onion powder, cayenne pepper, salt, and pepper.
- Wrap each onion in foil and grill over medium heat for 25-30 minutes until tender and caramelized.
- Unwrap the onions, garnish with fresh parsley, and serve with ranch or comeback sauce for dipping.