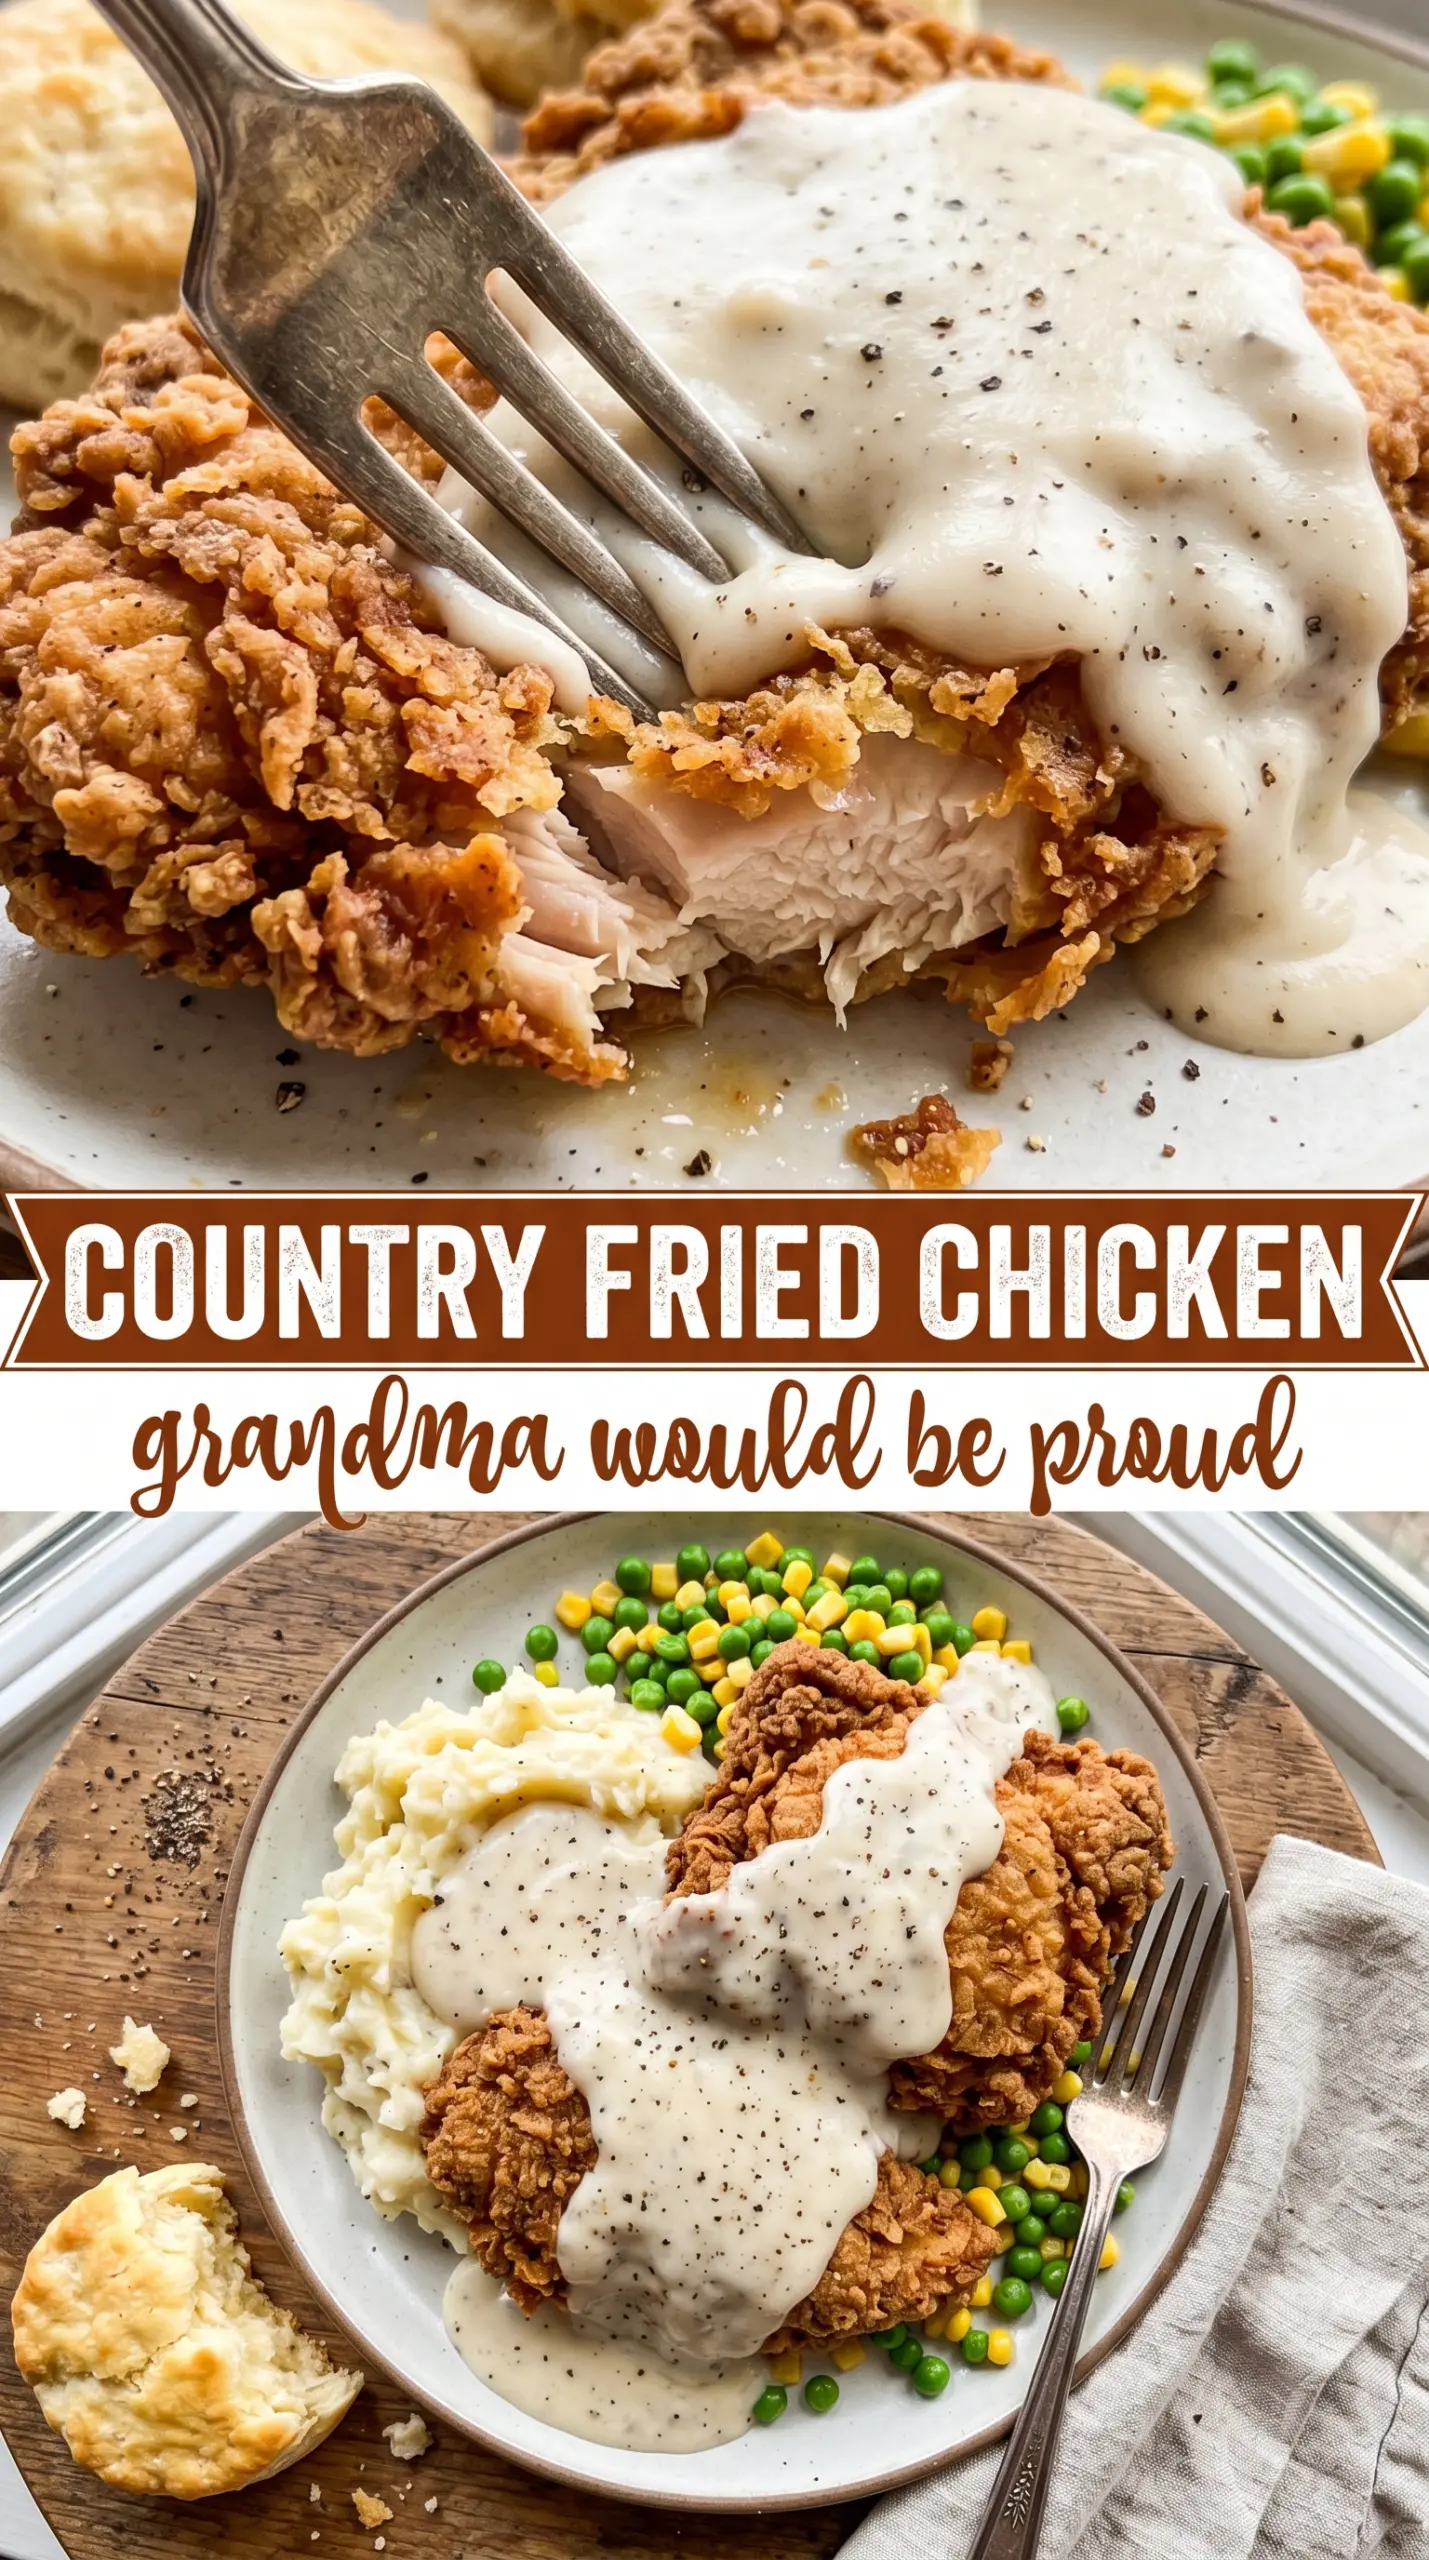
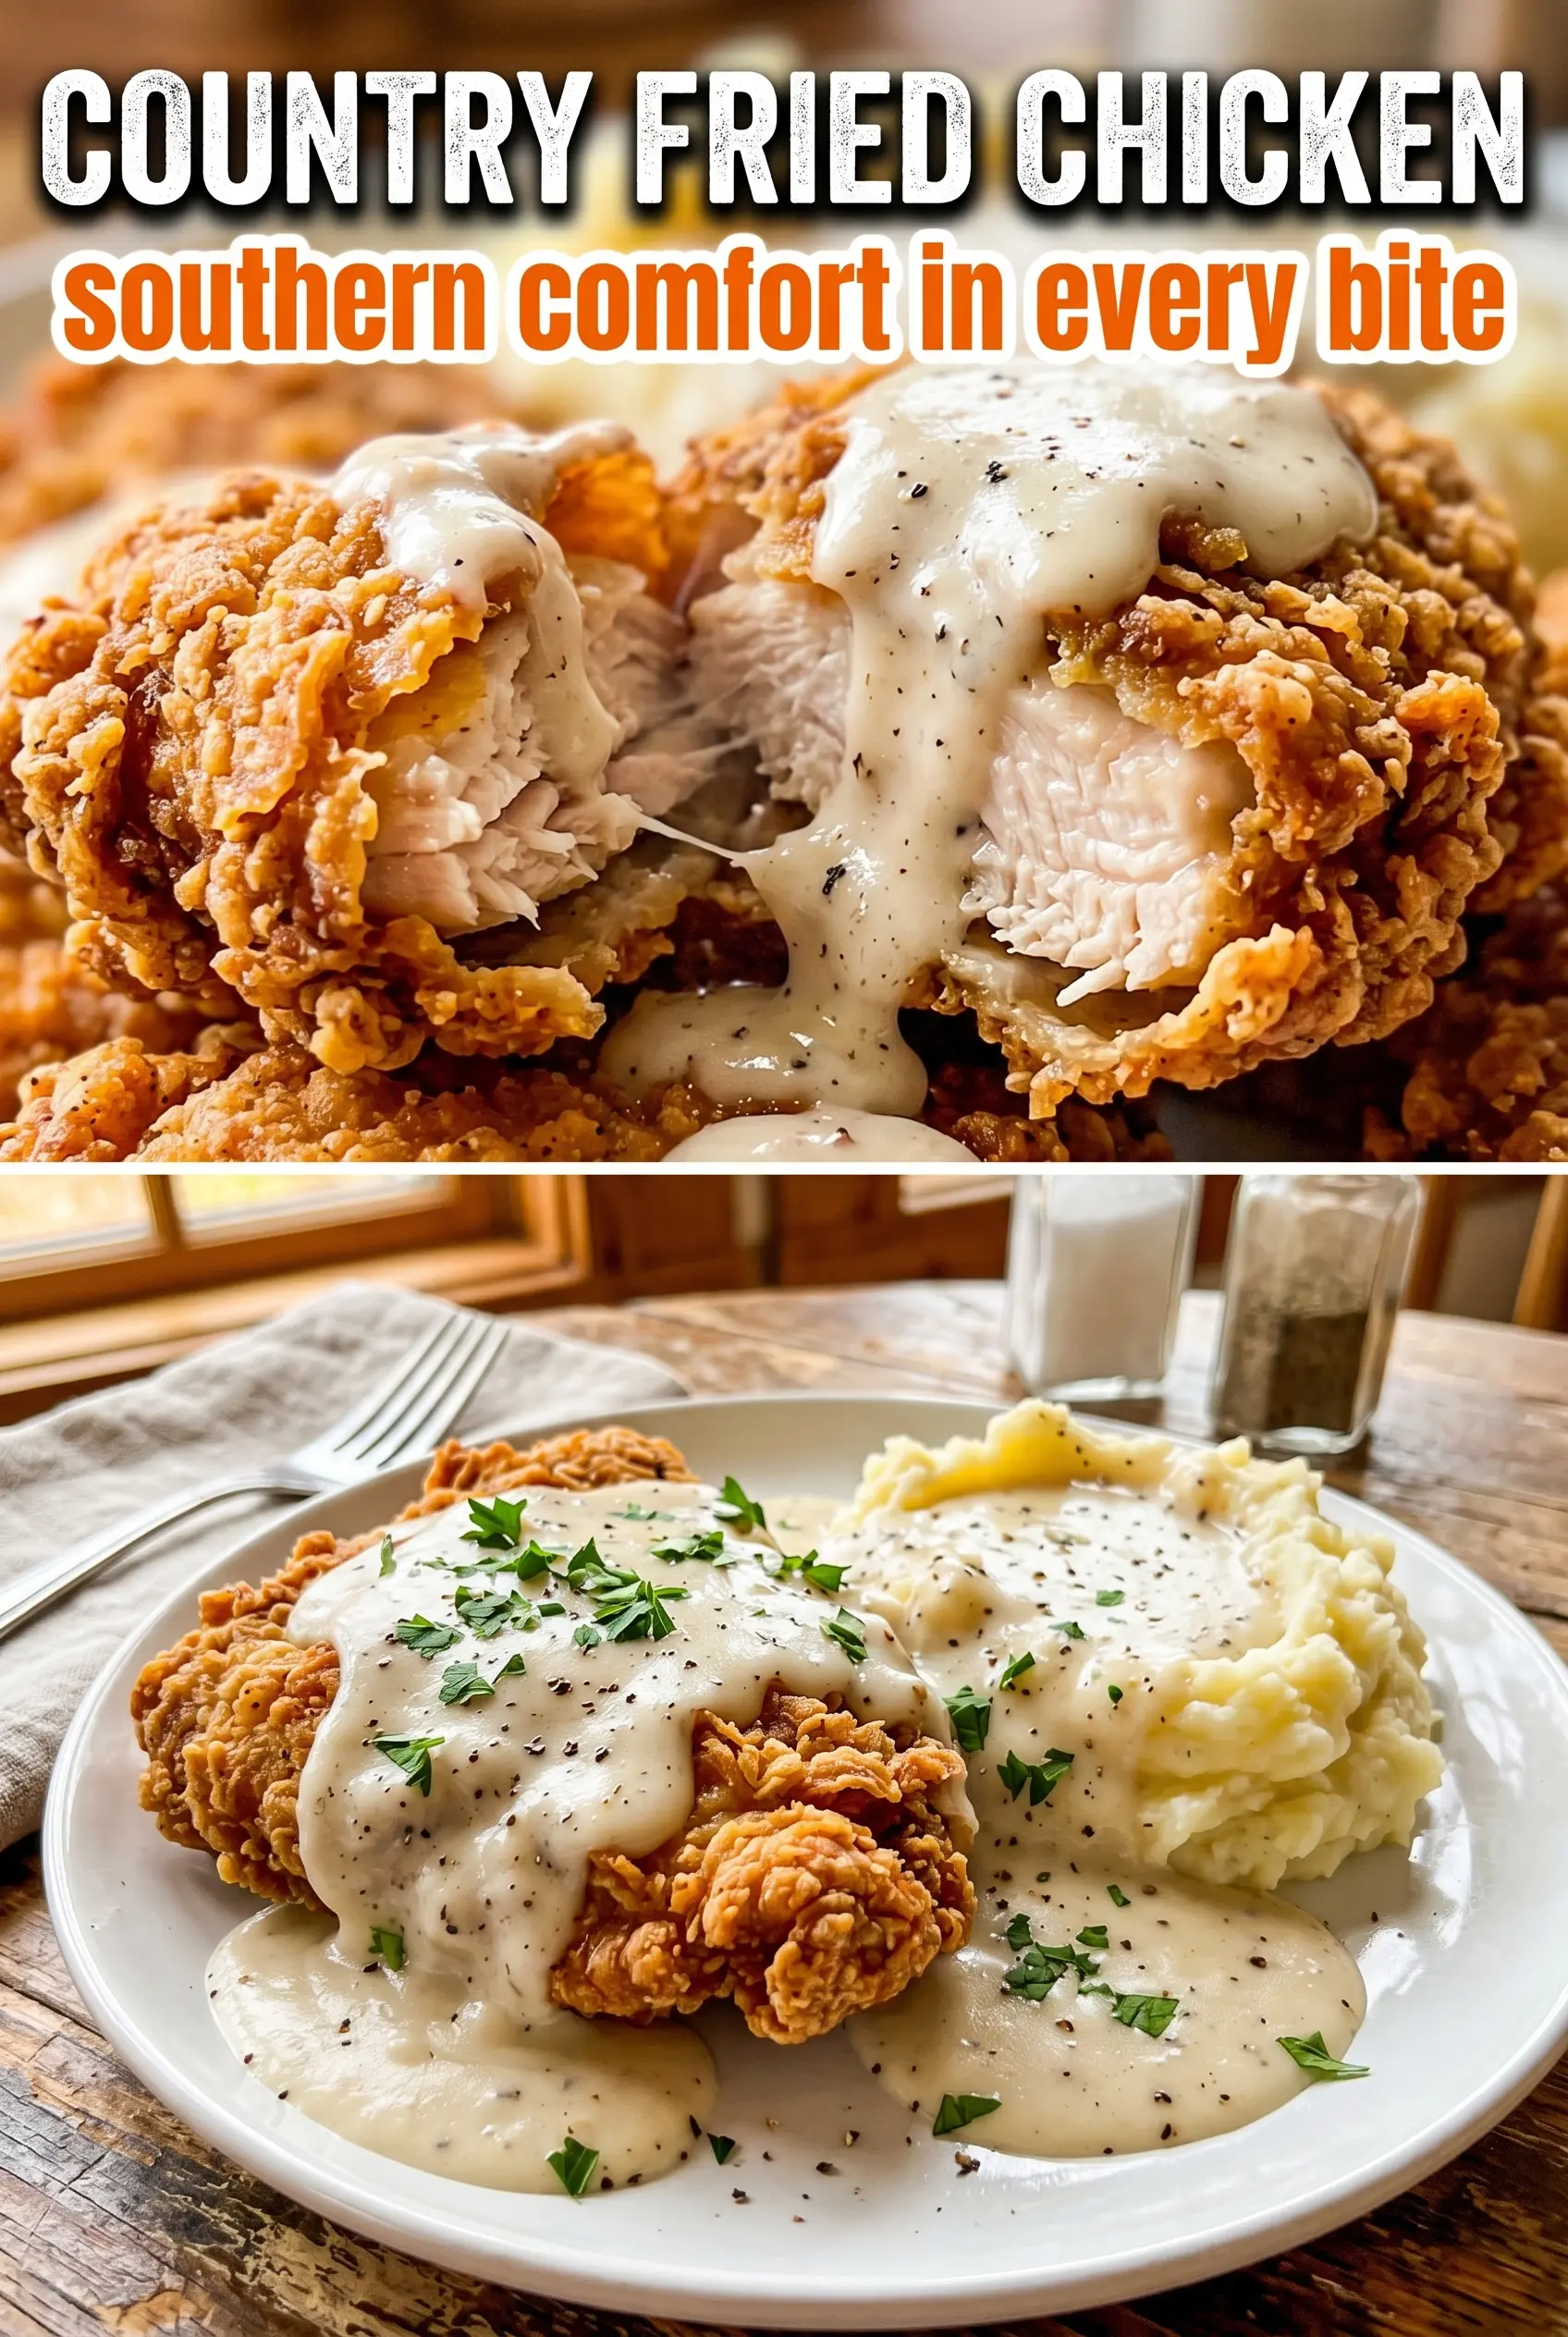
Country fried chicken earns its place in the rotation because the crust stays audibly crisp while the meat underneath stays juicy. The coating fries up in rough, craggy layers instead of a smooth shell, and that gives you the kind of bite that holds up when gravy hits the plate. This is the plate people reach for first, then go quiet for a minute because the crunch is that good.
The trick is in the buttermilk soak and the double dredge. The soak seasons the chicken all the way through and helps the flour cling, while the second pass in the seasoned flour builds those thick, knobby edges that fry into the best texture. Keeping the oil at 350°F matters too; too cool and the coating turns greasy, too hot and the crust darkens before the chicken cooks through.
Below, I’m walking through the part that really matters: how to get that coating to stay put, how to fry without losing the crust, and how to turn the pan drippings into gravy that tastes like it belongs on the plate.
The coating stayed craggy and crisp even after I added the gravy, and the chicken was cooked through right at 12 minutes per side in my cast iron skillet. My husband said the seasoning tasted like the fried chicken he grew up on.
Like this country fried chicken? Save it to Pinterest for the nights when you want a shatteringly crisp crust and real white gravy on the side.
The Double Dredge Is What Gives You Those Rough, Crispy Edges
The most common failure with fried chicken is a coating that looks good in the pan but sheds in the oil. That usually happens when the flour layer is too thin or the chicken goes straight from the buttermilk into a single dredge. The second pass in the flour is what builds those knobby little clumps that fry into a true country-style crust.
Press the flour onto the chicken firmly, then lift it out and let the coating sit for a minute before frying. That brief rest helps the flour hydrate and stick. If the surface looks dry and dusty, it will fry up sandy instead of crisp. If it looks pasty or heavy, shake off the excess before it hits the oil.
What Each Ingredient Is Doing In The Frying Pan
- Buttermilk — This tenderizes the chicken and gives the flour something sticky to grab onto. Regular milk won’t do the same job. If you need a swap, use plain yogurt thinned with a splash of milk until it coats the chicken like buttermilk.
- Hot sauce — You’re not after heat here so much as a little acidity and background seasoning. It disappears into the final flavor, but it helps the marinade taste more complete.
- Smoked paprika, cayenne, garlic powder, and onion powder — These season the flour itself, which is where fried chicken often falls flat. If you only season the meat, the crust tastes bland. Cayenne can be reduced, but don’t skip it entirely unless you want a milder, more one-note coating.
- Bone-in chicken pieces — Bone-in pieces stay juicier and are much harder to overcook than boneless cuts. Thighs are the most forgiving; breasts work too, but they need closer attention so the crust doesn’t darken before the center hits temperature.
- Whole milk for the gravy — Whole milk gives the gravy enough body without turning it gluey. Lower-fat milk can work in a pinch, but the gravy will be thinner and less silky.
- Pan drippings — These carry the fried seasoning and the savory bits from the chicken. If you skip them and use only butter or oil, the gravy tastes flatter. Strain out any burnt crumbs before whisking the flour in.
How To Fry It Without Losing The Crust
Soaking The Chicken
Give the chicken at least 30 minutes in the buttermilk mixture so the surface softens and starts absorbing seasoning. Overnight works too, and the texture gets even better. If you’re short on time, don’t skip the soak entirely, because dry chicken won’t pick up that thick flour coating in the same way.
Building The Coating
Mix the flour and spices in a shallow dish large enough for real dredging, not just dusting. Lift each piece from the buttermilk and let the excess drip off for a few seconds before it goes into the flour. Too much liquid turns the coating gummy; too little and the crust won’t form those rough, crispy ridges.
Frying At The Right Heat
Use enough oil to come up about 2 to 3 inches in the skillet and keep the heat at 350°F. If the oil is cooler, the chicken soaks it up and turns heavy. If it’s hotter, the outside burns before the bone-in pieces are done. The chicken is ready when it’s deep golden, the crust sounds firm when tapped, and the internal temperature hits 165°F.
Making The White Gravy
Use the same skillet after frying and keep the brown bits in the pan. Whisk the drippings and flour together first so you cook out the raw flour taste, then add the milk slowly while whisking. If the gravy turns lumpy, it’s usually because the milk went in too fast or the pan was too hot; lower the heat and keep whisking until it smooths out and thickens.
How To Adjust This For Lighter Or Smaller-Batch Cooking
Make It Gluten-Free
Swap the all-purpose flour for a good 1:1 gluten-free flour blend that includes starches. You’ll still get a crisp crust, though it may be a little more delicate and less shaggy than the wheat-flour version. Don’t use almond flour here; it browns too fast and doesn’t give the same structure.
Dial Back The Heat
Cut the cayenne in half if you want a milder crust that still tastes seasoned. The rest of the spices keep the coating savory, so the chicken won’t taste flat. If you remove the cayenne completely, replace that lost edge with a little extra black pepper.
Use Boneless Chicken
Boneless thighs work best if you want faster cooking and easier slicing. They’ll need less time in the oil, so watch the color closely and start checking early. Boneless breasts can dry out faster, which is why I still prefer bone-in for the classic texture and juiciness.
Storage and Reheating
- Refrigerator: Store the chicken and gravy separately for up to 3 days. The crust softens in the fridge, but it can be brought back with heat.
- Freezer: The fried chicken freezes well for up to 2 months. Wrap pieces tightly and freeze without gravy; the gravy is best made fresh because dairy sauces can separate after thawing.
- Reheating: Reheat chicken on a wire rack in a 375°F oven until hot and crisp, usually 15 to 20 minutes. Don’t microwave it if you want the crust to stay crunchy. Warm the gravy on low, whisking in a splash of milk if it thickens too much.
Answers To The Questions Worth Asking
Country Fried Chicken
Ingredients
Equipment
Method
- Soak the bone-in chicken pieces in buttermilk and hot sauce for at least 30 minutes or overnight, keeping it chilled while it soaks.
- Whisk together all seasoned flour coating ingredients in a shallow dish: all-purpose flour, garlic powder, onion powder, smoked paprika, cayenne pepper, salt, and cracked black pepper.
- Remove the chicken from the buttermilk, letting excess drip off, then dredge firmly in the seasoned flour until coated.
- Repeat the dip-and-dredge process for extra crunch so the coating bakes up thick during frying.
- Heat 2-3 inches of vegetable oil to 350°F in a large cast iron skillet.
- Fry the chicken for 10-12 minutes per side until deeply golden and the internal temperature reaches 165°F.
- Drain the fried chicken on paper towels to set the crust before serving.
- Whisk pan drippings and flour in a skillet over medium heat for 1 minute to cook off the raw flour taste.
- Gradually whisk in whole milk and cook until thickened, using a steady whisk to keep the gravy smooth.
- Season the gravy with salt and pepper to taste.
- Serve the chicken immediately with the white gravy poured over the top so it pools around the base.


