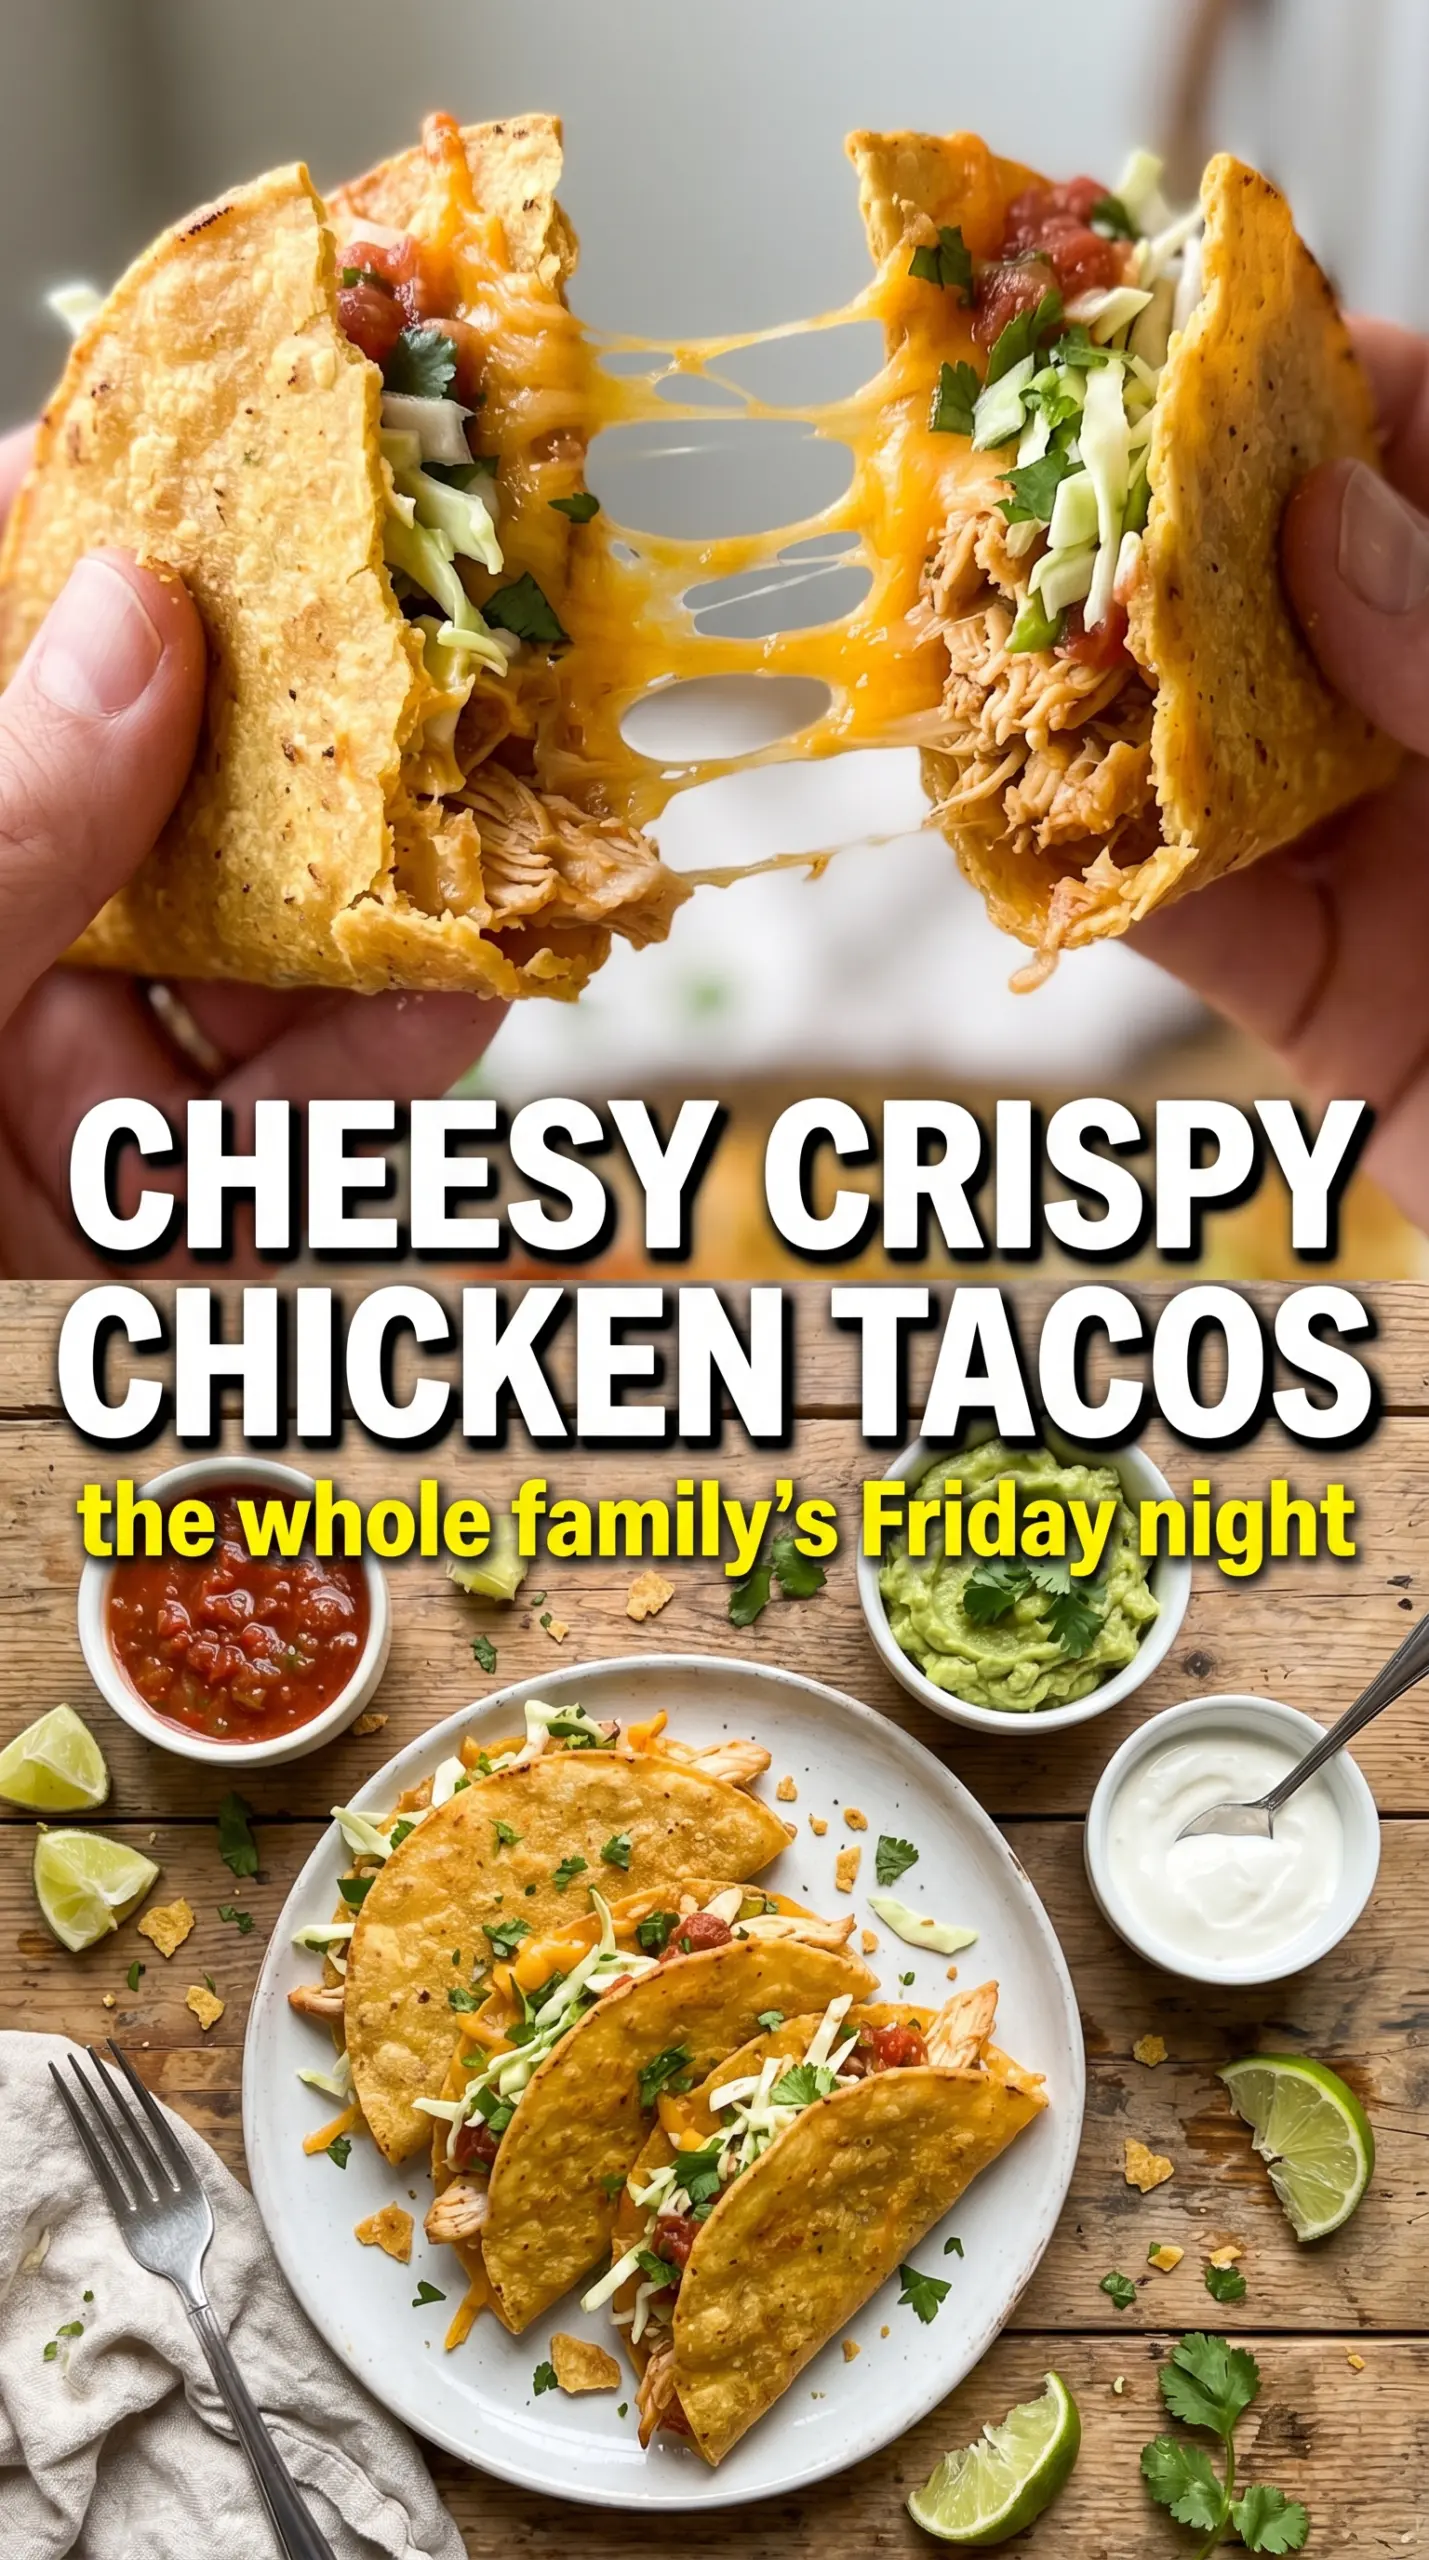
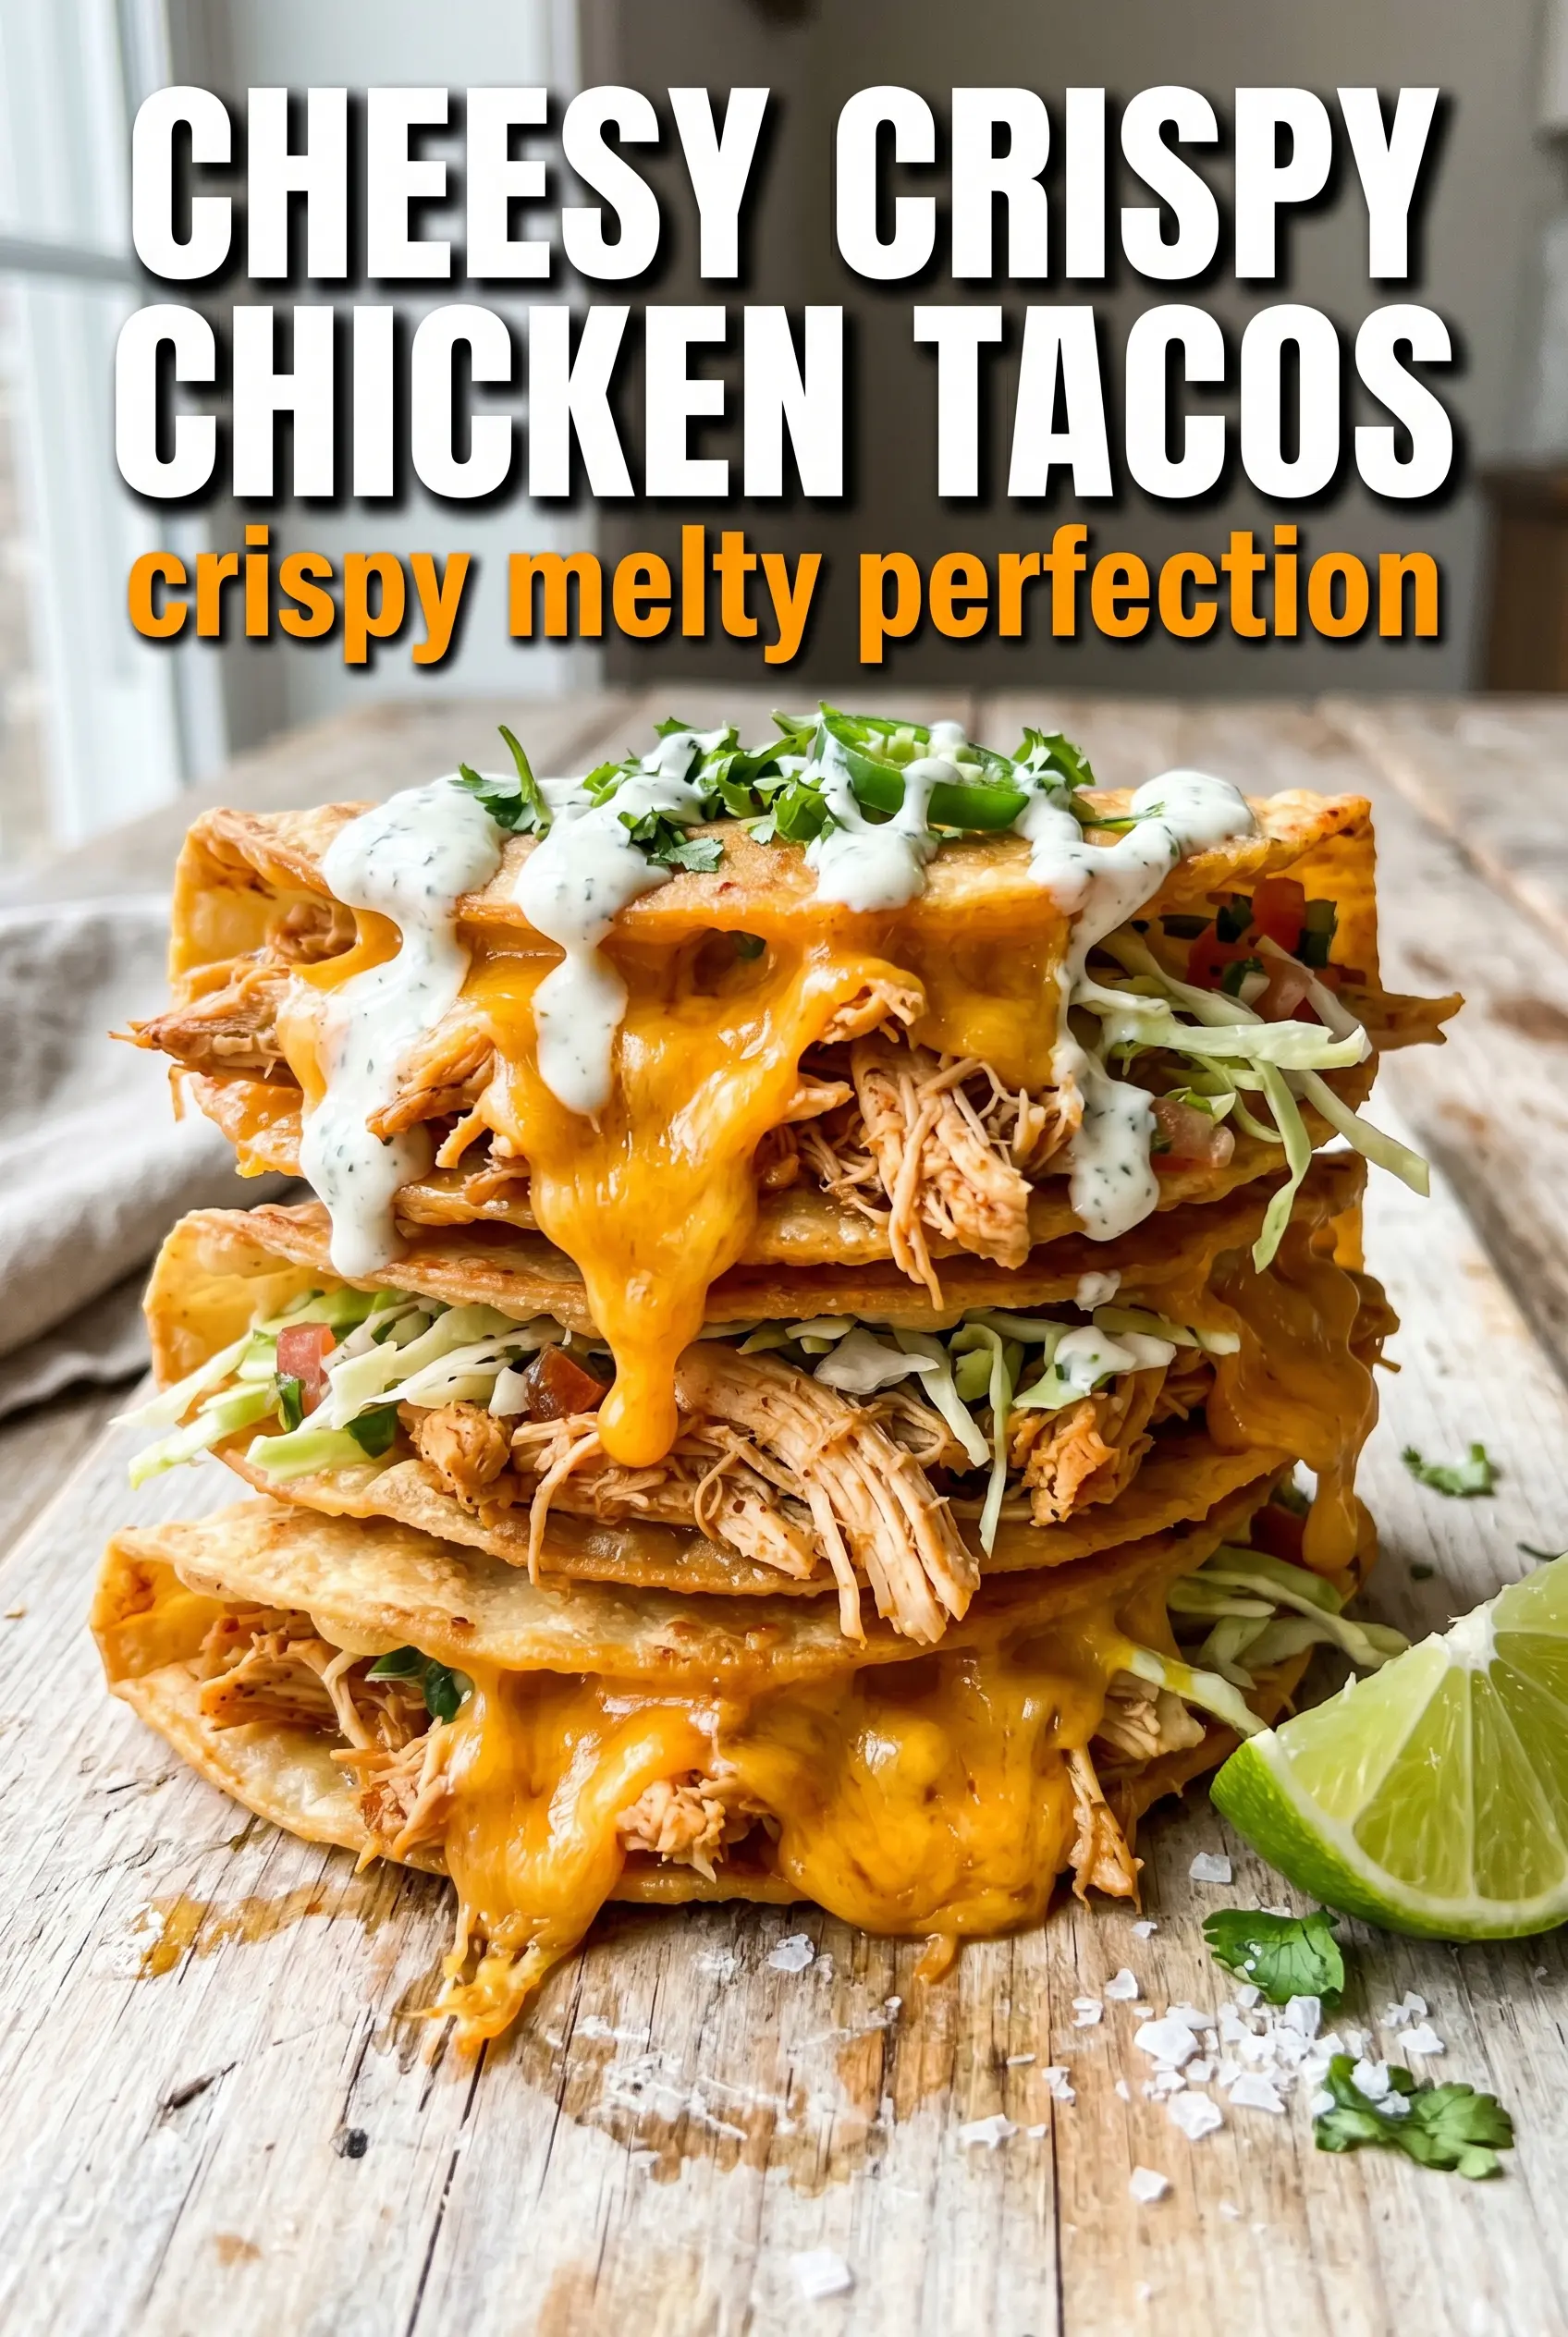
Cheesy crispy chicken tacos deliver the kind of crunch-and-melt combination that disappears fast the second they hit the table. The chicken stays juicy inside a seasoned flour crust, the tortillas pick up a little toast from the skillet, and the cheese turns stretchy and mild enough to hold everything together without smothering the fried coating.
The trick is keeping the chicken pieces small enough to cook quickly and frying them in batches so the oil stays hot. If the oil drops too much, the coating turns greasy instead of crisp, and the cheese never gets the chance to do its job as the glue. A quick skillet warm at the end softens the tortillas just enough to bend without tearing while the cheese melts into the chicken.
Below, you’ll find the small details that matter here: how to keep the breading light, why Oaxaca or mozzarella works best, and how to finish the tacos so they hold together instead of collapsing the second you pick them up.
The chicken stayed crunchy even after I added the cheese and warmed the tacos in the skillet. The lime at the end made the whole thing pop, and my kids kept asking for “the crunchy chicken tacos” again.
Save these cheesy crispy chicken tacos for the nights when you want shatter-crisp chicken, gooey cheese, and a fast skillet finish.
The Reason the Chicken Stays Crispy After the Cheese Goes On
These tacos work because the chicken gets fried before it ever meets the tortilla, so the coating has a chance to set into a proper crust. Once that crust is there, it can handle a quick warm in the skillet without turning soggy. The cheese goes inside the tortilla on both sides of the chicken, which helps it melt into the filling instead of sliding off the top.
The other detail that matters is batch frying. If you crowd the pan, the oil temperature drops and the flour coating drinks up grease instead of crisping. You want the chicken to come out deep golden and audibly crackly when you move it to the towel-lined plate.
What the Flour, Cheese, and Tortilla Are Each Doing Here
- Boneless chicken breasts — Cutting them into bite-sized pieces keeps the cook time short and gives you more crispy surface area. Thighs will work if that’s what you have, but they’ll be a little richer and less lean.
- All-purpose flour — This is what gives the chicken its light crust. A gluten-free 1:1 flour blend can work here, but the texture will be a little more delicate and may brown faster.
- Garlic powder and chili powder — These season the coating all the way through, so every bite tastes like something instead of plain fried chicken tucked into a taco. Fresh garlic won’t work the same way here because it can scorch in the oil.
- Oaxaca or mozzarella cheese — This is the melt factor. Oaxaca gives you the best stretch, but mozzarella is a solid backup if that’s what you can find.
- Corn tortillas — They bring the right flavor and enough structure for the filling. Warm them first so they don’t crack when you fold them, and use the smallest ones you can find for a better cheese-to-chicken ratio.
Frying the Chicken, Then Melting the Cheese Without Losing the Crunch
Coating the chicken evenly
Season the chicken first, then dredge it through the flour mixture after the egg so the coating clings in a thin layer. If the pieces look pasty or thickly caked, shake off more flour before they hit the oil. A heavy coating tastes doughy instead of crisp.
Frying at the right temperature
Bring the oil to 350°F and keep the batches small enough that the temperature doesn’t plunge. The chicken should sizzle the moment it goes in, then settle into a steady fry, not a furious splatter. Pull it when the crust is deep golden and the centers are cooked through, usually 6 to 8 minutes total depending on the size of the pieces.
Building and finishing the tacos
Layer a little cheese on the tortilla before the chicken, then add more cheese on top so the filling gets sealed in from both directions. After folding, warm the tacos in a hot skillet for 1 to 2 minutes per side until the tortilla picks up color and the cheese softens fully. If the skillet is too cool, the cheese won’t melt before the tortilla dries out.
Make Them Spicier Without Changing the Method
Add a little cayenne to the flour mixture or serve the tacos with a hot salsa on the side. Don’t add a wet marinade to the chicken unless you plan to dry it well first, or the coating will slide right off in the oil.
Gluten-Free Version That Still Fries Up Crisp
Use a good 1:1 gluten-free flour blend for the coating and corn tortillas for serving. The crust will be slightly more fragile than the wheat version, so let the fried chicken drain a minute before moving it.
Lighter Topping Swap
If you want a fresher finish, cut back on the cheese and lean harder on lettuce, onion, cilantro, and lime. You’ll lose some of the gooey pull, but the tacos will still taste complete because the fried chicken carries the main flavor.
Storage and Reheating
- Refrigerator: Store the fried chicken separately for up to 3 days. The tortillas and toppings are best kept apart so nothing turns soggy.
- Freezer: The fried chicken freezes well for up to 2 months. Freeze it in a single layer first, then move it to a bag or container so the crust stays intact.
- Reheating: Reheat the chicken in a 400°F oven or air fryer until hot and crisp again. Skip the microwave if you want the coating to stay crunchy, because steam will soften it fast.
Questions I Get Asked About This Recipe
Cheesy Crispy Chicken Tacos
Ingredients
Equipment
Method
- Cut the boneless chicken breasts into bite-sized pieces, then season with salt and pepper. Keep pieces similar in size so they cook evenly.
- Combine the all-purpose flour, garlic powder, and chili powder in a shallow dish. Mix until the flour is evenly tinted.
- Dip the seasoned chicken pieces into the beaten large eggs, then dredge in the seasoned flour. Ensure each piece is fully coated so it crisps in the oil.
- Heat the vegetable oil to 350°F. Wait for the oil to reach temperature before adding chicken for proper frying.
- Fry the chicken in batches until golden and cooked through, about 6-8 minutes total. Look for deep golden color and crisp edges, then drain on paper towels.
- Warm the small corn tortillas and place a small portion of shredded Oaxaca or mozzarella cheese in the center of each. You should see the cheese start to soften from the tortilla heat.
- Add the fried chicken on top, then add more shredded Oaxaca or mozzarella cheese. Keep the filling centered for easier folding.
- Fold the tortillas in half. Press lightly so the layers stay together as the cheese melts.
- Briefly warm the filled tortillas in a hot skillet to melt the cheese, about 1-2 minutes per side. Watch for stretchy melted cheese and lightly toasted tortillas.
- Top with shredded lettuce, diced onion, and cilantro, then serve with lime wedges. Finish with a squeeze of lime right before eating.


