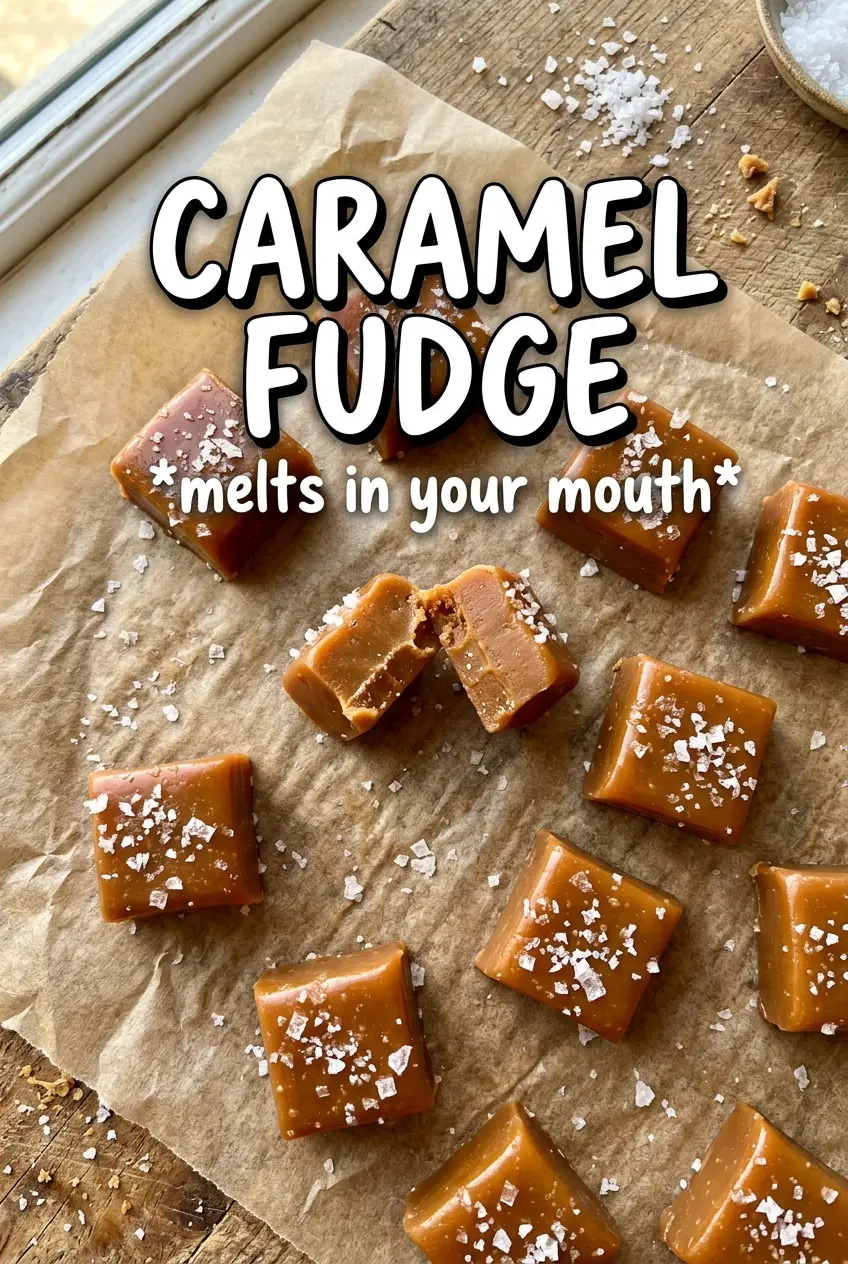
Caramel fudge sets up with a glossy, buttery chew that lands somewhere between classic fudge and soft caramel candy. The texture is what keeps people coming back: dense enough to cut cleanly, but tender enough that it melts on the tongue instead of crumbling. A little flaky sea salt on top keeps the sweetness in check and gives each square a sharp finish.
The key here is cooking the mixture to the soft-ball stage, not just letting it bubble until it looks thick. That small temperature window is what gives the fudge its sliceable texture without turning it grainy or hard. The heavy cream and sweetened condensed milk work together to keep the candy smooth, while the corn syrup helps prevent the sugar from crystallizing as it cooks.
Below, I’m walking through the part that matters most: how to get a smooth boil, when to stop stirring, and how to know the fudge is ready before it goes too far. If you’ve had candy turn sandy or stubbornly soft before, this version gives you a cleaner path through it.
The fudge came out smooth and glossy, and it set up perfectly after two hours in the fridge. I loved that the caramel flavor stayed rich without turning grainy, and the sea salt on top made each square taste finished.
Save this caramel fudge recipe for the glossy soft-ball texture and that flaky sea salt finish.
The Soft-Ball Stage Is What Separates Smooth Fudge From Sticky Pudding
With candy, the thermometer matters more than the clock. If you pull the pan too early, the fudge stays loose and never cuts cleanly. If you push it too far, the sugar cooks past the point where the texture stays creamy, and you end up with something dry and brittle instead of chewy and dense.
The other thing that matters is the boil itself. Stir constantly at first so the sugar dissolves evenly, then keep the mixture moving often enough that nothing scorches on the bottom of the pan. A heavy-bottomed saucepan gives you a wider cushion here, because hot spots are what cause caramel notes to turn bitter before the candy is finished.
- Soft-ball stage, 238-240°F — This is the target. It gives the fudge structure while keeping the center tender.
- Constant stirring at the start — That keeps the sugar from grabbing onto the pan and forming gritty crystals.
- Heavy-bottomed pan — A thin pan can scorch the milk and sugar before the thermometer reaches the right point.
- Flaky sea salt at the end — It doesn’t just garnish the top; it sharpens the caramel flavor and keeps the sweetness from flattening out.
What Each Ingredient Is Actually Doing in This Fudge
- Granulated sugar — This is the body of the candy. It creates the set and the caramel base, so cheap or expensive sugar works the same here as long as it measures accurately.
- Unsalted butter — Butter gives the fudge its round, creamy finish. Salted butter can work in a pinch, but you’ll want to reduce or skip the added salt so the balance stays right.
- Heavy cream — Cream is what keeps the final texture soft instead of hard and brittle. Half-and-half won’t give the same richness or stability.
- Light corn syrup — This is the insurance against grainy fudge. There isn’t a true substitute that does the same job as well, though golden syrup comes closer than honey, which changes the flavor too much.
- Sweetened condensed milk — This adds sweetness, body, and a smoother chew. Evaporated milk is not interchangeable here because it doesn’t bring the same sugar content or thickness.
- Vanilla extract — Stir it in off the heat so the aroma stays fresh. If you add it while the mixture is actively boiling, some of the top notes disappear.
- Flaky sea salt — Use the good stuff here if you have it. The larger crystals give you tiny bursts of contrast instead of an even saltiness throughout.
How to Keep the Candy Smooth From Boil to Slice
Prepare the Pan First
Line an 8×8 pan with parchment and butter it generously so the fudge lifts cleanly once it sets. If you skip the butter, the parchment can stick to the candy and tear the edges when you cut it. Have the pan ready before you turn on the heat, because this mixture moves quickly once it reaches temperature.
Build the Base at a Steady Boil
Combine the sugar, butter, cream, corn syrup, and sweetened condensed milk in a heavy-bottomed saucepan. Bring it to a boil over medium heat while stirring constantly so the sugar dissolves before it has a chance to clump. If you rush this over high heat, the bottom can scorch before the top has even come together.
Cook to the Right Temperature
Keep stirring frequently as the mixture bubbles and thickens, then watch the thermometer closely as it approaches 238-240°F. The surface should look glossy and active, not sluggish or separated. Pull it a shade early rather than late if your thermometer runs hot, because a few degrees can be the difference between creamy fudge and candy that snaps instead of slices.
Finish and Set
Take the pan off the heat and stir in the vanilla and salt right away. Pour the fudge into the prepared pan, smooth the top, and scatter flaky sea salt over it while it’s still warm so the crystals adhere. Let it cool at room temperature for an hour, then chill it for another hour before cutting. If you slice it too soon, the center will drag and the edges won’t stay neat.
How to Adapt This Fudge for Different Pantries and Occasions
Dairy-Free Version With Coconut Cream
Swap the butter for a good dairy-free butter and use full-fat coconut cream in place of heavy cream. The candy will still set, but the flavor shifts toward coconut and the finish is a little less classic caramel than the original.
Sea Salt Caramel with an Extra-Touchy Finish
Double the flaky sea salt on top if you want a sharper sweet-salty contrast. Keep the salt on the surface, not in the candy itself, so the texture stays clean and the pieces still taste smooth.
Holiday Gift Box Squares
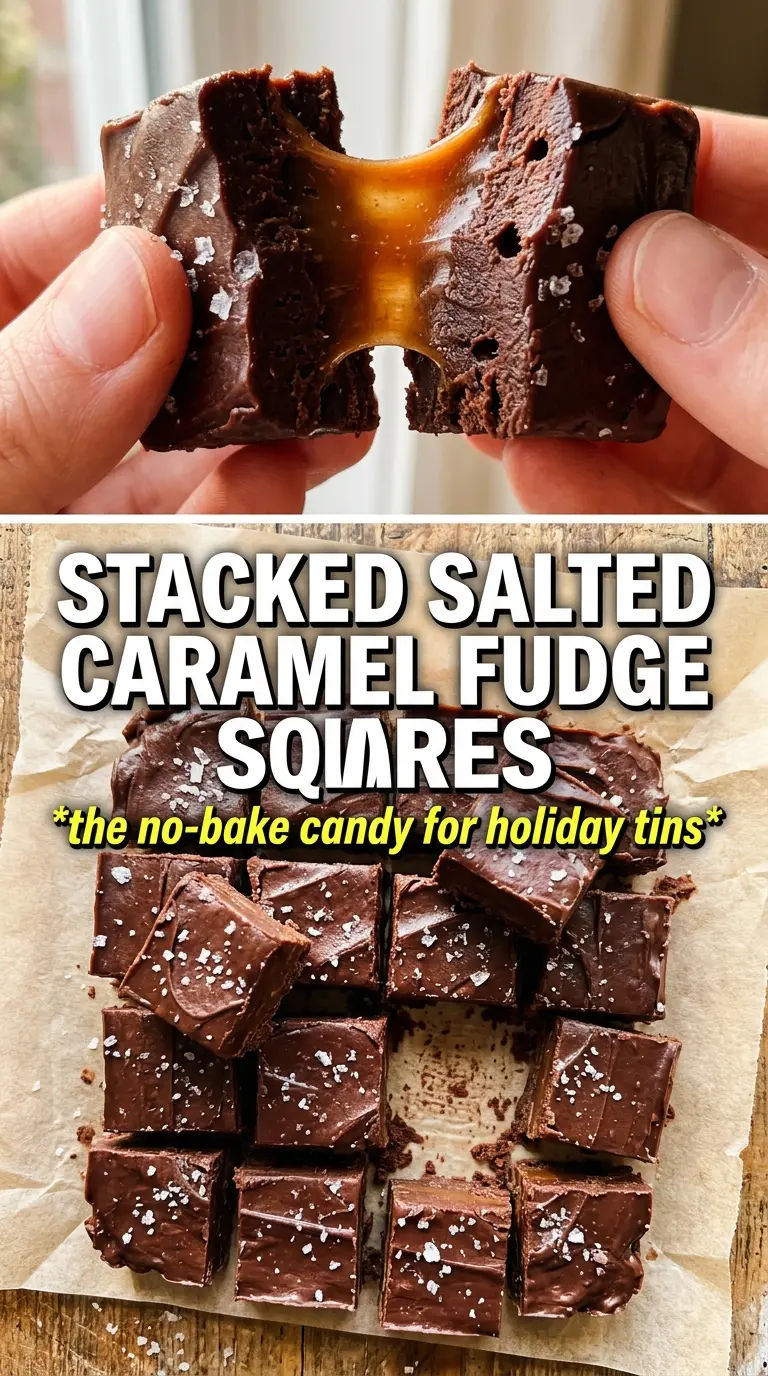
Cut the fudge into smaller bite-size pieces and stack them in parchment-lined tins. The texture holds up well for gifting, and the clean edges look best when you chill the slab completely before slicing.
Storage and Reheating
- Refrigerator: Store in an airtight container for up to 2 weeks. The texture firms up in the fridge, so let pieces sit at room temperature for a few minutes before serving.
- Freezer: Wrap pieces tightly and freeze for up to 3 months. Thaw in the refrigerator or at cool room temperature so condensation doesn’t make the surface sticky.
- Reheating: This fudge isn’t meant to be reheated. If it feels too firm straight from the fridge, let it warm on the counter; microwaving softens the edges unevenly and can turn the sugars tacky.
Answers to the Questions Worth Asking
Caramel Fudge
Ingredients
Equipment
Method
- Line an 8x8 pan with parchment and butter generously so the fudge releases cleanly. Set the pan aside while you prepare the caramel mixture.
- Combine granulated sugar, unsalted butter, heavy cream, light corn syrup, and sweetened condensed milk in a heavy-bottomed saucepan. Stir constantly as you start to dissolve the sugar and prevent scorching.
- Bring the mixture to a boil over medium heat, stirring constantly until it looks smooth and actively bubbling. Keep the bubbles rolling for the candy thermometer to read accurately.
- Cook, stirring frequently, until the mixture reaches 238-240°F (soft ball stage) on a candy thermometer. The caramel should look glossy and slightly darker as it nears temperature.
- Remove from the heat, then stir in vanilla extract and salt until fully combined and shiny. The mixture will be thick and slow to pull off the spoon.
- Pour the hot fudge into the prepared pan, then sprinkle with flaky sea salt while the surface is still tacky. Tap the pan lightly to level the top.
- Cool at room temperature for 1 hour until the top looks matte and holds its shape when gently pressed. Then refrigerate for 1 more hour until firm and fully set.
- Cut into squares with a sharp knife, wiping the blade between cuts for cleaner edges. Serve once slices are firm with a glossy caramel finish.