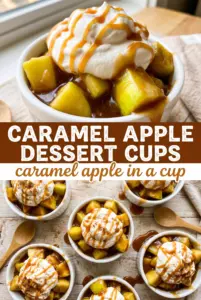
Layers of buttery graham cracker crumbs, cinnamon cream cheese, and warm caramel apples make these caramel apple dessert cups disappear fast. They taste like apple cheesecake with a little more texture and a lot less effort, which is exactly why they work for parties, holidays, and any time you want a dessert that looks polished without turning on the oven.
The structure matters here. The crust stays crisp because the butter-to-crumb ratio is tight, the cream cheese layer gets body from whipped topping instead of extra liquid, and the apples are cooked just long enough to lose their raw edge without turning to sauce. That balance gives you distinct layers in every bite instead of one soft, blended filling.
Below, I’ll walk through the one step that keeps the cups from getting soggy, the apple cue that tells you they’re done, and a few smart swaps if you need to work with what’s already in the kitchen.
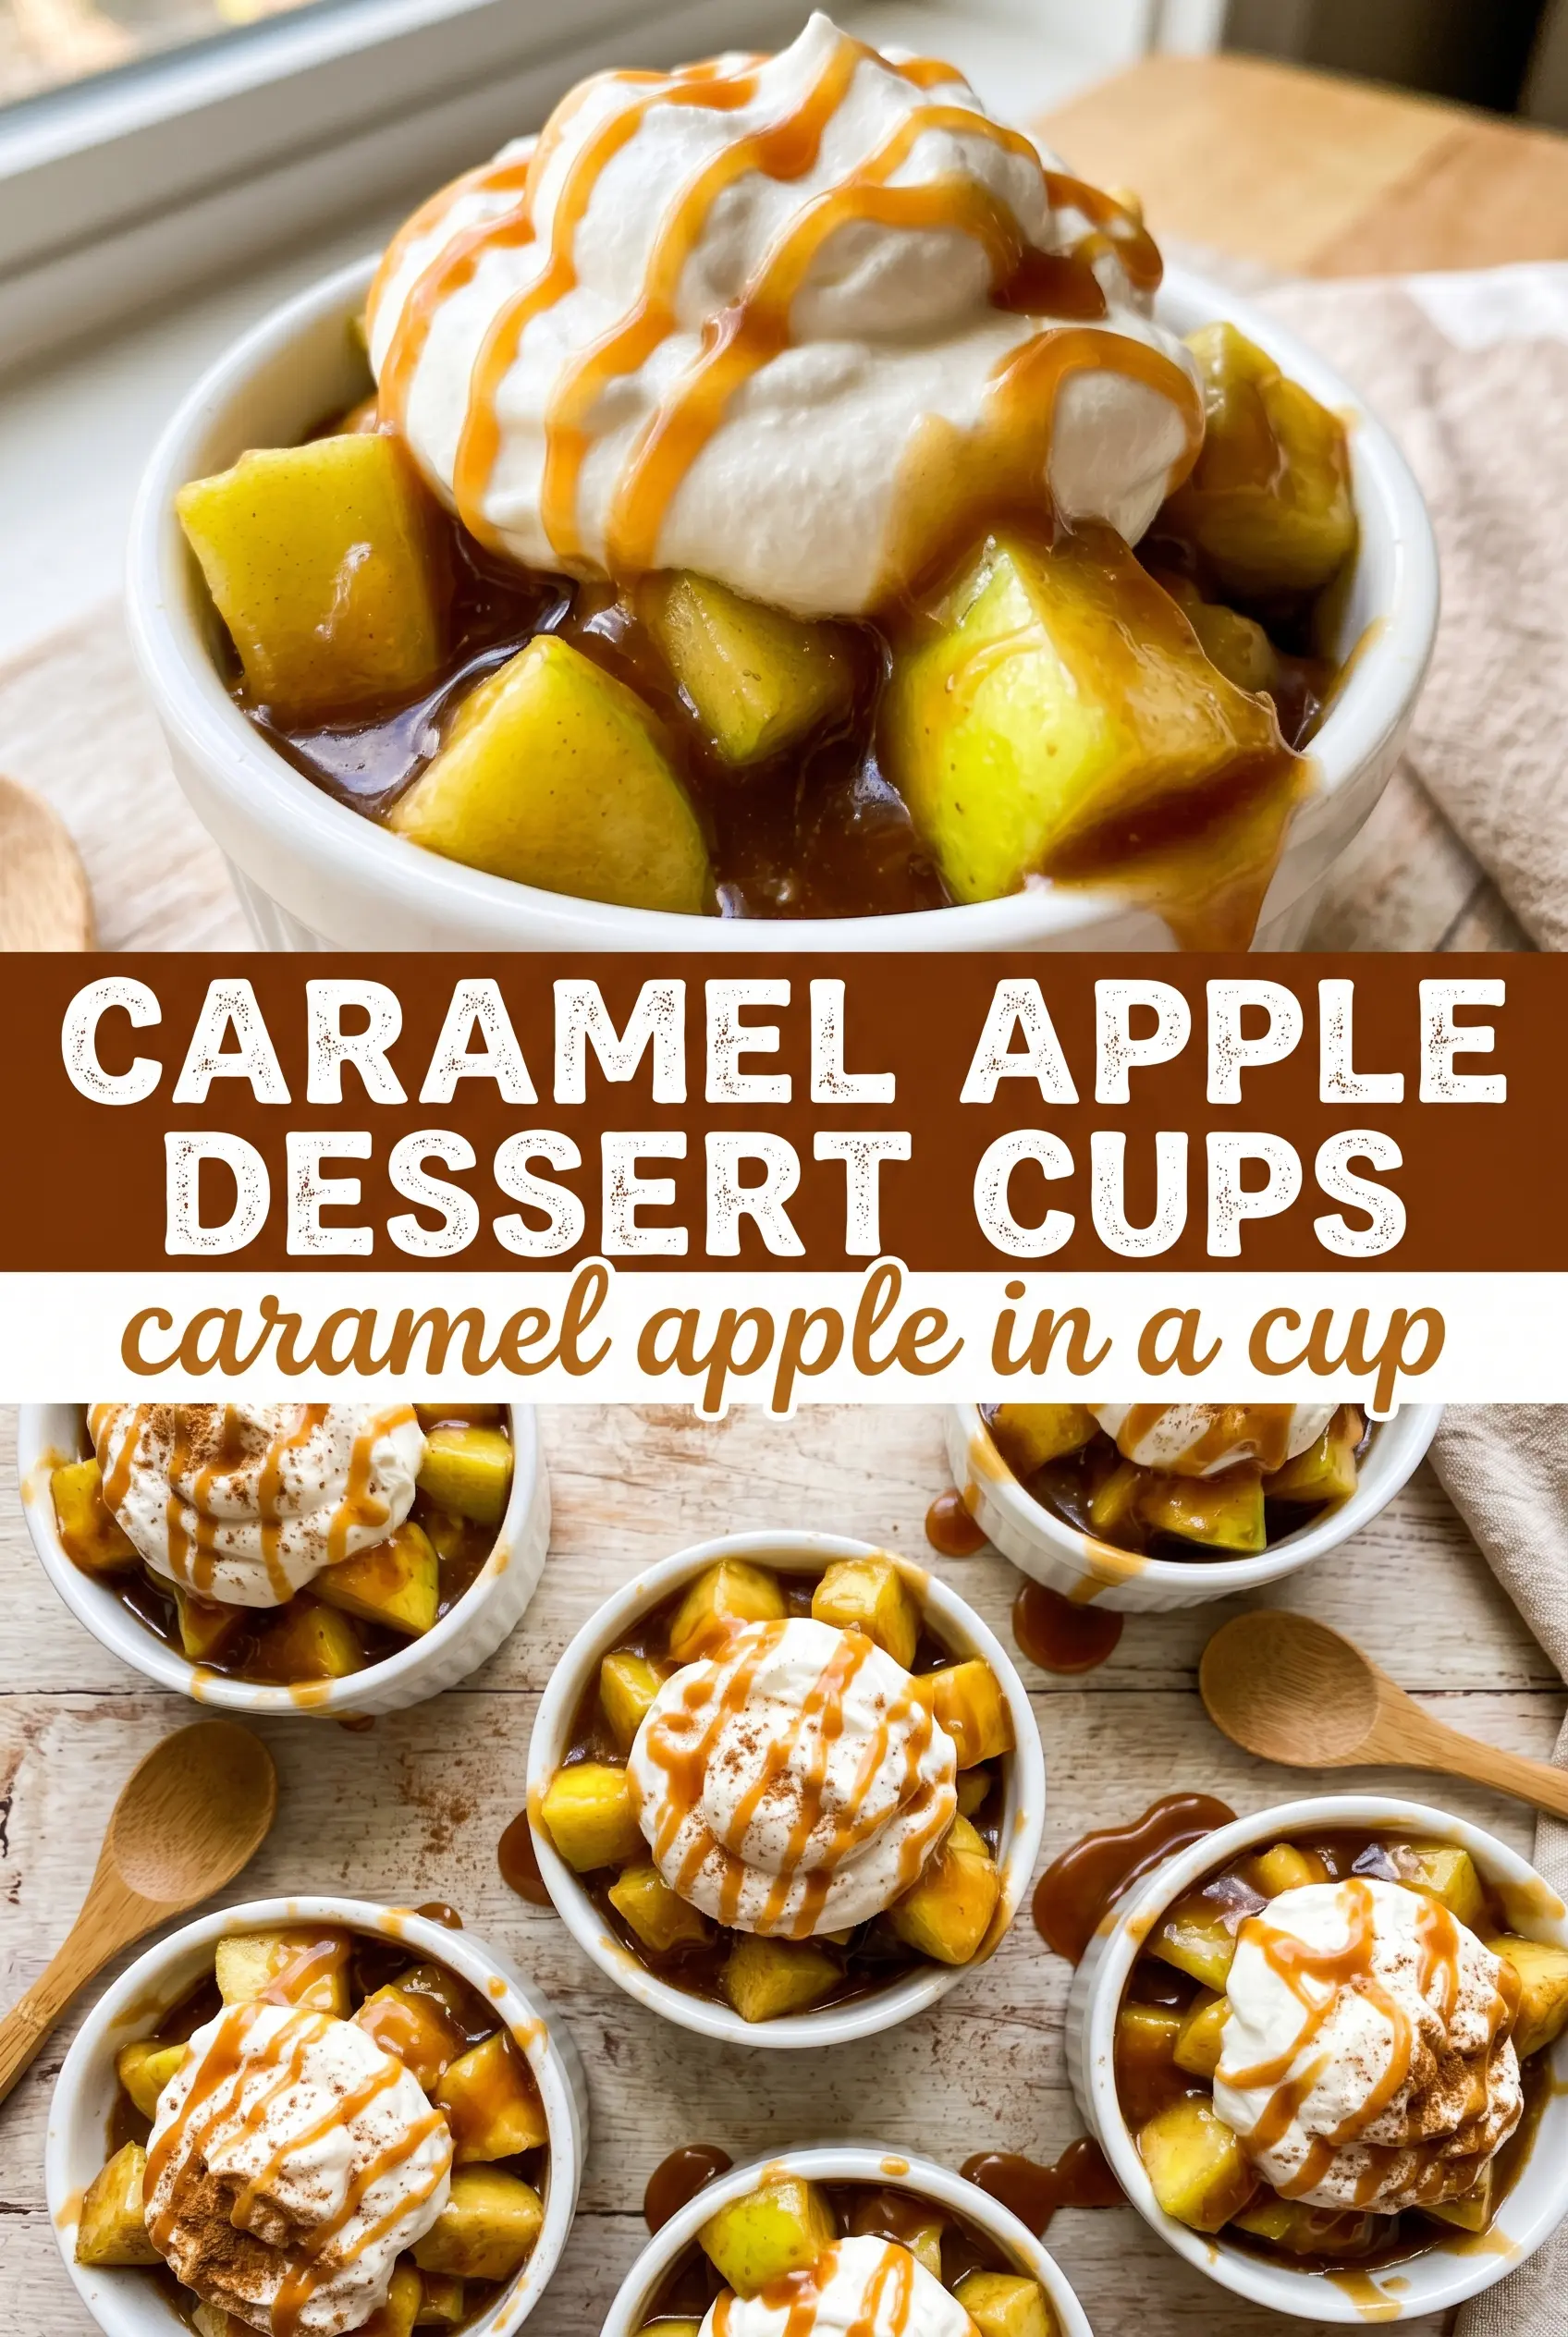
The apples held their shape and the cinnamon cream cheese stayed light after chilling. I made these in little glass cups for a dinner party and people kept asking where I bought them.
Save these caramel apple dessert cups for the nights when you want a no-bake dessert with crisp layers, cinnamon cream cheese, and a glossy caramel finish.
The Layer That Fails First: Keeping the Crust Crisp Under the Filling
The crust is the first place these cups go wrong. If the crumbs are too dry, they won’t pack and the base falls apart. If they’re too wet, the bottom turns greasy and soft after chilling. The sweet spot is a mixture that feels like damp sand and holds together when you press it with the back of a spoon.
These cups also benefit from a firm first layer because the filling and apples sit directly on top of it. Press the crumbs all the way to the edge if you’re using clear glasses. That gives the dessert a cleaner look and keeps the layers distinct. A cold chill after assembly does the rest.
- Graham cracker crumbs — Fine crumbs pack more evenly than chunky ones. If you’re crushing them yourself, go past the obvious pieces and get them sandy so the crust presses cleanly.
- Butter — Melted butter binds the crumbs and gives the base its set. There isn’t a great substitute here if you want the crust to hold its shape, but a neutral baking margarine can work in a pinch.
- Cream cheese — Full-fat cream cheese gives the filling the best texture and tang. Low-fat versions work, but they soften faster and the filling won’t feel as rich.
- Whipped topping — This lightens the filling so it pipes or spoons easily and stays airy after chilling. Whipped cream can be used instead, but it won’t hold as long and the filling may deflate a bit more.
- Apples — Use a firm baking apple like Honeycrisp, Fuji, or Granny Smith. Soft apples turn mushy fast, and you want the pieces to stay distinct on top of the cream layer.
What Each Ingredient Is Actually Doing in This Dessert
- Sugar (the sweetness and structure) — Sugar tenderizes baked goods and creams with butter to create air. Don’t reduce it too much or the dessert becomes dense and dry.
- Butter or fat (the richness and texture) — This carries flavors and creates tender crumb. Proper creaming with sugar adds volume to cakes and bars.
- Eggs (the binder and lift) — These create structure and help baked goods rise. Room temperature eggs incorporate better than cold ones.
- Flour (the structure base) — This holds everything together. Don’t overmix or the texture becomes tough and dense instead of tender.
- Fruit (the flavor and moisture) — Fresh or cooked fruit adds natural sweetness and moisture. Layer it evenly so every bite has balanced flavor.
- Leavening (baking powder or soda) — This creates rise and light crumb. Too much makes the dessert taste bitter and fall flat.
- Flavoring (vanilla, spices, citrus) — These define the personality. Use good quality flavorings so they shine through the sweetness.
- Final finish (glaze, whipped cream, topping) — This adds moisture, flavor, and visual appeal. Don’t skip it or the dessert feels incomplete and one-dimensional.
The 15 Minutes That Build the Best Layers
Press the crust first
Stir the graham cracker crumbs, melted butter, and sugar until every crumb looks evenly moistened. Spoon the mixture into 12 small cups or glasses and press it down firmly. A flat-bottomed spoon or your fingers both work, but the layer needs compression so it doesn’t crumble when you add the filling. If it looks dry in patches, add a little more melted butter one teaspoon at a time.
Whip the filling until smooth
Beat the cream cheese first until it loses all visible lumps. Add the powdered sugar, vanilla, and cinnamon, then beat again until the mixture turns silky. Fold in the whipped topping gently so you don’t knock out the air that keeps the filling soft. If you overmix it at this point, it can get loose instead of holding a nice spoonable shape.
Cook the apples just until tender
Use a skillet over medium heat and cook the diced apples with butter, brown sugar, and cinnamon for 5 to 6 minutes. You’re looking for apples that are glossy, lightly caramelized, and just tender at the edges, not falling apart. If the heat is too low, they sweat and stay pale; if it’s too high, the sugar can scorch before the apples soften. Let them cool before assembling so the cream cheese layer stays thick.
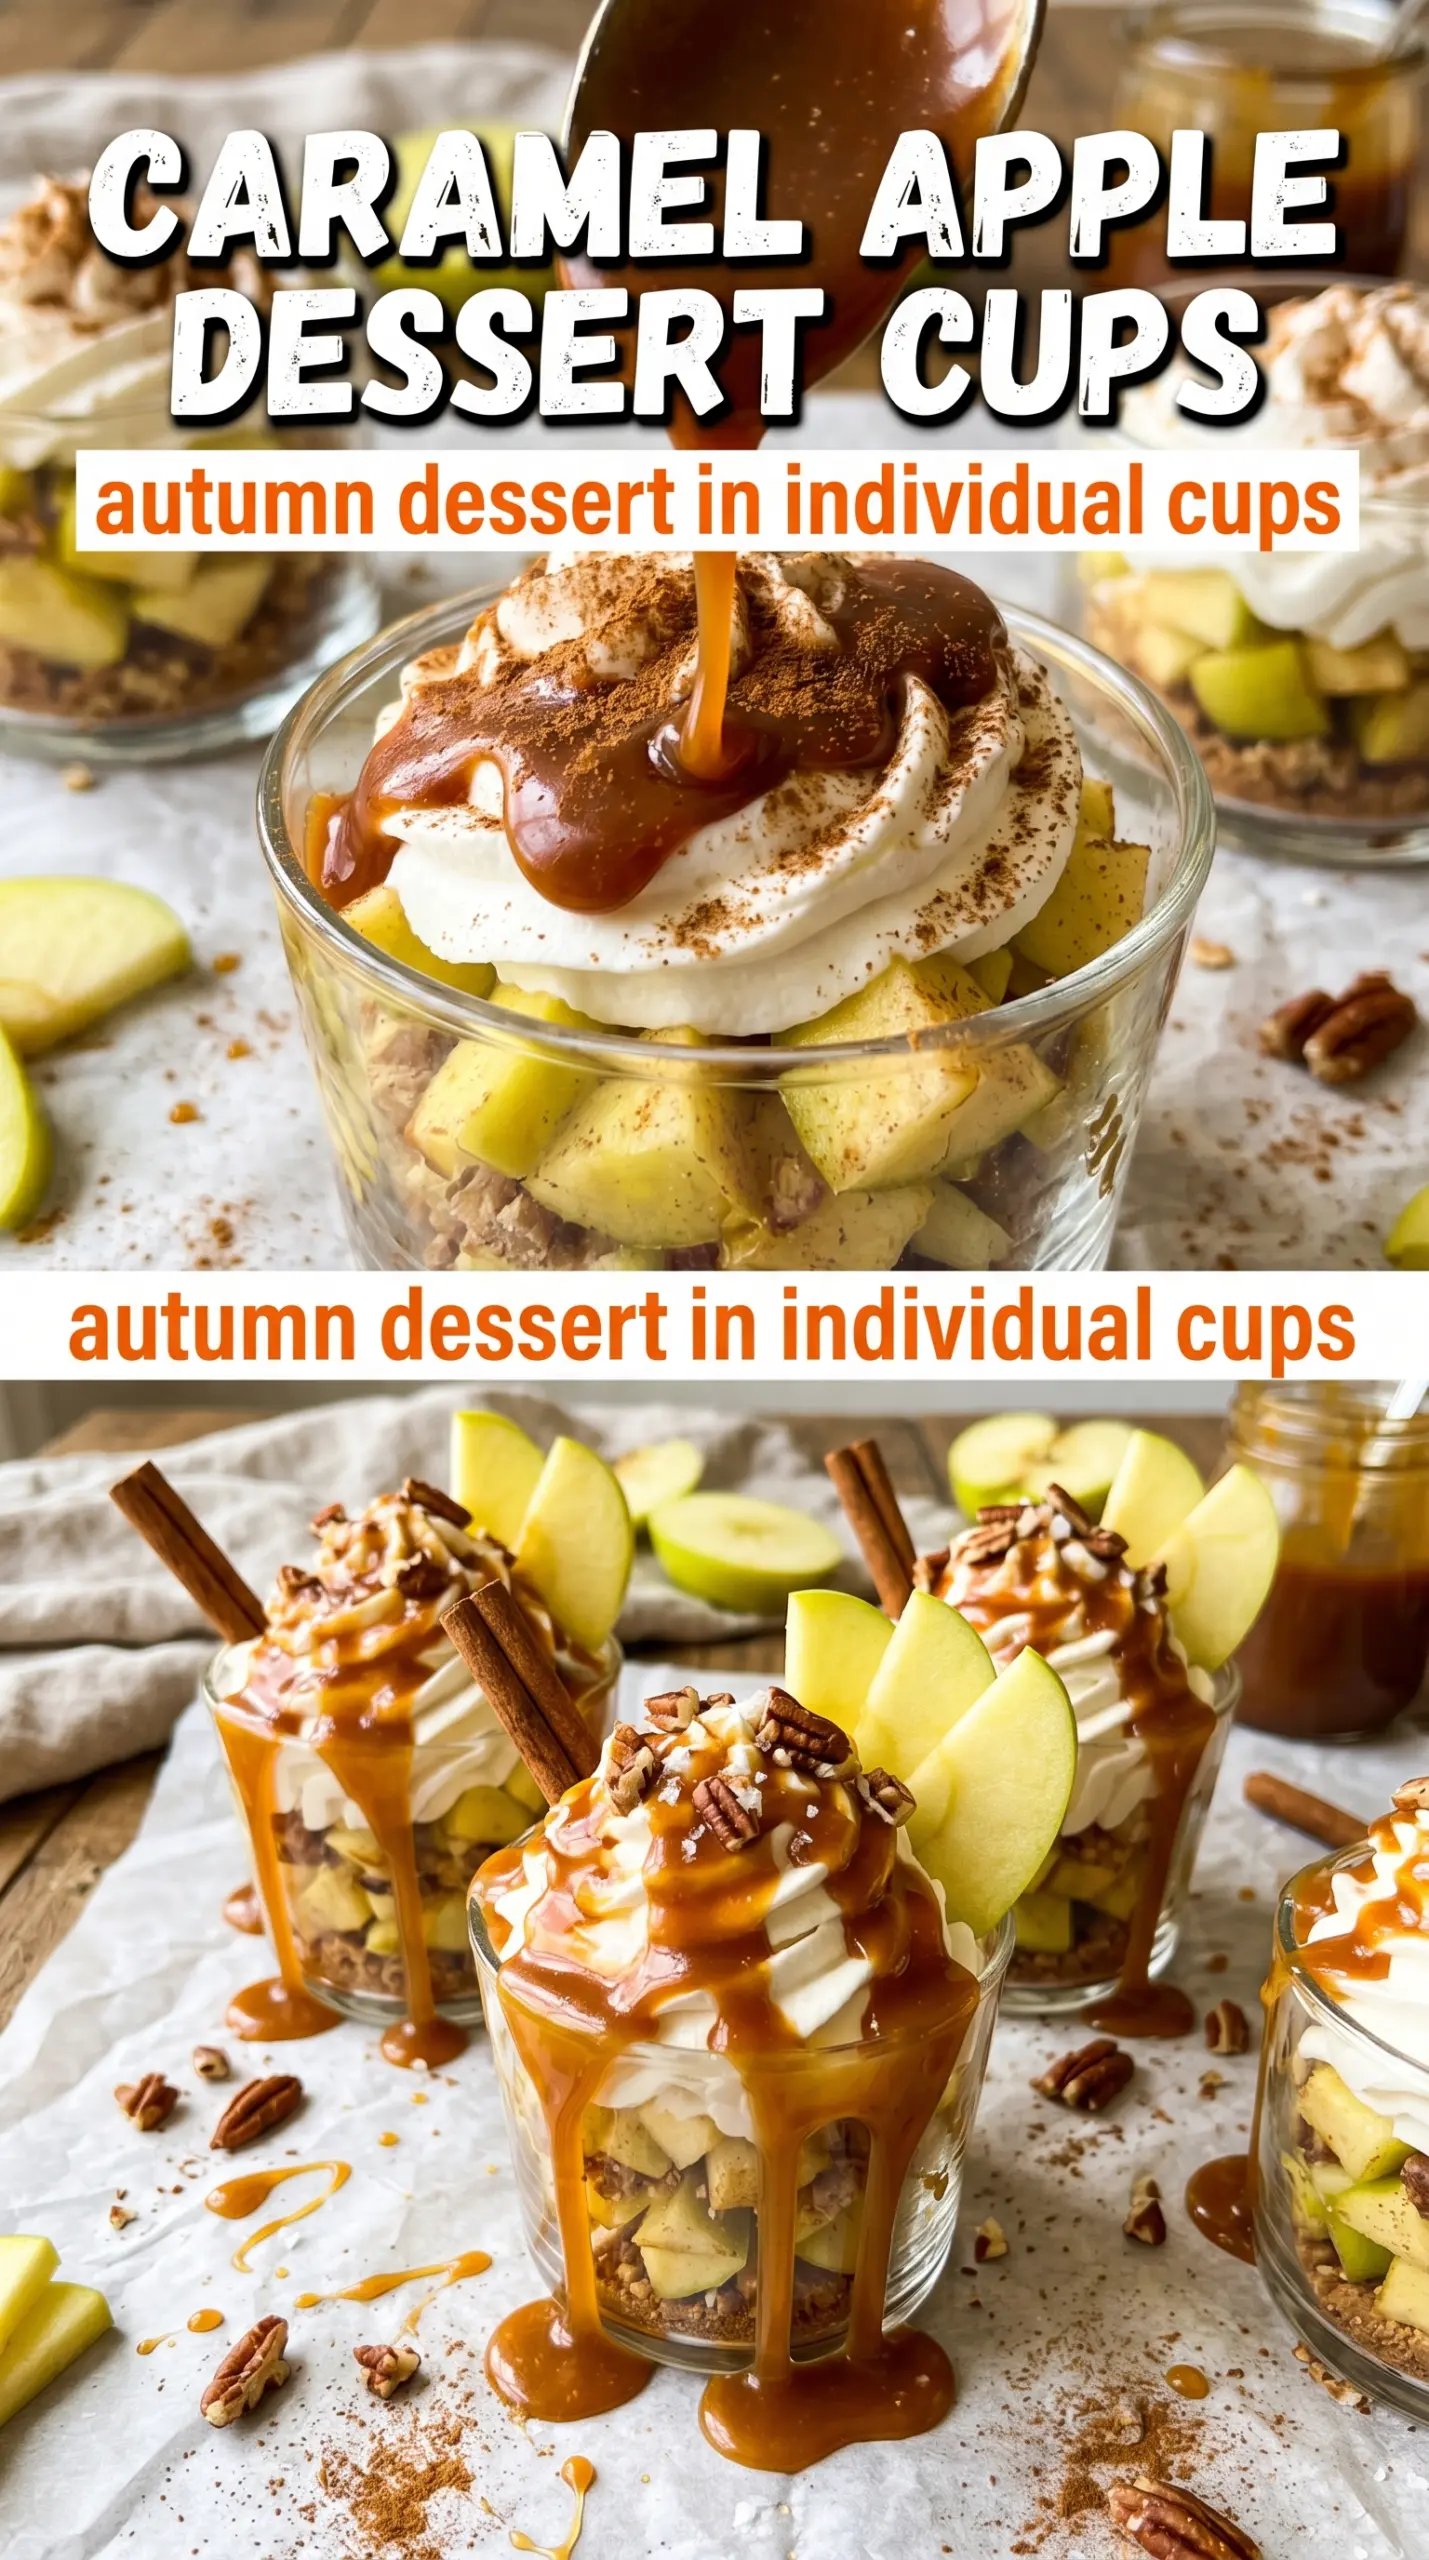
Build the cups in order
Spoon or pipe the cream cheese mixture over the crusts, then top with the cooled apples. Drizzle the caramel last so it stays visible and doesn’t sink into the warm fruit. If you’re serving these in clear cups, keep the sides neat as you go because the layers are half the appeal. A short chill helps the crust set and keeps everything in place when the cups are lifted to the table.
How to Adapt These Cups Without Losing the Good Parts
Make Them Gluten-Free
Swap in gluten-free graham-style crumbs and keep the rest of the recipe the same. The texture stays close to the original, though some gluten-free crumbs need an extra teaspoon or two of butter to pack firmly. Check the label on the caramel sauce too, since some brands use additives with gluten-containing ingredients.
Use Homemade Whipped Cream Instead of Tub Whipped Topping
Whip cold heavy cream to soft peaks and fold it in place of the whipped topping. The filling will taste a little fresher and less sweet, but it won’t hold as long in the fridge, so plan to serve it the same day if possible. Beat the cream to soft, not stiff, peaks or the filling can turn grainy when folded.
Turn It Into a Dairy-Free Dessert
Use dairy-free cream cheese, plant-based butter, and a coconut-based whipped topping. The flavor shifts slightly, but the caramel apple layer still carries the dessert and keeps it familiar. Choose a dairy-free caramel sauce that pours thickly, since thin sauces can slide into the filling and blur the layers.
Make One Large Trifle Instead of Individual Cups
Layer everything in a glass bowl or trifle dish using the same order. This works well for a crowd and saves time, but the bottom layer will soften faster than it does in individual cups. Assemble it the same day you plan to serve it so the crust keeps some texture.
Storage and Reheating
- Refrigerator: Store covered for up to 3 days. The crust softens a little as it sits, but the flavor stays good.
- Freezer: Not a great freezer dessert. The cream layer and apples change texture after thawing and the cups can turn watery.
- Reheating: Don’t reheat the assembled cups. If you want a warm topping, warm only the apple mixture briefly before building the cups, then let it cool before layering.
Questions I Get Asked About This Recipe
Caramel Apple Dessert Cups
Ingredients
Equipment
Method
- Mix graham cracker crumbs, melted butter, and sugar until evenly combined. Press the mixture into the bottom of 12 individual cups or glasses to form a firm layer.
- Beat cream cheese, powdered sugar, vanilla extract, and cinnamon until smooth. Fold in whipped topping until no white streaks remain, then pipe or spoon over the crusts.
- Cook diced apples with butter, brown sugar, and cinnamon in a skillet over medium heat for 5 to 6 minutes. Stir until tender and caramelized, then cool completely.
- Spoon the caramel apple mixture over the cream cheese layer in each cup. Keep the topping piled high so it stands above the filling.
- Drizzle generously with caramel sauce over the top of each cup. Refrigerate for 1 hour before serving.