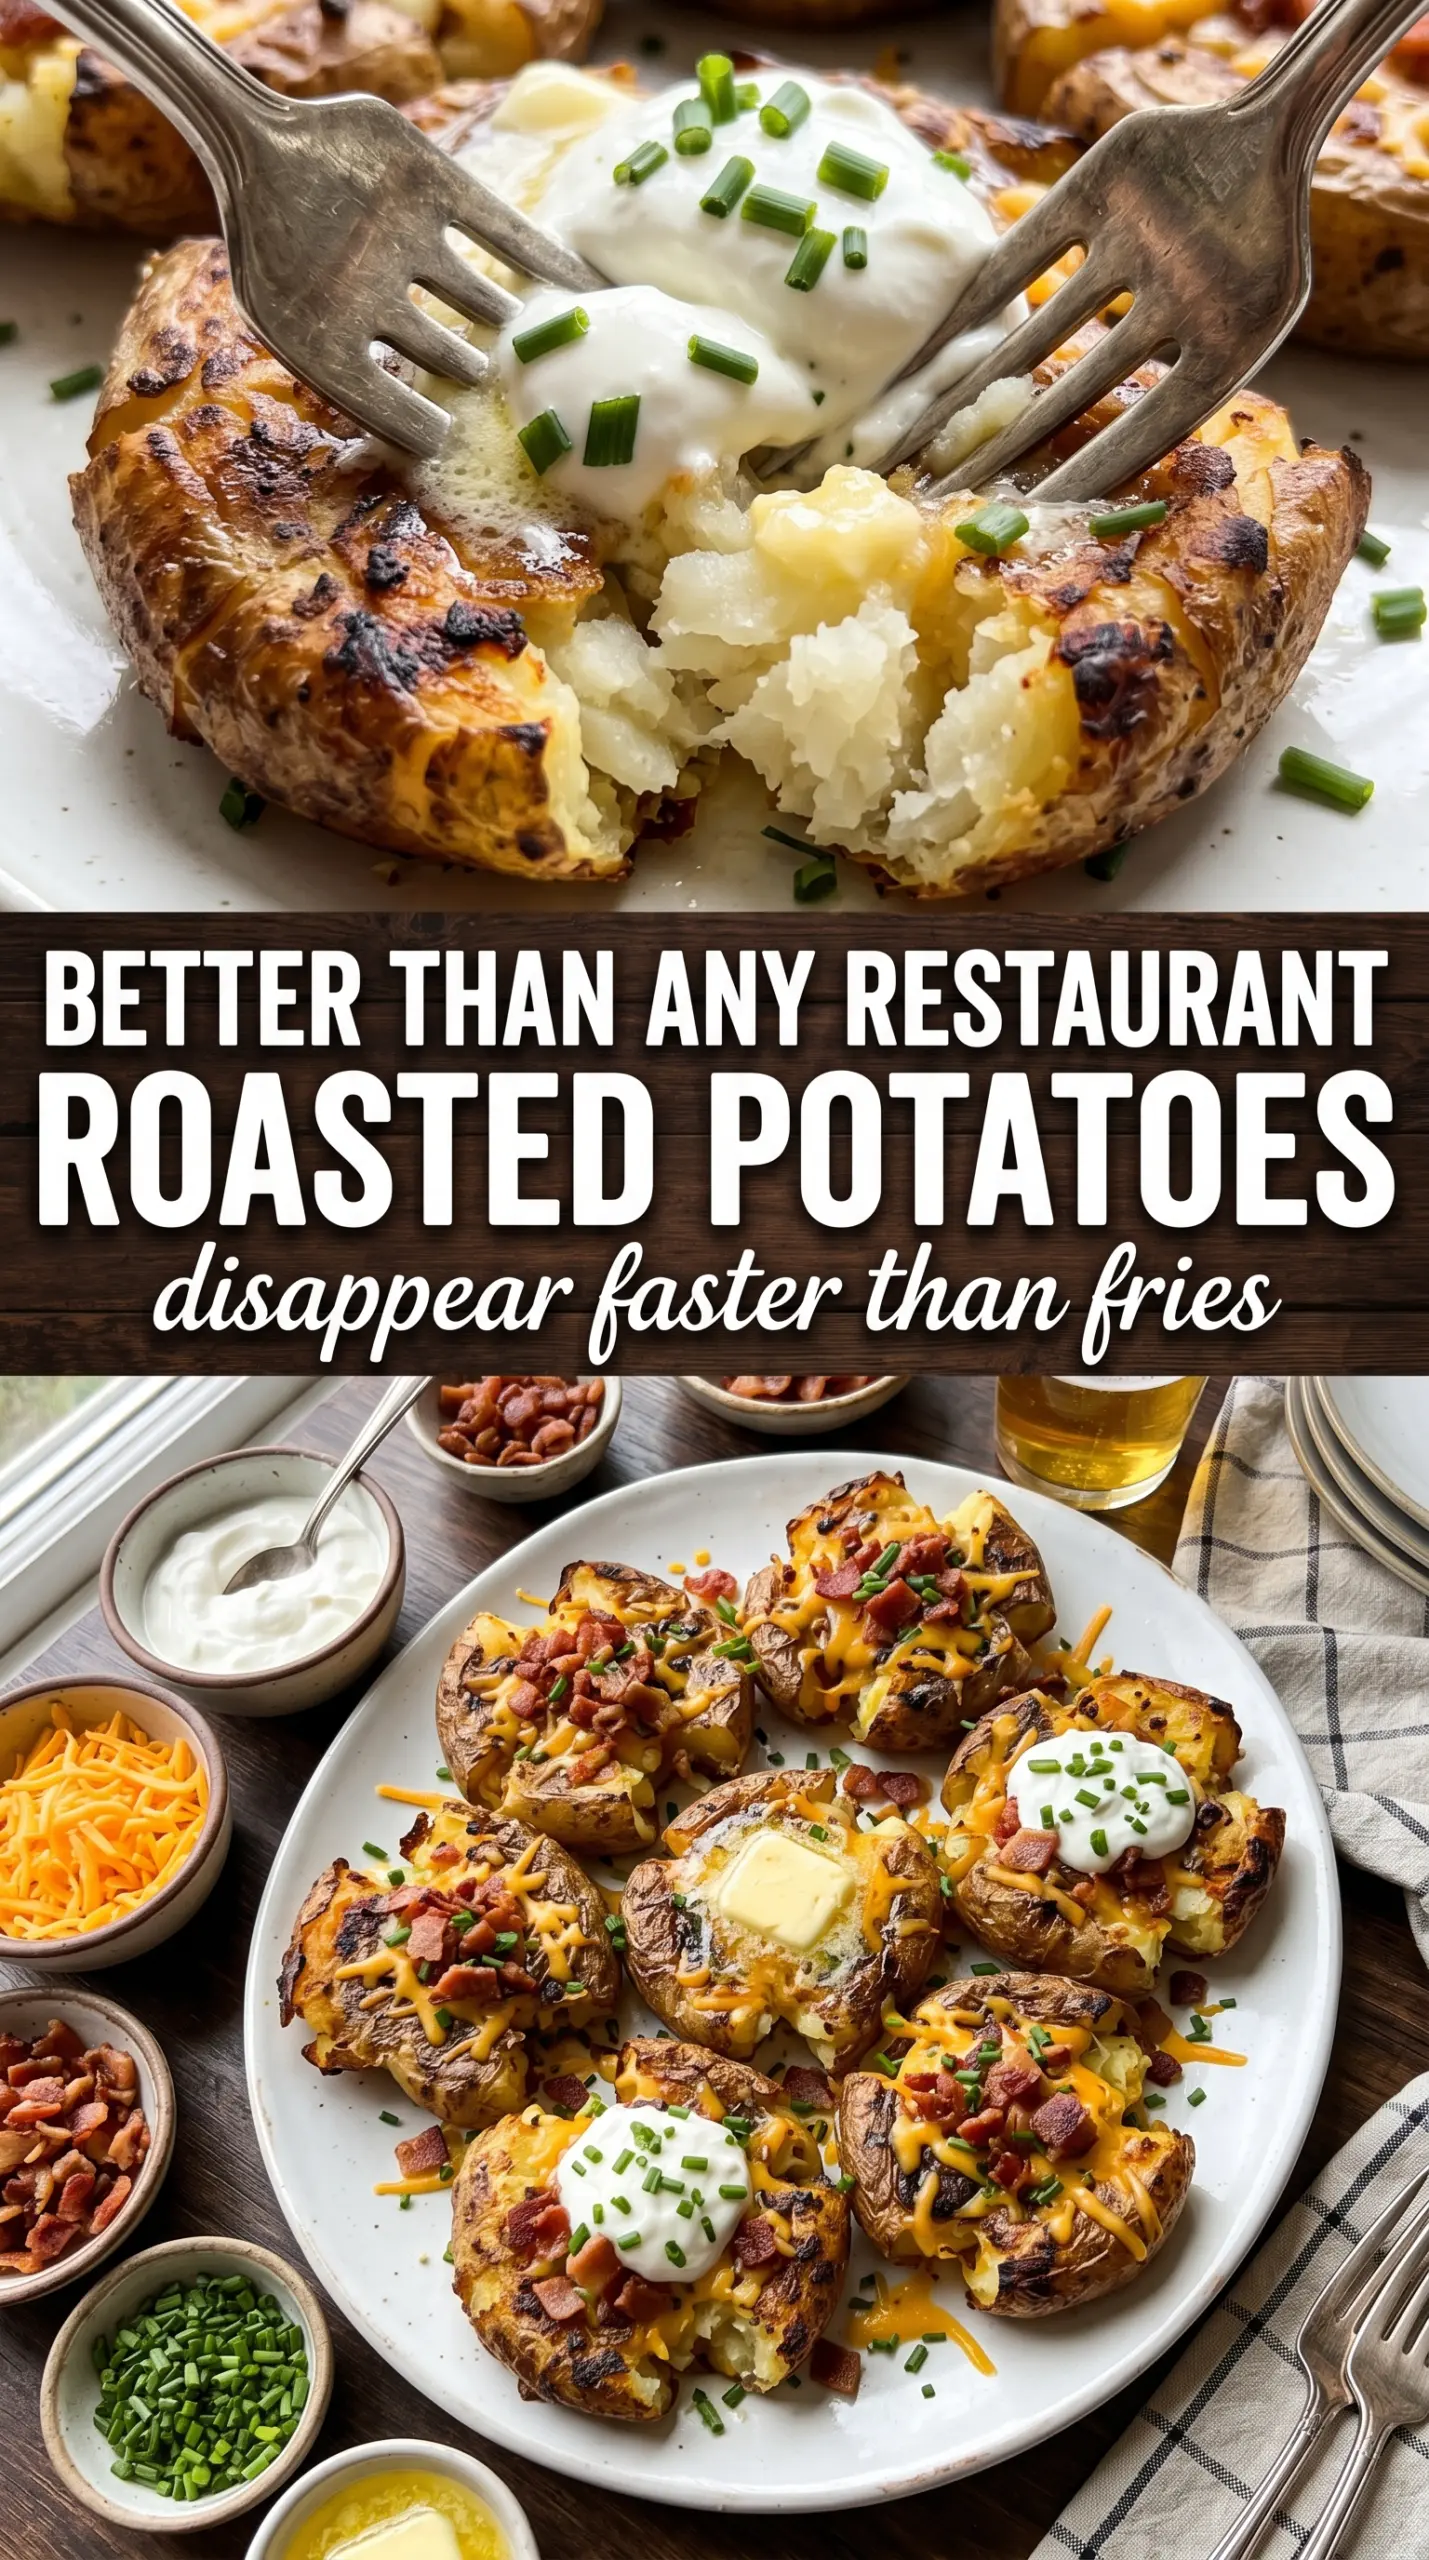
Blackstone smashed potatoes hit that sweet spot between creamy and crunchy that keeps people reaching back for one more piece. The edges turn deeply golden and shattery on the griddle while the centers stay fluffy and soft, so every bite gives you contrast instead of just more potato. Topped with cool sour cream, sharp cheddar, chives, and bacon, they land somewhere between a side dish and the first thing gone from the table.
The trick is starting with potatoes that are cooked through but still intact, then letting them dry a little before they hit the hot griddle. Moisture is the enemy here. If the potatoes go onto the Blackstone wet, they steam before they crisp, and you lose the best part of the dish.
I’ve also found that the butter and oil combination matters more than people think. Oil handles the heat, butter brings the flavor, and together they help the smashed potatoes brown evenly without tasting greasy. Below, I’ll show you how to get the smash right, when to add the garlic so it doesn’t burn, and a few easy ways to change these up depending on what you’ve got in the fridge.
The potatoes got those craggy crispy edges I was hoping for, and the garlic in the butter made the whole kitchen smell incredible. I served them with grilled chicken and there wasn’t a single one left.
Save these Blackstone smashed potatoes for the nights when you want crispy griddle potatoes with creamy centers and a loaded finish.
The Mistake That Keeps Smashed Potatoes Soft Instead of Crispy
The biggest failure point with smashed potatoes is carrying too much moisture into the griddle. Boiling gets the centers tender, but if you drain them and smash immediately, the steam trapped in the skins works against you. Let them sit a few minutes after draining so the surface dries and the skins tighten up a bit. That small pause is what helps the potatoes fry instead of just warm through.
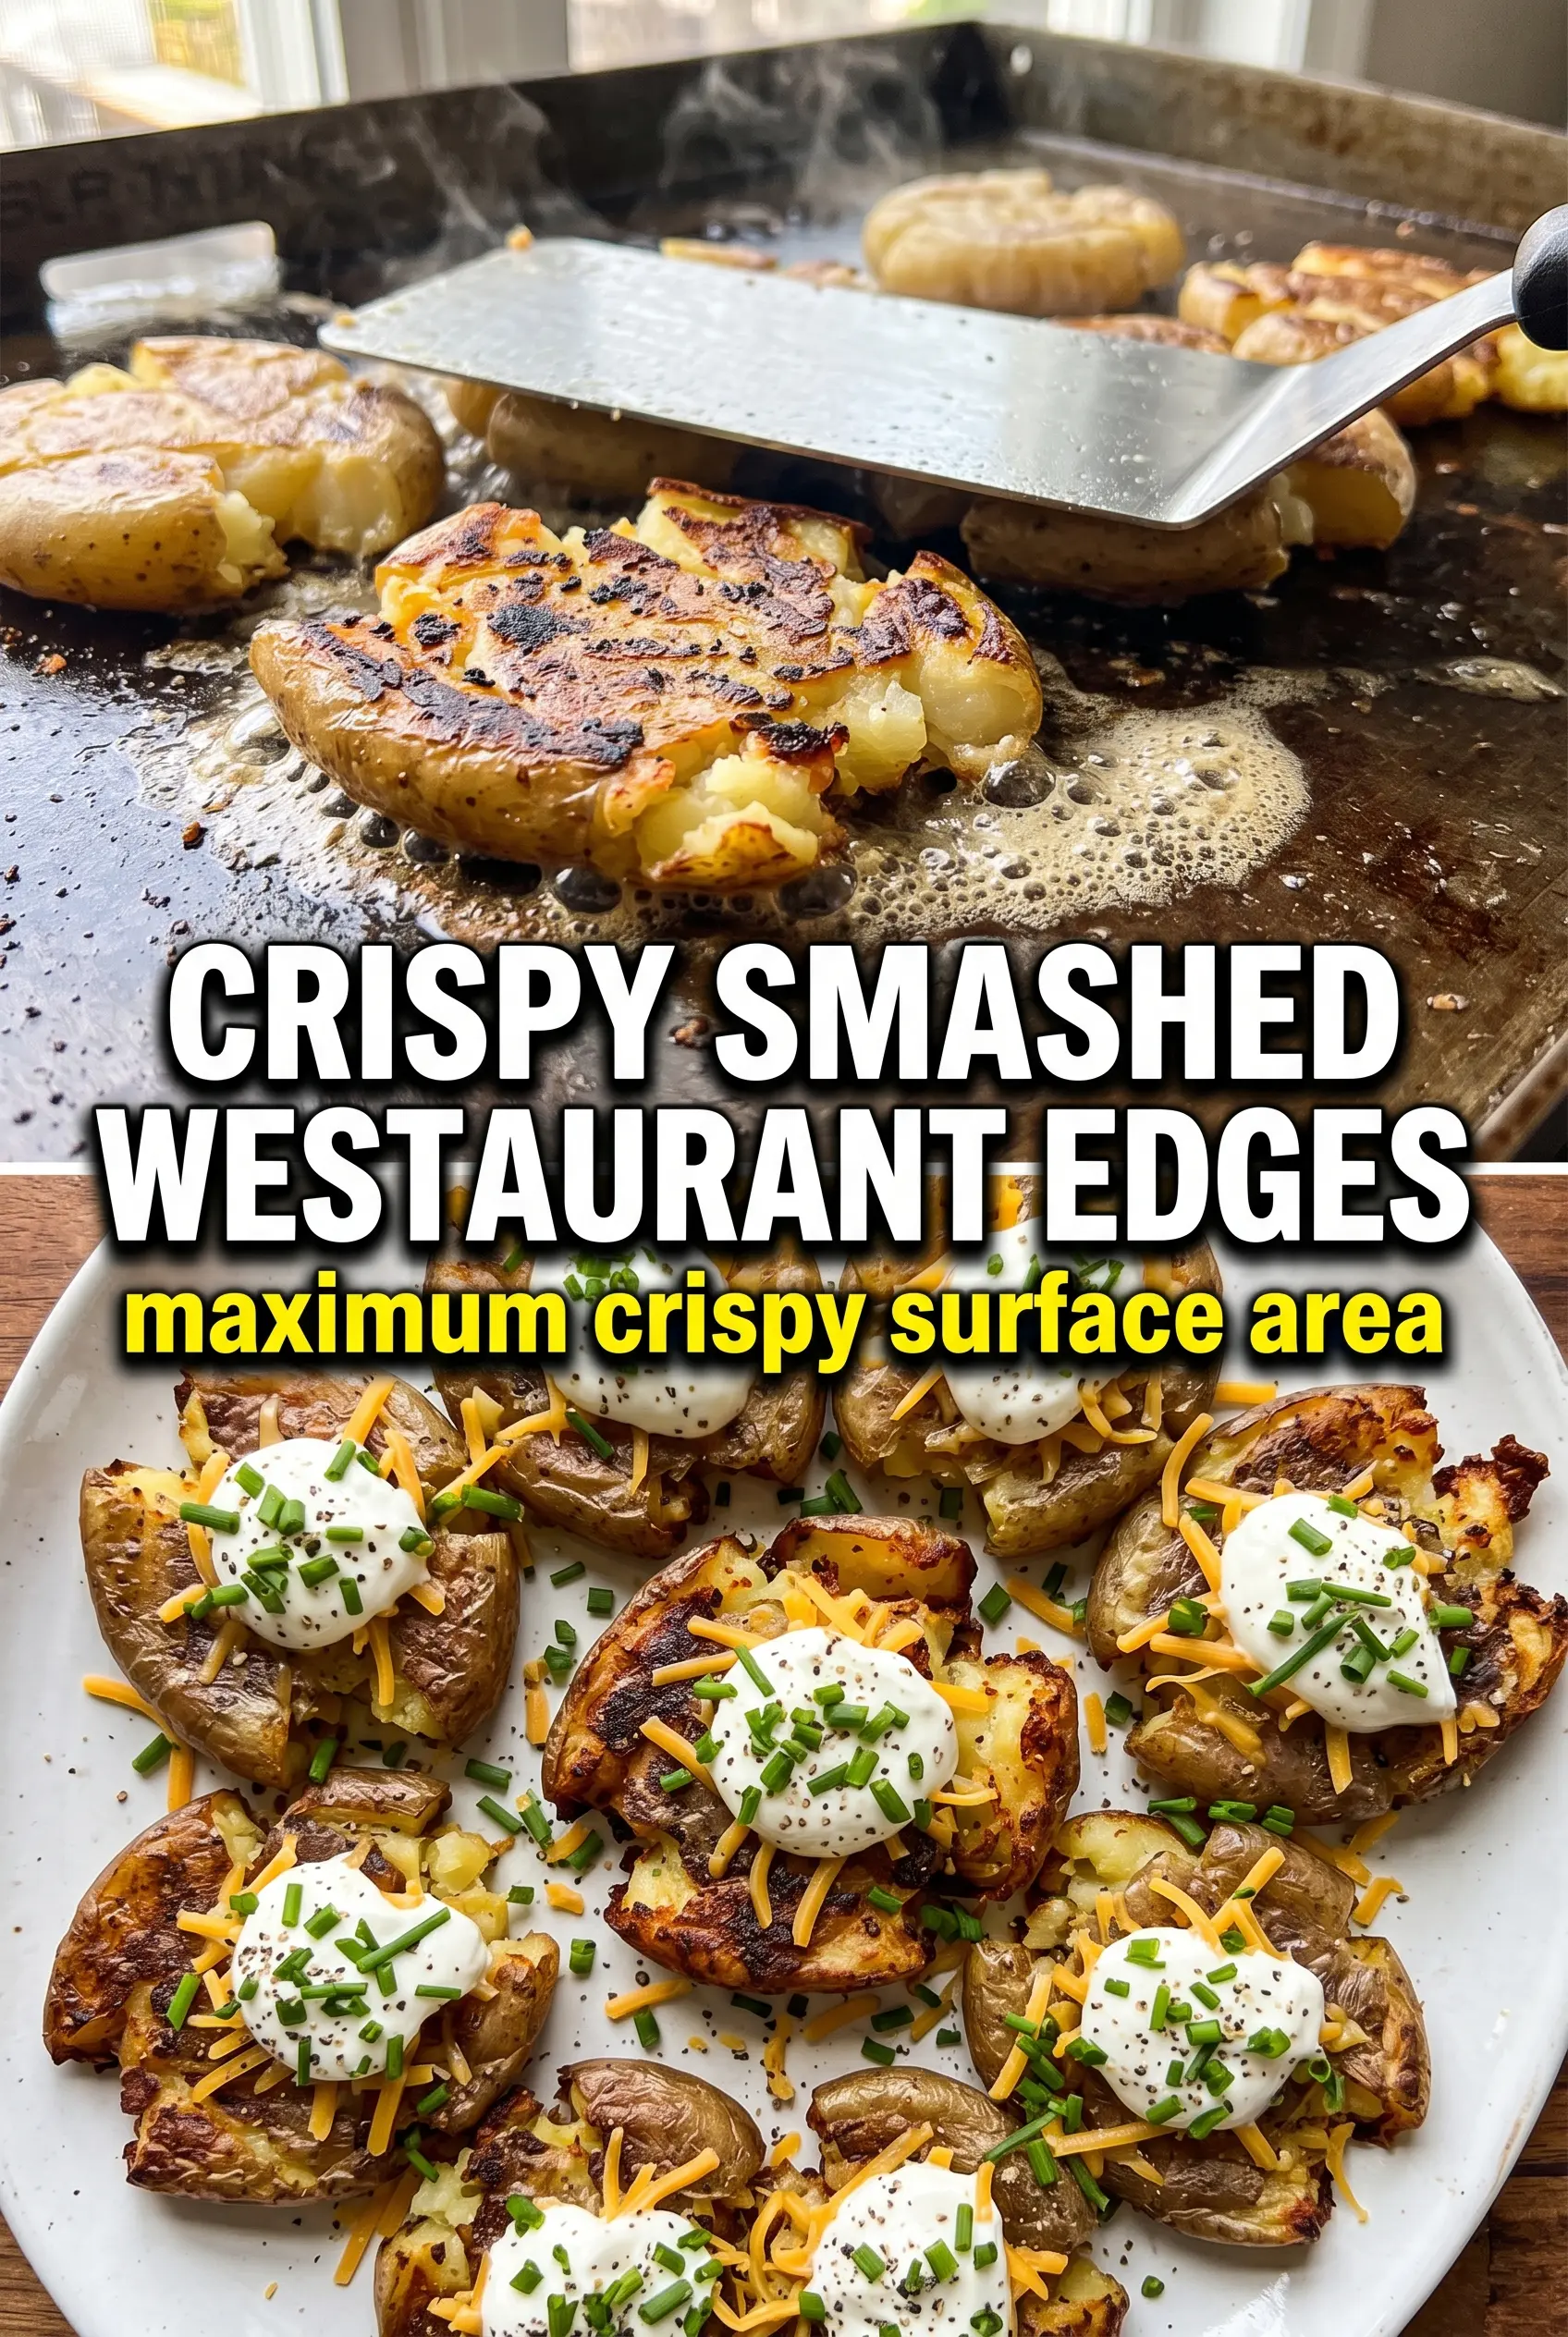
The other thing that matters is pressure. You want each potato flattened enough to expose plenty of surface area, but not so hard that it falls apart into crumbs. A sturdy spatula or potato masher gives you the control you need. Once the potatoes are smashed, leave them alone long enough for a real crust to form before you flip them. If you move them too soon, the browned bits stay stuck to the griddle instead of staying on the potato.
What the Oil, Butter, and Garlic Are Really Doing Here
- Baby potatoes — These hold together better than larger potatoes and give you the best ratio of creamy center to crispy edge. Yukon golds or small red potatoes both work well. Just keep the size consistent so they finish at the same time.
- Olive oil — This helps the potatoes crisp without burning as quickly as butter alone would. A neutral high-heat oil can stand in, but olive oil adds a little more flavor and makes the edges brown evenly.
- Butter — Butter gives the potatoes that rich, loaded-potato taste and helps the garlic cling to the surface. If you swap it out entirely, the potatoes still crisp, but they lose some of that deep savory finish.
- Garlic — Add it around the potatoes rather than under them so it perfumes the oil and butter without scorching. Minced garlic burns fast on a hot griddle, so this is one place where timing matters more than quantity.
- Sour cream, cheddar, chives, and bacon — These are the classic loaded finish. The potatoes are already carrying the texture, so these toppings should add coolness, salt, and freshness without drowning out the crisp edges.
How to Get the Griddle Crisp Without Burning the Garlic
Boiling Until Just Tender
Start the potatoes in salted water and cook them until a fork slides in easily but they still hold their shape. If they’re overcooked, they split when you smash them and turn mushy on the griddle. Drain them well, then let the steam escape for a few minutes before you move on. Dry surfaces brown; wet surfaces steam.
Heating the Blackstone Properly
Get the griddle to medium-high before the potatoes touch it. Add the oil and butter and let them melt together so the fat spreads into a thin, even layer. If the griddle isn’t hot enough, the potatoes absorb fat and turn heavy instead of crisp. If it’s screaming hot, the butter and garlic will scorch before the potatoes have a chance to brown.
Smashing and Crisping the First Side
Set the potatoes down with space between them, then smash each one until it’s flattened and irregular around the edges. Those jagged edges are where the crunch comes from. Sprinkle the garlic around the potatoes once they’re smashed so it can toast in the fat without sitting directly on the hottest metal. Leave them alone for 6 to 7 minutes until the bottoms are deep golden and release cleanly.
Flipping and Finishing
Turn each potato carefully and cook the second side for another 5 to 6 minutes. You’re looking for evenly crisp edges, not just one browned face. Season with salt and pepper while they’re still hot so the seasoning sticks. Then pile on the toppings right away so the cheese softens and the sour cream melts just slightly into the cracks.
How to Adapt These for Different Crowds and Diets
Dairy-Free Loaded Potatoes
Use all olive oil instead of the butter and swap the sour cream for a dairy-free version. You’ll lose a little of the buttery richness, but the crisp texture stays the same, and the garlic still carries the flavor.
Bacon-Free but Still Savory
Skip the bacon and add extra chives plus a little smoked paprika over the top. That keeps the loaded-potato feel without the meat, though the flavor will lean brighter and less smoky.
Making Them Ahead for a Crowd
Boil and drain the potatoes a few hours ahead, then hold them covered once they’re dry. When it’s time to serve, smash and crisp them on the griddle just before eating so the edges stay crunchy instead of softening under a warm hold.
Storage and Reheating
- Refrigerator: Store leftovers in an airtight container for up to 4 days. The edges soften, but the flavor holds up well.
- Freezer: These freeze, but the texture changes and the crispness won’t fully come back. Freeze in a single layer, then reheat from frozen on a hot skillet or griddle for the best shot at restoring some crunch.
- Reheating: Reheat on a hot skillet, griddle, or in a 425°F oven until the edges crisp again. The common mistake is microwaving them first, which turns the outside soft before the heat can re-crisp it.
Answers to the Questions Worth Asking
Blackstone Smashed Potatoes
Ingredients
Equipment
Method
- Boil the baby potatoes in salted water until fork-tender, about 15-20 minutes, then drain and let cool slightly so they smash without falling apart.
- Heat a Blackstone griddle to medium-high, then add the olive oil and butter and let them melt and shimmer.
- Place the potatoes on the griddle and smash flat with a heavy spatula or masher to create thick rounds with rough edges.
- Add the minced garlic around the potatoes and cook for 6-7 minutes until the bottoms are crispy and golden.
- Flip the potatoes and cook another 5-6 minutes until both sides are crispy and browned.
- Season with salt and pepper, then top with sour cream, shredded cheddar cheese, chopped chives, and bacon bits.