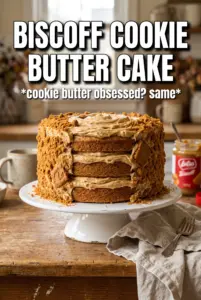
Soft, tall layers and a thick swipe of Biscoff frosting make this cake the kind of dessert people notice the second it hits the table. The cake crumb stays tender and plush, but it still slices cleanly, and the cookie butter in both the batter and frosting gives every bite that caramel-spiced, toasted-cookie flavor without turning the whole thing heavy. The crushed Biscoff on the outside adds just enough crunch to keep each forkful interesting.
What makes this version work is balance. Brown sugar deepens the cake and keeps it moist, but the buttermilk and a little baking soda keep it from feeling dense. The frosting uses both butter and cookie butter, which gives it structure and spreadability instead of that greasy, loose texture some cookie butter frostings end up with. I also like that the spice level stays gentle; cinnamon supports the cookie butter instead of fighting it.
Below, I’ll walk through the small details that matter most, including how to keep the layers even and how to get that frosting smooth enough to spread without dragging crumbs everywhere. If you’ve ever had a layer cake slide around on the plate or turn out dry at the edges, the notes here will help.
The layers baked up flat and the frosting held its shape beautifully. I was worried the cookie butter flavor would disappear in the cake, but it came through in every slice, especially the day after it settled.
Save this Biscoff Cookie Butter Cake for the next time you want tall layers, cookie butter frosting, and a crushed-cookie finish that looks bakery-made.
The part that keeps the cake from tasting flat
Cookie butter brings a deep caramel note, but it needs support or it can fade into the background once it’s baked. That’s why this cake uses brown sugar, cinnamon, and buttermilk together. Brown sugar keeps the crumb moist and adds a molasses edge, cinnamon echoes the speculoos spice, and buttermilk sharpens the flavor enough that the cake doesn’t read as one-note sweetness.
The other thing that matters here is mixing order. Creaming the butter and brown sugar first traps air, which gives the layers lift before the baking powder and soda even get involved. If you dump everything in at once, the cake can bake up tighter and heavier, and you’ll lose that soft, sliceable crumb that makes a layer cake worth the effort.
- Butter — Use softened butter, not melted. Soft butter traps air during creaming, which is what gives the cake its lift and clean, tender crumb.
- Biscoff cookie butter — This is the flavor anchor. Regular peanut butter won’t give you the same spiced, caramelized taste or the same silky texture in the batter.
- Buttermilk — It helps the cake stay moist and balances the sweetness. If you don’t have it, stir 1 tablespoon lemon juice into 1 cup milk and let it sit 5 minutes, but the flavor will be a little less rich.
- Brown sugar — This does more than sweeten. It adds depth and keeps the crumb soft for days, which matters in a layer cake like this.
- Cinnamon — Keep it in the batter even though the cookie butter already has spice. It rounds out the flavor and makes the cake taste more layered instead of just sweet.
What Each Ingredient Is Actually Doing in This Recipe
- Primary ingredient (the star) — Quality matters most. Choose the best you can find.
- Cooking medium (oil, butter, or broth) — This carries flavors and prevents dryness.
- Seasonings (salt, pepper, spices, herbs) — Layer flavors so nothing overpowers. Build depth gradually.
- Aromatics (garlic, onion, herbs) — Cook with fat to bloom flavors. Become the foundation.
- Supporting ingredients — Complement the main ingredient without overpowering it.
- Sauce or liquid (if applicable) — Brings flavors together. Balance richness with acid.
- Acid (lemon, vinegar, wine, or other) — Brightens and prevents flat-tasting results.
- Final finish (garnish, glaze, or sauce) — Prevents one-dimensional taste and adds visual appeal.
Building the layers without losing the crumb
Start with a properly creamed base
Beat the butter and brown sugar until the mixture looks fluffy and lighter in color. That usually takes a few minutes, and it matters more than people think because this is where the cake gets its structure. Add the eggs one at a time so the batter stays smooth and emulsified; if it looks a little curdled after the eggs, it usually comes back together once the flour and buttermilk go in.
Fold in the dry ingredients with a light hand
Once the flour mixture is added, mix only until the last streaks disappear. Overmixing wakes up the gluten and turns the cake tougher than it should be. The batter should be thick but scoopable, and it should spread evenly in the pans without feeling stiff.
Bake until the centers spring back
Slide the pans into a 350°F oven and start checking near the end of the bake time. The tops should look set, the edges should pull just slightly from the pan, and a toothpick should come out with a few moist crumbs, not wet batter. If the centers are still sinking when you touch them, give them a few more minutes; pulling them too early leaves you with a gummy middle that no frosting can hide.
Cool completely before frosting
Let the layers cool all the way before you even think about stacking. Warm cake softens the frosting and makes the whole thing slide, especially with a cookie butter filling that’s naturally soft. If the layers dome a little, level them with a serrated knife so the cake stacks neatly and doesn’t lean.
Make it darker and more spiced
Add an extra 1/2 teaspoon cinnamon or a pinch of nutmeg to the batter if you want a warmer, more pronounced spice note. It pushes the cake closer to a classic speculoos profile, which works especially well if you like the frosting on the sweeter side.
Dairy-free version
Use a plant-based butter for both the cake and frosting, and swap the buttermilk for unsweetened soy milk mixed with 1 tablespoon lemon juice. The cake will still rise and stay tender, though the frosting may need a little extra powdered sugar to hold its shape.
Smaller two-layer cake
Bake the batter in two 9-inch pans instead of three 8-inch pans if you want a taller, more traditional two-layer cake. The layers will need a few extra minutes in the oven, and the finished cake will be easier to frost thickly between layers but a little less dramatic on the plate.
Storage and Reheating
- Refrigerator: Store covered for up to 4 days. The crumb stays moist, and the cookie butter flavor gets a little deeper by day two.
- Freezer: Freeze unfrosted layers tightly wrapped for up to 2 months. Frosting can be frozen separately, but it needs to be re-whipped after thawing to smooth it out again.
- Reheating: Let slices sit at room temperature for 20 to 30 minutes before serving. Cold cake tastes firmer and the frosting loses its creamy texture, so don’t microwave the whole slice unless you want the buttercream to melt into the plate.
The questions that come up before the first slice
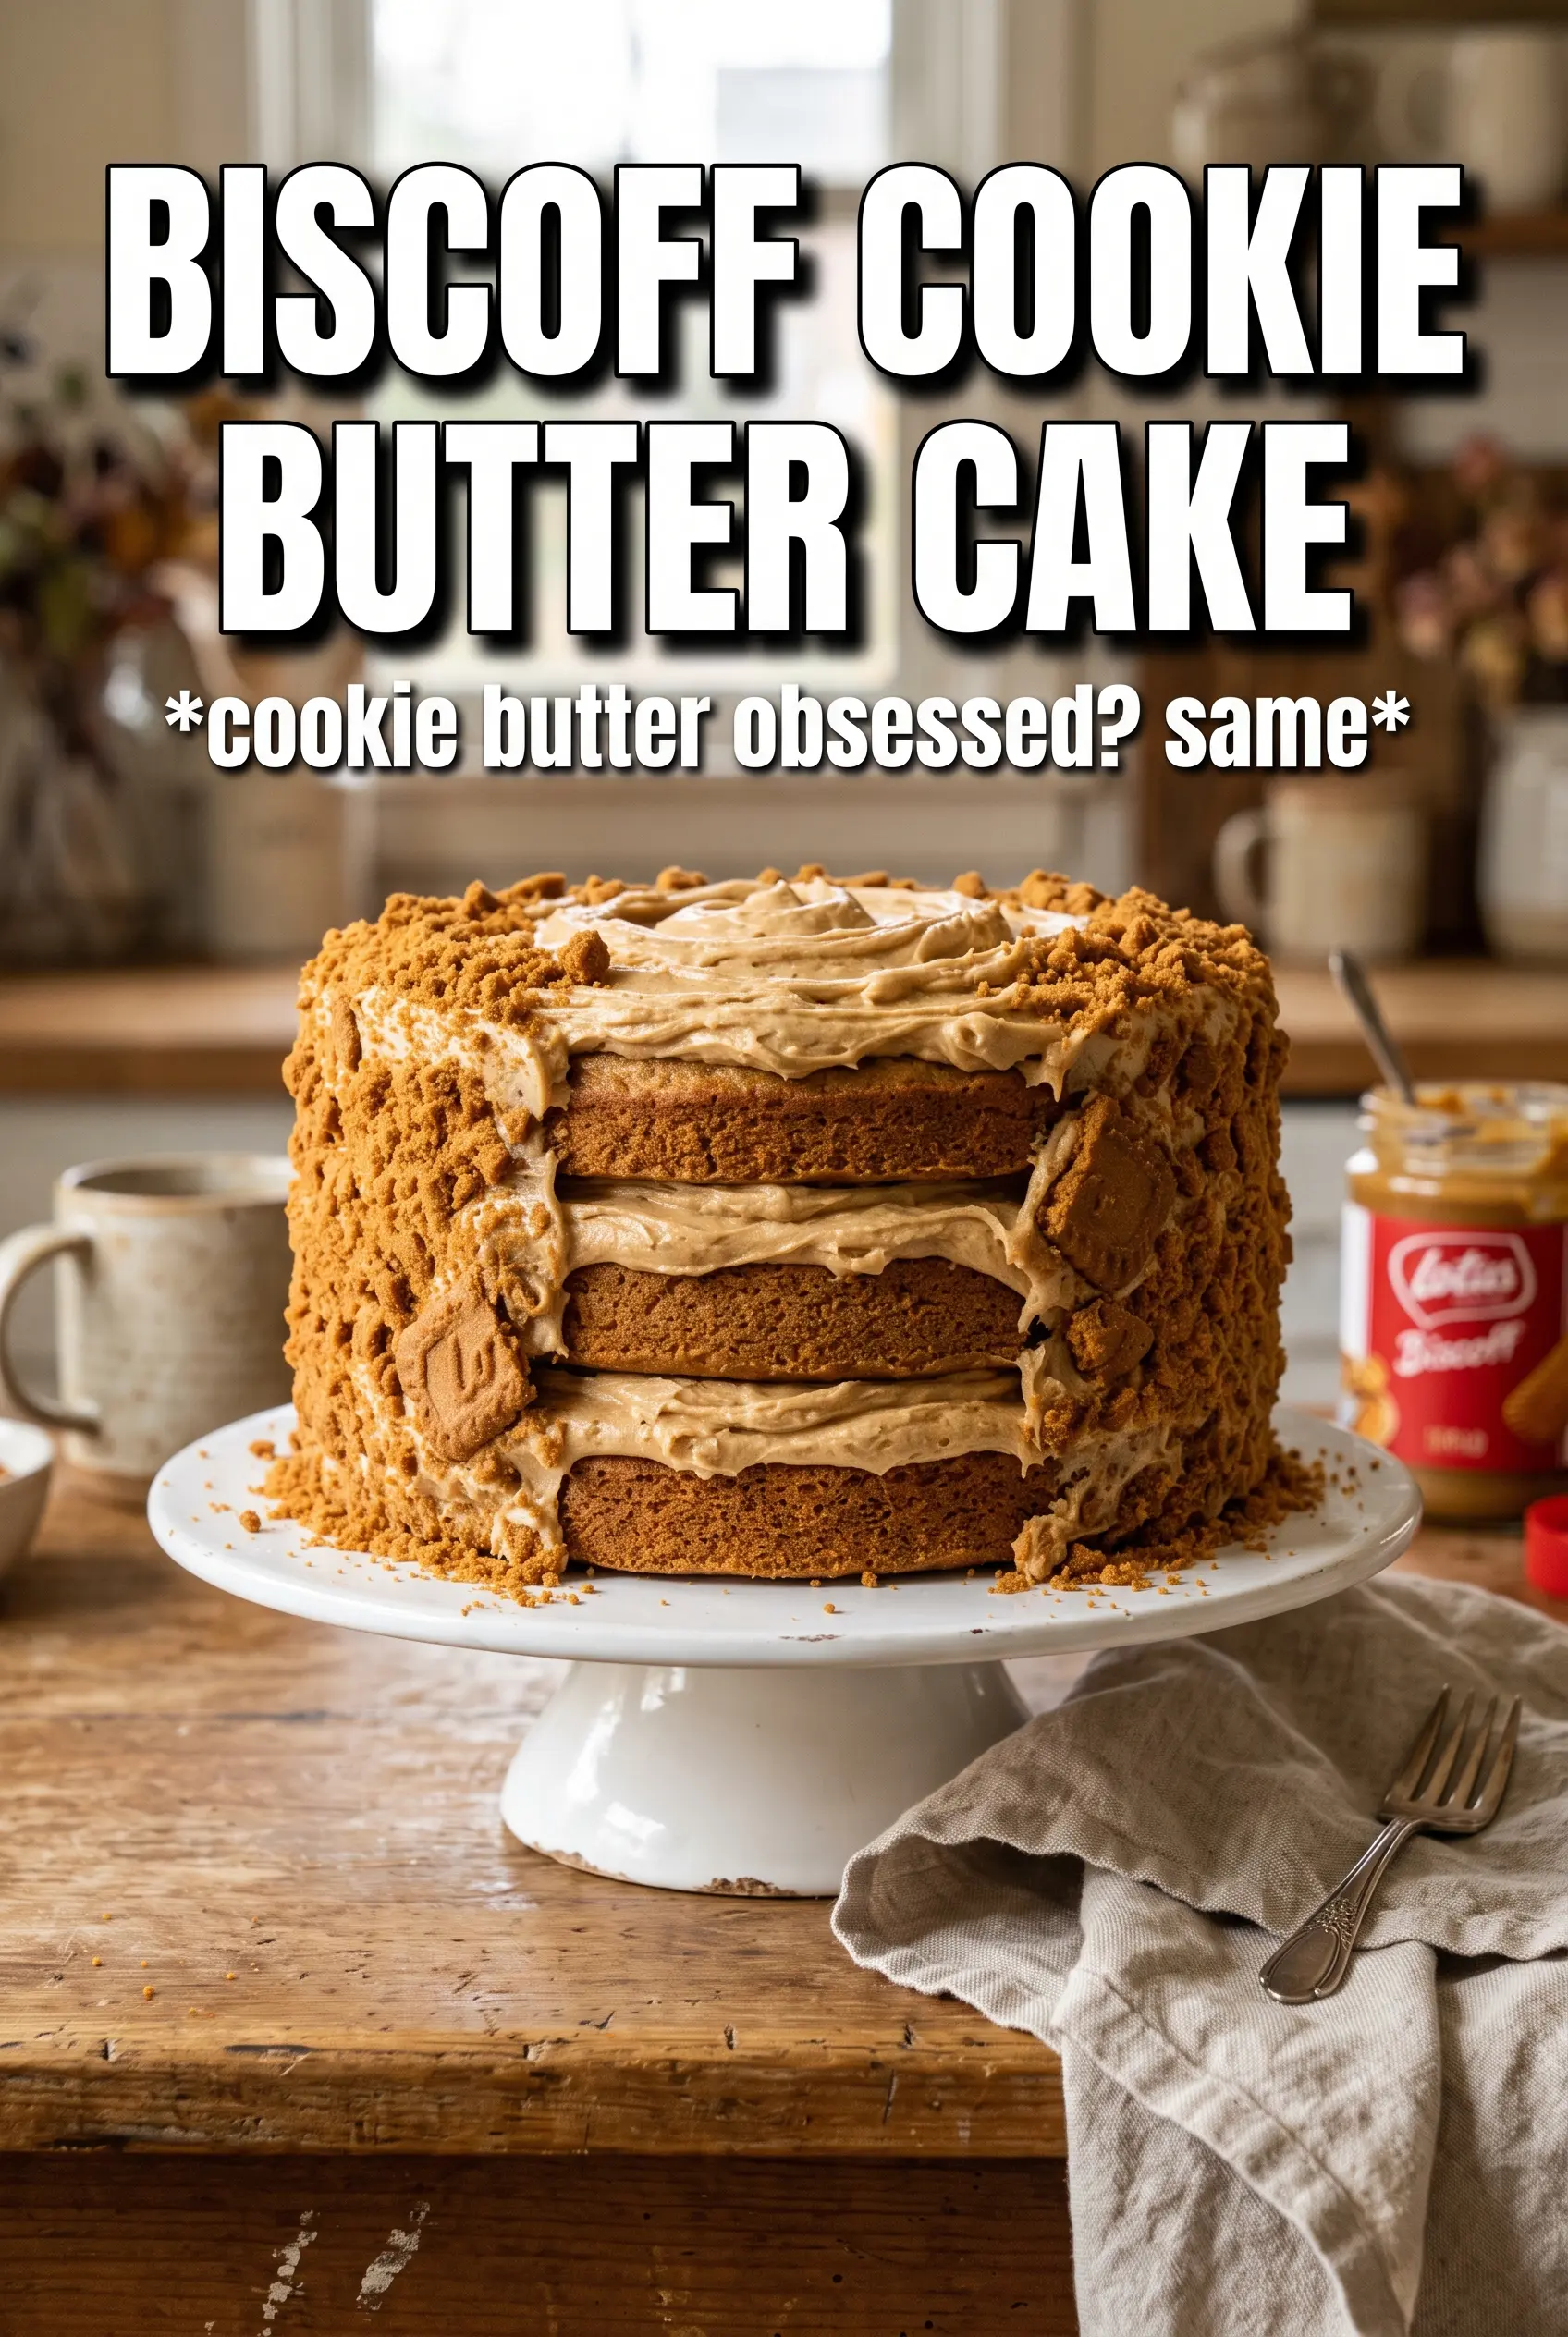
Biscoff Cookie Butter Cake
Ingredients
Equipment
Method
- Preheat the oven to 350F and grease three 8-inch round pans so the layers release cleanly.
- Whisk the all-purpose flour, baking powder, baking soda, cinnamon, and salt until evenly combined and no streaks of leaveners remain.
- Beat the butter and brown sugar until fluffy, then add the eggs, Biscoff cookie butter, vanilla, and buttermilk and mix until smooth.
- Fold in the flour mixture just until incorporated, then divide the batter evenly between the three prepared pans.
- Bake for 30-35 minutes at 350F, until the centers spring back and a toothpick comes out with a few moist crumbs.
- Cool the cake layers completely before frosting so the frosting spreads without melting.
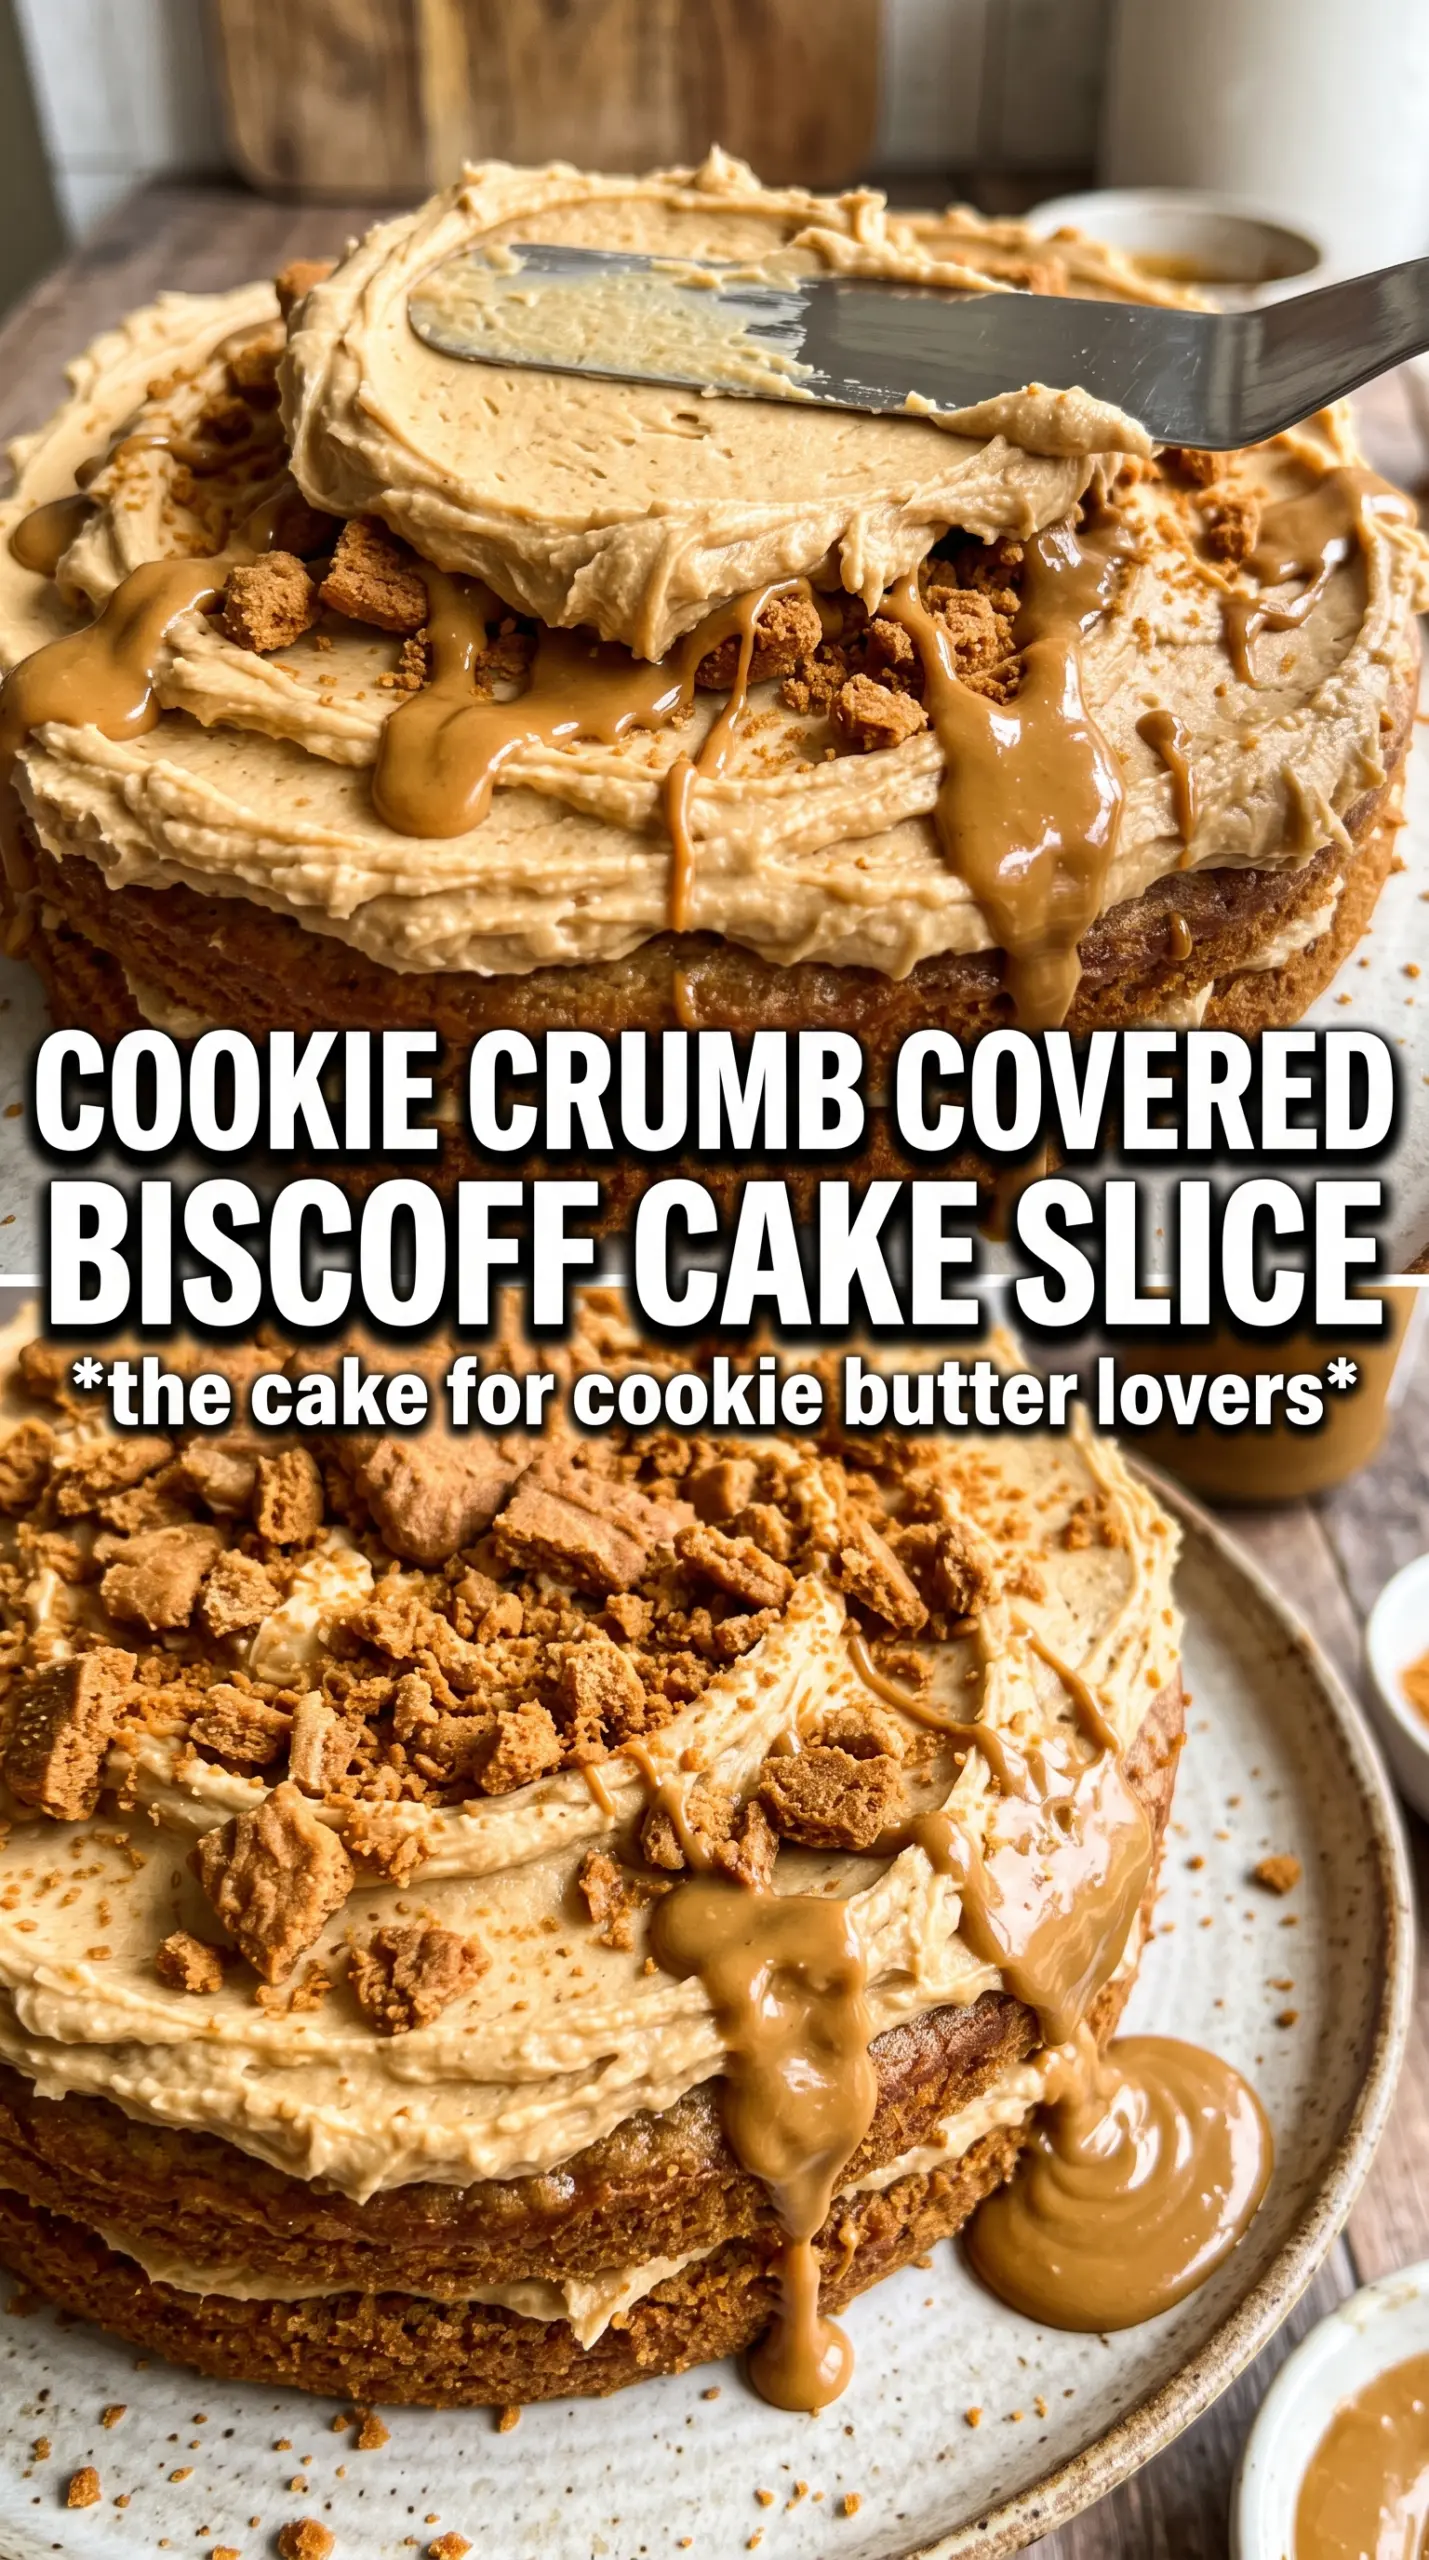
- Beat the butter, Biscoff spread, powdered sugar, cream, and vanilla until fluffy and spreadable.
- Spread frosting between the cake layers, then spread a thick layer over the top to create a smooth surface.
- Press crushed Biscoff cookies onto the frosting for decoration, using the sides of the cake as the visible cue of the caramel cookie crust.