Green bean bundles come out with the best kind of contrast: crisp-tender beans in the center, bacon that turns salty and browned at the edges, and a sticky glaze that settles into the baking dish like a built-in sauce. They land somewhere between a side dish and the first thing people reach for at the table, which is exactly why they disappear fast.
The part that makes this version work is the short blanch before baking. That quick dip in boiling water keeps the beans bright and keeps them from drying out while the bacon cooks. The brown sugar, garlic, butter, and soy sauce glaze does more than add sweetness; it helps the bacon brown and gives the finished bundles a glossy coating that clings instead of running off.
Below, you’ll find the timing that keeps the beans from going limp, the easiest way to bundle them neatly, and a few smart swaps if you need to adjust the recipe for different diets or a bigger crowd.
The bacon crisped up beautifully and the glaze bubbled into this sticky, garlicky coating. I made them for Sunday dinner and there wasn’t a single bundle left.
Love these bacon-wrapped green bean bundles with the sticky brown sugar garlic glaze? Save them to Pinterest for holiday dinners, potlucks, and any night you want a side that disappears first.
Why the Beans Need a Quick Blanch Before They Meet the Oven
Raw green beans and a 30-minute bake don’t naturally line up. The beans need a head start or they’ll stay a little tough while the bacon is trying to crisp. That three-minute blanch softens the beans just enough, and the ice bath stops the cooking immediately so they keep their snap and bright color.
The other piece people miss is moisture control. After the ice bath, drain the beans well so the bacon has a chance to brown instead of steaming in a wet baking dish. If the beans go into the oven damp, the glaze slides off and the bacon takes longer to crisp.
- Blanching keeps the beans tender without turning them mushy.
- Ice water locks in the color and stops carryover cooking.
- Dry beans help the bacon render and the glaze cling.
What Each Ingredient Is Actually Doing in the Bundle
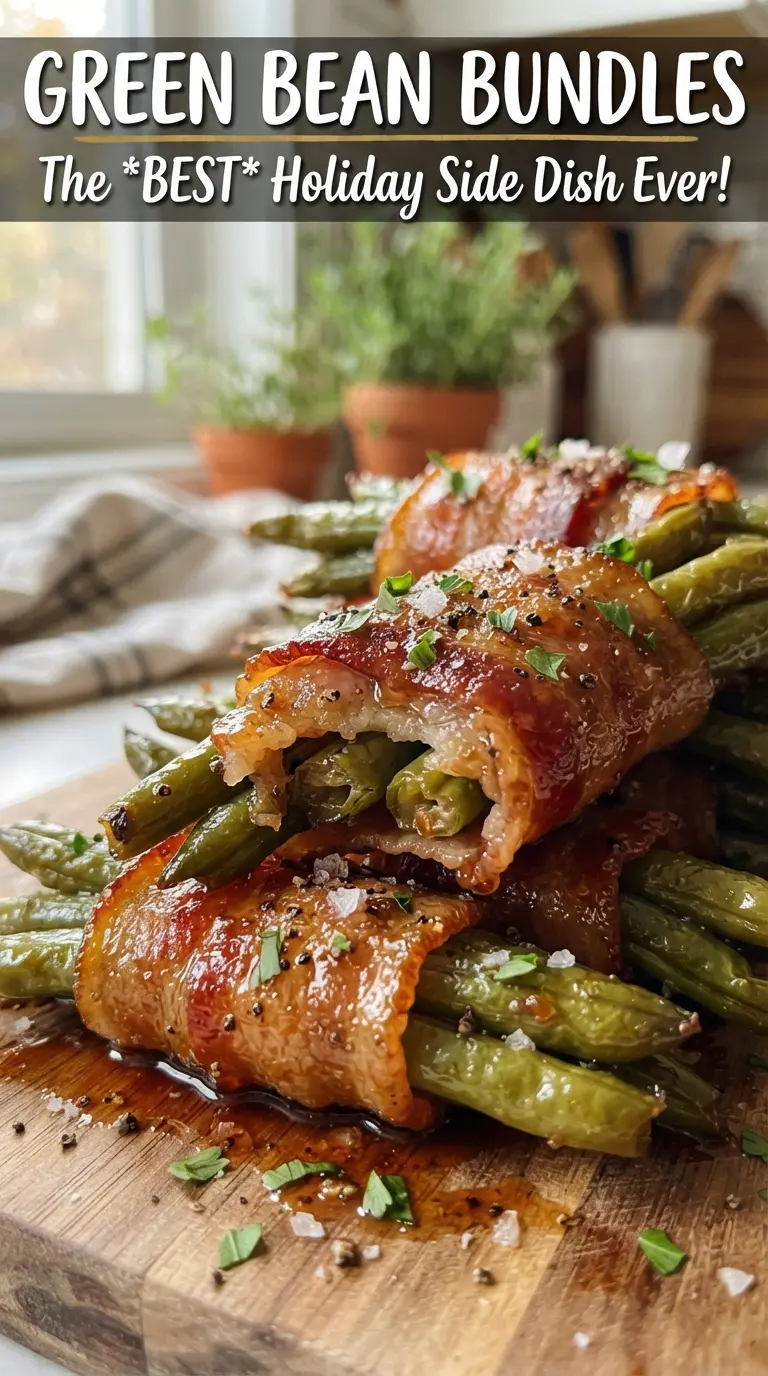
- Fresh green beans are the backbone here. Use fresh, firm beans with clean snap, not soft or wrinkled ones. Haricots verts work too and cook a little faster, but frozen beans won’t hold the same shape or bite.
- Bacon gives the bundles their salty finish and helps hold everything together. Regular-cut bacon is the sweet spot; thick-cut can stay floppy before the beans are done. If you want a sharper wrap, partially cook the bacon for a few minutes first, then cool it before bundling.
- Brown sugar and butter make the glaze sticky and glossy. Light brown sugar is fine; dark brown sugar gives a deeper molasses note. Melt the butter first so the sugar dissolves enough to coat the bundles evenly.
- Soy sauce and garlic keep the glaze from tasting one-note sweet. The soy adds salt and depth, and the garlic softens as it bakes. Don’t skip the pepper; it cuts through the richness and keeps the glaze from tasting flat.
Bundling, Glazing, and Baking Without Ending Up With Limp Beans
Building the Little Bundles
Gather 8 to 10 beans into each bundle, depending on their thickness, so the centers stay neat and the ends don’t spill everywhere. Wrap each bundle with a half slice of bacon and set it seam-side down in the baking dish so the bacon stays put while it cooks. If the bundles look loose, press them gently together before the glaze goes on.
Making the Glaze Work for You
Whisk the melted butter, brown sugar, garlic, soy sauce, and pepper until the sugar looks mostly dissolved and the mixture turns glossy. Pour it evenly over the bundles, then spoon a little extra over the tops if some of the glaze pools at the bottom of the dish. That pooled glaze is worth saving, but don’t drown the beans or they’ll steam instead of roast.
Knowing When They’re Done
Bake until the bacon is crisp at the edges and the glaze is bubbling thickly around the dish, usually 25 to 30 minutes. If the bacon is browned but not crisp enough, give it a minute or two under the broiler and watch it closely. The finish should be sticky and lacquered, not burnt or watery.
Turkey Bacon for a Lighter Version
Turkey bacon can work if you want a lighter side, but it won’t render the same way or crisp as deeply as pork bacon. Bake the bundles on the longer end of the timing and watch the edges closely, since turkey bacon can dry out before the beans are fully tender.
Gluten-Free Without Changing the Texture
Use tamari or a certified gluten-free soy sauce in place of regular soy sauce. The glaze stays just as glossy and savory, and the flavor stays balanced. No other changes are needed.
Halving or Doubling for Different Crowds
This recipe scales cleanly. For a smaller batch, halve everything and use a smaller baking dish so the glaze still collects around the bundles. For a crowd, keep the bundles in a single layer; stacking them traps steam and leaves the bacon soft.
Make-Ahead Assembly for Easier Entertaining
You can blanch the beans and assemble the bundles a few hours ahead, then cover and refrigerate them until baking time. Hold the glaze until right before the oven so the sugar doesn’t pull out moisture from the bacon and beans. That keeps the finished dish cleaner and less watery.
Storage and Reheating
- Refrigerator: Store leftovers in an airtight container for up to 3 days. The beans soften a bit, but the flavor holds well.
- Freezer: I don’t recommend freezing these. The beans lose their texture and the glaze turns a little sticky in the wrong way after thawing.
- Reheating: Reheat in a 350F oven until warmed through and the bacon tightens back up, about 10 to 12 minutes. Skip the microwave if you can; it makes the bacon rubbery and the beans slump.
Answers to the Questions Worth Asking

Green Bean Bundles
Ingredients
Equipment
Method
- Preheat oven to 400°F. Blanch the green beans in boiling water for 3 minutes, then plunge into ice water and drain.
- Gather 8-10 trimmed green beans into a bundle and wrap with a half slice of bacon, placing seam-side down in a baking dish.
- Whisk the melted butter, brown sugar, minced garlic, soy sauce, and black pepper until smooth. Pour the glaze evenly over the bacon-wrapped green bean bundles.
- Bake at 400°F for 25-30 minutes, until the bacon is crisp and the glaze is bubbly. Spoon pan glaze over the bundles and serve warm.