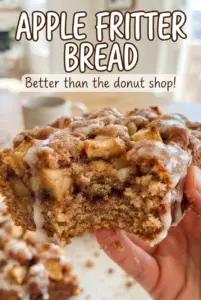
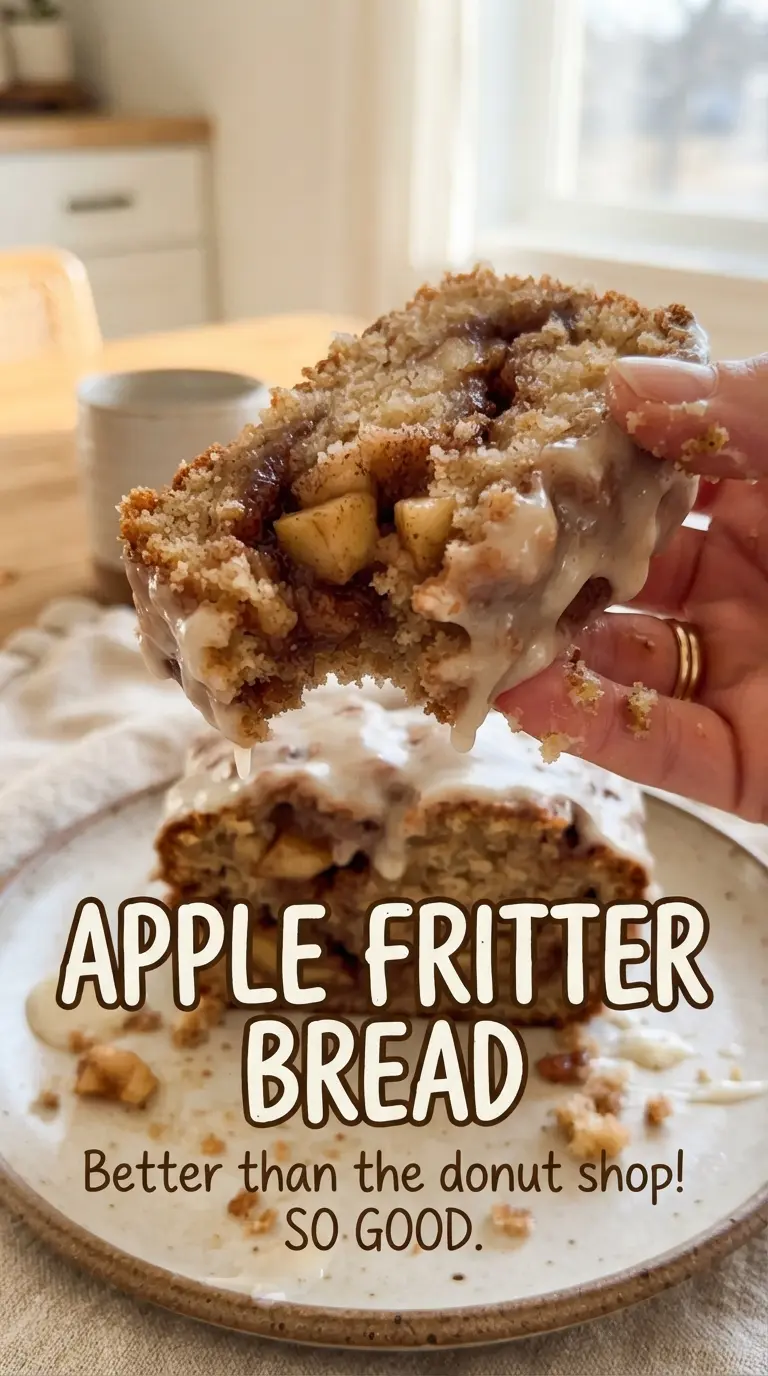
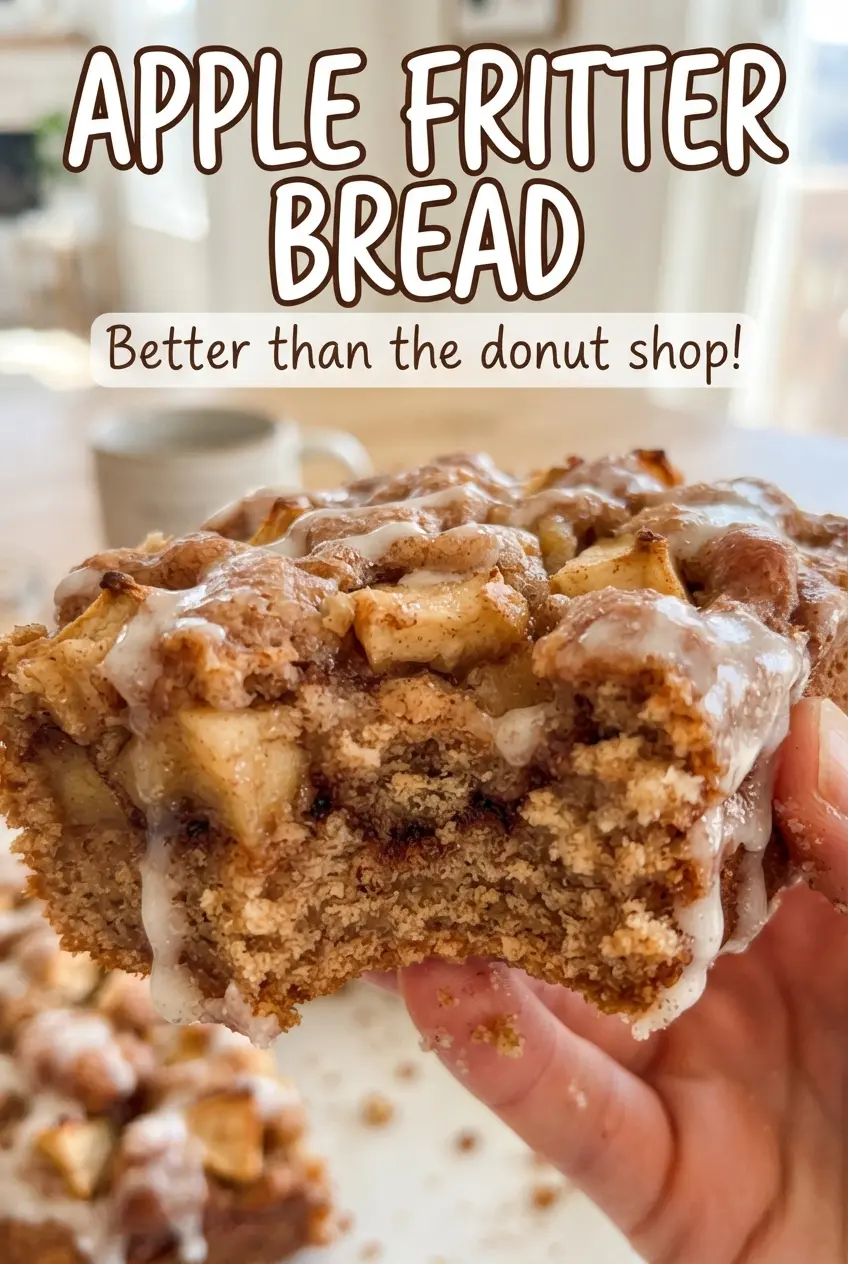
Apple fritter bread bakes into a tender loaf with ribboned cinnamon sugar, soft apple pieces, and a glaze that settles into every crack on top. It slices cleanly once cooled, but the inside stays plush and moist, with pockets of brown sugar that taste a lot like the best part of a fritter without any frying.
What makes this version work is the layering. Tossing part of the cinnamon sugar with the apples keeps them from sinking and gives the fruit its own concentrated flavor. The batter itself is built with softened butter and a standard creaming method, which creates enough structure to hold the apples without turning the loaf heavy. A gentle swirl at the end is enough; if you overdo it, the bread loses those distinct ribbons and turns muddy.
Below, I’ve included the little timing and texture details that matter most, plus a few swaps for when you want to change up the fruit or make the loaf fit what’s in your kitchen.
The cinnamon sugar stayed in perfect little pockets, and the glaze soaked just enough into the top without making the loaf soggy. We sliced it warm and it disappeared by breakfast the next day.
Love the cinnamon-swirled apple layers? Save this Apple Fritter Bread for a cozy breakfast or dessert bake with that thick vanilla glaze.
The Swirl That Keeps Apple Fritter Bread Distinct
The biggest mistake with this kind of loaf is treating it like quick bread with apples folded in at the end. That gives you a bland crumb and a fruit-heavy bottom. Here, the cinnamon sugar is split between the batter and the apples, which creates layers of flavor instead of one sweet streak running through the middle.
The other key is restraint with the swirl. You want a knife pass or two, not a full stir. Once the batter and cinnamon sugar begin to blend too much, the loaf bakes up muddy instead of marbled, and you lose the visual contrast that makes apple fritter bread worth slicing into.
- Apples — Peel and chop them small enough to soften in the bake, but not so small they disappear. A firm baking apple holds its shape better than something mealy. If you only have softer apples, cut them a little larger so they don’t vanish into the batter.
- Brown sugar and cinnamon — This is what gives the loaf its fritter-like center. Mixing a little with the apples helps the fruit taste seasoned all the way through, not just sweet on top.
- Butter — Softened butter beaten with sugar gives the loaf structure and that tender, cake-like crumb. Melted butter won’t trap the same amount of air, so the texture turns denser.
- Milk — The batter uses just enough to loosen the crumb without making it wet. Whole milk gives the best richness, but any milk works here as long as it isn’t soured or flavored.
What Each Ingredient Is Actually Doing in This Recipe
- Primary ingredient (the star) — Quality matters most. Choose the best you can find.
- Cooking medium (oil, butter, or broth) — This carries flavors and prevents dryness.
- Seasonings (salt, pepper, spices, herbs) — Layer flavors so nothing overpowers. Build depth gradually.
- Aromatics (garlic, onion, herbs) — Cook with fat to bloom flavors. Become the foundation.
- Supporting ingredients — Complement the main ingredient without overpowering it.
- Sauce or liquid (if applicable) — Brings flavors together. Balance richness with acid.
- Acid (lemon, vinegar, wine, or other) — Brightens and prevents flat-tasting results.
- Final finish (garnish, glaze, or sauce) — Prevents one-dimensional taste and adds visual appeal.
Building the Layers So the Apples Stay Where You Want Them
Mixing the Cinnamon Sugar
Stir the brown sugar and cinnamon together first, then use part of it to coat the chopped apples. That light coating helps keep the fruit from bleeding into the batter and gives every bite a little caramelized sweetness. If the apples look dry after tossing, that’s fine; the sugar will pull out a little juice as the loaf bakes.
Creaming the Butter and Sugar
Beat the softened butter and granulated sugar until the mixture turns pale and fluffy. That step matters because it builds the structure that holds the apples up during baking. If your butter is too cold, the mixture stays sandy; if it is too soft or greasy, the loaf can bake up dense and flat.
Layering the Pan
Spread half the batter into the prepared pan, then add half the apples and half the remaining cinnamon sugar. Repeat with the rest of the batter and topping. This layering is what gives you those ribboned pockets instead of a loaf where everything sinks to the bottom.
Baking and Glazing
Bake until the top is set and a toothpick comes out clean from the center, usually around 50 to 55 minutes. Let the loaf cool for 15 minutes before glazing so the sugar on top doesn’t run off completely. The glaze should be thick enough to ribbon over the bread, not thin enough to soak straight through the crust.
How to Change the Loaf Without Losing the Apple Fritter Feel
Make it dairy-free
Use a good plant butter and unsweetened non-dairy milk. The loaf still bakes up tender, though the flavor will be a little less rich and buttery on the finish. Stick with an unflavored milk so the glaze stays clean and sweet instead of tasting nutty or coconut-heavy.
Swap the apples for pears
Firm pears work if you want a softer, more floral loaf. They release a bit more moisture than apples, so cut them slightly larger and don’t overmix the batter. The flavor shifts gentler and sweeter, but the cinnamon sugar still carries the same bakery-style feel.
Add chopped nuts
A handful of chopped walnuts or pecans adds crunch and a toasted edge that works well with the glaze. Fold them into the apple layer so they don’t all end up on top. This keeps the loaf from feeling too soft if you like a little bite in each slice.
Storage and Reheating
- Refrigerator: Keep covered for up to 4 days. The crumb stays moist, but the glaze will sink in a little more each day.
- Freezer: Freeze slices tightly wrapped for up to 2 months. Skip the glaze before freezing if you want the best texture, then glaze after thawing.
- Reheating: Warm slices in the microwave for 10 to 15 seconds or in a low oven until just heated through. Too much heat dries the crumb and makes the glaze sticky instead of glossy.
Answers to the Questions Worth Asking
Apple Fritter Bread
Ingredients
Equipment
Method
- Preheat oven to 350F and grease and line a 9x5-inch loaf pan with a snug liner for easy release.
- Mix the brown sugar and ground cinnamon, then toss the chopped apples with 2 tablespoons of the mixture so the pieces are coated.
- Beat the softened butter and granulated sugar until fluffy, then beat in the eggs one at a time followed by the vanilla extract.
- Whisk the all-purpose flour, baking powder, and salt together, then add to the batter alternately with the milk just until combined.
- Spread half the batter in the prepared pan, then layer half the apple mixture and half of the remaining cinnamon-sugar over the top.
- Spoon the remaining batter over the apples and repeat the layered topping with the remaining apples and cinnamon-sugar.
- Swirl gently with a knife to create ribboned cinnamon-brown sugar throughout the loaf surface.
- Bake for 50-55 minutes at 350F until a toothpick inserted in the center comes out clean.
- Cool the loaf for 15 minutes before glazing so the drizzle doesn’t fully sink in.
- Whisk powdered sugar with 2–3 tablespoons milk to make a thick glaze, then drizzle over the warm loaf for a glossy finish.