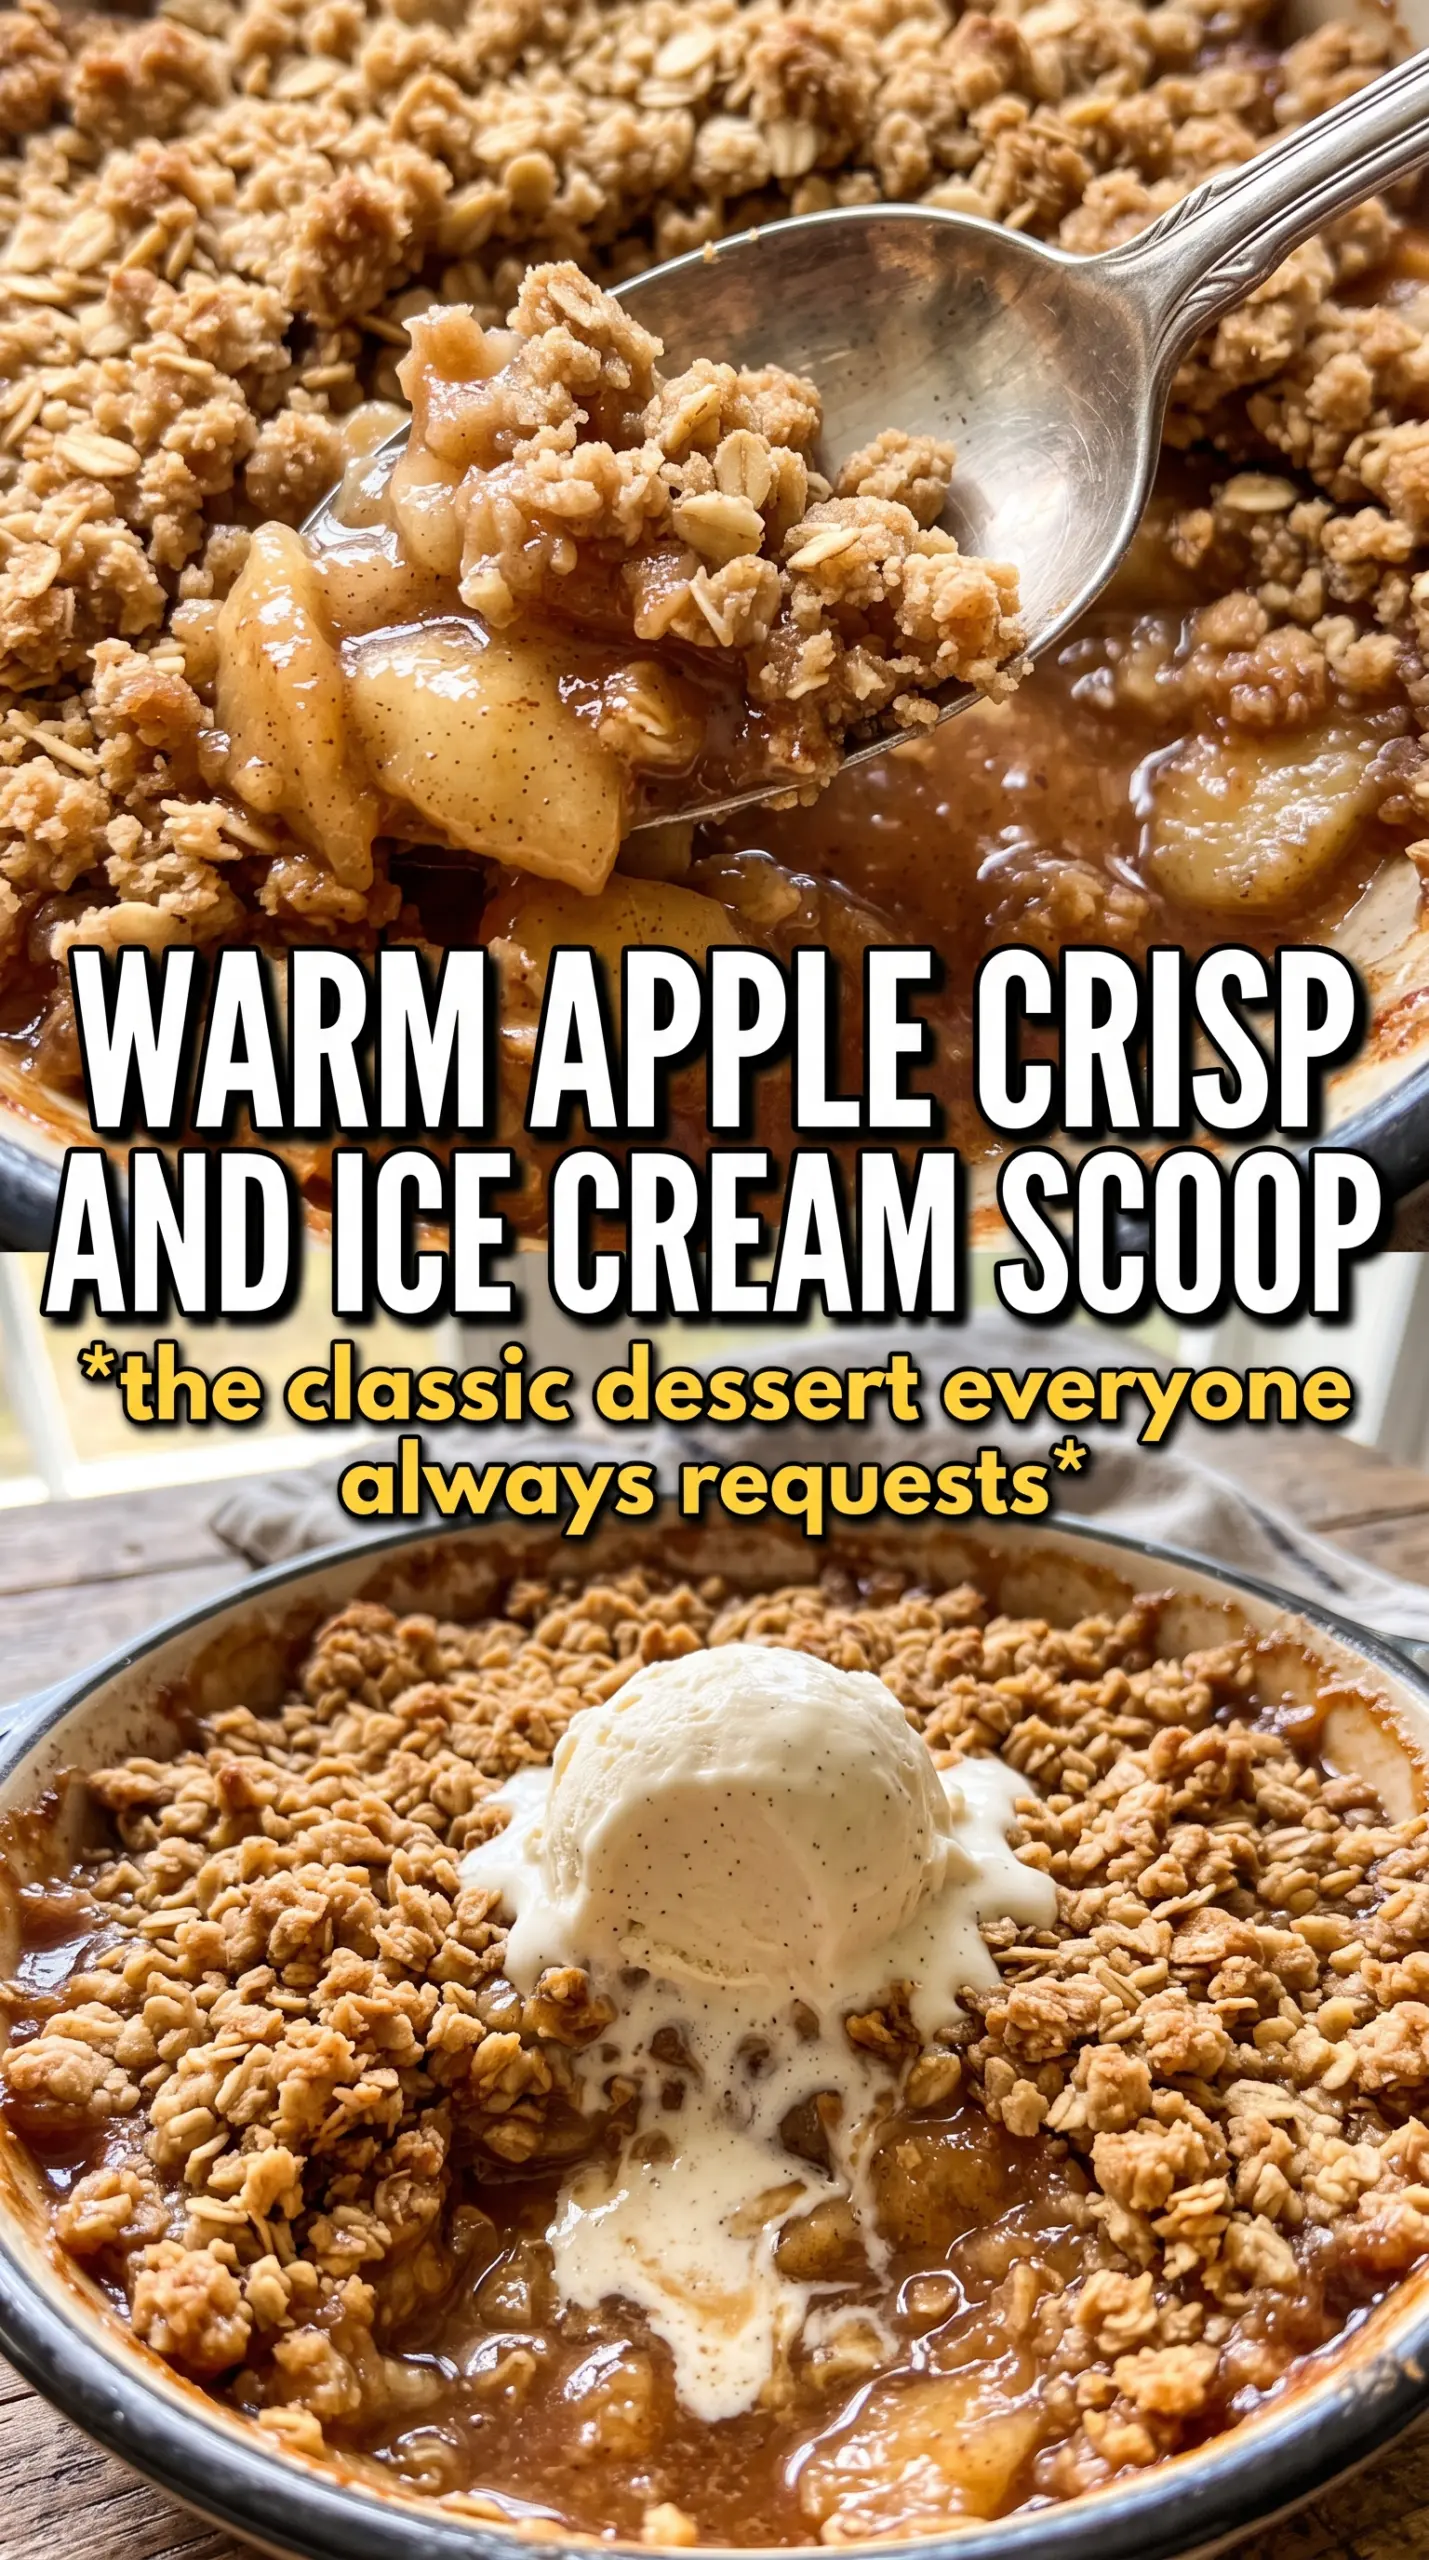
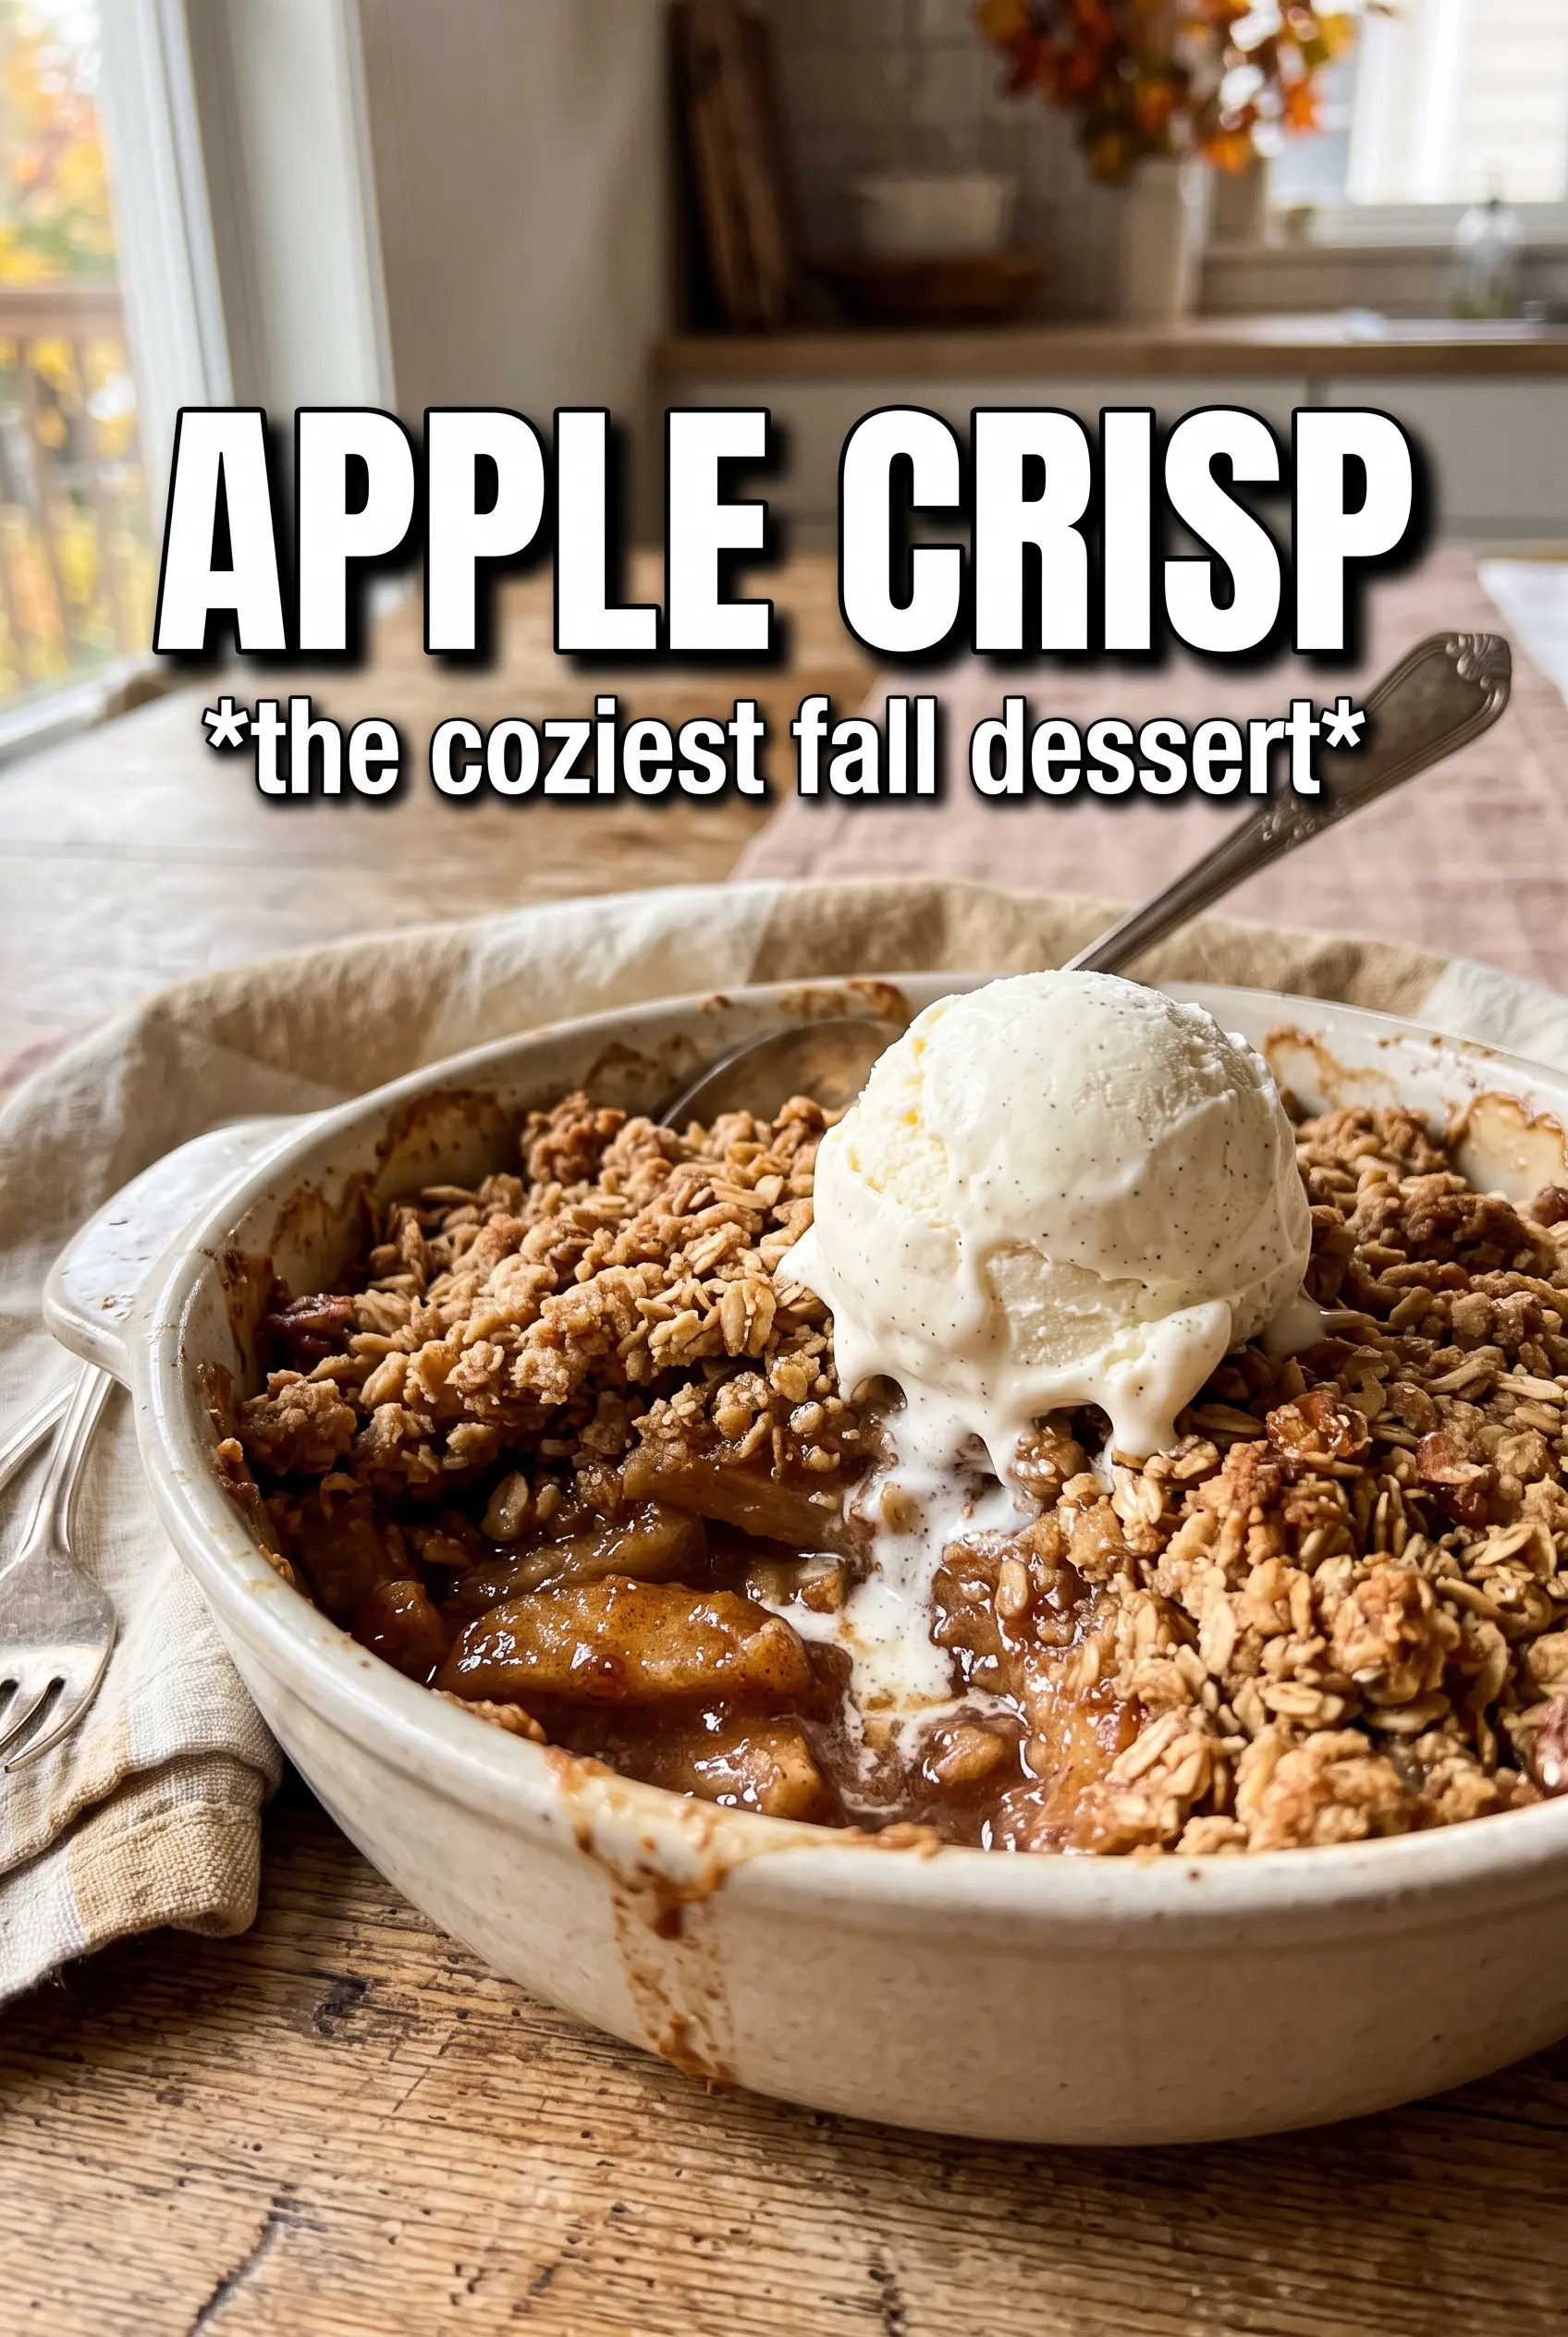
Apple crisp earns its place at the table because it gives you everything people want from a baked apple dessert: tender fruit, a bubbling cinnamon filling, and a topping that turns crisp at the edges while staying nubby in the middle. The contrast is the whole point. When the apples soften just enough and the oat crumble browns into little clusters, each spoonful lands with a mix of creamy, juicy, and crunchy that keeps people going back for one more bite.
This version leans on two kinds of apples for a reason. Granny Smiths hold their shape and bring brightness, while Honeycrisp adds sweetness and a softer bite. A little cornstarch thickens the juices so the filling turns glossy instead of watery, and cold butter in the topping is what gives you those craggy golden pieces instead of a sandy layer. I also like a short rest before serving, because that lets the fruit settle and the juices thicken just enough to spoon neatly.
Below you’ll find the small details that matter most: how to keep the topping crisp, how to tell when the filling is actually ready, and a few swaps that still give you a proper apple crisp.
The filling bubbled up thick and glossy, and the oat topping stayed crisp even after sitting out for a bit. I used Granny Smith and Honeycrisp like suggested, and the flavor was spot on.
Save this apple crisp for the nights when you want bubbling cinnamon apples under a crisp oat topping with almost no fuss.
The Reason Apple Crisp Turns Watery Instead of Thick and Bubbly
Apple crisp usually goes wrong in one of two places: the fruit releases a lot of juice, or the topping bakes before the filling has a chance to thicken. The fix is a balance of sliced apples, enough sugar to pull out moisture, and cornstarch to catch those juices before they pool in the pan. If you skip the thickener, the filling can look great at the edge of the dish and still slump into a thin syrup once you spoon into it.
Another common miss is cutting the apples too thin. Very thin slices collapse fast and lose their shape before the topping is done. Aim for slices that are even but not paper-thin so you get soft fruit with a little structure left in the center.
- Granny Smith apples — these keep the filling bright and structured. They don’t turn mushy as quickly as sweeter apples, which matters in a dessert that bakes long enough for the topping to brown.
- Honeycrisp apples — these add sweetness and a juicier bite. If you only use tart apples, the crisp can taste a little one-note.
- Cornstarch — this is what turns the apple juices into a spoonable filling. Flour can work in a pinch, but it doesn’t set as cleanly and can leave the juices looking cloudy.
- Cold butter — keep it cold and cut it into the dry topping quickly. Warm butter melts into the oats before baking, and you lose those crunchy crumbles.
What Each Ingredient Is Doing in the Crumble and Filling
- Brown sugar in the filling — this deepens the apple flavor and helps the juices start moving. It doesn’t make the dessert cloying; it rounds out the tart apples.
- Lemon juice — a small amount keeps the apples tasting fresh and keeps the sweetness from flattening out. You won’t taste lemon, but you will notice the filling tastes brighter.
- Rolled oats — these give the topping its chew and texture. Quick oats can work, but the crumble will be tighter and less rustic.
- All-purpose flour — flour helps bind the topping so it bakes into clusters instead of loose crumbs. If you need a gluten-free version, use a 1:1 gluten-free baking blend in its place.
- Cold unsalted butter — unsalted butter keeps the topping from tasting overly salty and lets you control the seasoning. Cube it and cut it in until you see pieces the size of peas and almonds.
Building the Layers So the Topping Stays Crisp
Mix the apples with the thickener first
Toss the sliced apples with the sugars, spices, cornstarch, and lemon juice until every piece looks lightly coated. You want the cornstarch to cling before the fruit goes into the dish, because dry pockets of starch won’t thicken evenly once the apples start baking. Spread the apples in an even layer so the heat moves through the filling at the same pace.
Cut the butter into chunky crumbs
Combine the oats, flour, brown sugar, cinnamon, and salt, then work in the cold butter until the mixture forms uneven clumps. Stop before it turns into a fine meal; the best crisp topping has a mix of big nuggets and smaller sandy bits. If the butter softens too much, chill the bowl for a few minutes and carry on.
Bake until the center is actively bubbling
Put the dish in a 375°F oven and bake until the top is deeply golden and the filling bubbles up through the crumble, usually 40 to 45 minutes. That bubbling matters more than the clock, because it tells you the cornstarch has cooked enough to thicken the juices. If the top browns too quickly, lay a piece of foil loosely over the dish for the last part of baking.
Let it rest before serving
Give the crisp about 10 minutes on the counter before you scoop it. Right out of the oven, the filling is loose and sloshes around; after a short rest, it settles into a thick, glossy layer that holds together better in a bowl. That pause also keeps the ice cream from disappearing completely the second it hits the fruit.
How to Adapt Apple Crisp When You Need a Different Version
Make it gluten-free
Swap the all-purpose flour for a 1:1 gluten-free baking blend. The topping still bakes up crisp and clumpy, though it may brown a little faster, so watch the last 10 minutes closely.
Go dairy-free
Use a firm plant-based butter that’s meant for baking. Soft tub margarines can make the topping greasy instead of crumbly, so choose a block-style alternative if you want those crisp, browned clusters.
Use all tart apples
If Granny Smith is all you have, add a little more sugar to the filling or serve with extra vanilla ice cream. The texture stays excellent, but the flavor leans sharper and less rounded.
Storage and Reheating
- Refrigerator: Store covered for up to 4 days. The topping softens a little in the fridge, but the flavor stays good.
- Freezer: Freeze baked apple crisp in a tightly wrapped dish or airtight container for up to 2 months. Thaw overnight in the refrigerator before reheating so the topping doesn’t dry out.
- Reheating: Warm it in a 325°F oven until the center is heated through and the topping crisps back up, usually 15 to 20 minutes. The microwave works for a quick bowl, but it turns the crumble soft.
Answers to the Questions Worth Asking
Apple Crisp
Ingredients
Equipment
Method
- Preheat the oven to 375°F, then grease a 9x13 baking dish.
- Toss the sliced apples with granulated sugar, brown sugar, cinnamon, nutmeg, cornstarch, and lemon juice, then spread them evenly in the prepared dish.
- Make the crumble by combining rolled oats, all-purpose flour, packed brown sugar, cinnamon, and salt, then cut in the cold butter until large chunky clumps form.
- Scatter the crumble evenly over the apples.
- Bake for 40-45 minutes at 375°F until the topping is deeply golden and the apple filling bubbles.
- Rest the crisp for 10 minutes to set the filling and topping, then serve warm with vanilla ice cream.